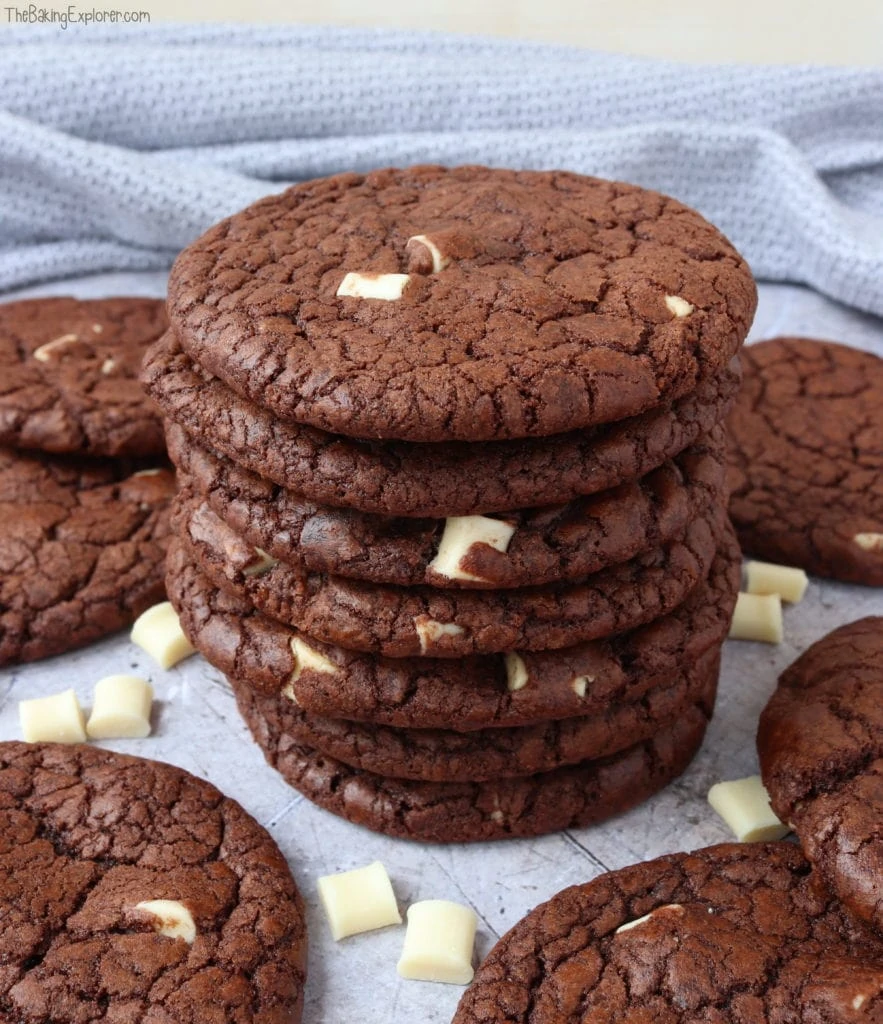
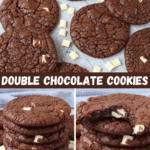
When it comes to cookies, these Double Chocolate Cookies are my absolute favourites! I've made them so many times I've lost count, as this recipe is so easy and the cookies are SO tasty. They are also a big family favourite in my house, and my friends and colleagues love them too. The cookie dough is made with melted dark chocolate for extra chocolatey richness, and they are sprinkled with white chocolate chips. This is one cookie recipe you are bound to make again and again!
Ingredient Tips & Equipment Information
- Make sure all your ingredients (particularly the butter and eggs) are at room temperature before you start baking.
- I prefer to use unsalted butter for this recipe, but you can also use a baking spread.
- You can swap out the white chocolate chips for dark chocolate chips or milk chocolate chips if you prefer.
- If you can't get hold of light brown soft sugar, you can use caster sugar instead.
- For the best flavour, use a vanilla extract and not an essence.
- Although I provide cup measurements, I highly recommend weighing your ingredients out using digital kitchen scales*. It is the most accurate way to measure ingredients and will ensure the best results. Digital scales are very low cost and can be purchased for around £12 ($16.50) .
- For teaspoon (tsp) and tablespoon (tbsp) measurements, please use measuring spoons* and not the type of spoons you eat with. Again this will ensure accuracy and provide the best results.
For the full recipe with measurements, head to the recipe card at the end of this post.
How to make Double Chocolate Cookies
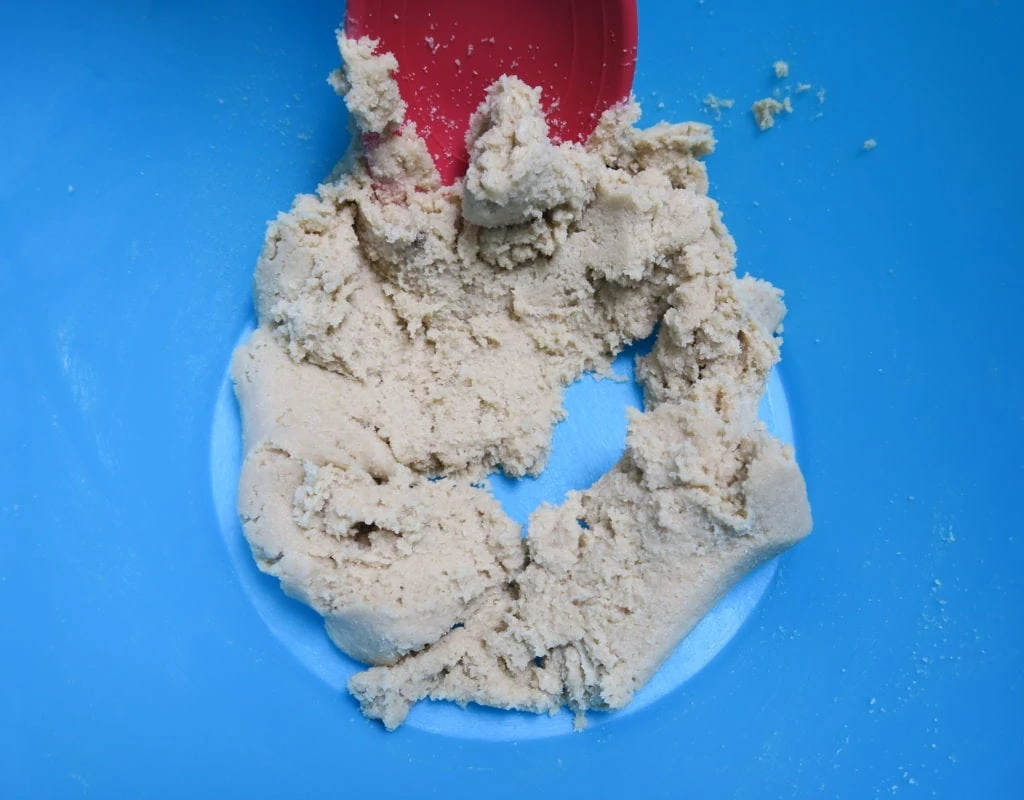
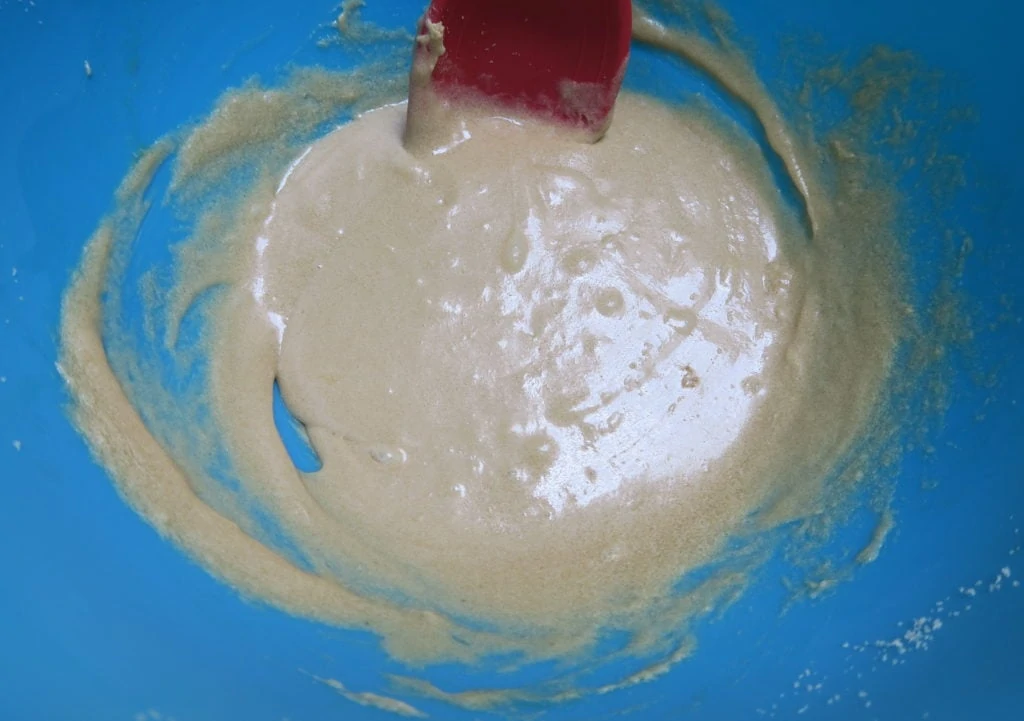
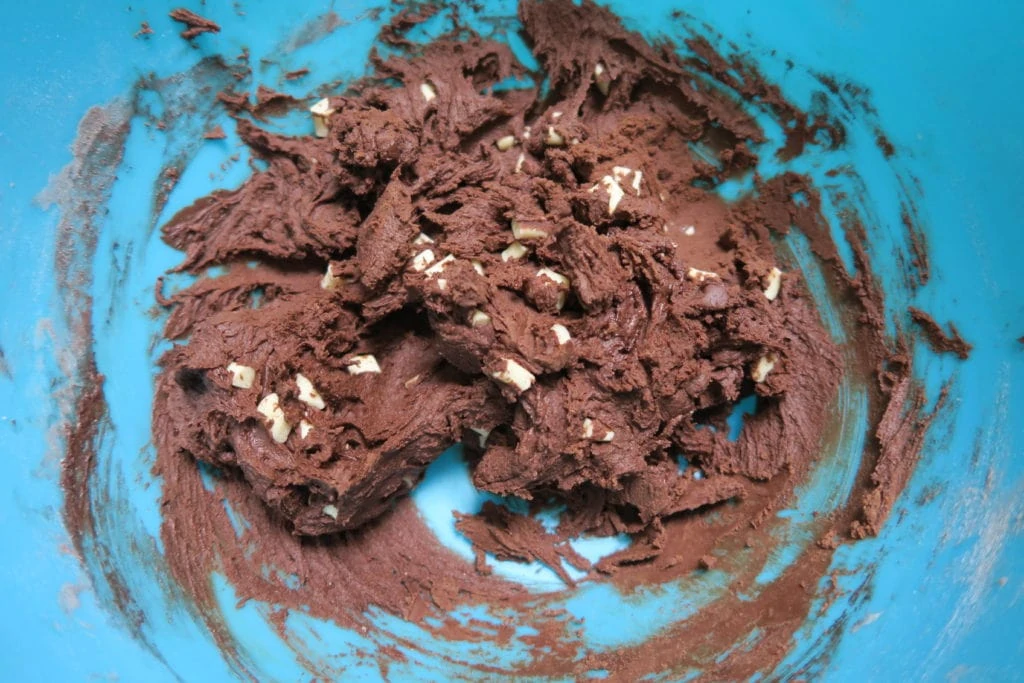
To make the cookie dough, mix together light brown sugar and softened butter. Then add the egg and vanilla extract and mix well.
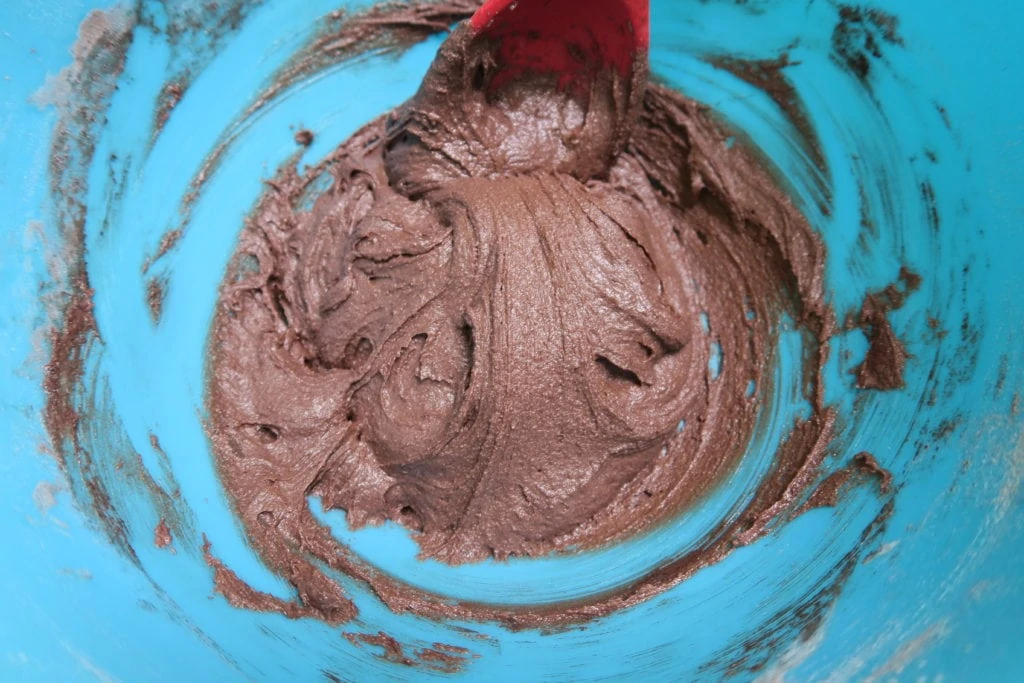
Add self raising flour and cocoa powder and mix it in. Then add melted dark chocolate. Finally stir in the white chocolate chips. Then chill the mixture for 15 minutes in the fridge.
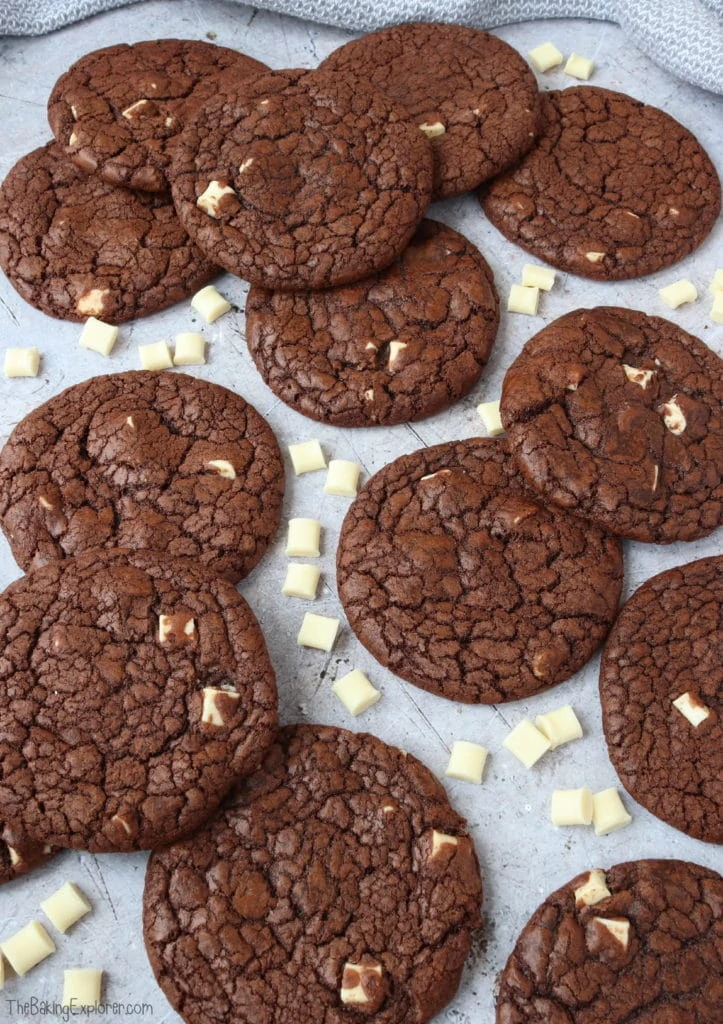
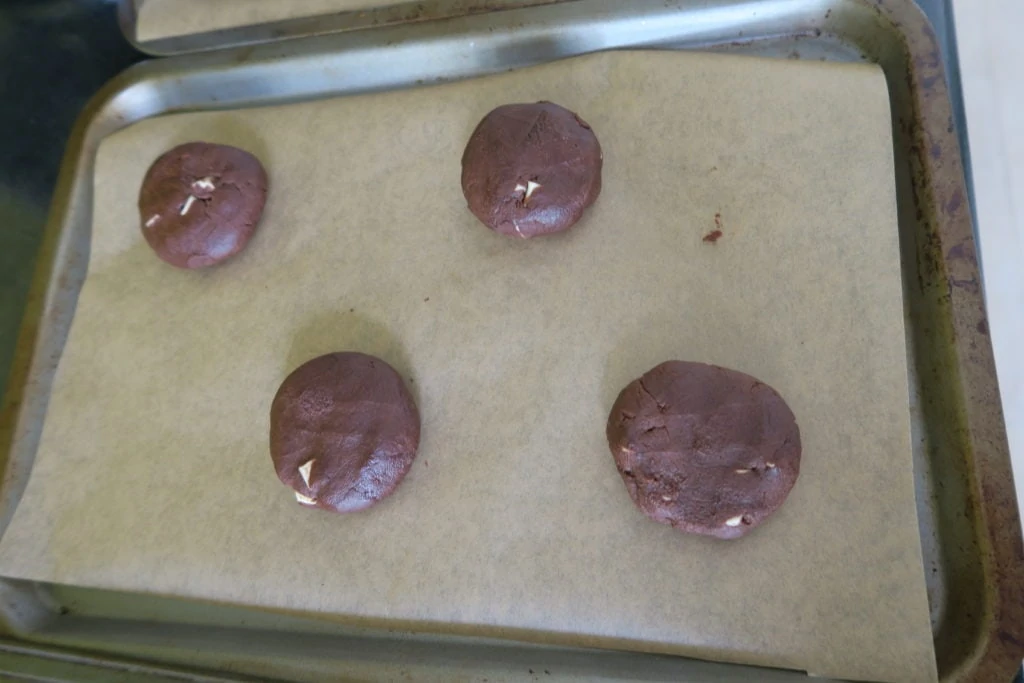
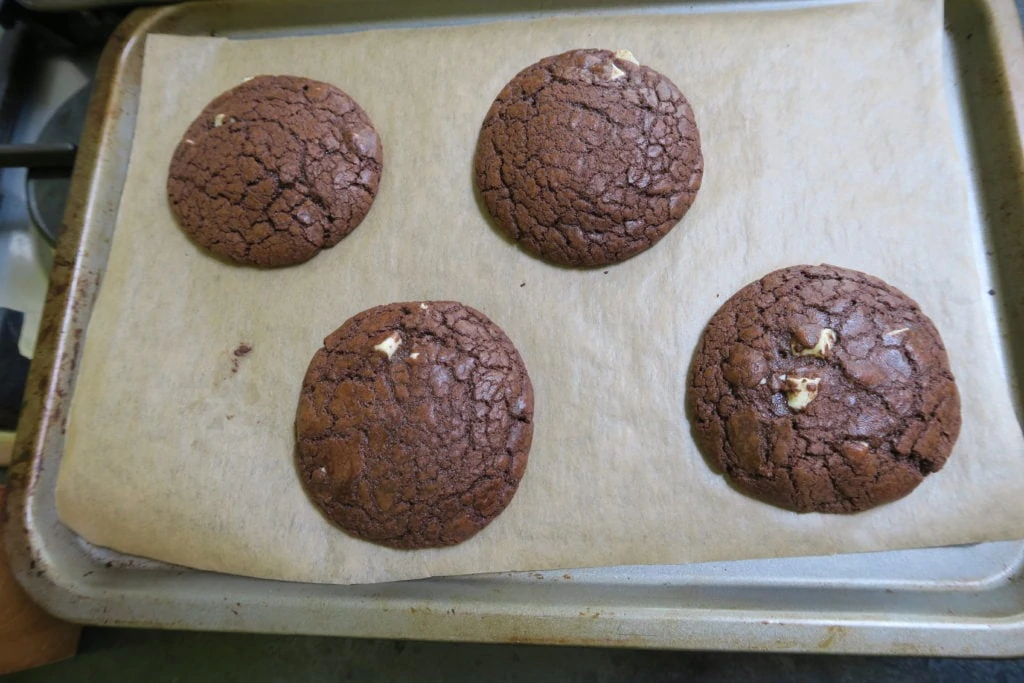
Roll the cookie dough out into balls and flatten them down with your hands, then place them onto a lined baking tray with space in between them. Bake them for 8-12 minutes, I find 10 minutes is the perfect time in my oven.
Can this recipe be made with plain/all purpose flour?
Self raising flour, which is very commonly used in the UK where I am based, already contains a raising agent and a little salt too. Therefore if you want to swap it for plain or all purpose flour, you will need to add some additional baking powder and also a little salt if you like. Some people like to add salt to cookie recipes and some don't, so I'll leave that up to you as it won't affect the bake. The general advice is to add 2 teaspoons baking powder (a measuring teaspoon, not the kind you stir your coffee with) per every 200g plain or all purpose flour. So for this recipe you'd need to add 1 teaspoons baking powder. Please note, I have not tested this recipe using plain or all purpose flour.
Can this recipe be made gluten free?
For gluten free you can replace the plain flour with a gluten free plain flour blend. You may also like to add ¼ tsp Xanthan Gum for better texture.
Can this recipe be made dairy free?
For a dairy free version, use a dairy free baking spread instead of butter for the cookies. You will also need to use dairy free dark and white chocolates.
Can you add anything else to the cookies?
The great thing about this recipe is it's so flexible. You can add milk or dark chocolate chips instead, or even nuts or dried fruit. You could also try M&Ms or Smarties!
How should the cookies be stored and can they be frozen?
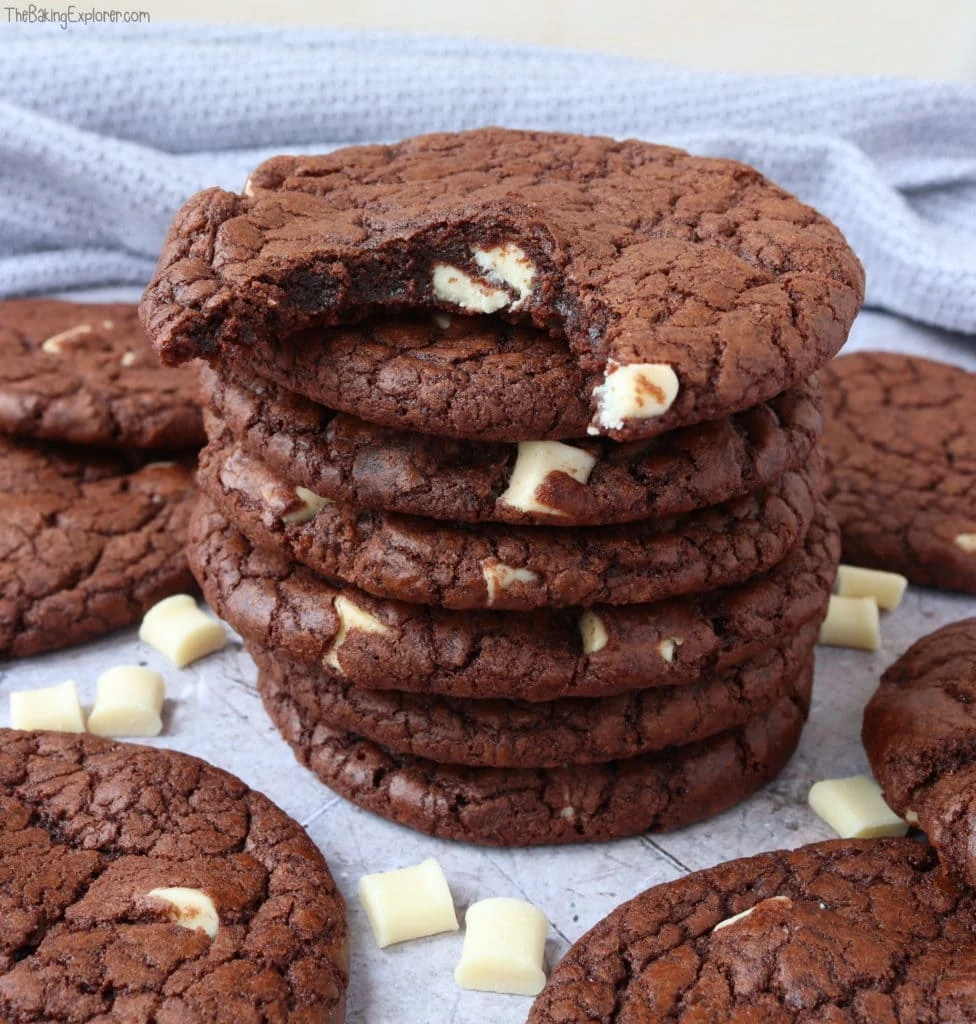
You can keep the balls of unbaked cookie dough in the freezer for up to 3 months, and you can bake them straight from frozen whenever you fancy a fresh cookie. The baked cookies will last for 3-4 days in an airtight container in a cool place. You can freeze the baked cookies too, wrap them well or store in a freezer bag for up to 3 months. Put a square of baking paper between each one to stop them from sticking together.
Do you need any electric mixer to make this recipe?
No, while an electric mixer is helpful in making these cookies, you don't need one to make them. You can absolutely make the cookies by hand with a wooden spoon. If you have an electric stand mixer, then you can use the paddle attachment to make these cookies.
More tips for making the Double Chocolate Cookies:
- Make sure to leave space between the balls of cookie dough on the baking trays as they will spread when baking, about 2" should ensure they don't stick together. If you make bigger cookies, you will need to leave more space.
- Let the cookies cool on the baking tray for at least 5 minutes (nearer to 10 minutes is ideal) before trying to move them onto a cooling rack. Otherwise they will be too soft and will break or stick to the baking paper.
- For perfectly round cookies, as soon as they come out of the oven get a round cookie cutter that is larger than the cookies and put it around each cookie. Move it in a circular motion, pressing against the sides of the cookies gently to adjust any irregularities. This is called "scooting".
Troubleshooting
If you have any questions about this recipe, or if something went wrong and you need help, please use the comment form below and I will get back to you. You can also get in touch with me on my Twitter, Instagram or Facebook. I'd love to hear from you!
Recommended equipment & ingredients*
*I earn a small amount of money if you buy the products after clicking on the links. You will not be charged anything extra for this. Thank you for supporting The Baking Explorer!
Double Chocolate Cookies
Ingredients
- 150 g Dark chocolate melted
- 175 g Light brown soft sugar
- 75 g Butter softened
- 1 Egg large
- 1 tsp Vanilla extract
- 100 g Self raising flour see notes
- 25 g Cocoa powder
- 150 g White chocolate chips
Instructions
- Pre-heat your oven to 160C Fan/180C/350F/Gas 4, and line a couple of baking trays (or however many you own) with baking paper
- Melt the dark chocolate in a glass bowl over a pan of shallow water on a very low heat. Make sure the water does not touch the bowl. Or you can melt it in the microwave, start with a 30 second blast then continue with 10 second blasts, stirring in between, until it's fully melted
- In a bowl mix together the light brown sugar and butter
- Add the egg and vanilla extract and mix well
- Add the self raising flour and cocoa powder and mix in
- Then pour in the melted dark chocolate and mix well
- Add the chocolate chips. then cover the bowl and chill the mixture for 15 minutes in the fridge
- Scoop the mixture out with a spoon or your hands and roll each piece into a ball and flatten it down a little with your hands. Place onto the lined baking trays. Leave space in between them as they will expand when baking
- Bake for 8-12 minutes. The timing will depend on your oven, so aim for 10 minutes, then adjust as needed. They will come out of the oven very soft and will seem unbaked, but then will harden up as they cool
- Leave them on the tray for at least 5 minutes to harden, then move to a cooling rack
- Store in an airtight container and eat within 3 days, they can also be frozen
Notes
- Make sure all your ingredients (particularly the butter and eggs) are at room temperature before you start baking.
- I prefer to use unsalted butter for this recipe, but you can also use a baking spread.
- You can swap out the white chocolate chips for dark chocolate chips or milk chocolate chips if you prefer.
- If you can't get hold of light brown soft sugar, you can use caster sugar instead.
- For the best flavour, use a vanilla extract and not an essence.
- Although I provide cup measurements, I highly recommend weighing your ingredients out using digital kitchen scales*. It is the most accurate way to measure ingredients and will ensure the best results. Digital scales are very low cost and can be purchased for around £12 ($16.50) .
- For teaspoon (tsp) and tablespoon (tbsp) measurements, please use measuring spoons* and not the type of spoons you eat with. Again this will ensure accuracy and provide the best results.
- If you want to make this recipe with plain or all purpose flour, you will need to add 1 tsp baking powder.

Camilla Hawkins
Ooh yum your cookies look totally lush:-)
Anonymous
I made this recipe, along with many other recipe on your blog, and it was so simple to make thanks to your useful guideline and pictures and was so delicious!! Thank you for sharing! Look forward to trying more recipes
Alison
I’m not a great baker but these were so easy to make. Loved making them with my daughter and we’re already planning to make the Reeses peices cookies next week - yum!
thebakingexplorer
I'm so glad you had fun making these with your daughter and found them easy to make 🙂
Jodie Jameson
Such an easy to follow recipe making the most delicious cookies ever!! Shared with my boyfriend and he said they were better than our favourite ones from the supermarket! Thank you for sharing 🙂
thebakingexplorer
I'm so happy to hear this Jodie! Thanks so much for letting me know 🙂
Paula
I have made several recipes from your blog, all taste amazing very popular with friends and family
thebakingexplorer
Thank you Paula!
Priya
Wow so delicious! super easy and no hard to find ingredients. They were gone so quick!! Thanks for the recipe!
Jill
Delicious cookies! Another easy to follow recipe (never had a Baking Explorer recipe go wrong) and they turned out perfectly. I added crispy M&Ms as well as white chocolate chips.
Charlene
Can you freeze this mixture and if so when you get it out do you bake straight from frozen?
thebakingexplorer
Hi Charlene, I've never frozen it unbaked myself, but I think it would be fine to freeze. I think it would also be ok to bake from frozen, but as I've never done it I can't give you any baking times. I usually bake a big batch of the cookies, then freeze them baked. When I defrost them I use the microwave to make them gooey again 🙂
mallo
haven't made them yet but do you melt the butter?
thebakingexplorer
Hi, no you don't melt the butter. I hope you enjoy the cookies!
Dawn40
Delicious and made by my 13 year old grandson. So tasty. Thank you.