
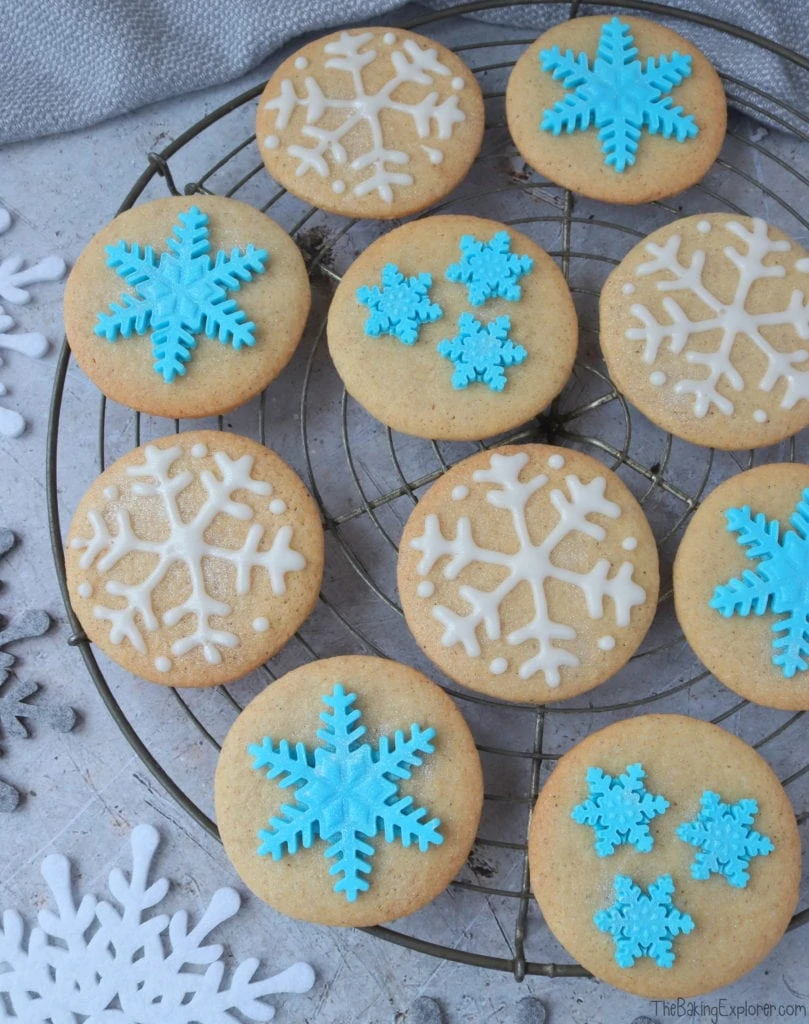
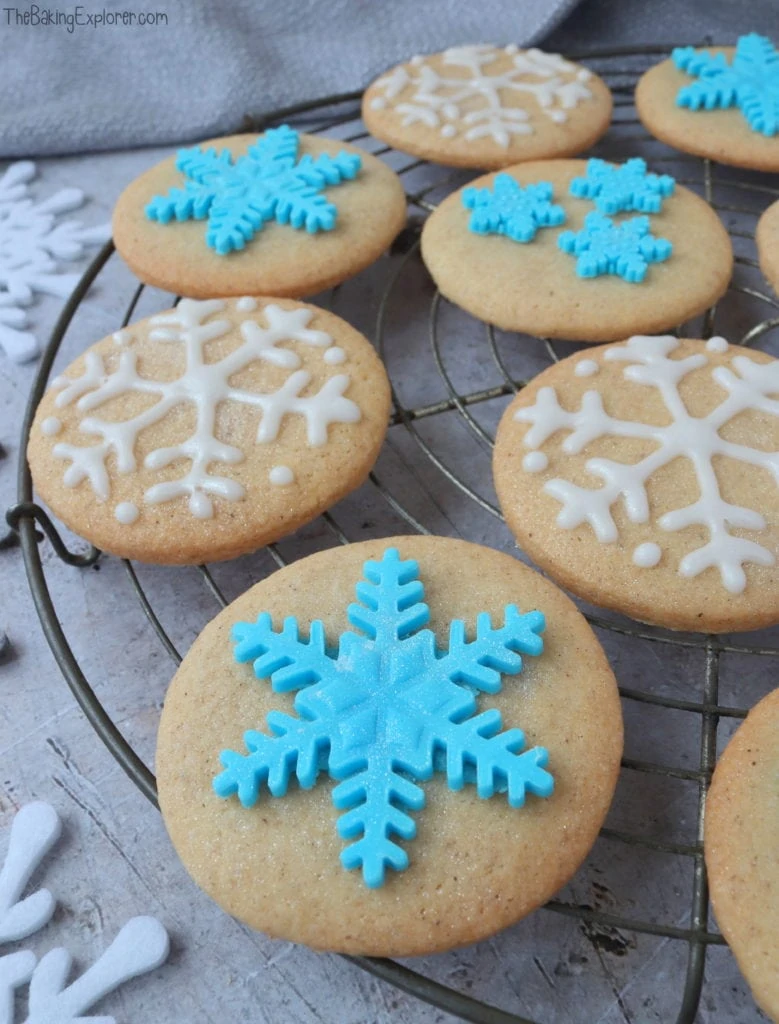
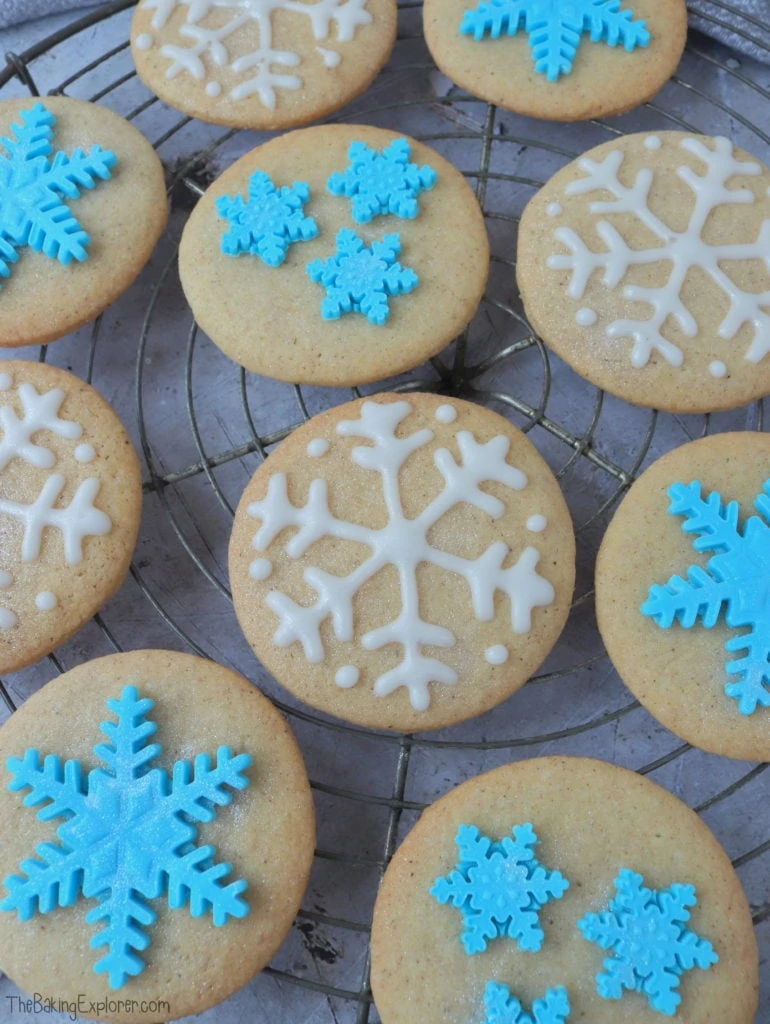
When was contacted by both Save the Children and The Biscuiteers about Christmas Jumper Day I was inspired to not only get my Christmas jumper on, but also to make these gorgeous Snowflake Biscuits! They are made from a basic biscuit recipe that I've added cinnamon to for festive flavour. I've decorated them with both regular icing sugar mixed with water, and fondant. They are such pretty biscuits and would make lovely edible gifts for your family and friends at Christmas, or just a nice treat to enjoy together!
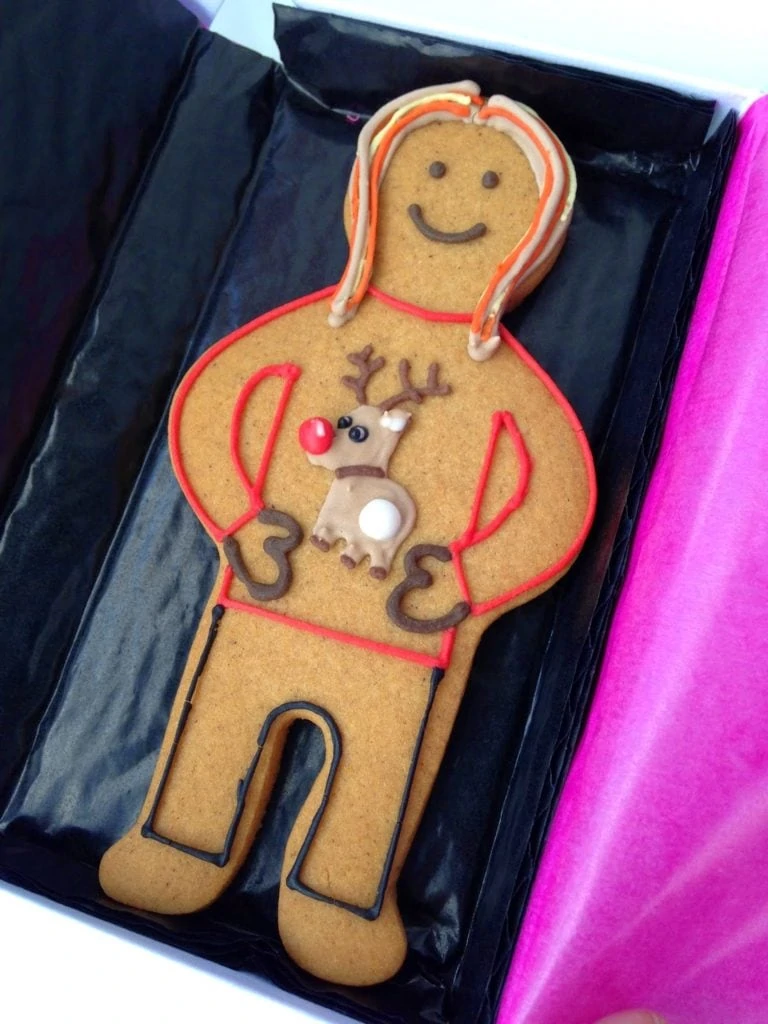
Here's me in my Christmas jumper! And the biscuit likeness sent to me by The Biscuiteers, isn't it fantastic?! Their speciality are beautifully iced biscuits that they send out in gorgeous tins.

Ingredient Tips & Equipment Information
- Make sure all your ingredients (particularly the butter and egg) are at room temperature before you start baking.
- I prefer to use unsalted butter for this recipe, but you can also use a baking spread.
- You can decorate the biscuits anyway you like - snowflakes are unique after all! Or add some silver edible glitter spray for extra sparkle.
- Although I provide cup measurements, I highly recommend weighing your ingredients out using digital kitchen scales*. It is the most accurate way to measure ingredients and will ensure the best results. Digital scales are very low cost and can be purchased for around £12 ($16.50) .
- For teaspoon (tsp) and tablespoon (tbsp) measurements, please use measuring spoons* and not the type of spoons you eat with. Again this will ensure accuracy and provide the best results.
For the full recipe with measurements, head to the recipe card at the end of this post.
How to make Snowflake Biscuits
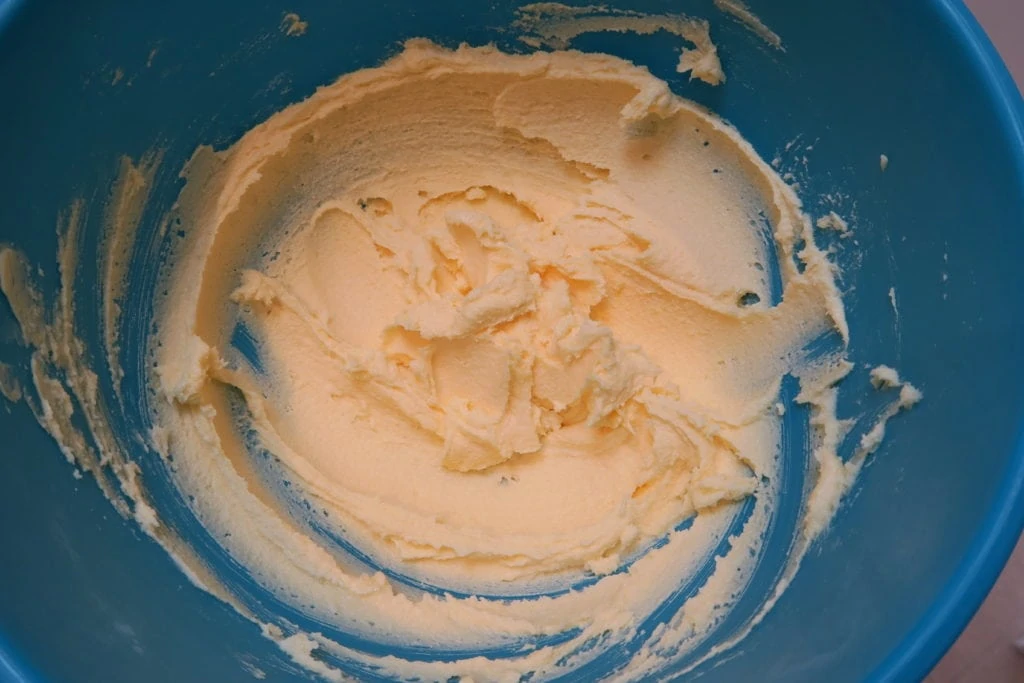
To make the dough, mix together butter and caster sugar. Then add egg and vanilla extract, and mix well.
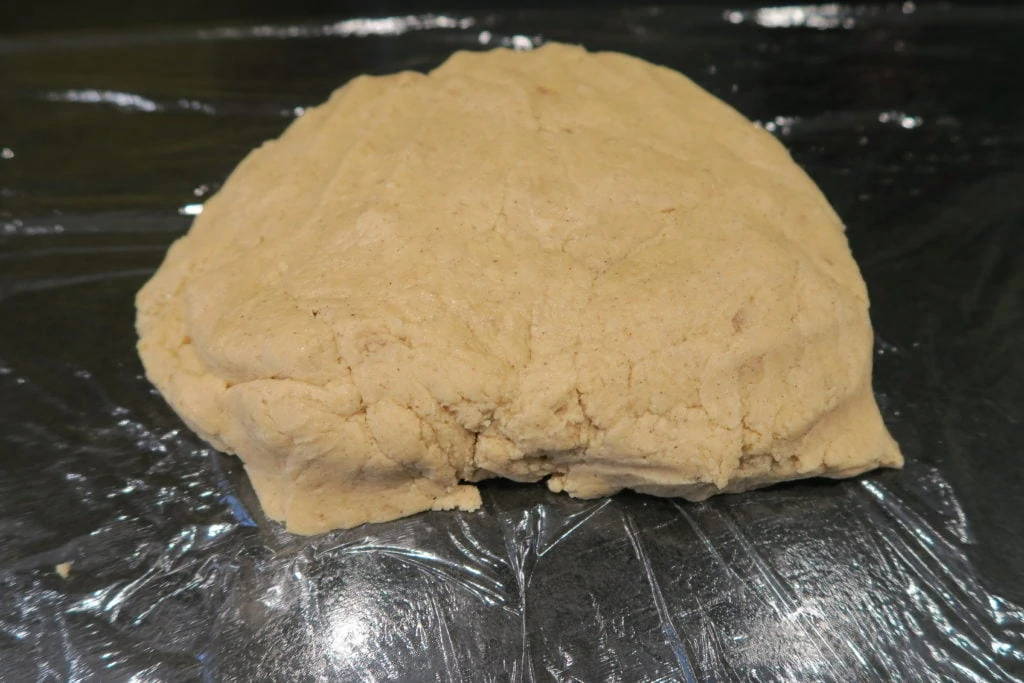
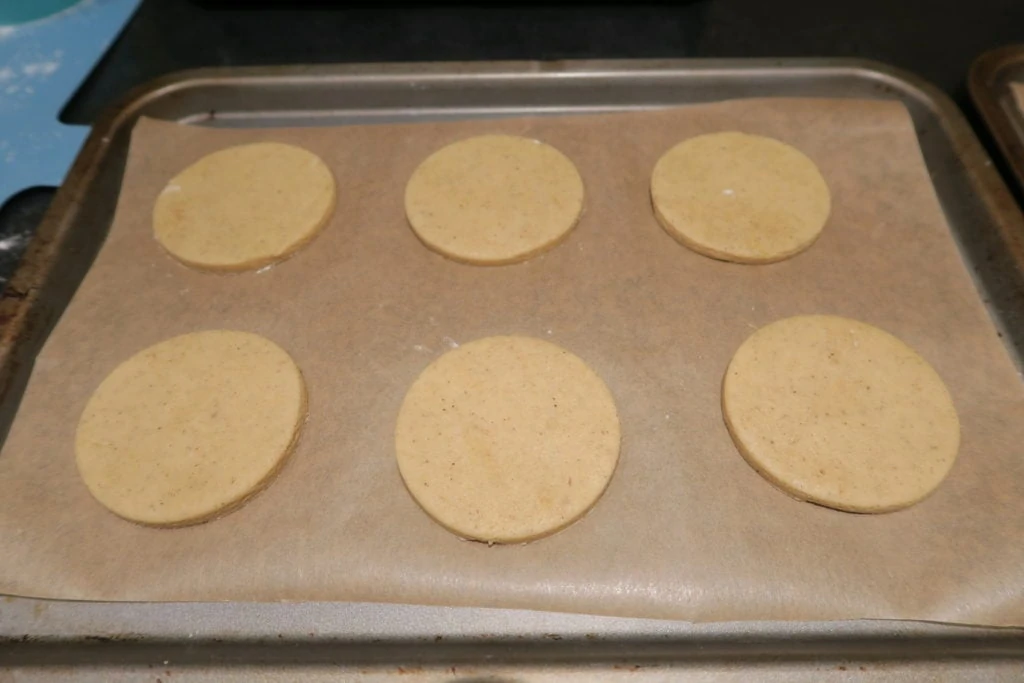

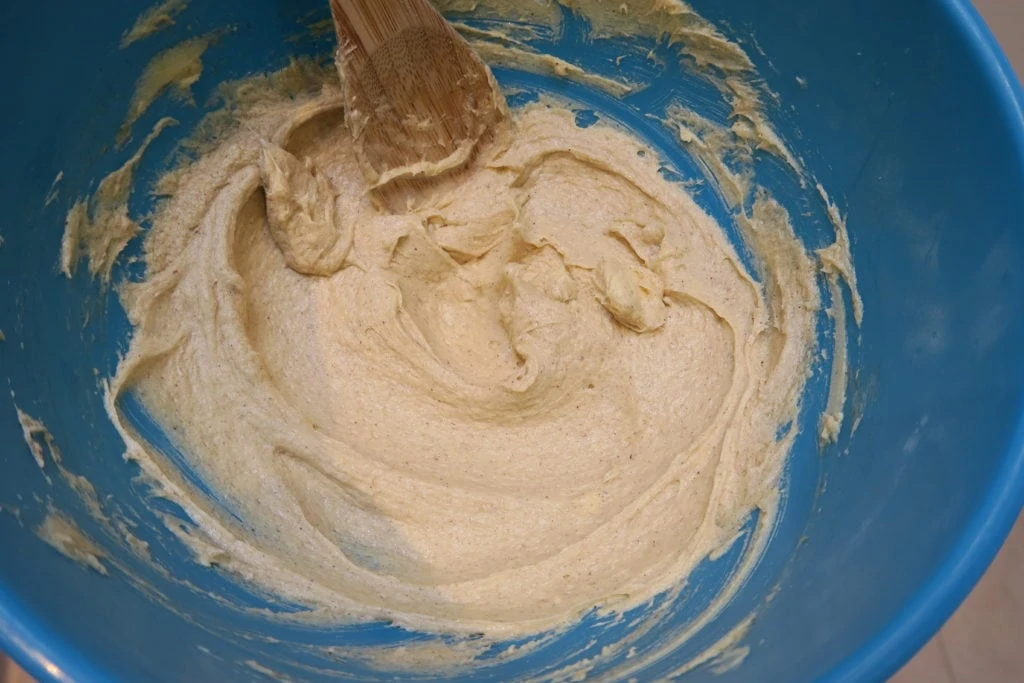
Next add plain flour, baking powder and cinnamon, and mix to form a dough. Wrap it in cling film and chill in the fridge for 1 hour. Roll out the dough onto a floured surface and cut out rounds. Place onto lined baking trays and bake for 10 minutes, until they are just going golden at the edges. Leave to cool completely. Cut out some snowflake shapes from light blue fondant and/or make a thick pipeable icing from icing sugar and water to decorate the Snowflake Biscuits.
How should the biscuits be stored and can they be frozen?
You can keep the unbaked biscuit dough in the freezer for up to 3 months. The baked biscuits will last for 3-4 days in an airtight container in a cool place. You can freeze the baked biscuits, wrap them well or store in a freezer bag for up to 3 months. Put a square of baking paper between each one to stop them from sticking together.
Can this recipe be made gluten free?
For gluten free you can replace the plain flour with a gluten free plain flour blend. You may also like to add ¼ tsp Xanthan Gum for better texture. Please check the labels of everything you use if you are serving these biscuits to someone with an allergy or intolerance.
Troubleshooting
If you have any questions about this recipe, or if something went wrong and you need help, please use the comment form below and I will get back to you. You can also get in touch with me on my Twitter, Instagram or Facebook. I'd love to hear from you!
Recommended equipment & ingredients*
- Mixing bowls
- Baking trays
- Cooling rack
- Kitchen scales
- Stand mixer
- Round cutters
- Rolling pin
- Light blue fondant
- Snowflake fondant cutters
- Edible glitter spray
*I earn a small amount of money if you buy the products after clicking on the links. You will not be charged anything extra for this. Thank you for supporting The Baking Explorer!
Snowflake Biscuits
Ingredients
For the biscuits
- 230 g Butter or baking spread softened, unsalted
- 225 g Caster sugar
- 1 Egg
- 1 tsp Vanilla extract
- 2 tsp Cinnamon
- 385 g Plain flour
- ½ tbsp Baking Powder
For the decoration
- Icing sugar optional
- Edible glue optional
- Sprinkles/glitter optional
- Blue fondant optional
Instructions
- To make the dough cream together the butter and caster sugar. Add the egg and vanilla extract and mix well
- Add the plain flour, cinnamon and baking powder and mix to form a dough. Wrap it in cling film and chill it in the fridge for 1 hour
- Pre-heat your oven to 160C Fan/180C/350F/Gas Mark 4, line your baking tray(s) with baking paper
- Roll the dough out onto baking paper, and cut out using a 2.5" round biscuit cutter (or snowflake shaped cutters if you prefer)
- Bake them for 8 - 10 minutes, until they are just going golden at the edges. Leave to cool completely
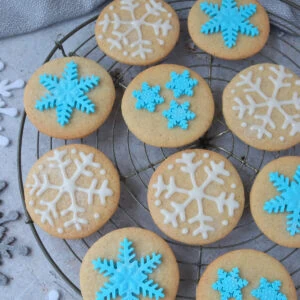
- Decorate however you like. I made a thick icing from icing sugar and water and piped snowflake patterns on some of the biscuits. For the others, I cut out snowflake shapes from blue fondant and stuck them onto the biscuits with edible glue. I also sprayed on some edible silver glitter
- Store in an airtight container and eat within 5 days
Emma | Fork and Good
Love the biscuiteers! Yum! 🙂 These also look fantastic, really pretty and so festive!
Kat BakingExplorer
Thanks Emma!
Stuart Vettese
I have icing envy right now! These look so professional Kat. You need to teach me your icing secrets 🙂
Kat BakingExplorer
Thanks Stuart! A steady hand and taking it slowly is my advice!
Kate Glutenfreealchemist
So pretty!!!
Kat BakingExplorer
Thanks Kate!
Wendy
Can these be frozen with the fondant icing on
thebakingexplorer
Yes they can 🙂
Wendy
Thank you