
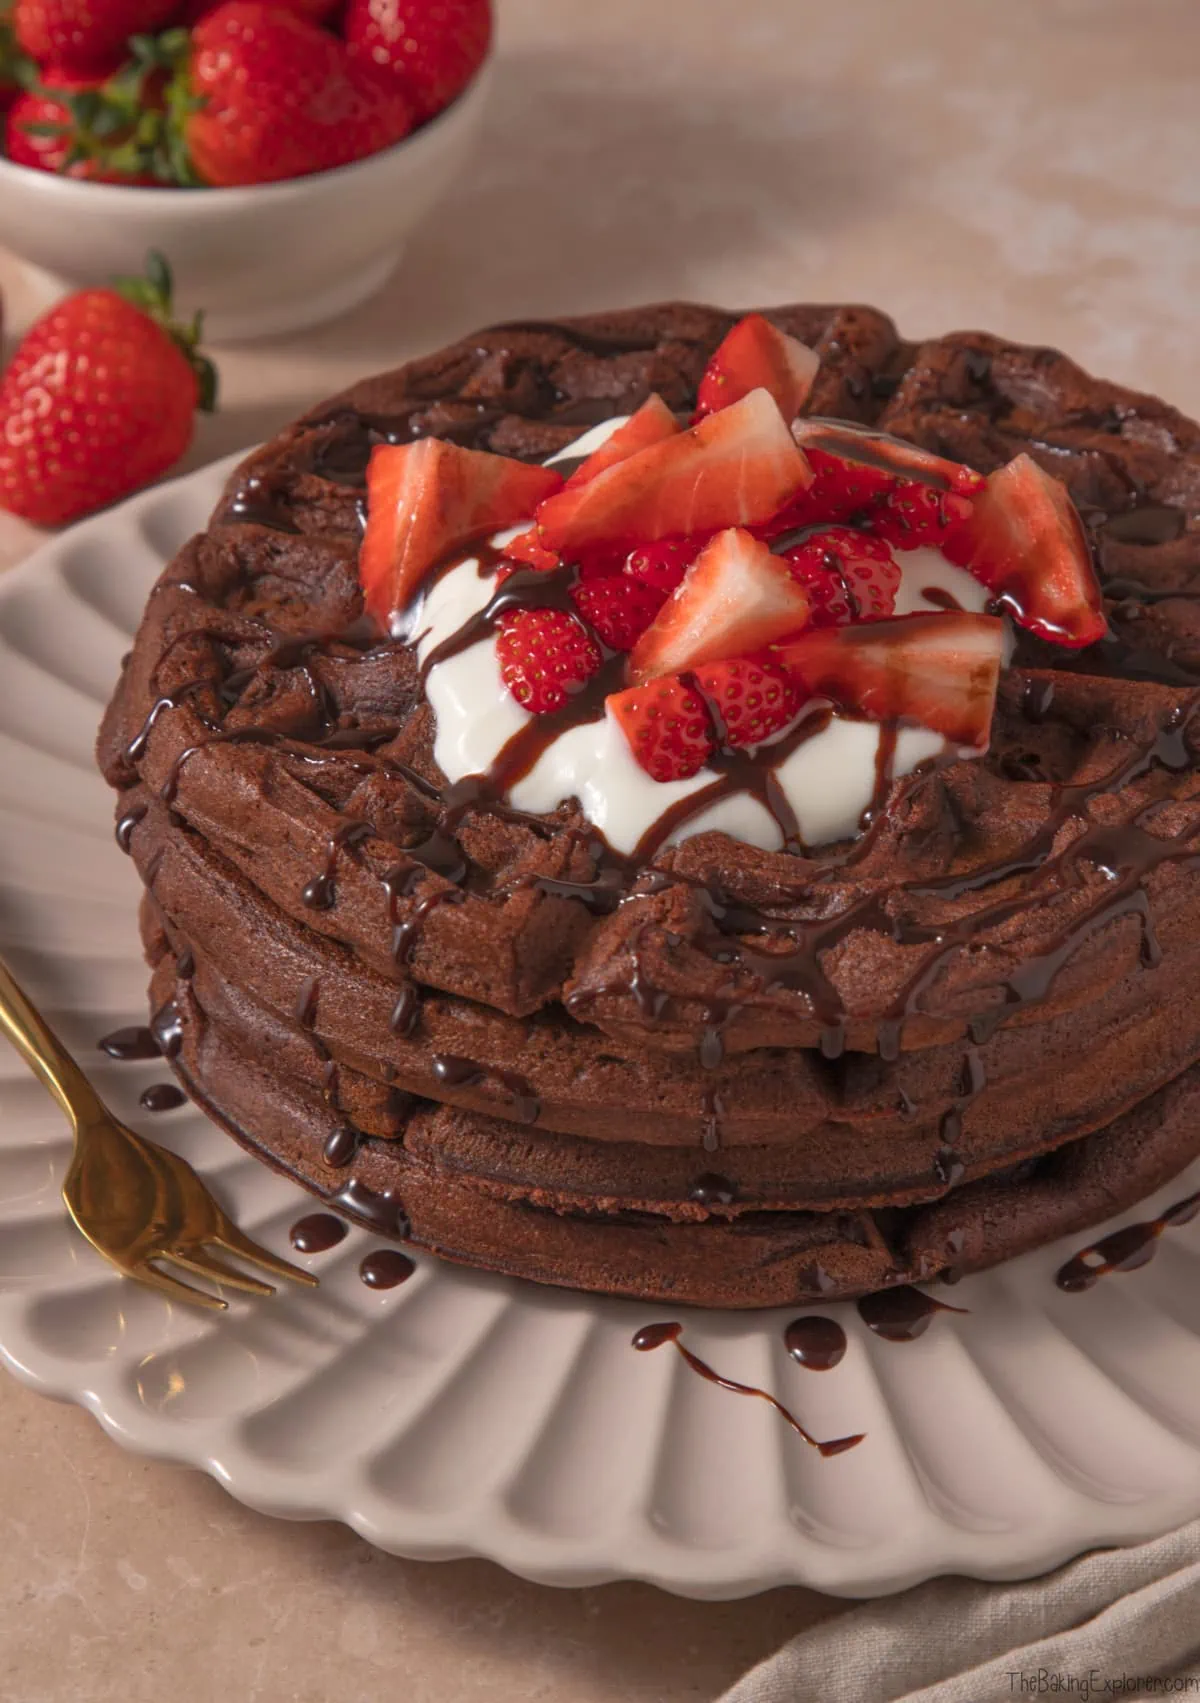
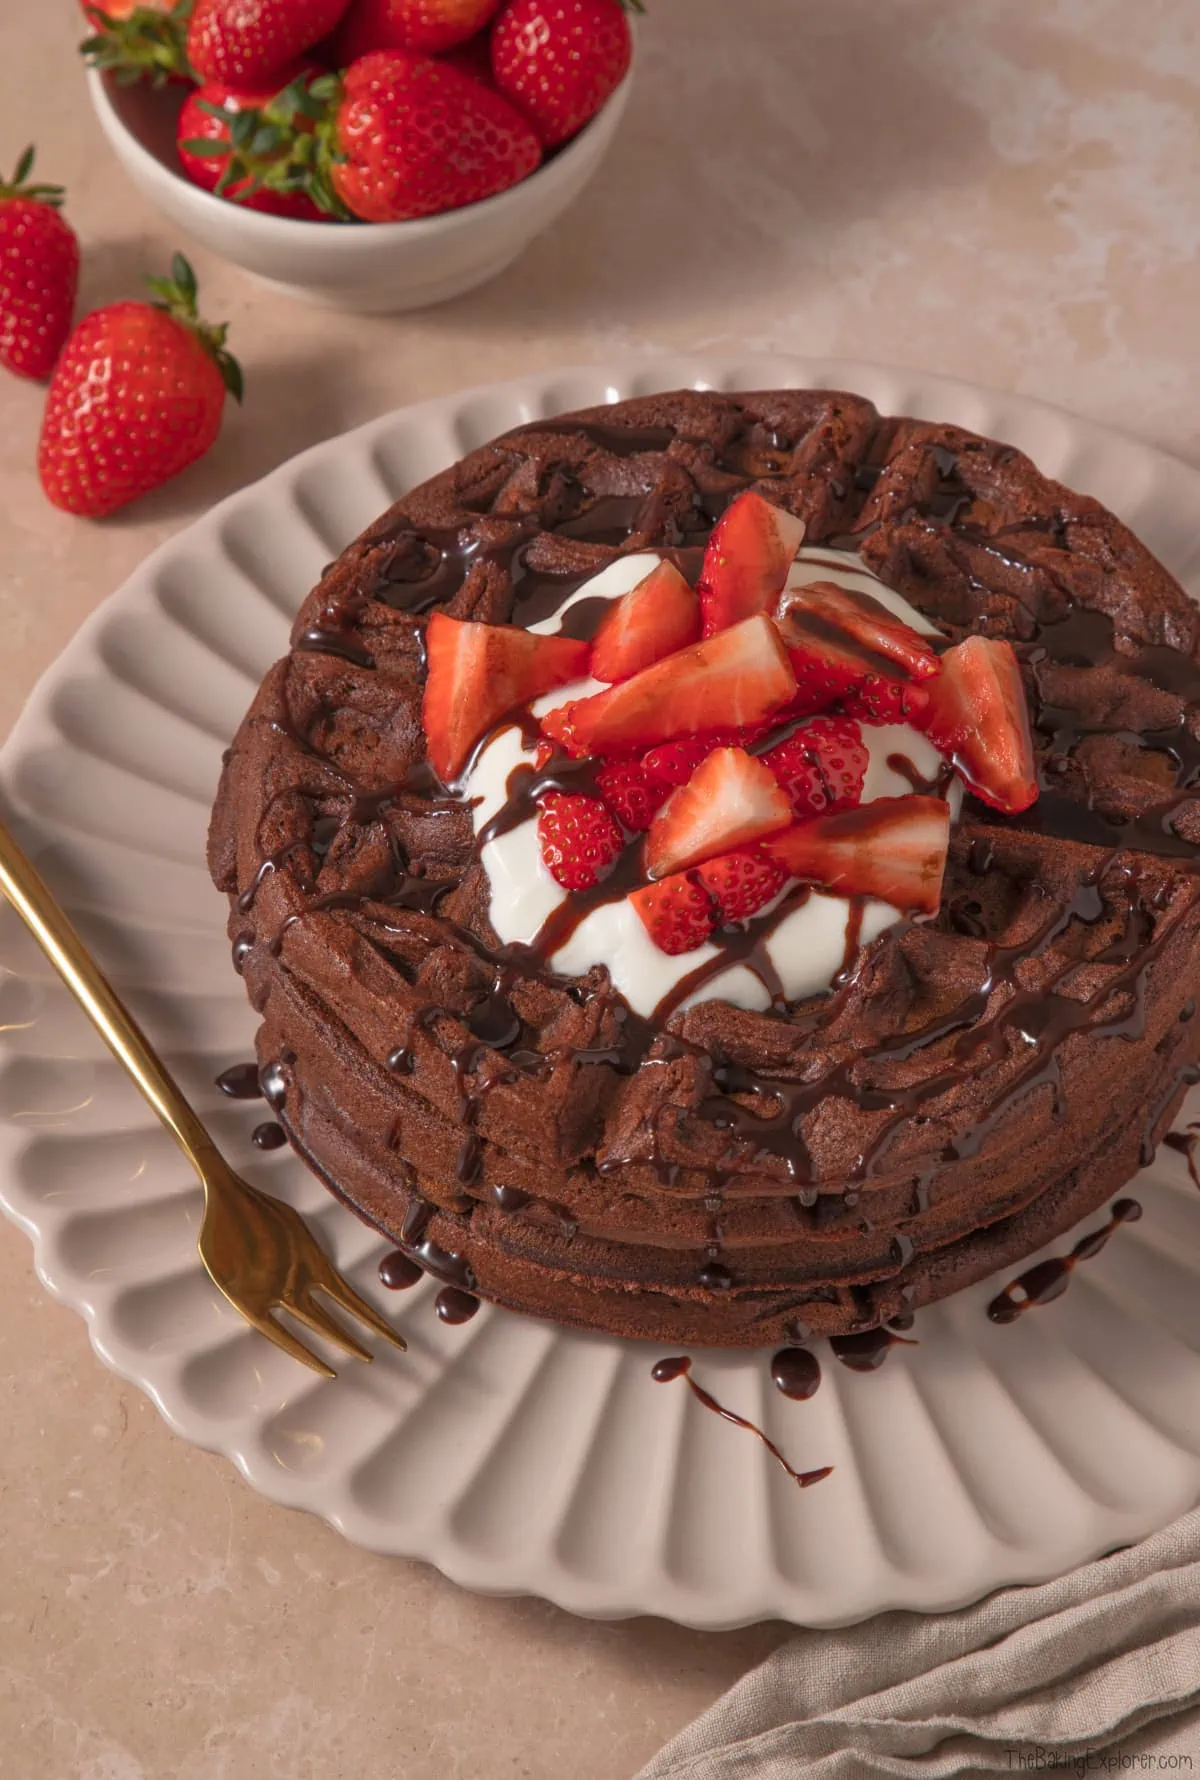
These Chocolate Waffles are a decadent and delicious option for breakfast, brunch or dessert! They are crispy on the outside and fluffy in the middle, with yummy chocolate flavour. You can really get creative with your toppings and customise them however you want, which is great when everyone wants something slightly different!
This post may contain affiliate links. I earn from qualifying purchases.

Ingredient Tips & Equipment Information
- Make sure your ingredients (particularly the eggs) are at room temperature before you start baking. The butter can be cold as you're going to melt it anyway.
- I used unsalted butter for the waffles, my favourite brand is Lurpak but you can use any brand you prefer.
- I used golden caster sugar for this recipe, but you can use regular caster sugar too.
- You can use any kind of milk - whole, semi skimmed or skimmed. You can also use dairy free milk.
- If using the vanilla extract, make sure to use a good quality extract and not an essence for the best flavour.
- Although I provide cup measurements, I highly recommend weighing your ingredients out using digital kitchen scales. It is the most accurate way to measure ingredients and will ensure the best results. Digital scales are very low cost and can be purchased for around £12 ($16.50).
- For teaspoon (tsp) and tablespoon (tbsp) measurements, please use measuring spoons and not the type of spoons you eat with. Again this will ensure accuracy and provide the best results.
For the full recipe with measurements, head to the recipe card at the end of this post.
How to make Chocolate Waffles


In a large mixing bowl, stir together the plain flour, cocoa powder, golden caster sugar, salt and baking powder. In a jug, whisk together the milk, eggs and vanilla extract. Pour the milk mixture into the flour mixture and whisk until a smooth batter forms, then slowly whisk in the melted butter.


Transfer the batter back into the jug and pour some of it into your pre-heated waffle maker. Once the waffle is cooked, transfer to a cooling rack and repeat with the rest of the batter until it's all used up.
For the full recipe with measurements, head to the recipe card at the end of this post.
How long do the waffles last for and can they be frozen?
The waffles are best eaten fresh, shortly after you've made them. However, once they have fully cooled, you can put them in the fridge for 2-3 days or in the freezer for up to 3 months. To reheat I put them in the toaster for 1-2 minutes as it crisps them up again as well as making them nice and warm. For frozen waffles use the defrost setting if your toaster has one, or put them in the fridge overnight to defrost, or on the kitchen counter.
Can the waffles be made dairy free?
Yes! You can use dairy free milk and dairy free spread/butter to make the waffles dairy free. I've not found a way to make this recipe egg free yet, but I will share when I do. Please do check the labels of everything you use if serving to someone with an allergy or intolerance.
Can the waffles be made gluten free?
Yes! To make this recipe gluten free, replace the plain flour with a gluten free plain flour blend. You may also like to add ½ tsp xanthan gum for better texture. Please do check the labels of everything you use if serving to someone with an allergy or intolerance.
What can you serve the waffles with?
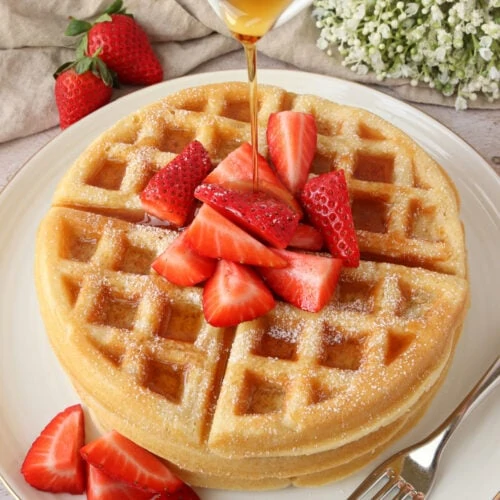
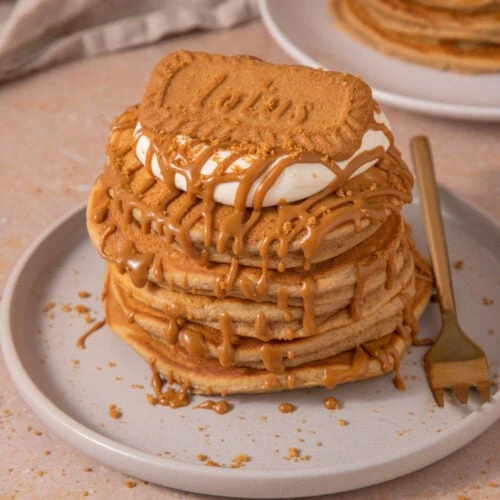
There are so many options, you can really get creative with your toppings, but here are some ideas:
- Sliced bananas, whipped cream and caramel sauce
- Berry compote or jam and creme fraiche
- Fruit and plain yoghurt (a great low sugar option for kids)
- Any kind of sweet spread like Nutella, Biscoff, peanut butter etc.
- Stewed apples with cinnamon or spices of your choice
- A couple of scoops of your favourite ice cream
- Maple syrup and any chopped fruit
More tips for making the Chocolate Waffles:
- The vanilla extract is optional, but I do recommend it as it adds a lovely flavour! Make sure to use a good quality extract and not an essence.
- I've not found that this recipe sticks to my waffle maker, but if this is a concern then you can spray the plates with some spray oil or brush with some melted butter.

Troubleshooting
My number one tip for getting the best results is to read through this whole page of tips and recommendations before starting, and follow the recipe exactly. If you have any questions about this recipe, or if something went wrong and you need help, please use the comment form below and I will get back to you. You can also get in touch with me on my Twitter, Instagram or Facebook. I'd love to hear from you!
Recommended equipment & ingredients
I earn a small amount of money if you buy the products after clicking on the links. You will not be charged anything extra for this. Thank you for supporting The Baking Explorer!

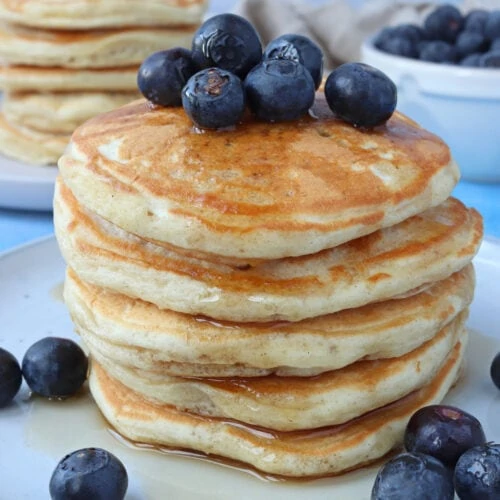
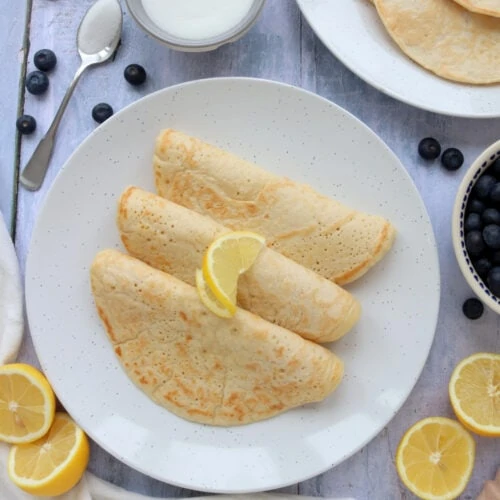
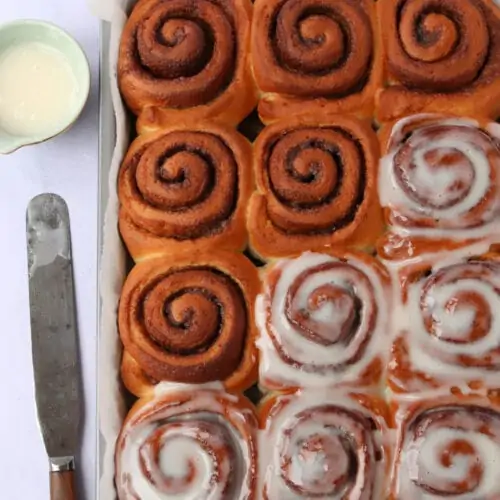
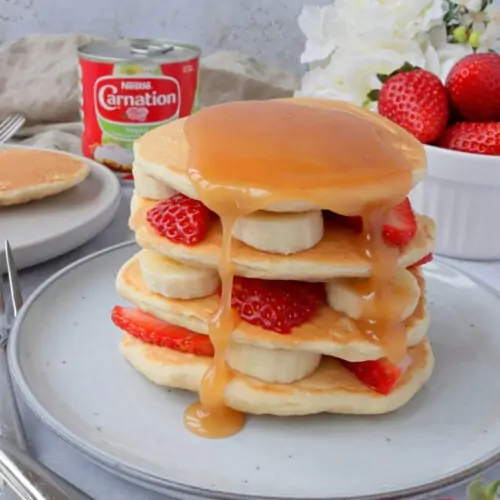
More breakfast and brunch recipes...


Chocolate Waffles
Ingredients
- 255 g Plain flour
- 55 g Cocoa powder
- 2 ½ tsp Baking powder
- 175 g Golden caster sugar or regular caster sugar
- Pinch of salt
- 250 ml Milk any kind
- 1 tsp Vanilla extract
- 2 Eggs large
- 200 g Butter melted
Instructions
- Put the butter into a saucepan and melt it over a low heat, remove from the heat and set aside
- Turn on your waffles maker so it can heat up, I put mine on the max heat setting, but all waffle makers are different
- In a large mixing bowl, add the plain flour, golden caster sugar, cocoa powder, salt and baking powder. Stir them together until well combined
- In another bowl, or a jug, add the milk, eggs and vanilla extract. Gently whisk them together until combined
- Pour the milk mixture into the flour mixture, whisking as you pour, and keep whisking until the batter is smooth
- Then add the melted butter bit by bit, whisking between each addition, until the batter is smooth and shiny
- I prefer to transfer the batter into a jug so I can easily pour it into my waffle maker, but you can also use a spoon to spoon it into the waffle maker as well
- Pour some of the batter into your waffle maker, you want the little squares to be covered but still just about visible through the batter. If you're not sure how much to, it's better to add too little and then increase the amount as you go. If the batter does spill out the sides don't worry, just wipe it away
- Gently close the lid of the waffle maker, do not push it down. The waffles will take around 4-5 minutes, but you can check on them from 3 minutes
- Once the waffle is cooked to your liking, carefully remove it from the waffle maker, I use silicone tongs to do this, and place on a cooling rack
- Repeat until all of the batter is used up
- The waffles will seem soft when you first remove them from the waffle maker, but they will crisp up quickly as they start to cool
- Serve immediately, or allow to cool and store in the fridge or freeze them to enjoy another time
Notes
- Make sure your ingredients (particularly the eggs) are at room temperature before you start baking. The butter can be cold as you're going to melt it anyway.
- I used unsalted butter for the waffles, my favourite brand is Lurpak but you can use any brand you prefer.
- I used golden caster sugar for this recipe, but you can use regular caster sugar too.
- You can use any kind of milk - whole, semi skimmed or skimmed. You can also use dairy free milk.
- If using the vanilla extract, make sure to use a good quality extract and not an essence for the best flavour.
- Although I provide cup measurements, I highly recommend weighing your ingredients out using digital kitchen scales. It is the most accurate way to measure ingredients and will ensure the best results. Digital scales are very low cost and can be purchased for around £12 ($16.50).
- For teaspoon (tsp) and tablespoon (tbsp) measurements, please use measuring spoons and not the type of spoons you eat with. Again this will ensure accuracy and provide the best results.
Leave a review & recipe rating