

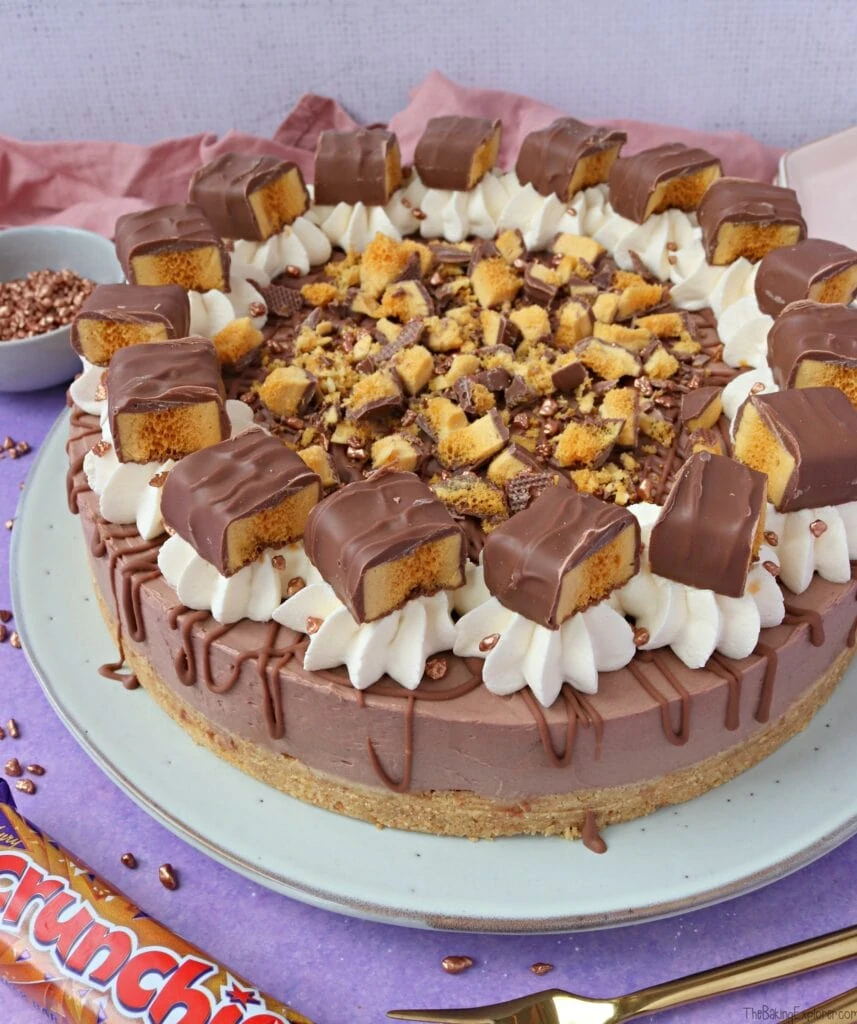
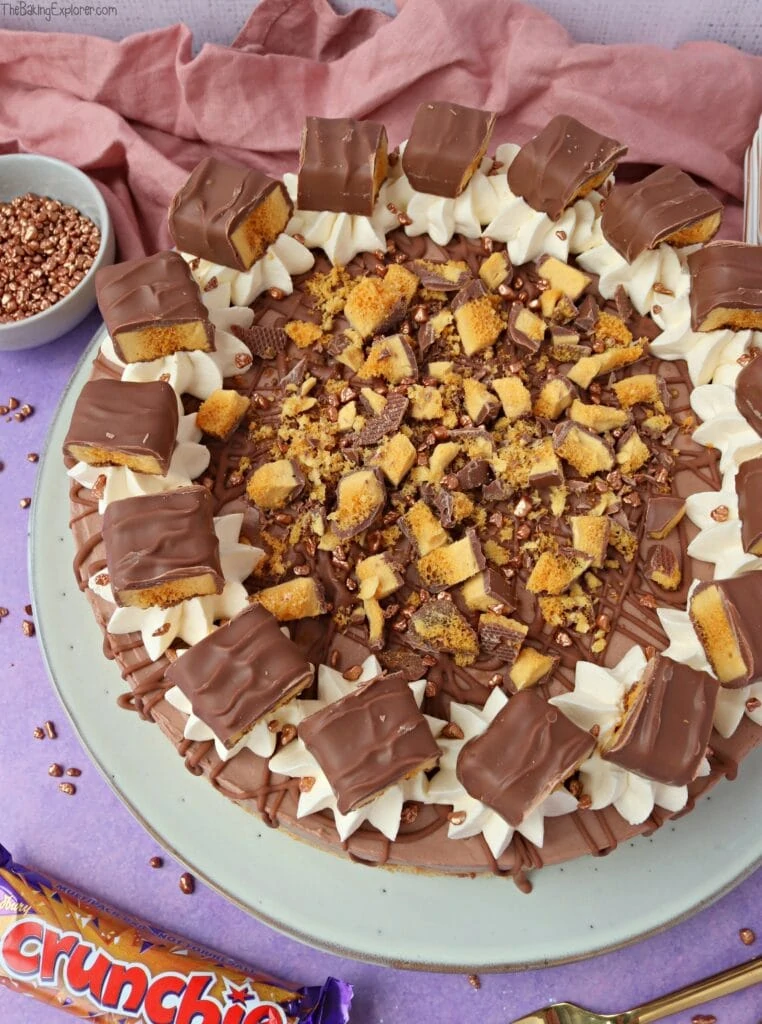
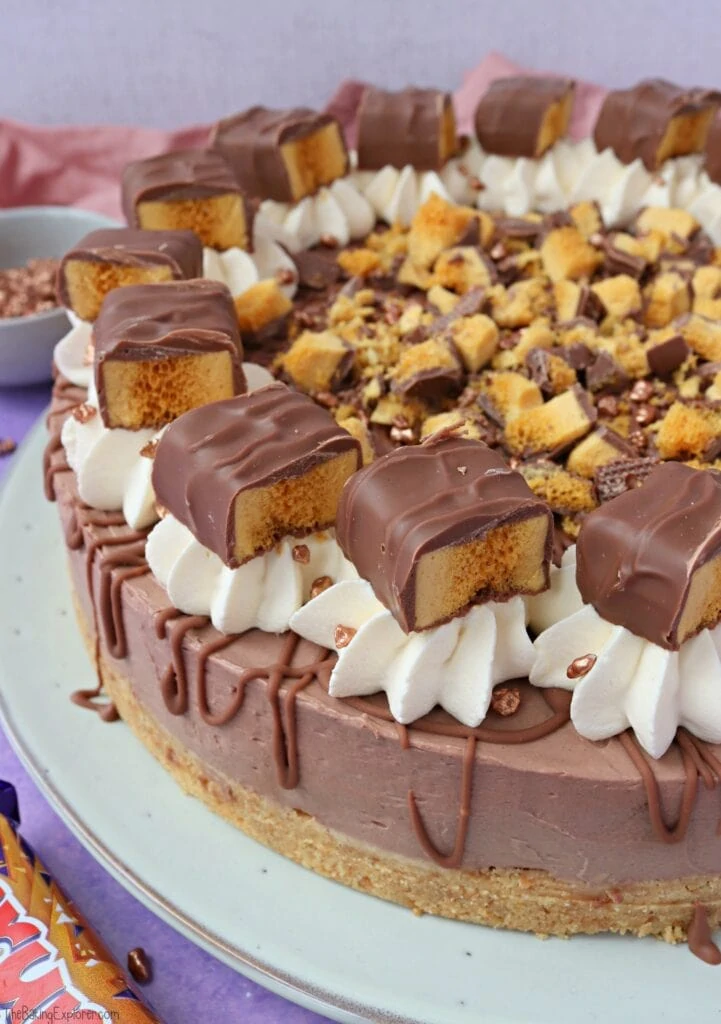
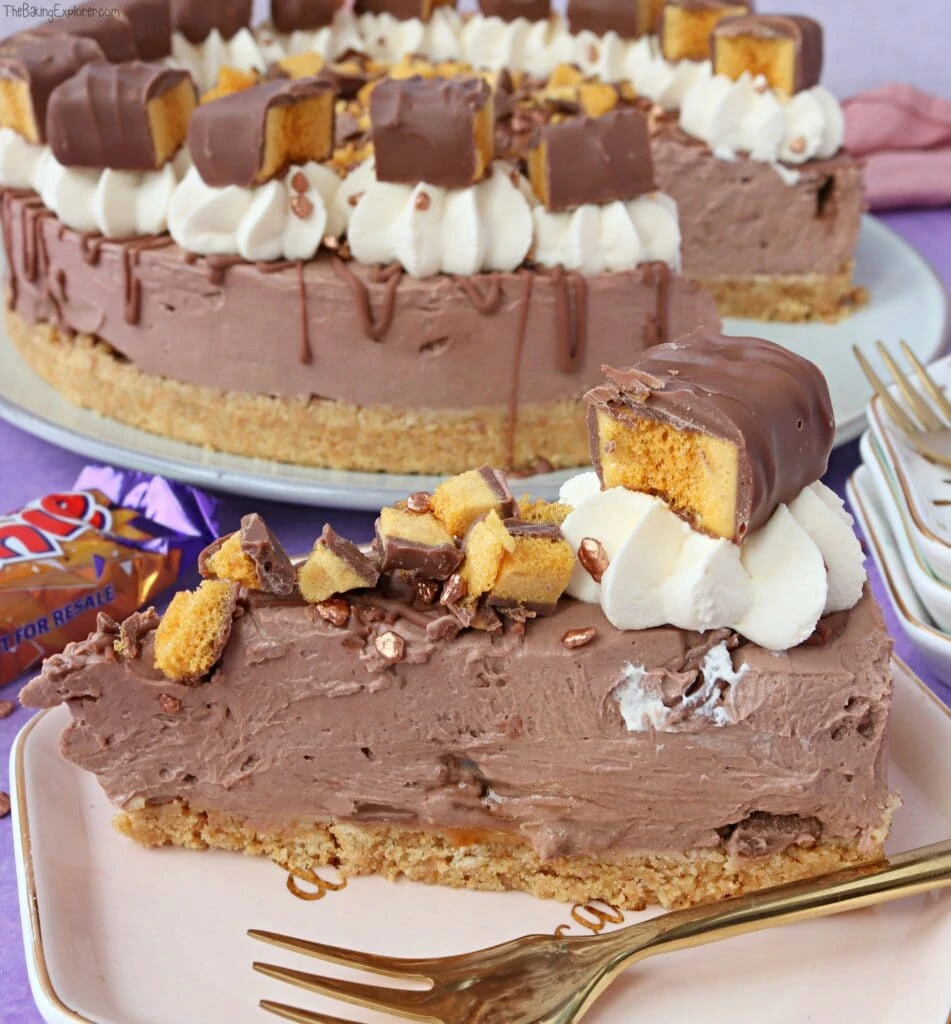
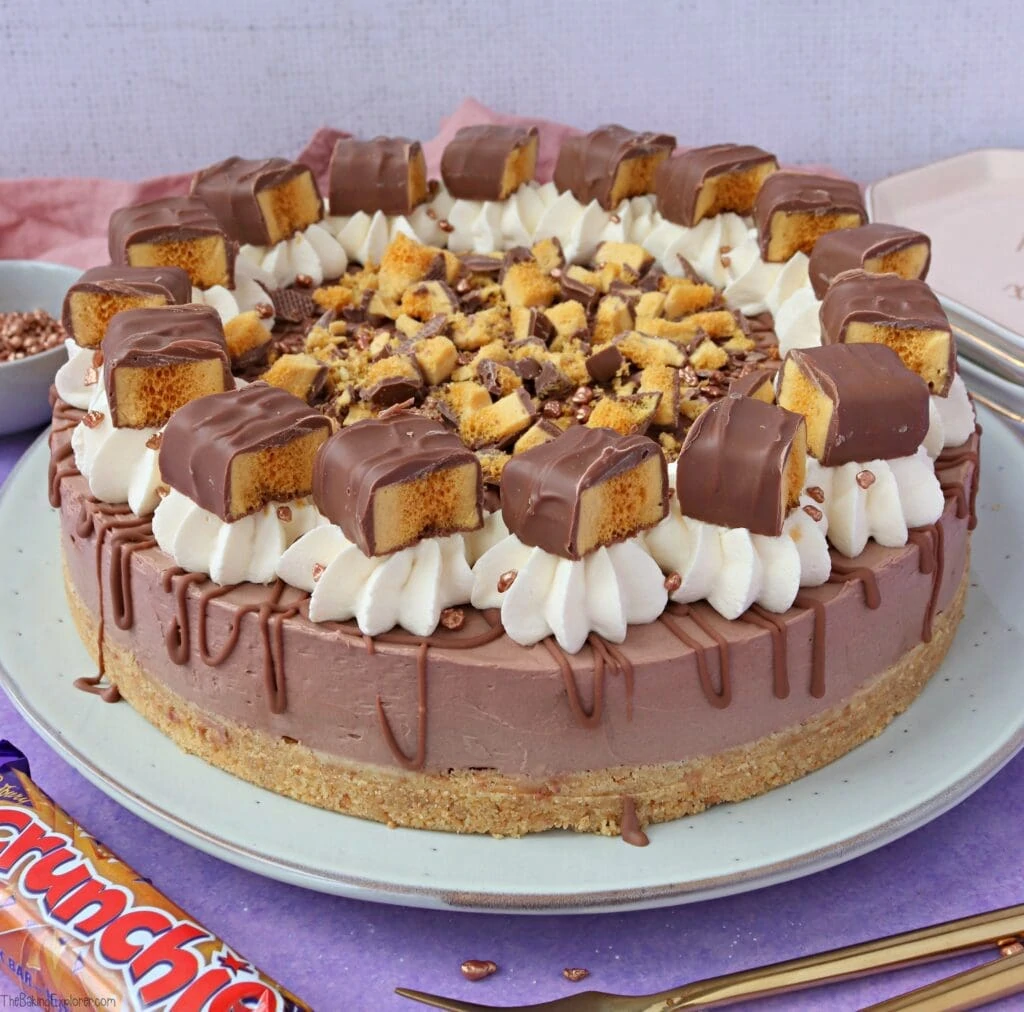
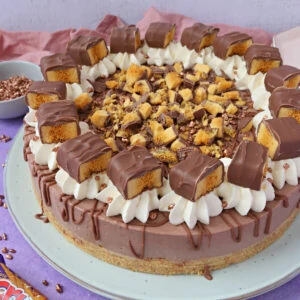
If you're not familiar with a Crunchie bar, it is a very popular chocolate bar in the UK. It's a bar of honeycomb (also known as hokey pokey or cinder toffee) coated in milk chocolate. It's very simple when described, but they are so yummy! I've made this Crunchie Cheesecake in celebration of these tasty chocolate bars. The cheesecake has a buttery biscuit base, a chocolate cheesecake filling with pieces of Crunchie bar mixed in, then it's drizzled with milk chocolate, and decorated with whipped cream and plenty more Crunchie bars! As a big Crunchie fan, I found this cheesecake incredibly tasty!
This post may contain affiliate links. I earn from qualifying purchases.
Ingredient Tips & Equipment Information
- It is really important to stick to the ingredients and use full fat cream cheese and double cream (a cream with a 48% fat content), both of these ingredients are essential to ensure the no bake cheesecake sets. If you want to make a low fat version, I suggest doing this in small dessert glasses or ramekins as they will not set well enough to be sliced.
- I am based in the UK and I find that Philadelphia cream cheese is the thickest and best quality cream cheese to use for no bake cheesecakes. I have made many cheesecakes with supermarket own brand cream cheeses too, and they have worked great. If you can though, I think it is worth spending a little more for Philadelphia (and no they haven't paid me to say this!)
- I like to use digestive biscuits (Graham crackers if you're in the US) for the base, but you could substitute if for another similar biscuit like Hobnobs.
- You can use either butter or baking spread for the biscuit base, I find that baking spread makes the cheesecake easier to remove from the tin as it doesn't make the base set as solidly.
- You can find lots of answers to common no bake cheesecake questions on my How To Make A No Bake Cheesecake guide. If you've never made a no bake cheesecake before, I highly recommend reading through my guide first!
- Although I provide cup measurements, I highly recommend weighing your ingredients out using digital kitchen scales. It is the most accurate way to measure ingredients and will ensure the best results. Digital scales are very low cost and can be purchased for around £12 ($16.50) .
- For teaspoon (tsp) and tablespoon (tbsp) measurements, please use measuring spoons and not the type of spoons you eat with. Again this will ensure accuracy and provide the best results.
For the full recipe with measurements, head to the recipe card at the end of this post.
How to make Crunchie Cheesecake
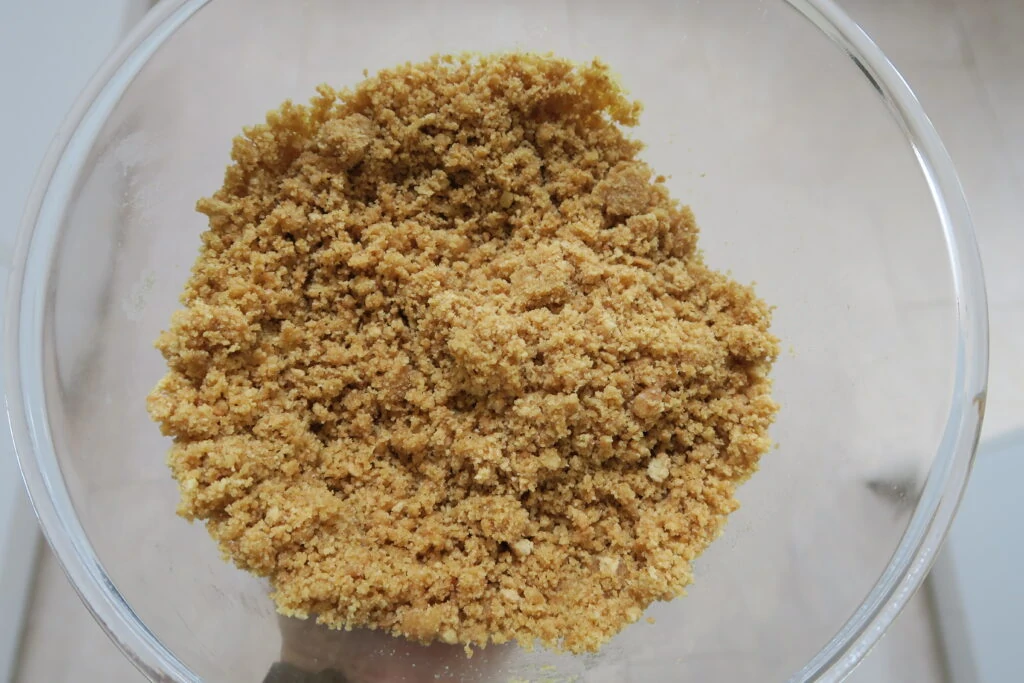
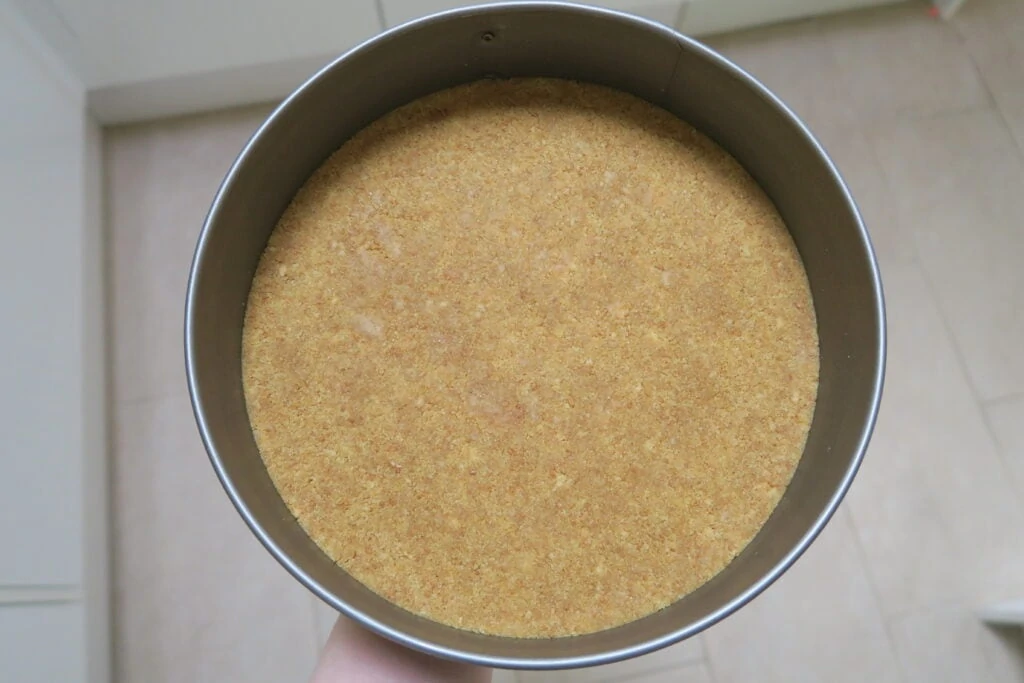
For the biscuit base, use a food processor to whizz the biscuits into crumbs, then stir in melted butter. Press the mixture into the bottom of a springform tin and put it in the fridge while you make the filling.
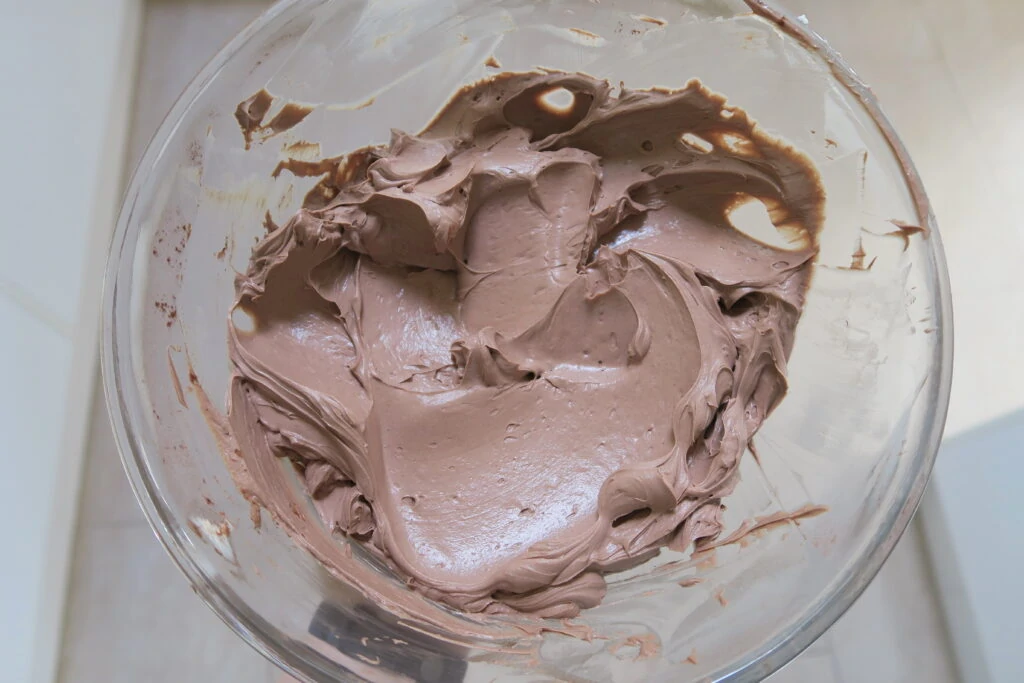
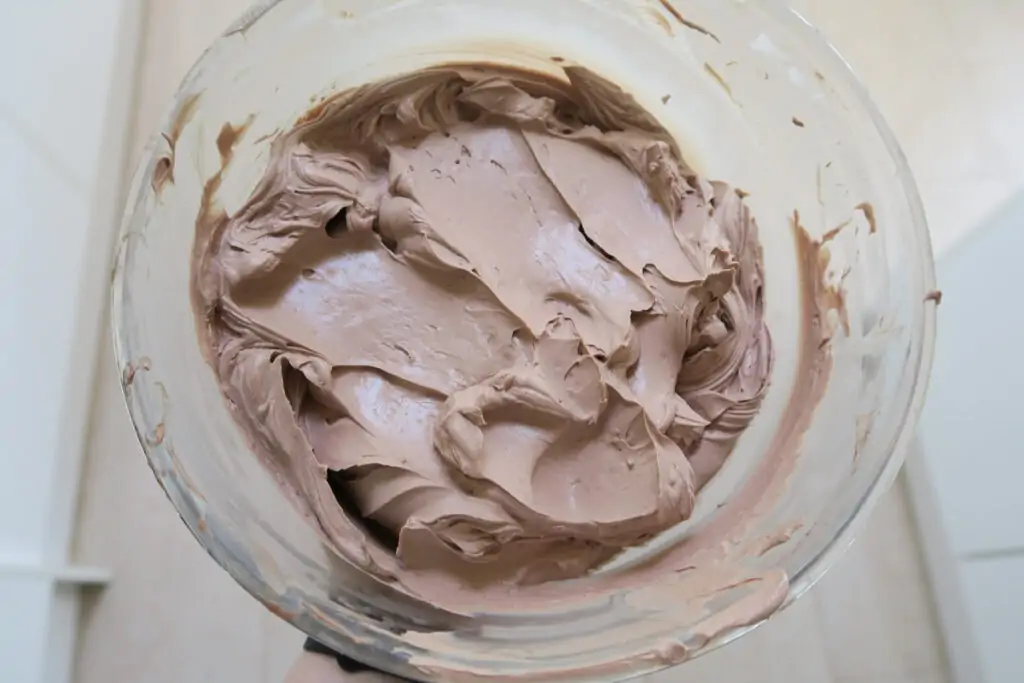
To make the cheesecake filling, use an electric mixer to mix together the cream cheese, icing sugar and cocoa powder until smooth. Add double cream and whisk until thick. Finally, fold in the broken up Crunchie bars.
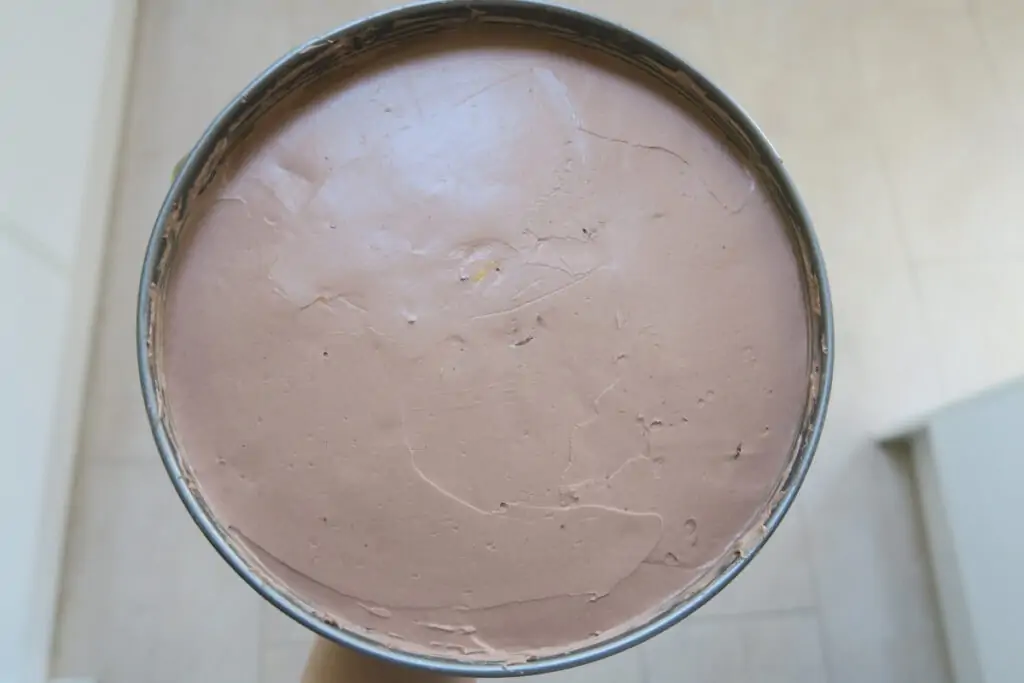

Smooth the mixture into the tin on top of the biscuit base, put it in the fridge to set for 4 hours or overnight. Once it is set, remove it from the tin, drizzle over melted milk chocolate, and add whipped cream and Crunchie bar pieces to decorate.
For the full recipe with measurements, head to the recipe card at the end of this post.
How do you make sure the cheesecake sets?
When you’re mixing the filling, you want it to get to a stage where you can scoop some up with your spatula or spoon and you have to give it a tap on the side of the bowl or slight flick of the wrist to get the mixture off the spoon. If it’s sloppy and slides right off the spoon without any encouragement needed, then you need to mix it more. Always use an electric mixer for best results. It’s also very important to use full fat cream cheese and double cream (heavy cream), as any low fat versions will affect the setting of the cheesecake. I always set my cheesecake overnight in the fridge, I’d suggest a minimum of 4 hours.
How long does the cheesecake last and can it be frozen?
The cheesecake should be stored in the fridge and will last for 3-4 days. You can freeze the undecorated cheesecake, however you do need to let it set in the fridge first. Setting it in the freezer will affect the texture and it won't be as nice. Once it's set in the fridge, you can remove it from the tin and put the cheesecake in a box or tupperware. You could also slice it up, and freeze in portions. Then you can easily defrost a few slices at a time depending on when you'd like some cheesecake!
How do you remove a no bake cheesecake from the tin?
To see step by step photos and a video showing you how to remove a no bake cheesecake from the tin, as well as the answers to lots of other common no bake cheesecake questions, check out my How to make a No Bake Cheesecake guide!
Can this cheesecake be made gluten free?
Yes! To make this recipe gluten free, swap the biscuits in the biscuit base for gluten free biscuits. I would also recommend that you check the packaging of everything you're using in the recipe in case of cross contamination. And especially if you're serving this to someone with an allergy or intolerance.
More tips for making the Crunchie Cheesecake:
- The Crunchies will go slightly soft after a short while once the honeycomb inside is exposed to the air, so add them as close to serving as possible.
- I added a few bronze sprinkles as well, I got them from Tesco.
- I used an Ateco 829 nozzle to pipe the cream onto the cheesecake.
Troubleshooting
My number one tip for getting the best results is to read through this whole page of tips and recommendations before starting, and follow the recipe exactly. If you have any questions about this recipe, or if something went wrong and you need help, please use the comment form below and I will get back to you. You can also get in touch with me on my Twitter, Instagram or Facebook. I'd love to hear from you!
Recommended equipment & ingredients
- 23cm Springform tin
- Mixing bowls
- Measuring spoons
- Crunchie bars
- Kitchen scales
- Electric hand mixer
- Piping bags
- Angled palette knife
- Food processor
I earn a small amount of money if you buy the products after clicking on the links. You will not be charged anything extra for this. Thank you for supporting The Baking Explorer!
More Crunchie recipes...


Crunchie Cheesecake (No Bake)
Ingredients
For the biscuit base
- 300 g Digestive biscuits crushed
- 135 g Butter melted
For the cheesecake filling
- 750 g Full fat cream cheese I used Philadelphia
- 40 g Cocoa powder
- 125 g Icing sugar
- 300 ml Double cream
- 150 g Crunchies bashed up
For decoration
- 50 g Milk chocolate melted
- 200 ml Double cream
- 1 tbsp Icing sugar
- 1 tsp Vanilla extract
- 125 g Crunchies
Instructions
- To make the base use a food processor to whizz up the biscuits into crumbs, or gently crush them with a rolling pin in a bowl
- Mix the melted butter into the biscuits crumbs and press the mixture into the bottom of a 23cm springform tin. Put it in the fridge for 30 minutes to set
- For the cheesecake filling use an electric food mixer with a whisk attachment or an electric hand whisk to mix together the cream cheese, icing sugar and cocoa powder until smooth with no lumps
- Add the double cream and whisk until it is very thick and holds it's shape. You want it to get to a stage where you can scoop some up with your spatula or spoon and you have to give it a tap on the side of the bowl or slight flick of the wrist to get the mixture off the spoon. If it’s sloppy and slides right off the spoon without any encouragement needed, then you need to mix it more
- Gently fold in the bashed up Crunchie bars
- Smooth the mixture into the tin on top of the biscuit base, then put it in the fridge overnight, or for at least 4 hours, to set
- Remove from the tin and put on your serving plate. Smooth the sides with a butter knife to create a neater finish
- Drizzle over the melted milk chocolate, using either a piping bag or a spoon
- Whip up the double cream with the icing sugar and vanilla, and pipe it all around the edges of the cheesecake
- Decorate with the Crunchie chunks around the edge, and crushed Crunchie in the middle
- Serve immediately, store any leftovers in the fridge and eat within 2-3 days
Video
Notes
- It is really important to stick to the ingredients and use full fat cream cheese and double cream (a cream with a 48% fat content), both of these ingredients are essential to ensure the no bake cheesecake sets. If you want to make a low fat version, I suggest doing this in small dessert glasses or ramekins as they will not set well enough to be sliced.
- I am based in the UK and I find that Philadelphia cream cheese is the thickest and best quality cream cheese to use for no bake cheesecakes. I have made many cheesecakes with supermarket own brand cream cheeses too, and they have worked great. If you can though, I think it is worth spending a little more for Philadelphia (and no they haven't paid me to say this!)
- I like to use digestive biscuits (Graham crackers if you're in the US) for the base, but you could substitute if for another similar biscuit like Hobnobs.
- You can use either butter or baking spread for the biscuit base, I find that baking spread makes the cheesecake easier to remove from the tin as it doesn't make the base set as solidly.
- You can find lots of answers to common no bake cheesecake questions on my How To Make A No Bake Cheesecake guide. If you've never made a no bake cheesecake before, I highly recommend reading through my guide first!
- Although I provide cup measurements, I highly recommend weighing your ingredients out using digital kitchen scales. It is the most accurate way to measure ingredients and will ensure the best results. Digital scales are very low cost and can be purchased for around £12 ($16.50) .
- For teaspoon (tsp) and tablespoon (tbsp) measurements, please use measuring spoons and not the type of spoons you eat with. Again this will ensure accuracy and provide the best results.
Nutrition
If you like this, check out more of my Cheesecake recipes!
Please note: this recipe is NOT in anyway sponsored by Crunchie, I just love their product!
Rebecca - Glutarama
Utterly jaw-dropping masterpiece! So easy to make gluten free too and my daughter loves Crunchies so basically it's rude not to make this over the festive period hahaha
Cat | Curly's Cooking
What a showstopper. This looks amazing!
Louise Fairweather
Oh my this looks good. I may have to make one for Christmas! Thanks for sharing #cookblogshare
Chloe Edges
Another stunner Kat!
Eb Gargano | Easy Peasy Foodie
Total genius - I just love how creative all your recipes are 😀 Eb x
thebakingexplorer
Thanks so much Eb!