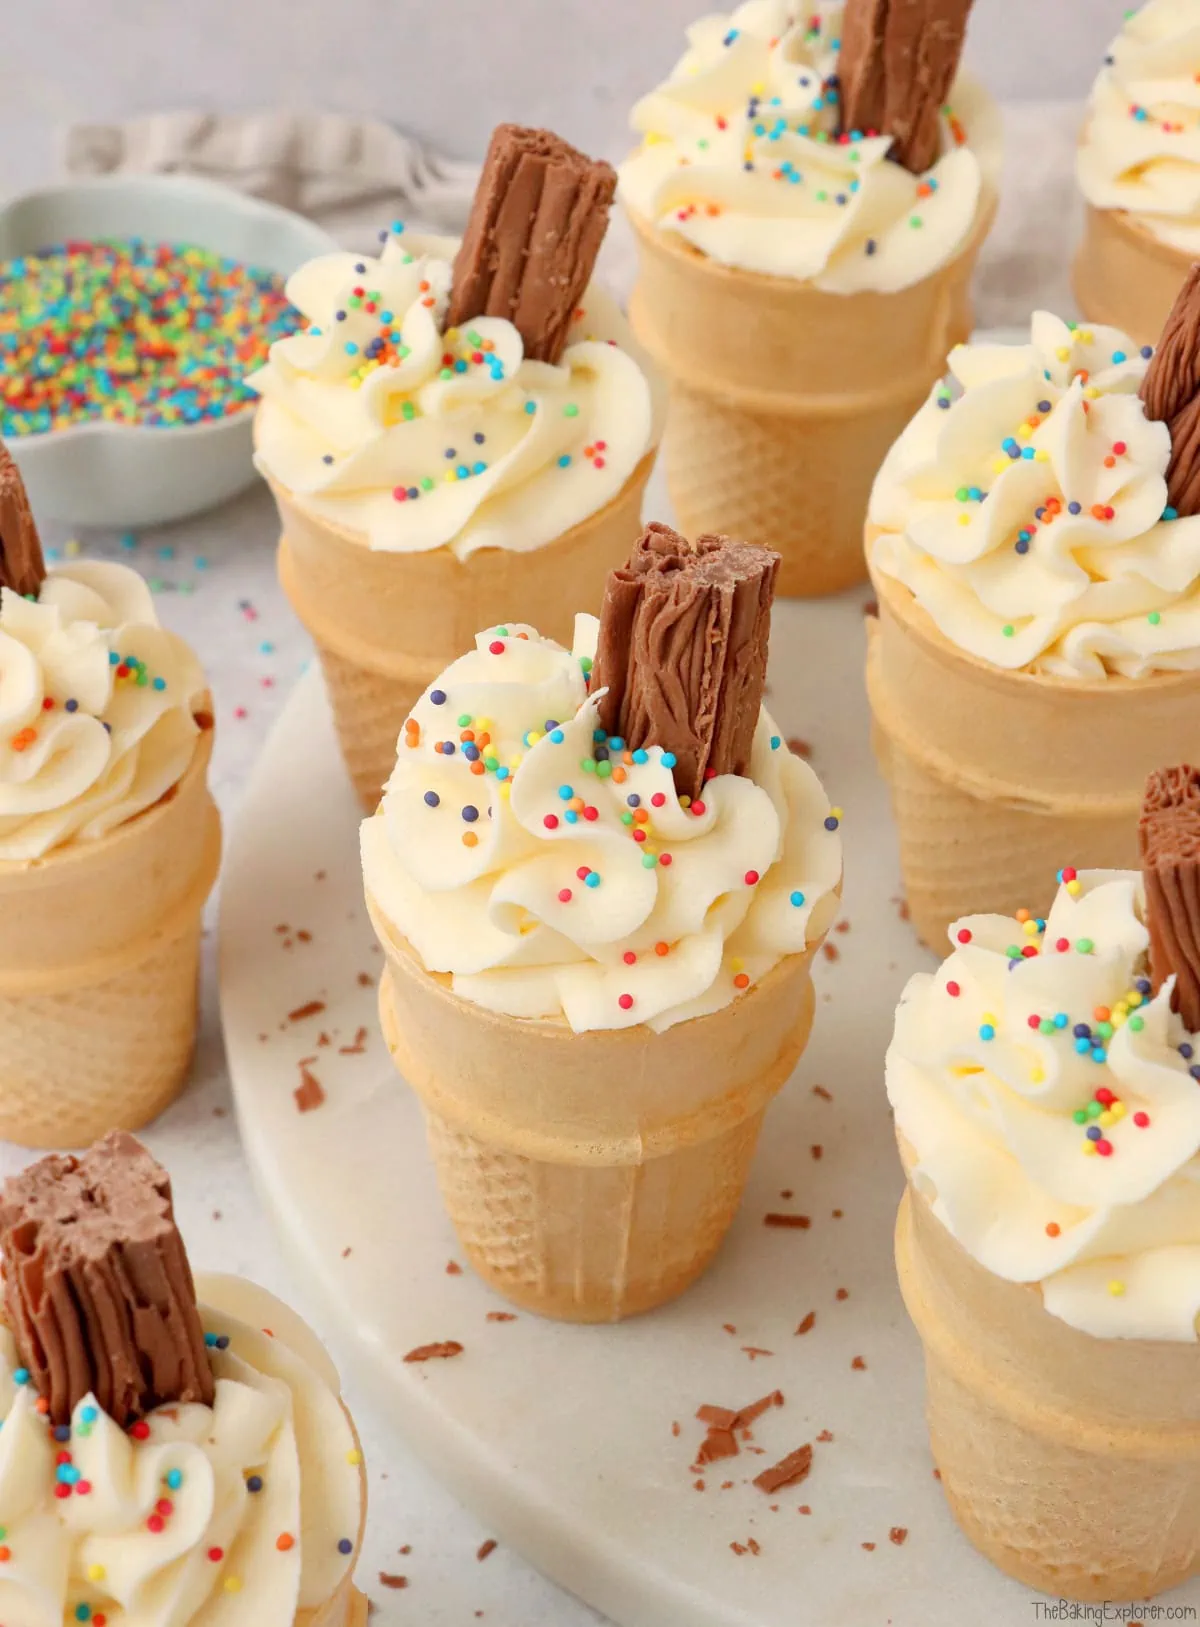
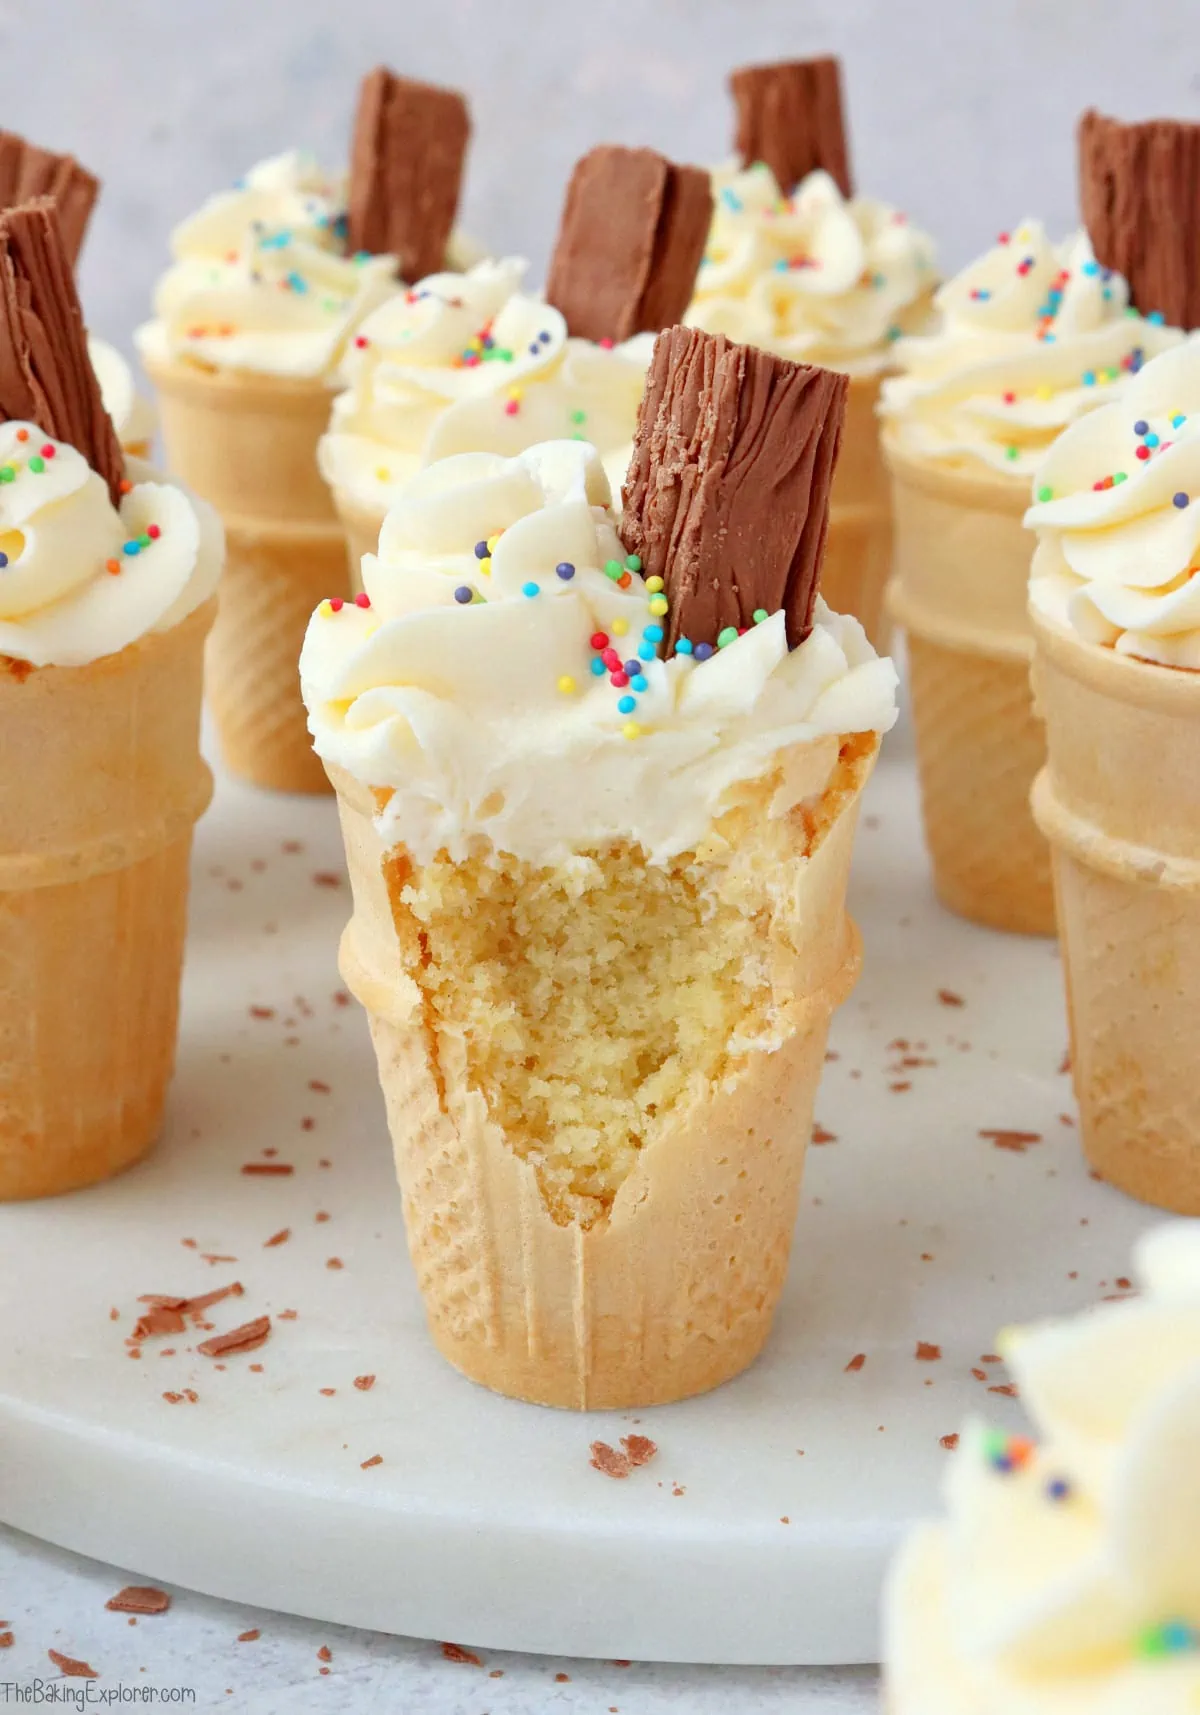
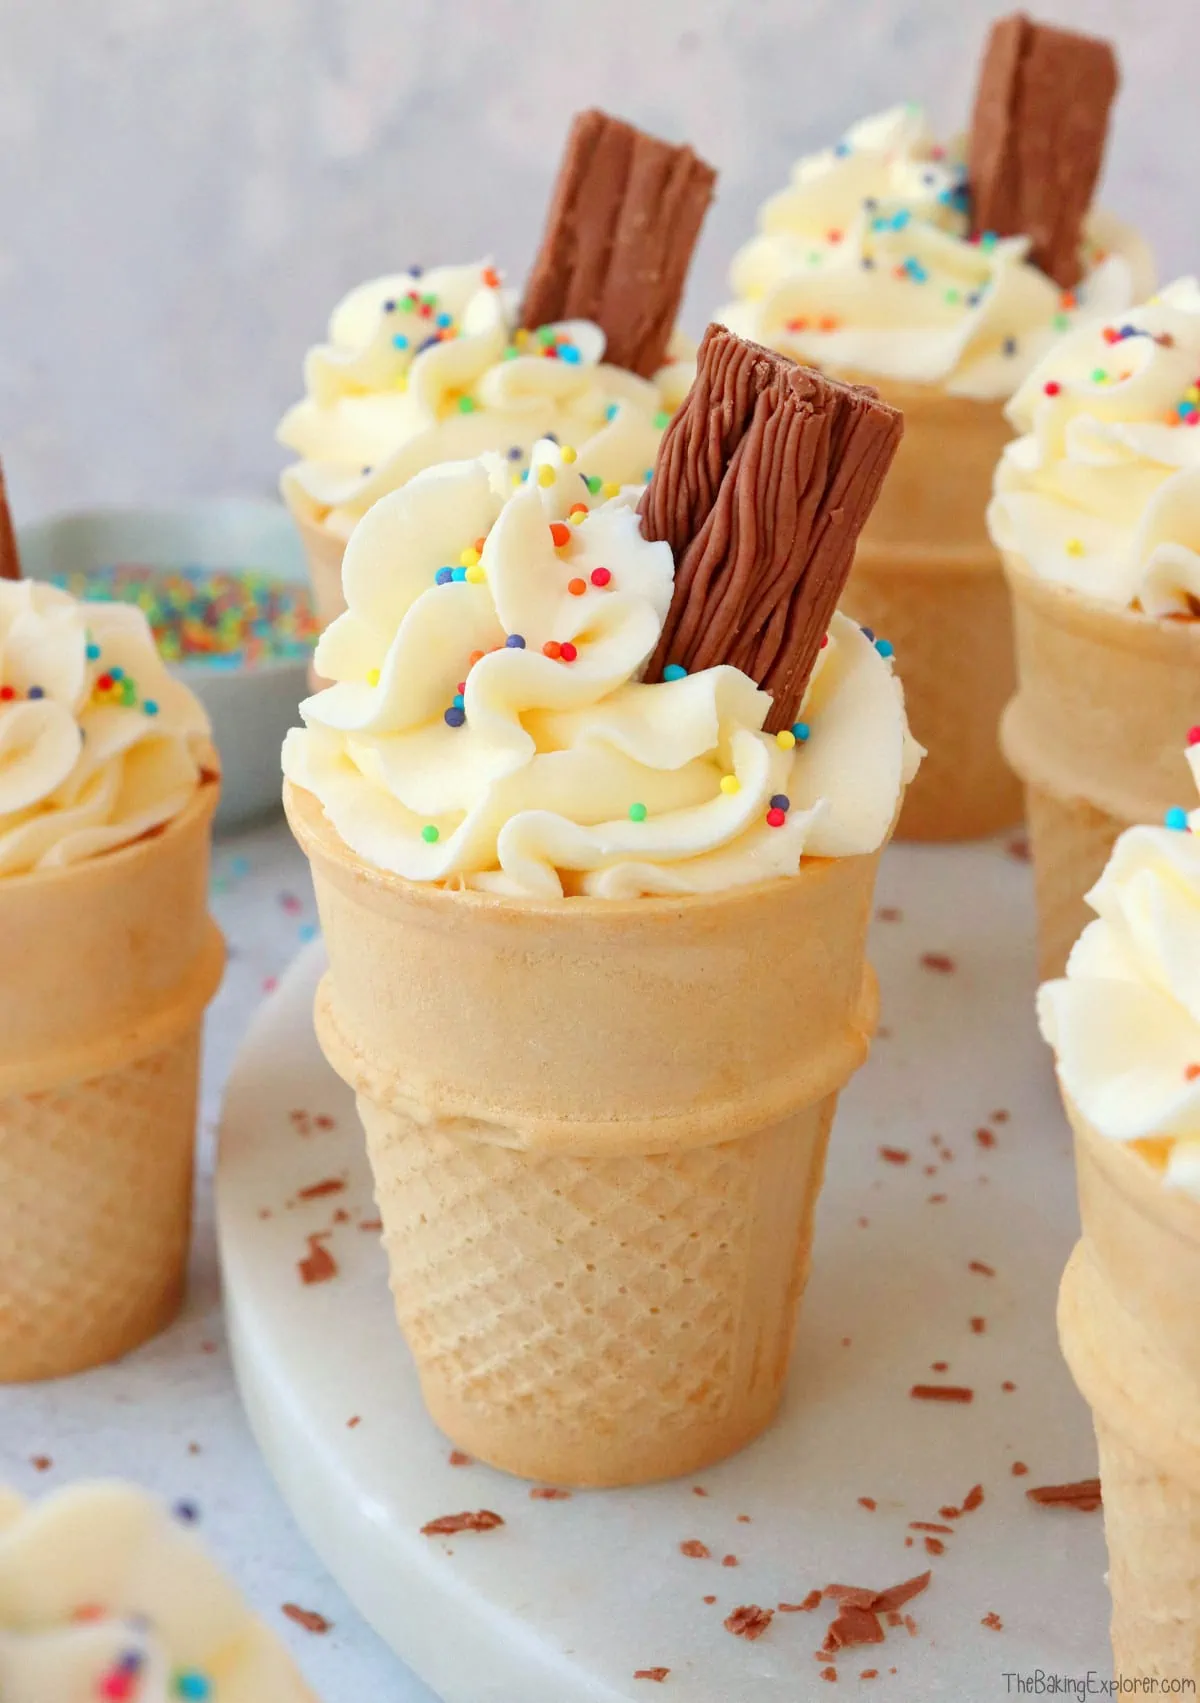
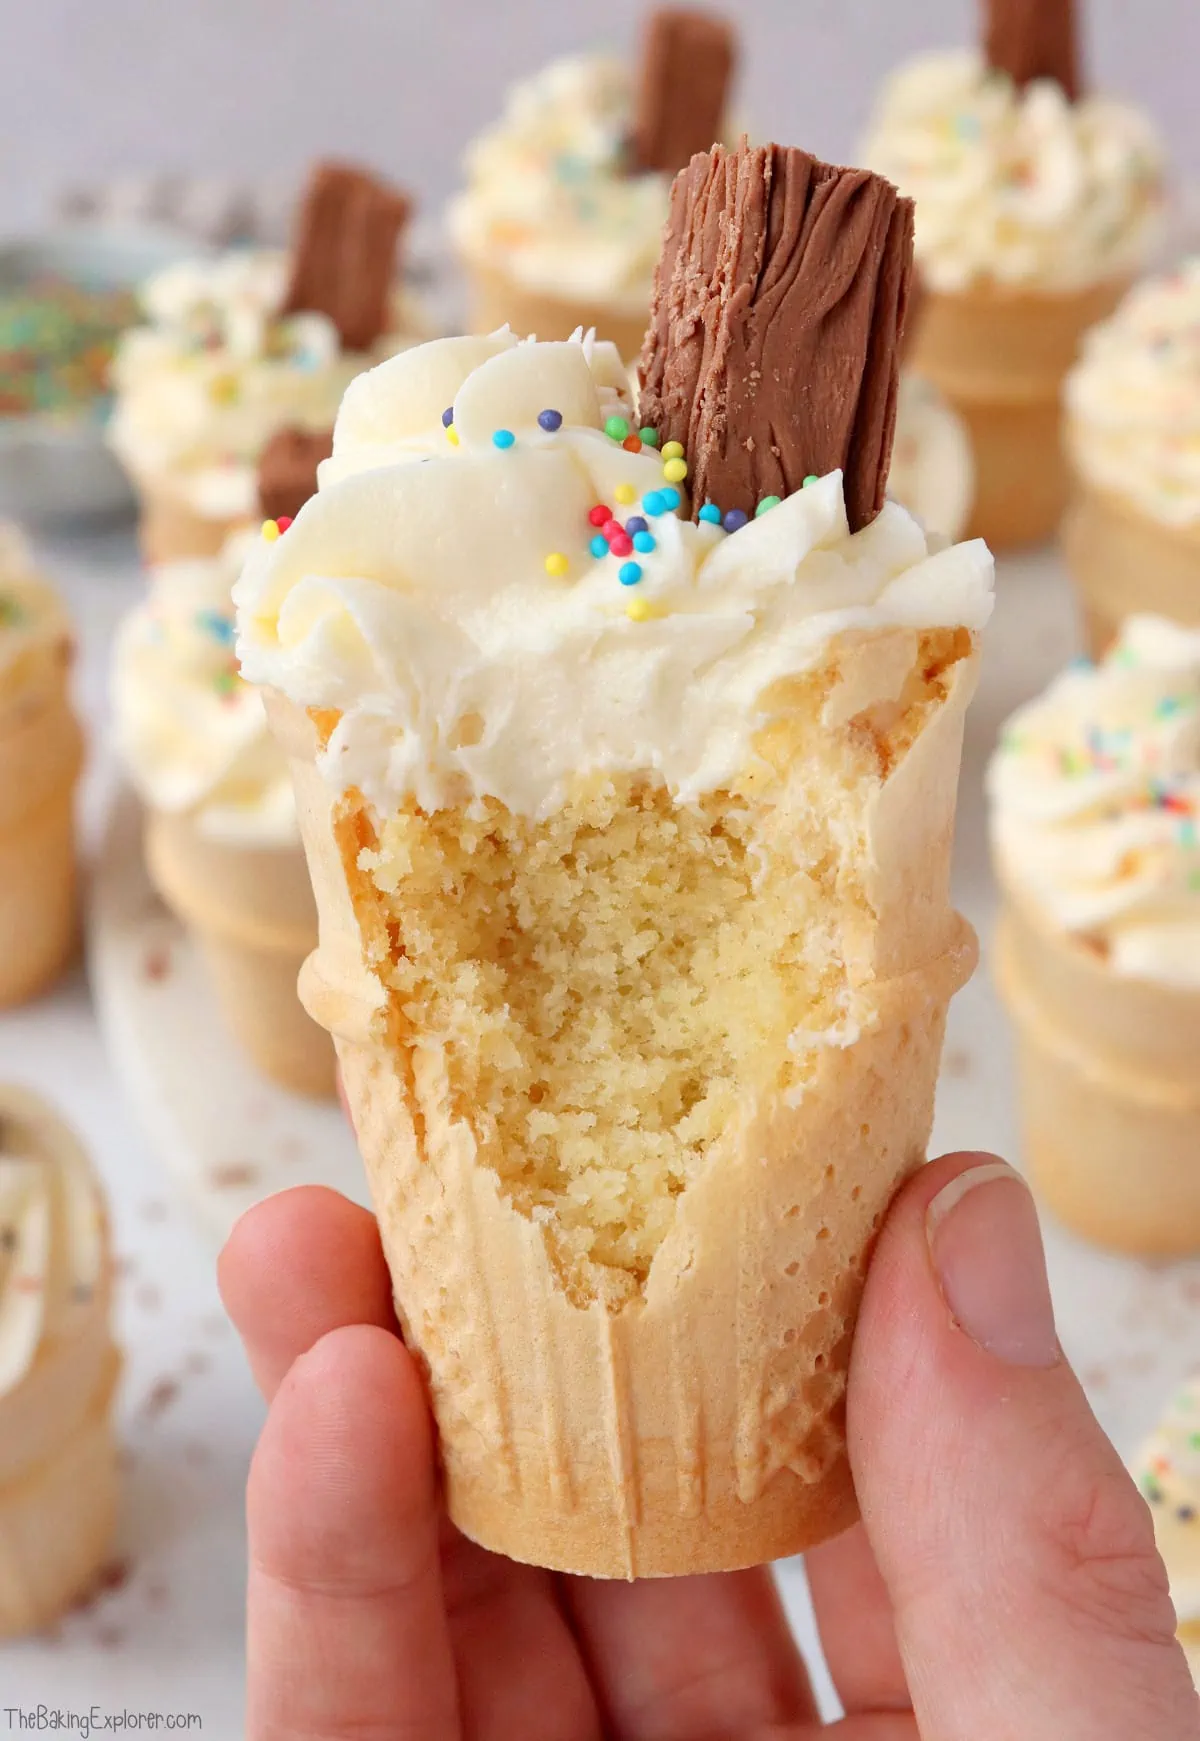
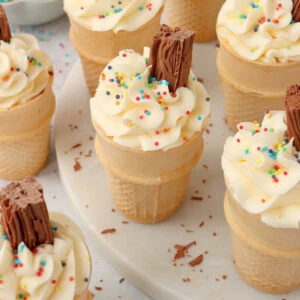
These Ice Cream Cone Cupcakes are a great way to trick and delight your family and friends. They look exactly like mini ice creams, but in fact hidden inside the cone is cake and the 'ice cream' on top is buttercream! You'll be surprised at how easy they are to make too, it's a standard cupcake recipe but you bake them inside the cones, which are wrapped in foil to protect them in the oven. Make sure to buy the ice cream cones with the flat bottoms so they will stand upright for easy baking and displaying. These Ice Cream Cone Cupcakes are perfect for all your summer parties and events!
Ingredient Tips & Equipment Information
- Make sure all your ingredients (particularly the butter and eggs) are at room temperature before you start baking.
- I used a baking spread for the cupcakes and unsalted butter for the buttercream.
- You need to use the ice cream cones with flat bottoms to be able to bake these in a cupcake tin. Askeys are a brand I know of that sell them, and they are sold at Sainsbury's and Waitrose.
- Although I provide cup measurements, I highly recommend weighing your ingredients out using digital kitchen scales*. It is the most accurate way to measure ingredients and will ensure the best results. Digital scales are very low cost and can be purchased for around £12 ($16.50) .
- For teaspoon (tsp) and tablespoon (tbsp) measurements, please use measuring spoons* and not the type of spoons you eat with. Again this will ensure accuracy and provide the best results.
For the full recipe with measurements, head to the recipe card at the end of this post.
How to make Ice Cream Cone Cupcakes
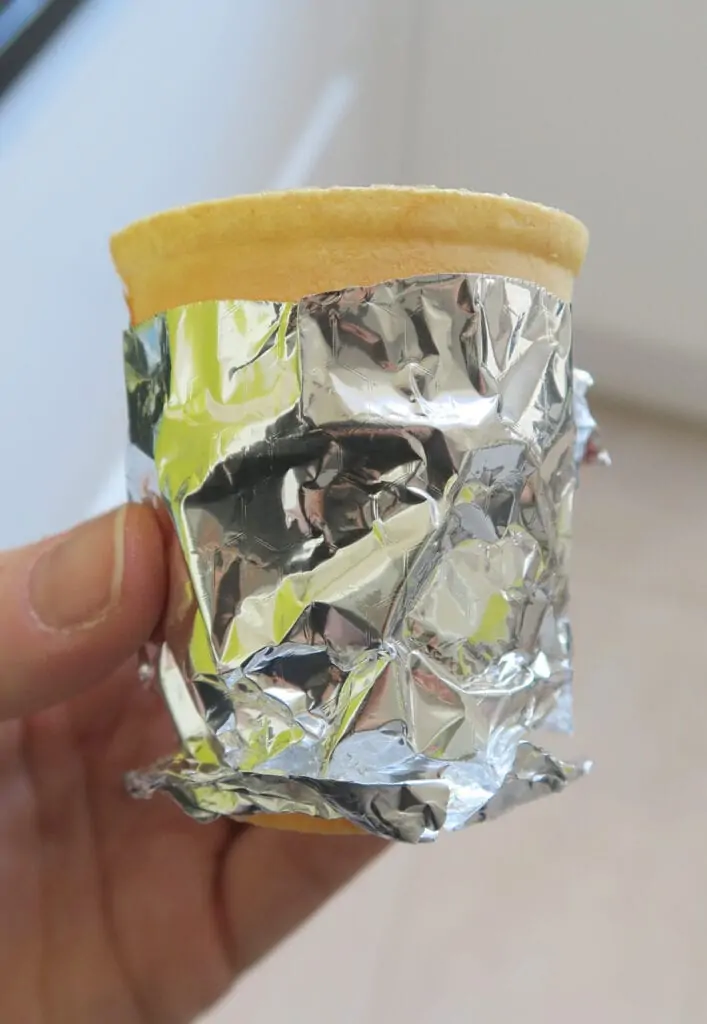
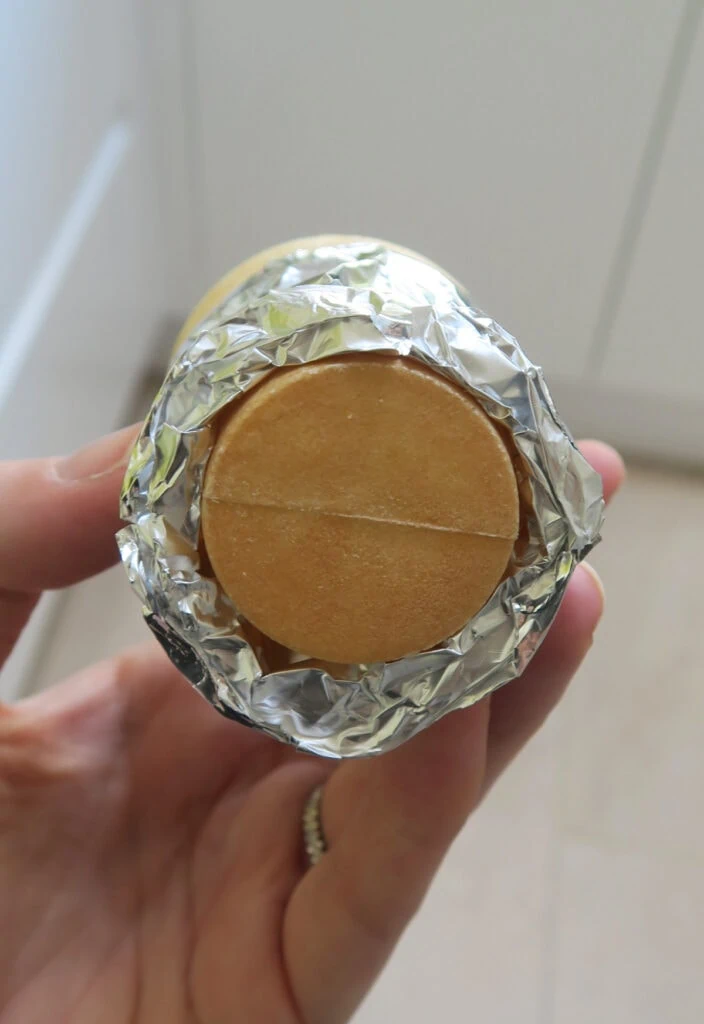
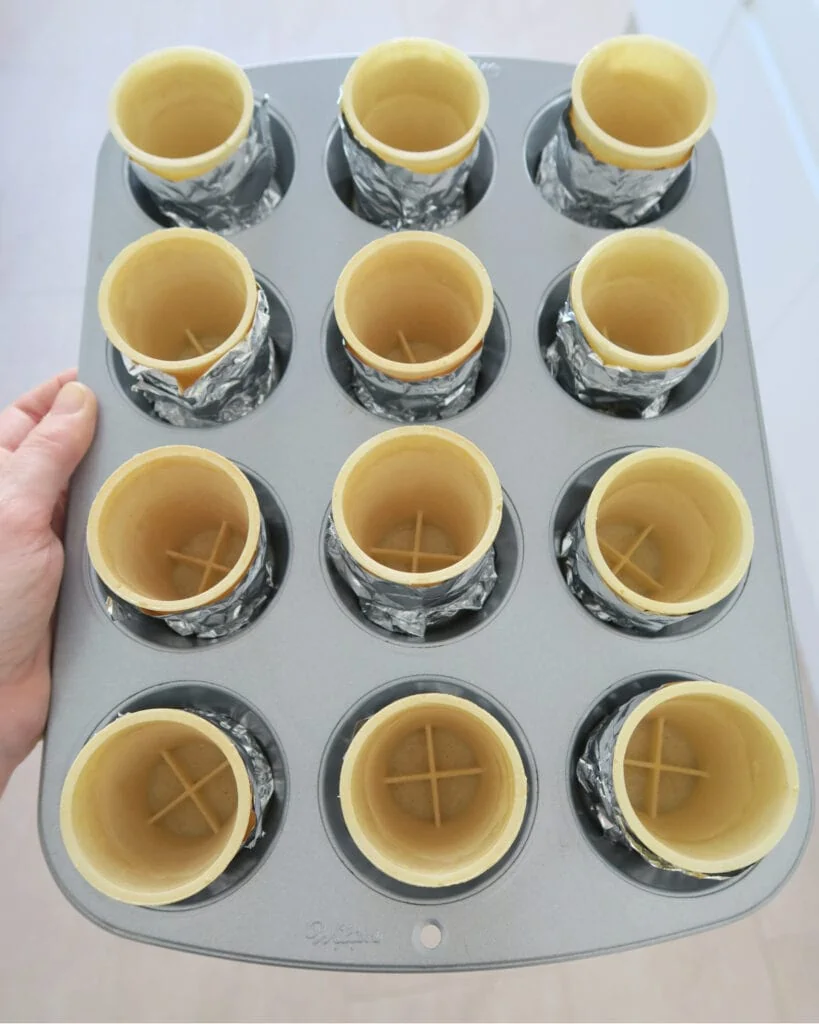
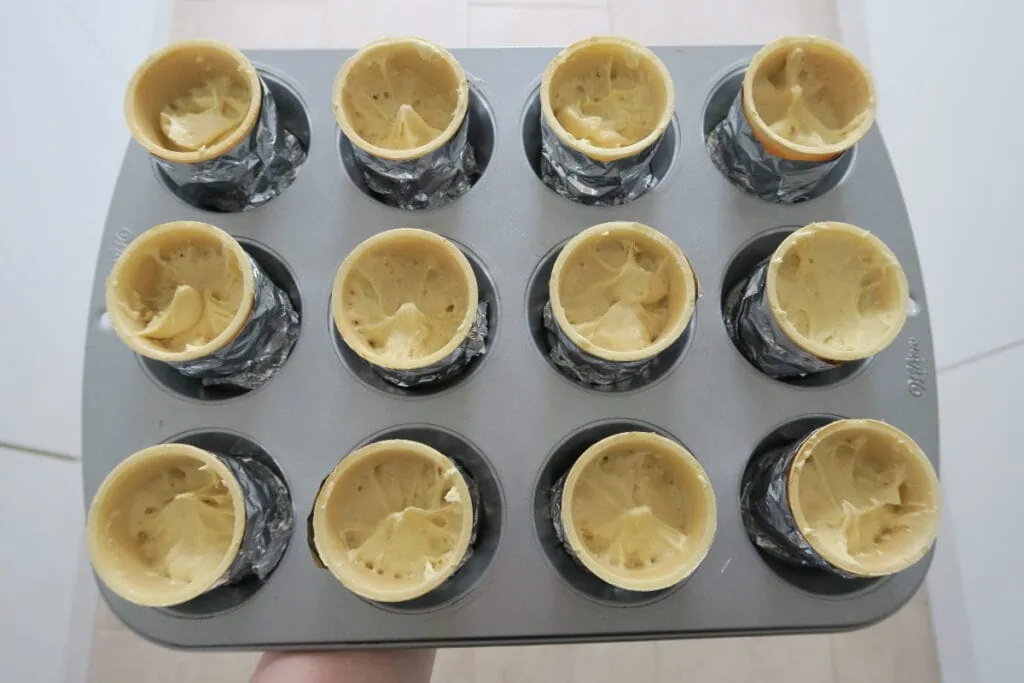
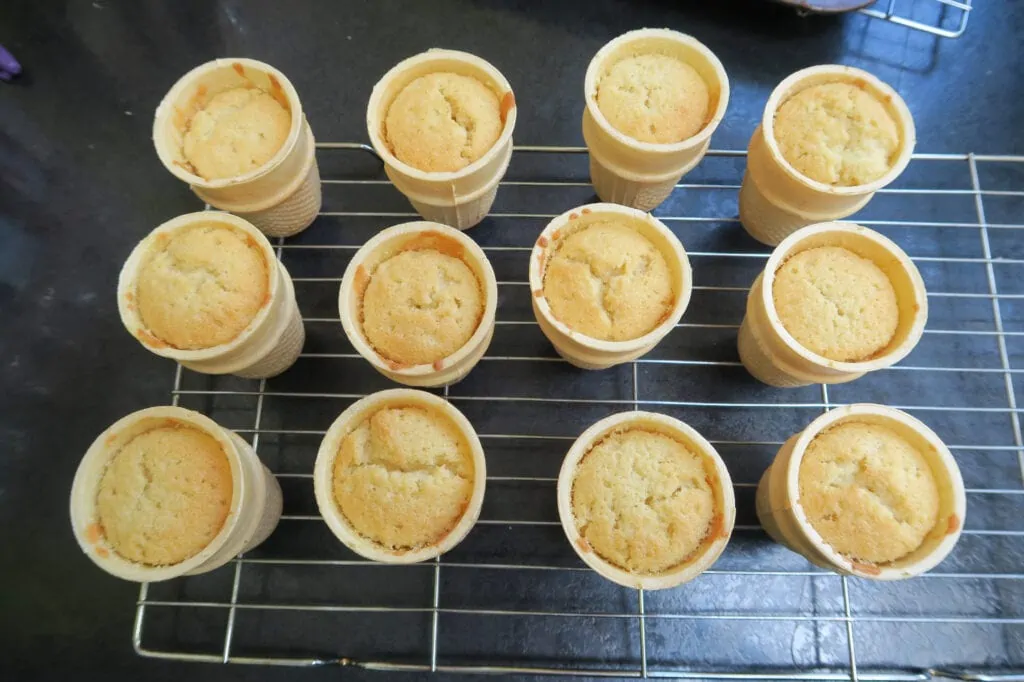
To start, prepare the ice cream cones by cutting out strips of foil and wrapping them around each cone. Fold the overhanging foil around the base of the cone, a bit like a skirt, this will help to stabalise them in the cupcake tin. Place the foil wrapped cones into a cupcake tin.
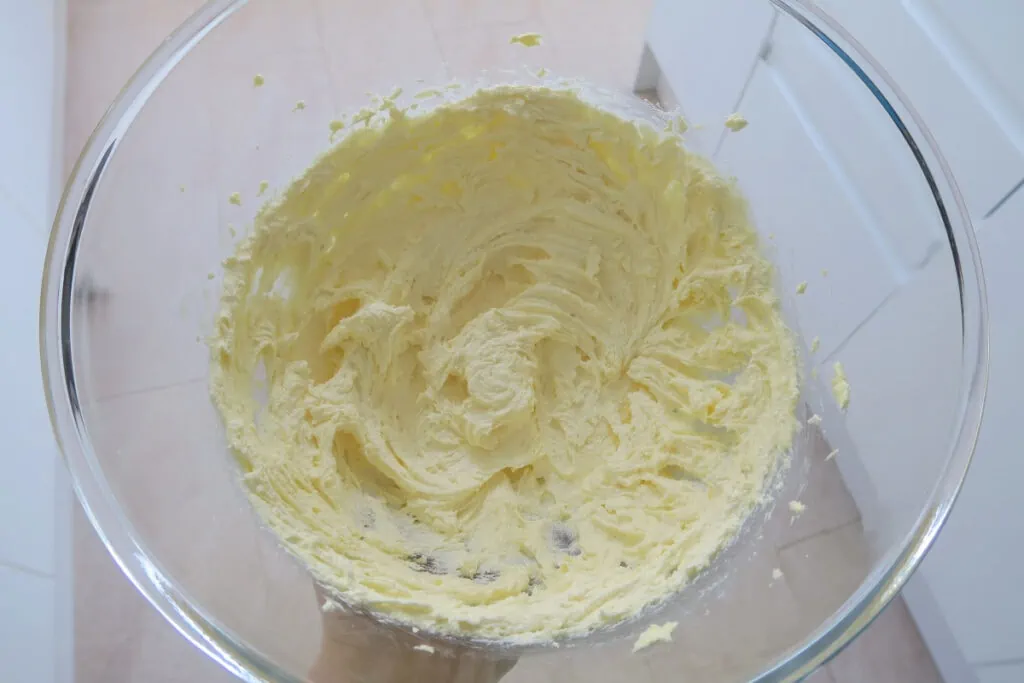
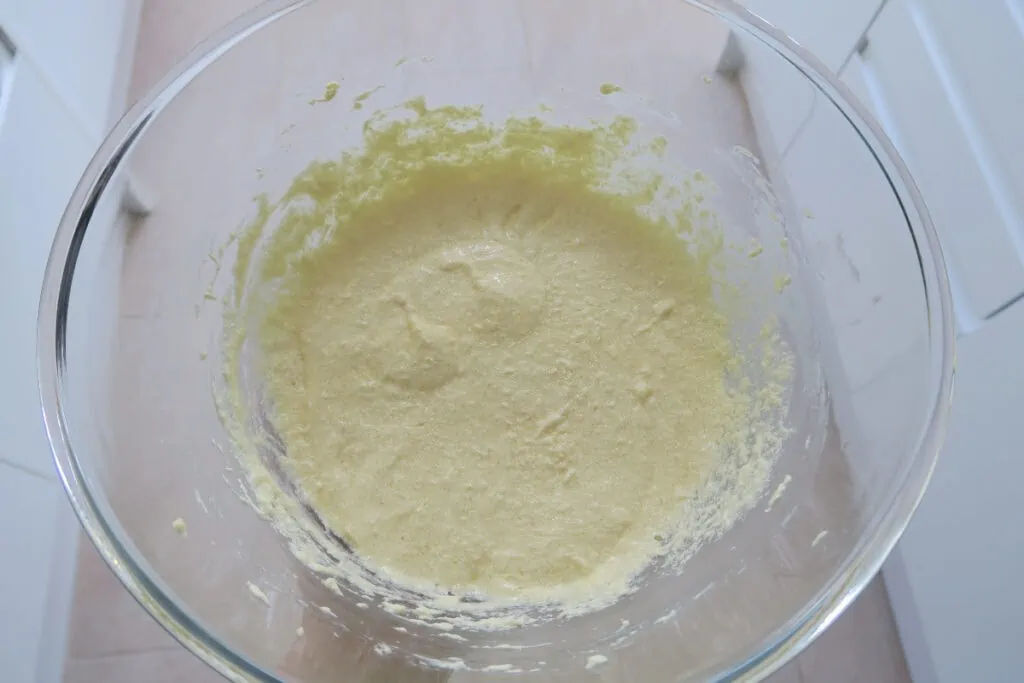
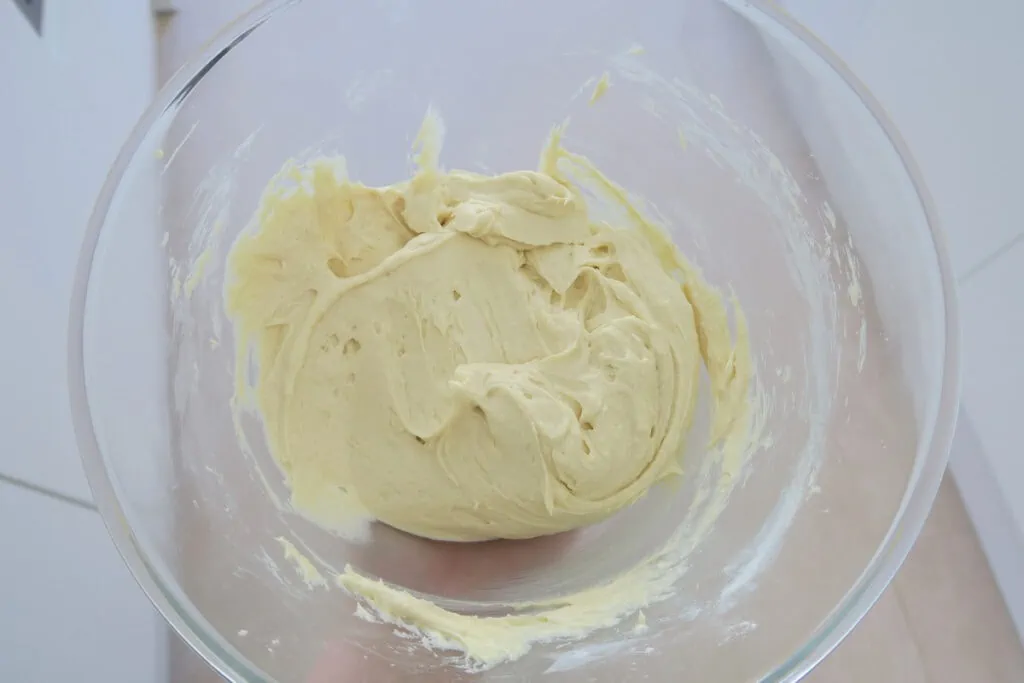
To make the cupcake batter, mix together the butter (or baking spread) and caster sugar. Then whisk in eggs, milk and vanilla extract. Next add self raising flour and fold or whisk in gently.
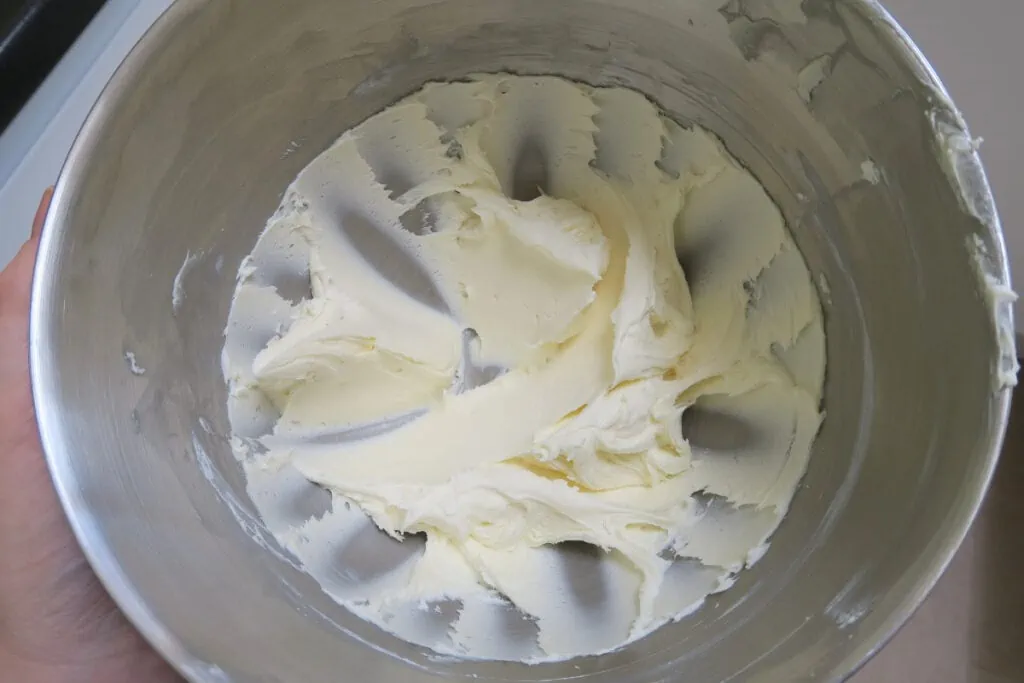
Divide the mixture between the cones, and bake them for 25 minutes or until golden and risen.A thin skewer inserted in the centre should also come out clean. Remove the foil and place on a cooling rack to cool completely. For the buttercream, mix the icing sugar and butter together, then add vanilla extract and milk, and whisk until smooth. Pipe it onto the cupcakes using a star nozzle for the ice cream effect, then add chocolate flakes and sprinkles.
How long do the cupcakes last for and can they be frozen?
The cupcakes will last for 2-3 days in an airtight container in a cool place. The cones will go softer over time due to the moisture from the buttercream. You can freeze both the cupcakes and the buttercream. To freeze them separately, wrap the cupcakes well in cling film or put them in an airtight container. The buttercream can be frozen in a sealed tub. To freeze them decorated, freeze the cupcakes on a plate until frozen solid, then carefully wrap in cling film. Remove the clingfilm when you take the cupcakes out of the freezer to defrost, as if they defrost with it still on it could damage the buttercream.
Can you make the cupcakes with plain/all purpose flour?
Self raising flour, which is very commonly used in the UK where I am based, already contains a raising agent and a little salt too. Therefore if you want to swap it for plain or all purpose flour, you will need to add some additional baking powder and also a little salt if you like. Some people like to add salt to cake recipes and some don't, so I'll leave that up to you as it won't affect the bake. The general advice is to add 2 teaspoons baking powder (a measuring teaspoon, not the kind you stir your coffee with) per every 200g plain or all purpose flour. So for this recipe you'd need to add 1 + ¼ teaspoons baking powder. Please note, I have not tested this recipe using plain or all purpose flour.
Can the cupcakes be made gluten or dairy free?
Yes! For gluten free you can replace the self raising flour with a gluten free self raising flour blend. If you only have a gluten free plain flour blend, you will need to add baking powder. The general advice is to add 2 tsp baking powder per 200g flour, so for this recipe you'd need to add 1 + ¼ teaspoons baking powder. You may also like to add ¼ tsp Xanthan Gum for better texture. For a dairy free version, use a dairy free baking spread and dairy free milk for the cupcakes and the buttercream.
Do you need an electric mixer to make this recipe?
While you can absolutely make this recipe with a wooden spoon and some elbow grease, I do recommend using an electric mixer for the best results. The cupcakes will be lighter and fluffier when made with an electric mixer. The buttercream will also be smoother. You don't have to use an expensive stand mixer either, you can get electric hand whisks for as little as £10!
How else can you decorate these cupcakes?
There really is so many ways to be creative with the decoration, here are some ideas:
- Sprinkles
- Crumbled up Flake bar
- Chocolate shavings
- Strawberry sauce
- Chocolate sauce
- Caramel sauce
- Mini fudge sprinkles
More tips for making the Ice Cream Cone Cupcakes:
- I used a Wilton 2D piping nozzle for these cupcakes.
- You can spread the buttercream onto the cupcakes with a spoon if you don’t want to pipe it.
Troubleshooting
If you have any questions about this recipe, or if something went wrong and you need help, please use the comment form below and I will get back to you. You can also get in touch with me on my Twitter, Instagram or Facebook. I'd love to hear from you!
Recommended equipment & ingredients*
- Mixing bowls
- Cupcake tin
- Measuring spoons
- Cooling rack
- Kitchen scales
- Electric hand mixer
- Piping bags
- Ice cream cones
- Flake bar
- Wilton 2D Piping nozzle
- Cake tester
*I earn a small amount of money if you buy the products after clicking on the links. You will not be charged anything extra for this. Thank you for supporting The Baking Explorer!
More summer cupcake recipes...
Ice Cream Cone Cupcakes
Ingredients
For the sponge
- 12 Flat bottomed ice cream cones I used Askeys
- 135 g Butter or baking spread softened, unsalted
- 135 g Caster sugar
- 2 Eggs large
- 1 tbsp Milk
- 1 tsp Vanilla extract
- 135 g Self raising flour
For the buttercream
- 175 g Butter softened, unsalted
- 350 g Icing sugar
- 1 tsp Vanilla extract
- 1 tbsp Milk
For decoration
- 4 Chocolate flakes, cut into thirds optional
- Sprinkles optional
Instructions
- Pre-heat your oven to 160C Fan/180C/350F/Gas Mark 4, cut out strips of foil and wrap them around the ice cream cone. You don't need to cover the bottom with foil. Place them into a cupcake tin
- Mix together the butter and caster sugar, ideally using an electric mixer, until smooth and fluffy. This takes 2-3 minutes
- Add the eggs, milk and vanilla extract and whisk well
- Whisk or fold in the self raising flour gently
- Divide the mixture between the 12 cones
- Bake them for 25 minutes or until they are golden brown and a thin skewer inserted in the centre comes out clean. Carefully remove the foil and leave to cool completely on a cooling rack
- Make the buttercream by mixing together the butter and icing sugar, then add the vanilla extract and milk, and mix until smooth. For best results use an electric mixer to do this. You can add a little more milk if the buttercream is too stiff
- Pipe the buttercream onto each cupcake using a piping bag fitted with a nozzle. Or spread on with a spoon
- Insert a third of a chocolate flake into each one and add your choice of sprinkles
- Store in an airtight container in a cool place and eat within 3 days
Notes
- Make sure all your ingredients (particularly the butter and eggs) are at room temperature before you start baking.
- I used a baking spread for the cupcakes and unsalted butter for the buttercream.
- You need to use the ice cream cones with flat bottoms to be able to bake these in a cupcake tin. Askeys are a brand I know of that sell them.
- Although I provide cup measurements, I highly recommend weighing your ingredients out using digital kitchen scales*. It is the most accurate way to measure ingredients and will ensure the best results. Digital scales are very low cost and can be purchased for around £12 ($16.50) .
- For teaspoon (tsp) and tablespoon (tbsp) measurements, please use measuring spoons* and not the type of spoons you eat with. Again this will ensure accuracy and provide the best results.


Jacqui Bellefontaine
These are such fun and would be fabulous for a kiddis party too bad my kiddies are all grown. Might just have to make them for fun anyway. Thank you for linking to #CookBlogShare
thebakingexplorer
Oh yes, they're fun for kids old and young!
Lesley Garden
What a great idea, these would make a fab addition to my kids Birthday parties. Lovely photos too. Thank you for sharing to CookBlogShare
thebakingexplorer
Thanks Lesley! Yes they'd great for a party 🙂
Midge @ Peachicks' Bakery
I LOVE baking cakes inside ice cream cones! It looks so cute & infinitely customisable! They'd be amazing for a baby shower or birthday party! Thanks for sharing! #cookblogshare
thebakingexplorer
Yes totally customisable! I love that part about them 😀
Jenny Walters
You are so creative!These are fabulous and such fun.My daughter would squeal with delight if I made these.Love your instructions too. Very easy to follow. Maybe even I could give them a go!!thankyou for sharing at #FiestaFriday
thebakingexplorer
Thanks Jenny! Let me know if you do!
Cat | Curly's Cooking
So cute and perfect for the summer, especially for kids who will love these.
thebakingexplorer
Thanks Cat, yes they're sure to be a hit with the kids!
Amy
Oh my goodness, these cupcakes are so cute. Thank you for sharing on Mix it up Monday.
thebakingexplorer
Thanks Amy!
Helen Costello
Oh so cute! Love them with sprinkles on. Thanks so much for joining in with #Bakeoftheweek
thebakingexplorer
Thanks Helen! I love how you can decorate them any way you want 😀
Julie
Tried these but my cones went soggy. Any suggestions?? Why would they do that?
thebakingexplorer
Soggy after being baked? Or were they stored for a while before being eaten? If you didn't let them cool enough, and put them in an air tight container then that would make them soggy because of the residual heat creating moisture in the tub. Besides that, I have no idea why this would happen, unless it's to do with the quality of the cones. I think the brand I used is called Askeys.
Tom Baker
Looked amazing when made - 10/10
Amy
Baked these and my friends and family went crazy for them! Thankfully no one was too disappointed that they weren’t actually ice cream because they were just so delicious!
Surprisingly easy to make considering how incredible they look. Will definitely be making these again soon (I have to, my first batch we’re gone in less than a day!)
thebakingexplorer
I'm so happy to hear this Amy!! Thanks so much for letting me know 😀
Mari
These look sooo goood! I love cupcakes 😀 x Thank you for putting this post together!
Diana
How do you make these without being soggy?
thebakingexplorer
Hi Diana, did you make them and part of it went soggy? The cone might go soft around the top where the buttercream touches it after a little while, be beside that there should not be any soggyness.
Alicia
Do you have to make them on the day? Or can they made the day before needed?
thebakingexplorer
Hi Alicia, they can be made the day before. Just keep them in a cool, dry place and in an airtight container.
Sophie
Absolutely LOVED this recipe! Super easy to follow and loved the pictures alongside. First time making these and I will definitely be making again!!
thebakingexplorer
Thanks so much for the lovely feedback Sophie!
Emily
Such an easy to follow recipe and they look so impressive. I took them to a birthday gathering recently and everyone was amazed with them! They tasted delicious and I love that you can decorate them to your preference. I will be making these again!
Polly
They are so impressive and fun. I thought it would never work but followed the instructions and they came out perfect.
thebakingexplorer
I'm so happy to hear this Polly!