

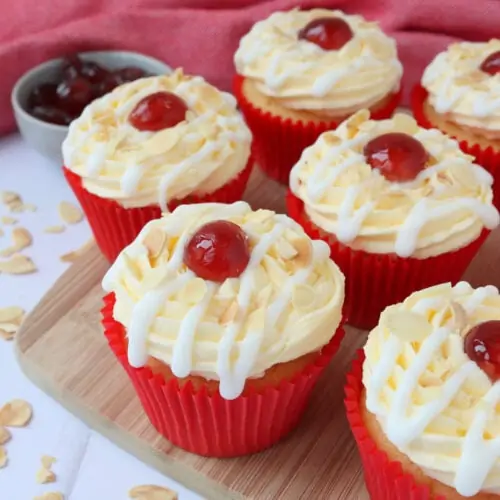
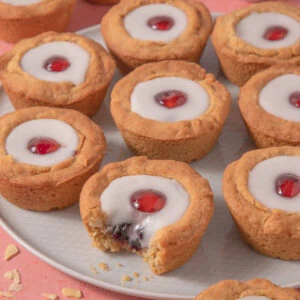
You'll be getting super retro vibes when you bake these Cherry Bakewell Cookie Cups! They are made in a cupcake tin to create the cup shape. The cookie dough has flaked almonds in it, then the cookie cups are filled with cherry jam, a layer of almond flavoured icing and a glace cherry topping. They are fun, delicious and hard to share!
This post may contain affiliate links. I earn from qualifying purchases.

Ingredient Tips & Equipment Information
- Make sure all your ingredients (particularly the butter and egg) are at room temperature before you start baking.
- I prefer to use unsalted butter for this recipe, but you can also use a baking spread.
- I used a cherry jam for the filling, but another jam like strawberry or raspberry would work well.
- I recommend using light brown soft sugar for delicious flavour and a more gooey cookie, but you can replace it with caster sugar if you can't get hold of brown sugar.
- For better flavour, use almond extract, not essence.
- Although I provide cup measurements, I highly recommend weighing your ingredients out using digital kitchen scales. It is the most accurate way to measure ingredients and will ensure the best results. Digital scales are very low cost and can be purchased for around £12 ($16.50).
- For teaspoon (tsp) and tablespoon (tbsp) measurements, please use measuring spoons and not the type of spoons you eat with. Again this will ensure accuracy and provide the best results.
For the full recipe with measurements, head to the recipe card at the end of this post.
How to make Cherry Bakewell Cookie Cups


Start by mixing together the butter, caster sugar and light brown soft sugar. Add the egg and almond extract, and mix until combined.


Add the plain flour, baking powder, bicarbonate of soda and salt. Mix until all of the flour is mixed in. Add the flaked almonds, mix briefly to evenly distribute them throughout the dough. Divide the dough into 12 portions and shape them into the cupcake tin. Bake for 10-12 minutes.


When the cookie cups come out of the oven, push down the centres again. When they are cool enough to handle, remove the cookie cups from the tin. Leave to cool fully. To decorate, fill them with the jam. Then mix together the icing sugar, almond extract and water and add over the jam. Decorate with a glace cherry half while the icing is still wet.
For the full recipe with measurements, head to the recipe card at the end of this post.


How should the cookie cups be stored and can they be frozen?
The cookie cups will last for 3-4 days in an airtight container in a cool place. You can freeze the baked cookie cups too, wrap them well or store in a freezer bag for up to 3 months.
Do you need any electric mixer to make this recipe?
While an electric mixer is helpful in making these cookie cups and will give the best results, you don't need one to make them. You can absolutely make the cookie cups by hand with a wooden spoon and some elbow grease. If you have an electric stand mixer, then you can use the paddle attachment to make these cookie cups.
Can this recipe be made gluten free?
For gluten free you can replace the plain flour with a gluten free plain flour blend. You may also like to add ¼ tsp xanthan gum for better texture. Please check the labels of everything you use if serving to someone with an allergy or intolerance.
Can this recipe be made dairy free?
For a dairy free version, use a dairy free baking spread instead of butter for the cookie cups. I recommend the block style ones, I like Flora Plant. Please do check the labels of everything you use if serving to someone with an allergy or intolerance.

More tips for making the Cherry Bakewell Cookie Cups:
- I find it much easier to remove the cookie cups from the tin if you line it with the baking paper strips like. You could also use cake release spray. It is also easier to remove them when they are still slightly warm.
- I decorated the cookie cups with glace cherries as they are traditional on cherry bakewell tarts, however if you prefer fresh cherries and they're in season then you could use those instead.

Troubleshooting
My number one tip for getting the best results is to read through this whole page of tips and recommendations before starting, and follow the recipe exactly. If you have any questions about this recipe, or if something went wrong and you need help, please use the comment form below and I will get back to you. You can also get in touch with me on my Twitter, Instagram or Facebook. I'd love to hear from you!
Recommended equipment & ingredients
- Mixing bowls
- Measuring spoons
- Cupcake tin
- Cooling rack
- Kitchen scales
- Electric hand mixer
- Piping bags
- Stand mixer
- Pastry tamper
- Almond extract
- Glace cherries
I earn a small amount of money if you buy the products after clicking on the links. You will not be charged anything extra for this. Thank you for supporting The Baking Explorer!

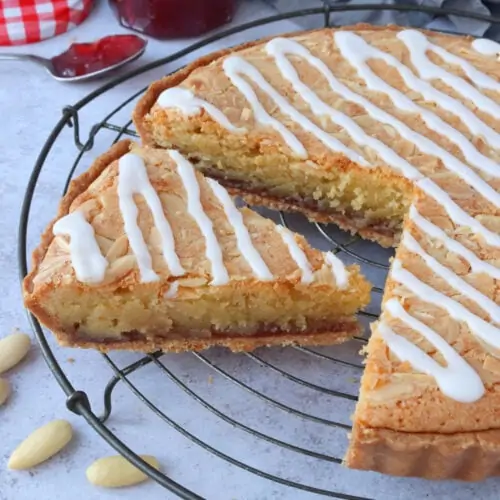
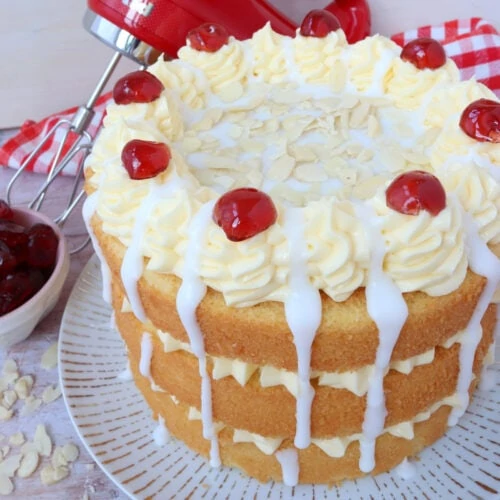
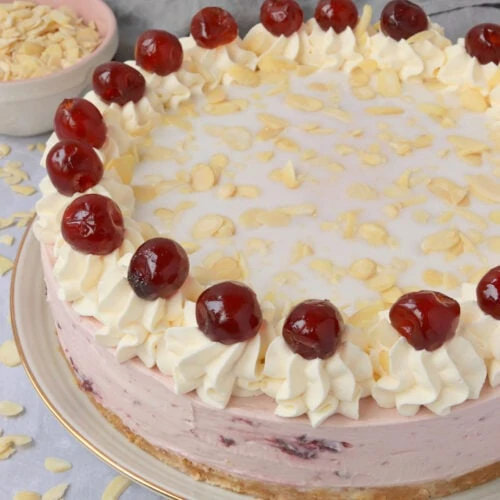
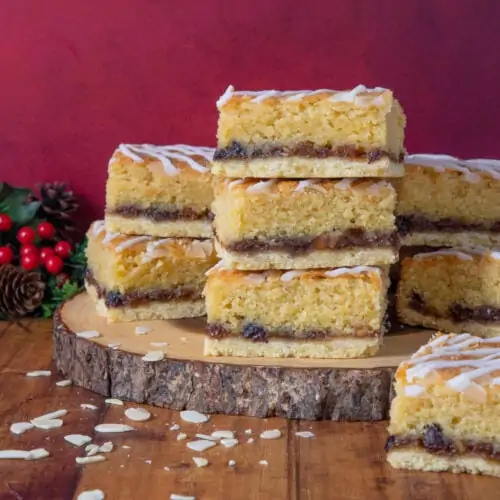
More bakewell recipes...

Cherry Bakewell Cookie Cups
Ingredients
For the cookie cups
- 100 g Butter softened, unsalted
- 100 g Caster sugar
- 65 g Light brown soft sugar
- 1 Egg large
- 1 tsp Almond extract
- 215 g Plain flour
- ½ tsp Baking powder
- ¼ tsp Bicarbonate of soda
- ¼ tsp Salt
- 30 g Flaked almonds
For the filling and decoration
- 160 g Cherry jam or other jam of your choice
- 175 g Icing sugar
- ¼ tsp Almond extract
- 2 tbsp Water add slowly, you may not need it all or you may need a couple of drops more
- 12 Glace cherry halves
Instructions
- Preheat the oven to 180°C Fan/Gas Mark 6 and grease a 12 hole cupcake tin with butter or baking spread, then line with strips of baking paper
- Ideally using a stand mixer with the paddle attachment, mix together the butter, caster sugar and light brown sugar until fluffy and paler in colour. This will take 3–5 minutes in a stand mixer on a medium speed
- Add the egg and almond extract and mix in
- Add the plain flour, baking powder, bicarbonate of soda and salt and mix them in
- Add in the flaked almonds, and mix briefly until evenly distributed
- Divide the dough into 12 equal portions – I weighed the dough and used 47g per cookie cup
- Roll the dough portions into balls using your hands, then place each ball into the holes of the cupcake tin. Use a small cylinder-shaped object, such as the end of a small rolling pin, the base of a small bottle, or ideally a pastry tamper, to shape the dough into the tin. You’re aiming for it to be pressed up the sides and along the base at a similar thickness, with a dip in the middle
- Bake for 10-12 minutes, or until golden. The cookie cups will rise in the middle, so use the same tool that you used to shape them to push the middles back down as soon as they come out of the oven. Remove them from the tin once they're cool enough to handle, then leave to cool fully on a cooling rack
- To decorate, pipe or spoon the cherry jam into the cookie cups. Mix the icing sugar, almond extract and water together to form a thick but pipeable icing. Add the water slowly as you may not need it all, or you may need a few drops more. Pipe it over the jam and add a glace cherry half in the centre of each cookie cup
- Store leftovers in an airtight container and eat within 3-4 days
Notes
- Make sure all your ingredients (particularly the butter and egg) are at room temperature before you start baking.
- I prefer to use unsalted butter for this recipe, but you can also use a baking spread.
- I used a cherry jam for the filling, but another jam like strawberry or raspberry would work well.
- I recommend using light brown soft sugar for delicious flavour and a more gooey cookie, but you can replace it with caster sugar if you can't get hold of brown sugar.
- For better flavour, use almond extract, not essence.
- Although I provide cup measurements, I highly recommend weighing your ingredients out using digital kitchen scales. It is the most accurate way to measure ingredients and will ensure the best results. Digital scales are very low cost and can be purchased for around £12 ($16.50).
- For teaspoon (tsp) and tablespoon (tbsp) measurements, please use measuring spoons and not the type of spoons you eat with. Again this will ensure accuracy and provide the best results.
Cynthia Caton
Hi,
If I wanted to only make 6 of the cookie cups would I be able to use 1medium egg and half the recipe, would that work out okay?
Thanks
thebakingexplorer
Hi Cynthia, there isn't a huge amount of difference between a large and medium egg, so I think doing this would give you a dough that was too wet. I would crack an egg into a bowl, whisk it, weigh it, then add half to the mix. You can save the rest for scrambled eggs or a stir fry etc.
Cynthia Caton
Hi Kat
Thank you so much for your quick reply and advice, looking forward to trying them 😊
Cynthia Caton
Made them today highly recommend they are delicious 😋
thebakingexplorer
Thanks so much Cynthia!