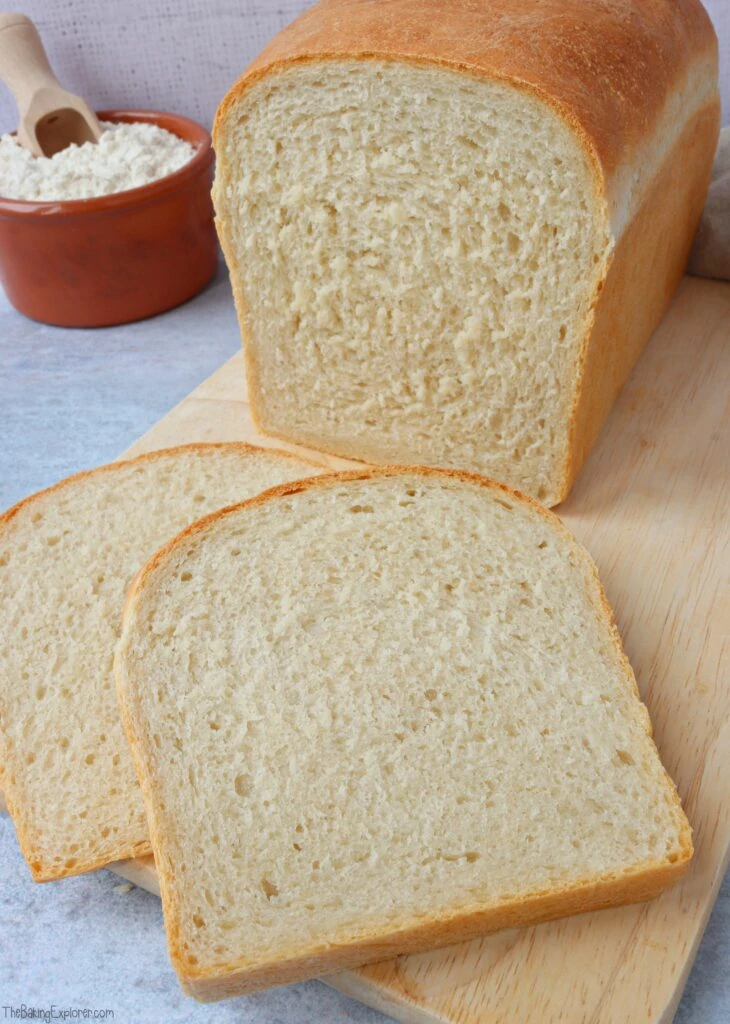
This White Bread Loaf is easy to make and I've included step by step instructions and answered lots of common bread making questions throughout this post. It makes perfect toast, and it's great for sandwiches too. Once you master homemade bread, you won't want to go back to shop bought!
This post may contain affiliate links. I earn from qualifying purchases.
Welcome to my Baking Basics series!
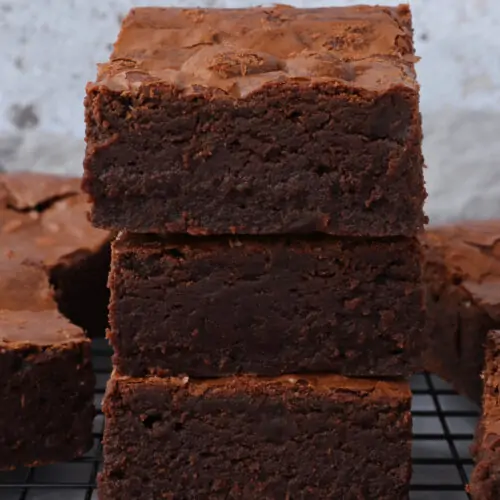
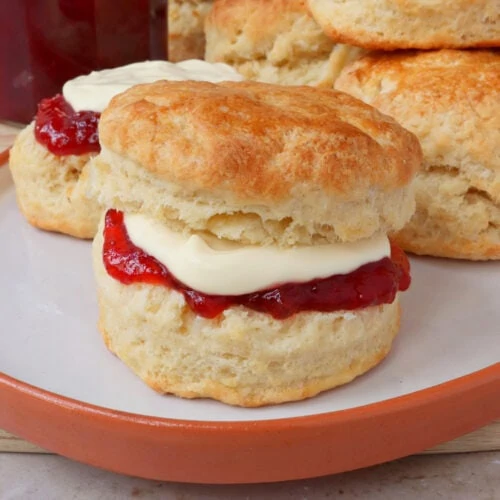
In this series I will be sharing recipes for basic baked goods, think perfect scones for afternoon tea, a classic Victoria sponge cake , and ultimate gooey chocolate brownies! So basic in name, but definitely not basic in taste and enjoyment. This series is mainly for beginner bakers who want to learn the secrets behind baking, because getting the basics right is the best place to start. More experienced bakers will really enjoy it too, as there are so many delicious recipes to try out! This time it is the turn of the White Bread Loaf.
For the full recipe with measurements, head to the recipe card at the end of this post. This post is full of helpful tips and commonly asked questions when making bread, so I do recommend reading through it all first.
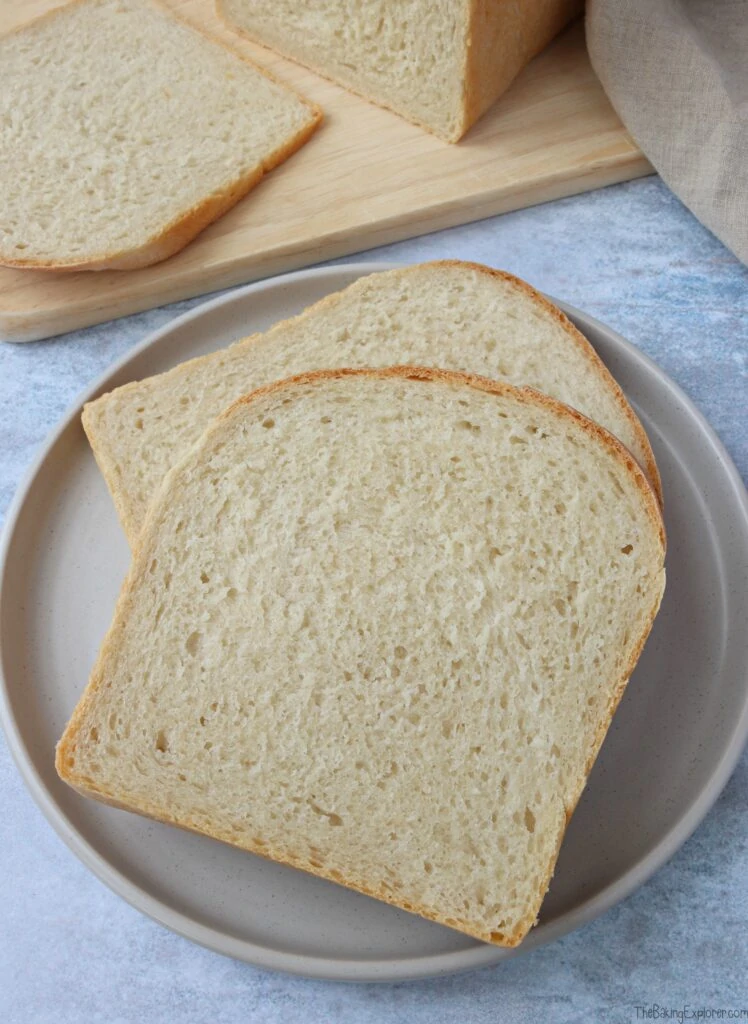
What equipment do you need to make bread?
You can make this White Bread Loaf without any speciality equipment if you knead it by hand. The minimum equipment you'll need is a mixing bowl, kitchen scales, a wooden or silicone spoon, and a 2lb loaf tin.
I prefer to use an electric stand mixer to knead my bread, so if you have one, then you can save yourself some work. I also like to bake my bread in a farmhouse style loaf tin, for the classic rectangular loaf of bread shape, however a loaf cake tin also works well. Baking bread in a tin gives the loaf more support and I do recommend starting with bread baked in a tin if you are new to making bread. A dough scraper is also a really handy bit of bread making kit, and they're very cheap to purchase.
Recommended equipment & ingredients:
- Loaf tin
- Mixing bowls
- Cooling rack
- Kitchen scales
- Fast action yeast
- Metal dough scraper/cutter
- Dough scraper
- Stand mixer
- Silicone Brush
- Silicone mat
- Paper storage bags
- Serrated bread knife
(I earn a small amount of money if you buy the products after clicking on the links. You will not be charged anything extra for this. Thank you for supporting The Baking Explorer!)
What type of yeast should you use?
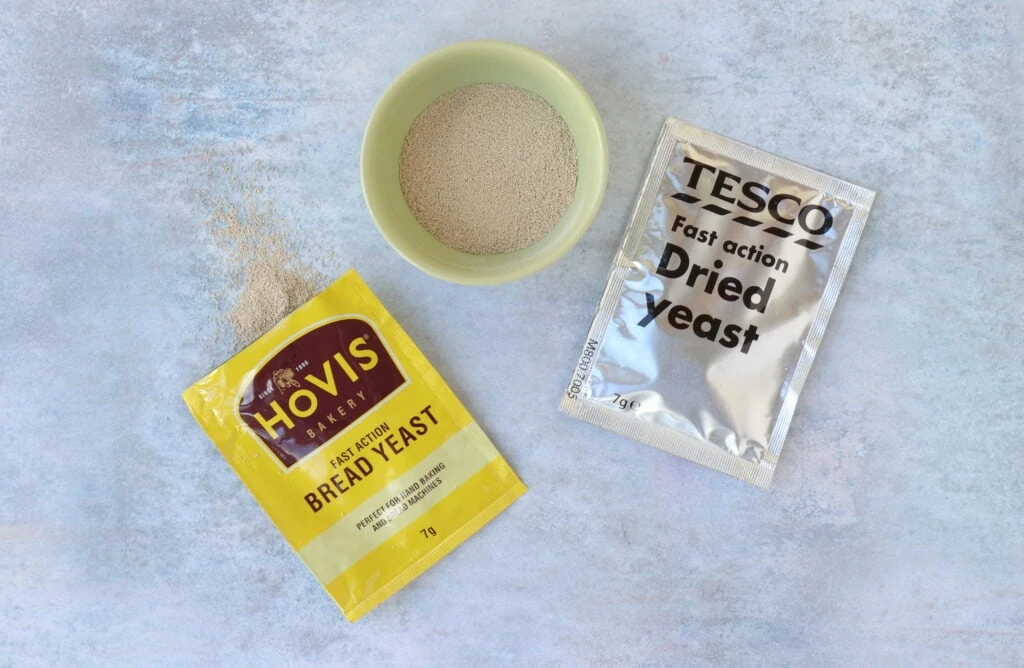
Active dry yeast
This can also be called dried active baking yeast, and it is, as the name suggests, a dried form of yeast. Before using it, you have to dissolve it in luke warm water or milk. It will froth up and bubble, indicating that the yeast is good to be used. If it does not do this, then the yeast has died and will not work in your recipe. It is sensitive to heat so when storing this type of yeast it has to be kept in a cool place, then it can last for several months. If you would like to use this type of yeast for this recipe, you will need 9g of active dried yeast.
Instant yeast
This is most popular type of yeast used in domestic kitchens, and it is also known as fast action dried yeast. You buy it in sachets, which weigh 7g each, or 2 teaspoons. It does not need dissolving in water before use, however you can still do this if you like. The great thing about this type of yeast is that you can just add it straight into the flour. It is my personal favourite kind of yeast for homemade bread baking, and the type I recommend for this recipe. You will need one 7g sachet instant yeast for this recipe.
Fresh yeast
Fresh yeast is most commonly used in professional bakeries and commercial kitchens. It is rare to find it on supermarket shelves. The reason is it's short shelf life - it only lasts around 10 days. If you would like to use this type of yeast for this recipe, you will need 8g fresh yeast.
The ingredients
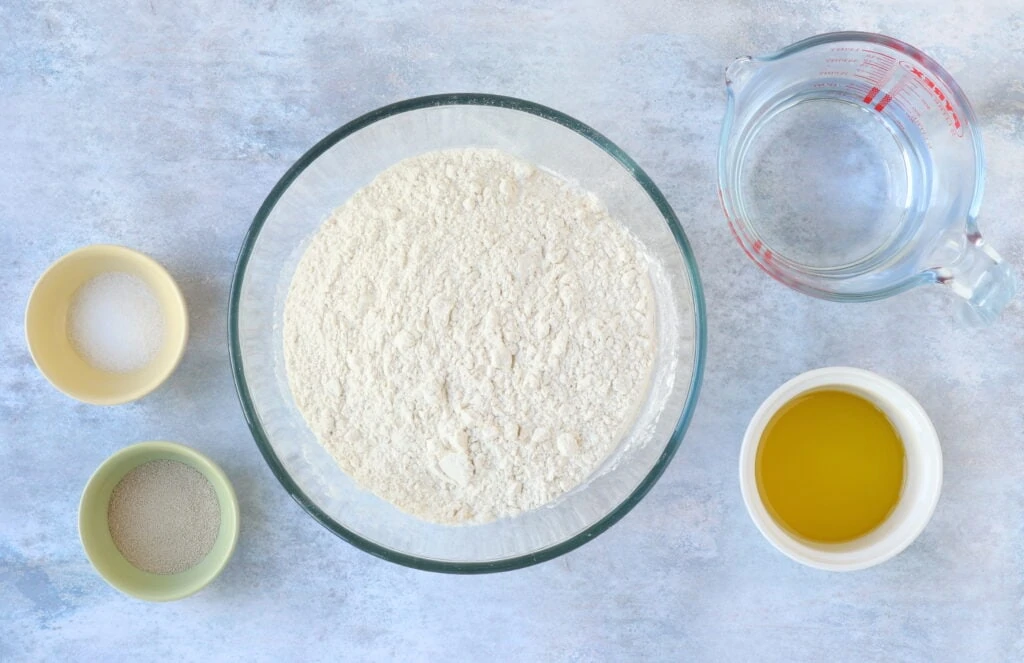
To make bread you only need four basic ingredients: flour, water, yeast and salt. I also add olive oil, which has a few benefits. The oil increases the shelf life of the bread, it also makes the crust crispier and the inside more tender and soft. If you don't want to use oil, you can use softened butter instead, or replace it for the equivalent amount of water.
What type of flour is best for bread?
Strong bread flour is the best option for bread as it is high in protein which assists in the forming of gluten - a protein that creates the rise in bread, as well as creating the lovely bread texture that we all know and love. You can also make this recipe with regular plain flour, the bread may just rise a little less. I recommend Matthews Cotswold Flour for bread making. They are a family run business with a focus on sustainable and organic farming practices. I've visited and toured their mill set in the beautiful Cotswolds. You can also get 10% off any purchase from their website using my code: KATBAKINGEXPLORER.
Can you use other types of oil?
Yes, you can also use vegetable oil or other plain oils that don't have a strong taste like canola and sunflower oils. Or, if you do want to add some flavour to your bread you could try an infused oil, like garlic for example.
What temperature should the water be?
The water should be lukewarm or tepid, this essentially means room temperature water which is around 18C to 23C. It's important not to use hot water that's above 30C as this will most likely kill the yeast and your bread will not rise.
The method
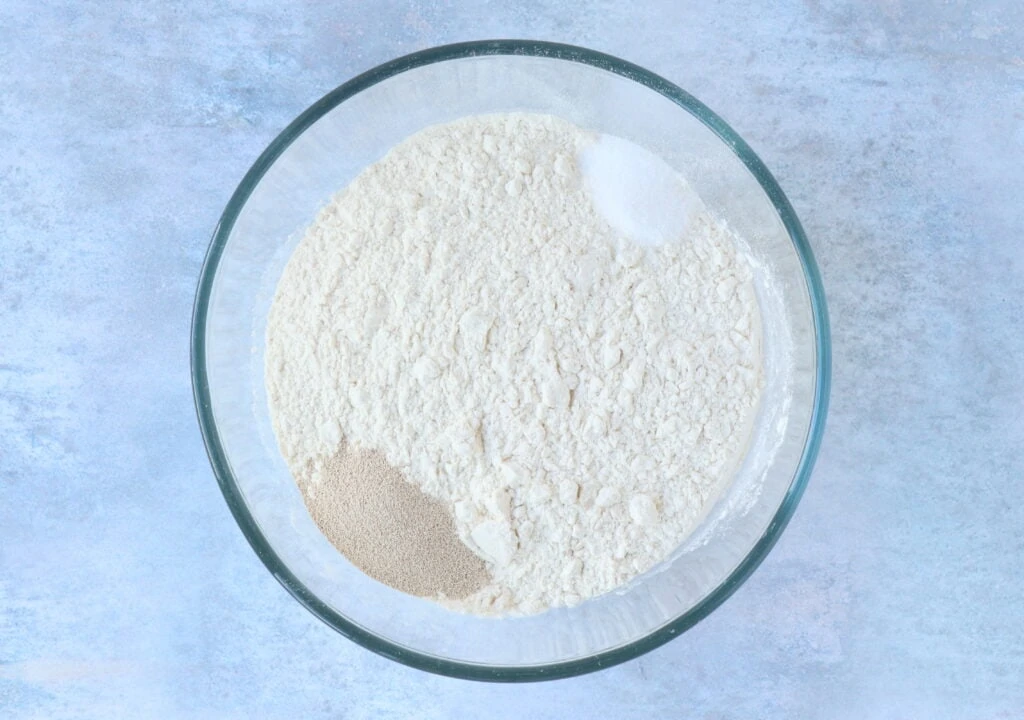
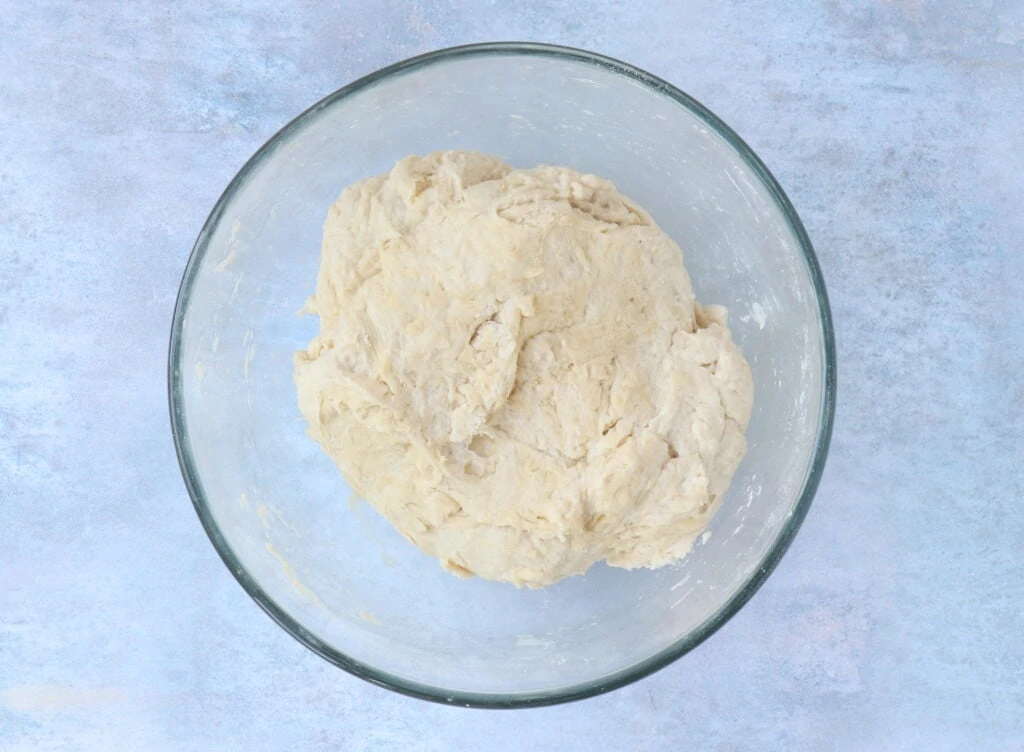
Add the bread flour to a large mixing bowl, then add the yeast to one side and the salt to the opposite side. Do not pour the yeast and salt on top of one another, as this can stop the yeast from working. Stir everything together. Next, add the oil and stir it in, then add the water and mix until a rough dough forms.
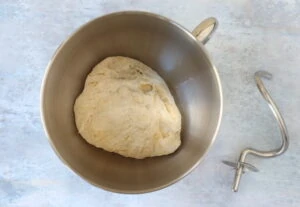
If you are kneading the dough in your stand mixer, pop it into the bowl of your mixer and set it on a low speed with the dough hook attachment. Leave it to knead for 8-10 minutes, until the dough is smooth and supple, and comes away from the side of the bowl.
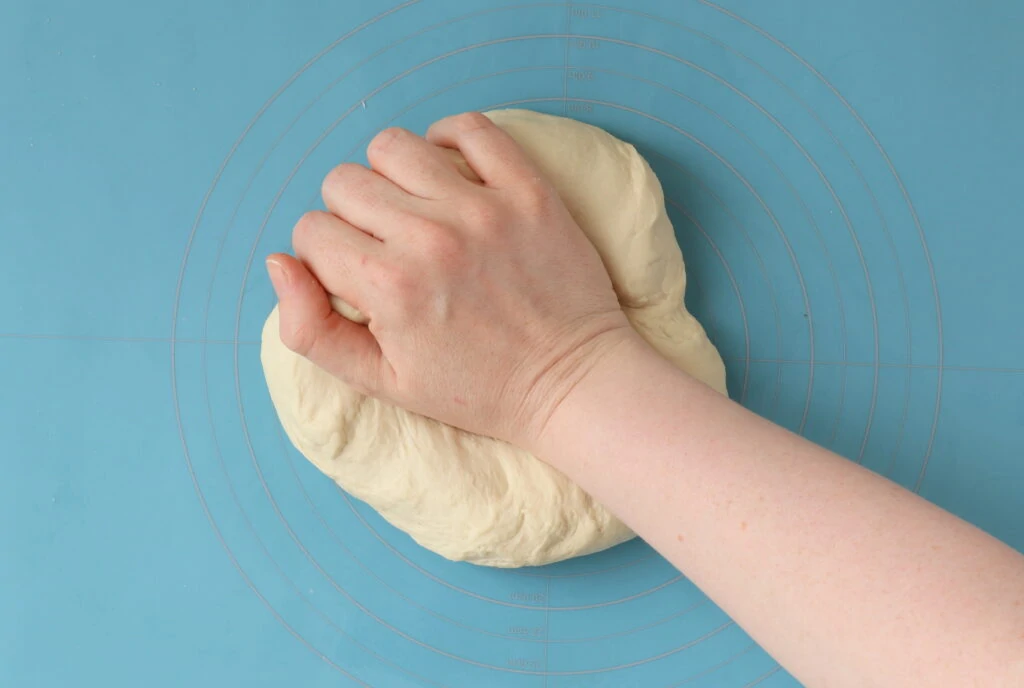
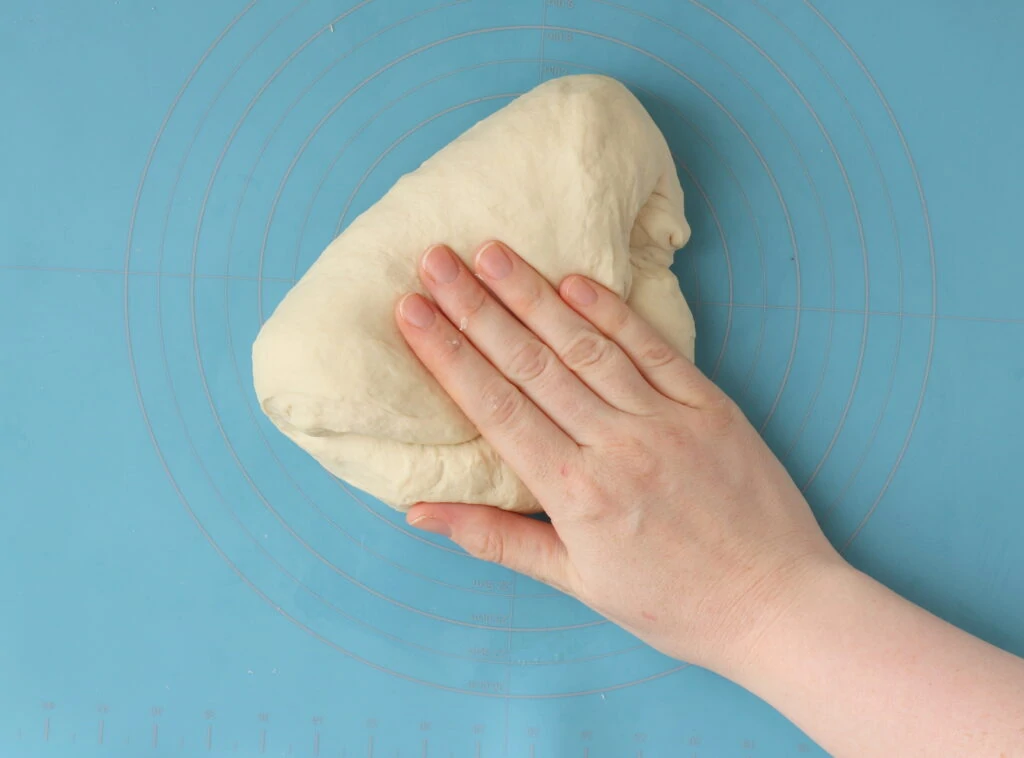
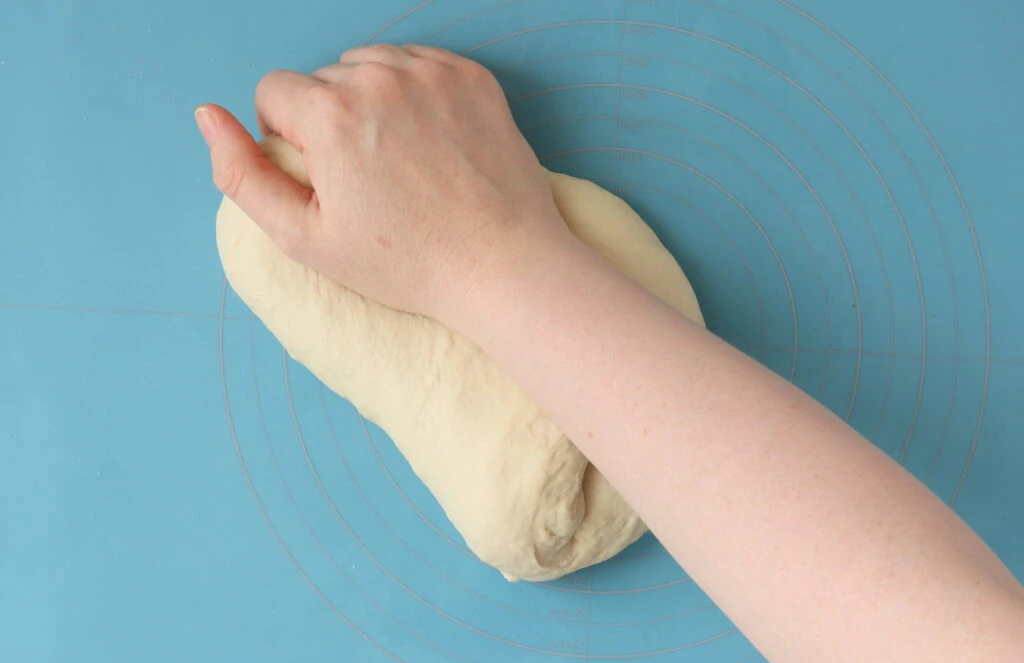
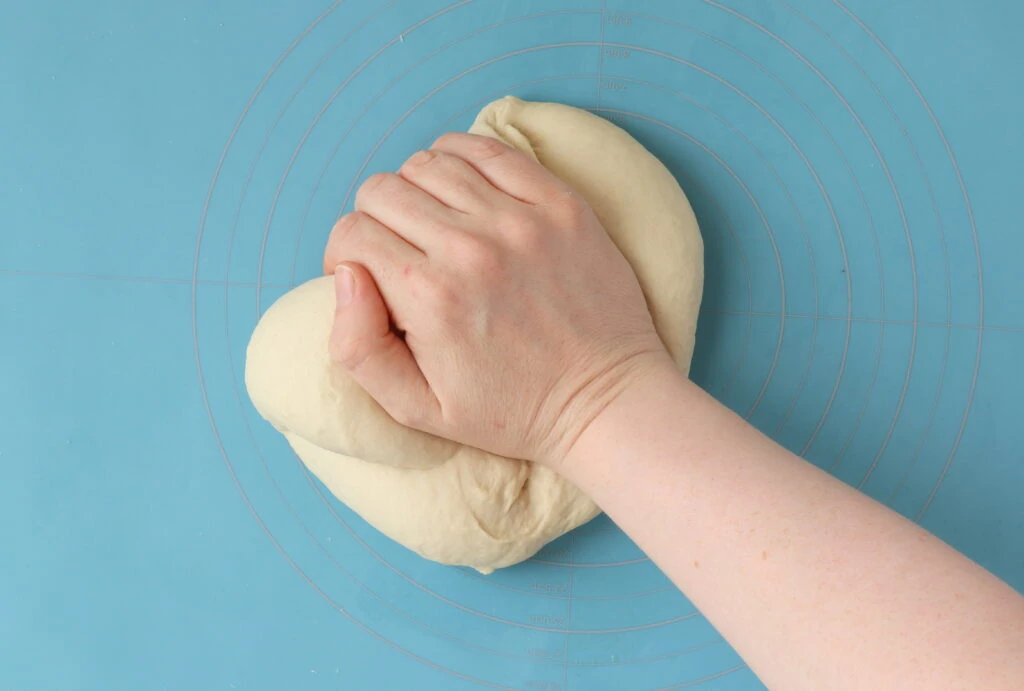
If you are kneading by hand, lightly flour your work surface and tip your dough onto it. Use the heel of your hand to push into the centre of the dough and away from you. Fold the dough in half, bringing it towards you, and then press down on it again with the heel of you hand and push it away.
Turn the dough as you knead it, continue to push it away and fold back until it is soft and supple. Try not to over flour your work surface, only use a light sprinkle if you really need to. It will become less sticky as you knead it.
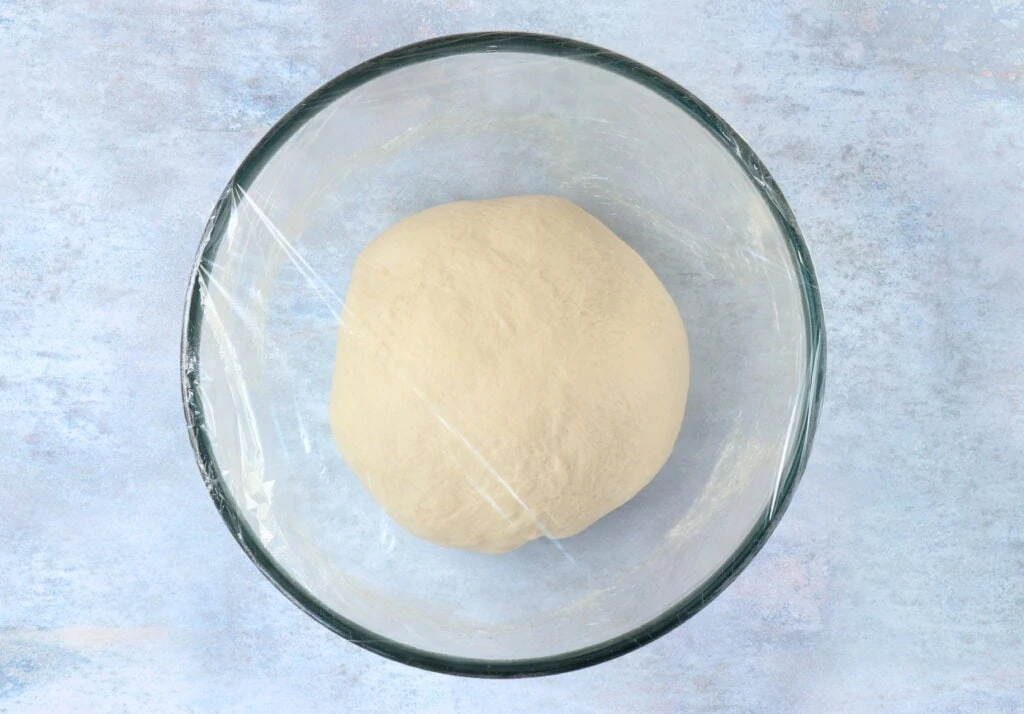
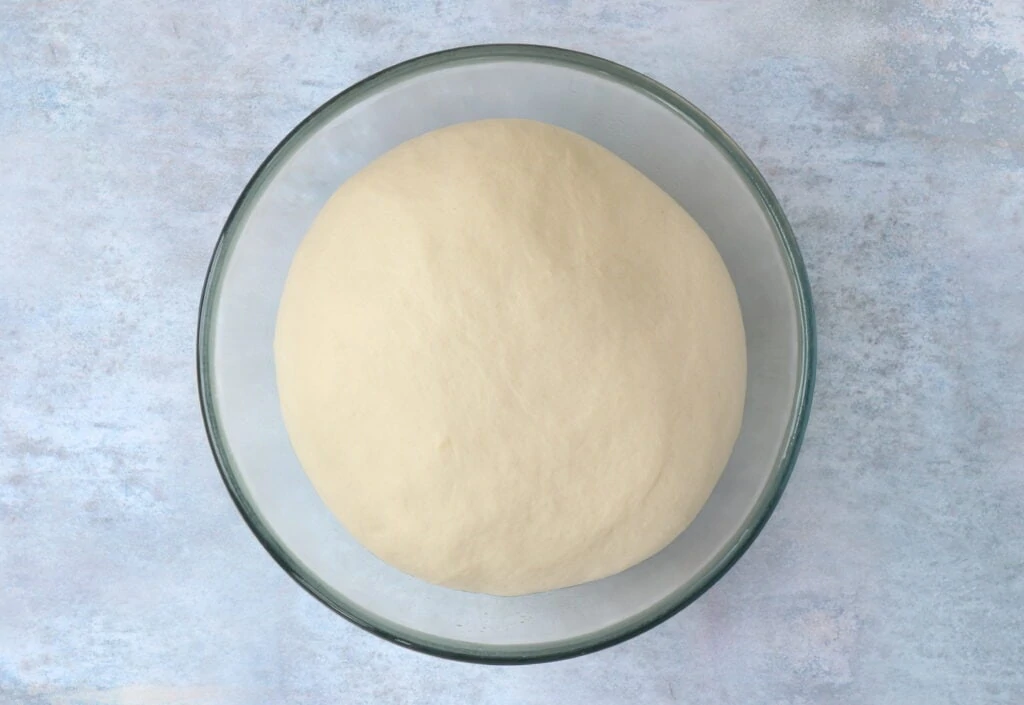
Once you have kneaded the dough, place it into a lightly oiled bowl and cover with either cling film (plastic wrap) or a reusable alternative. Leave it to prove (rise) for around 1 hour, or until doubled in size.
How do you know when the White Bread Loaf has proved?
Depending on the temperature of your room, it will take slightly different times for the bread to complete it's first prove. Aim for 1 hour in a 21C room, then check the bread by giving it a poke. If the dough springs back easily, it needs more time. If it doesn't spring back at all, it's over proved. If it springs back about halfway, it's just right! If you're not sure, it's always better to have sightly under proved bread, than over proved bread.
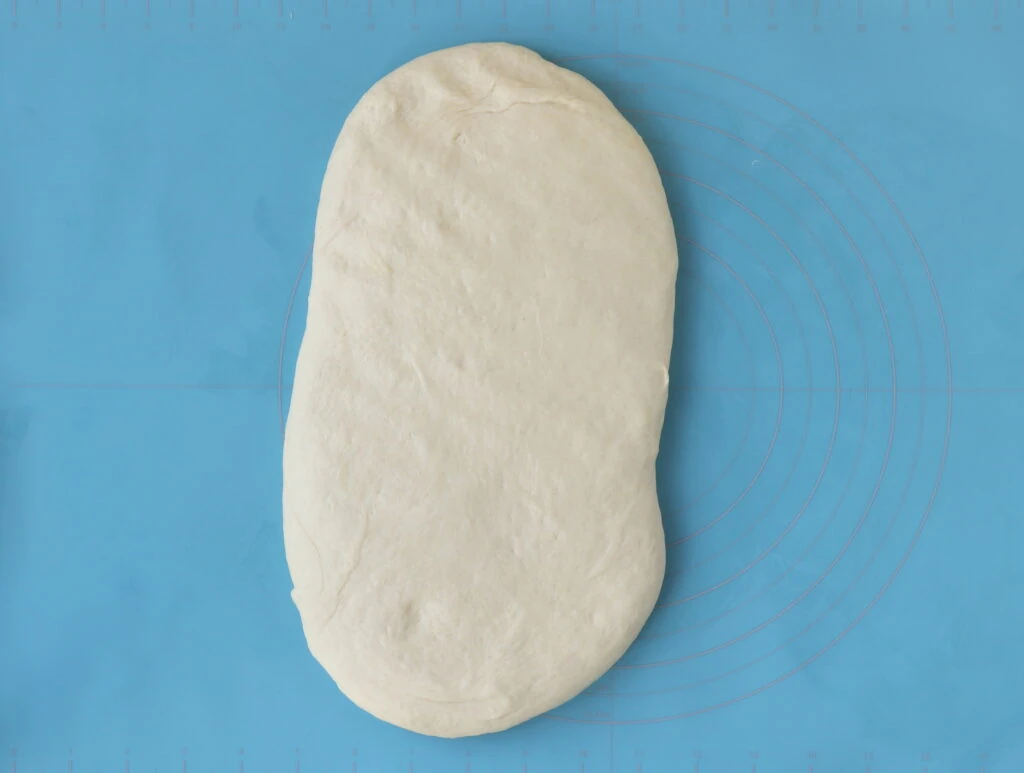
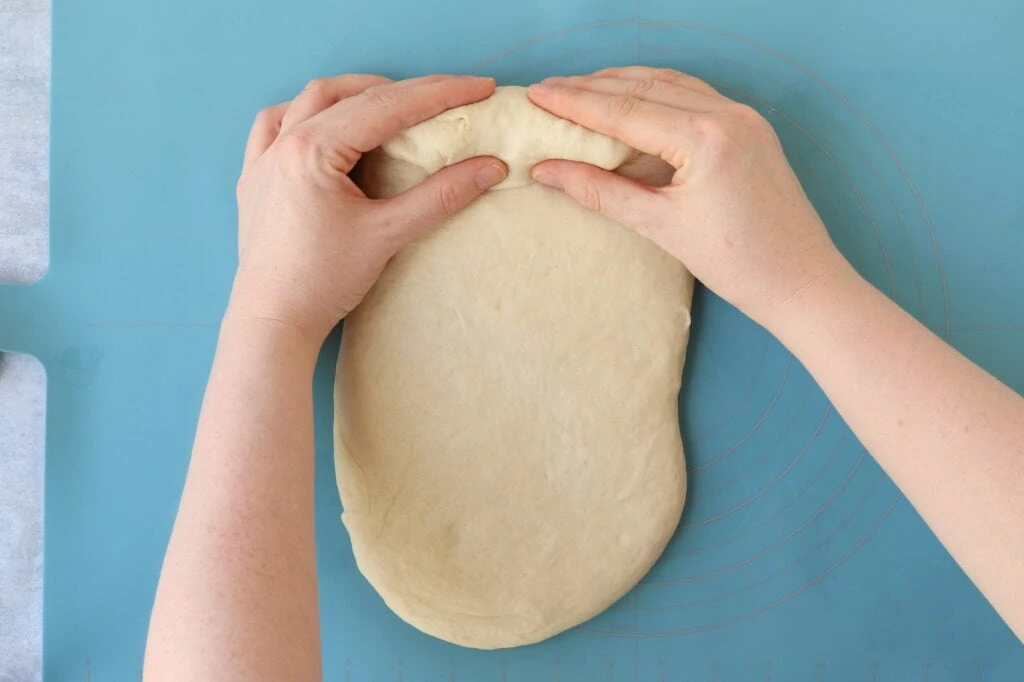
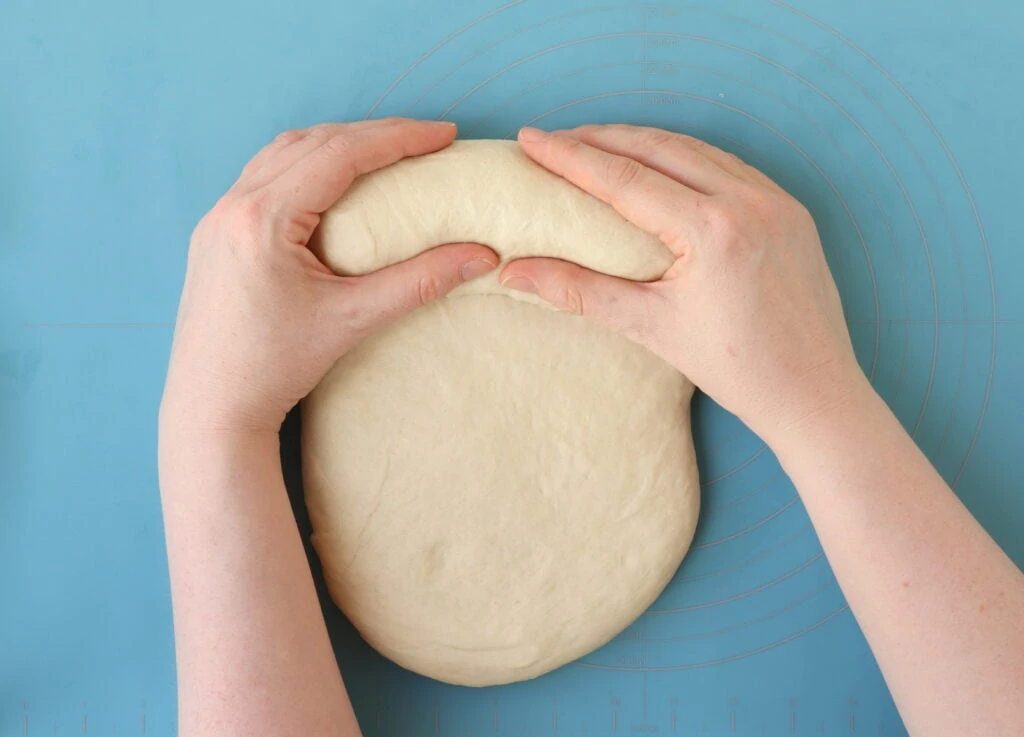
To shape the dough into a loaf, tip it out onto your work surface and pat it out with your hands into a flat rectangle shape. Aim for it to be roughly the width of your loaf tin. Start rolling it up from the shorter end, using your thumbs to gently press the dough together as you roll.
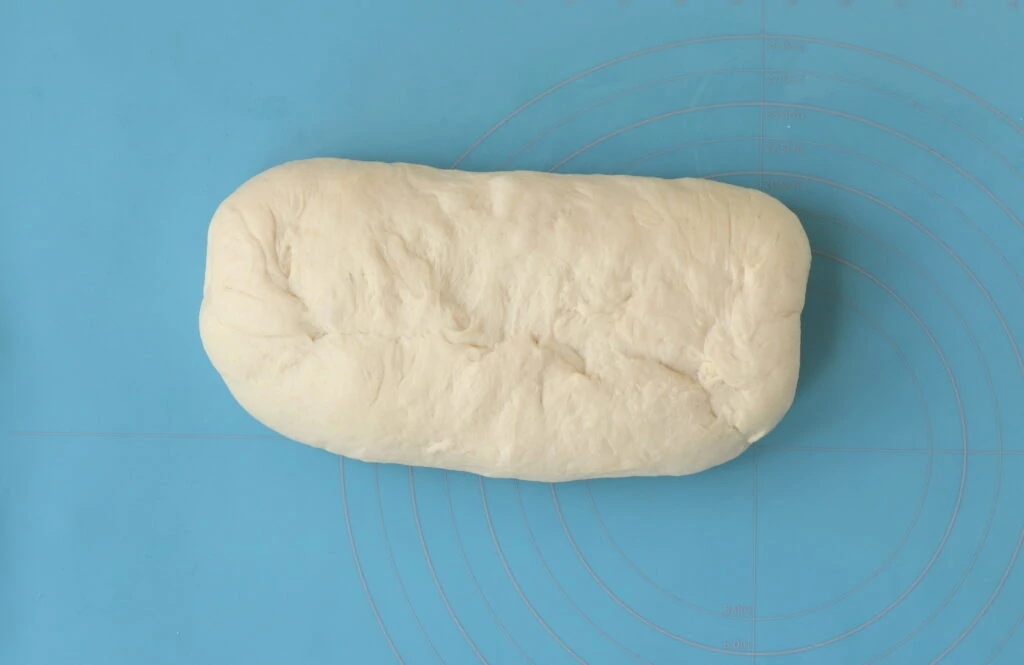
Once you have rolled it up tightly, pinch the seam together with your fingertips. You can also pinch the side seams together too for a neater finish.
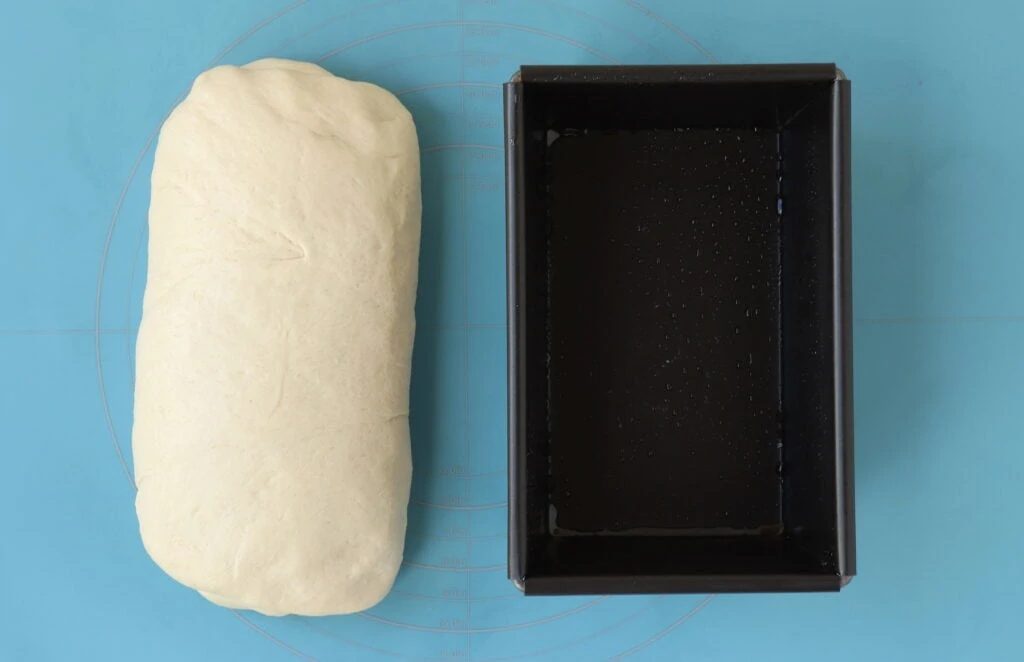
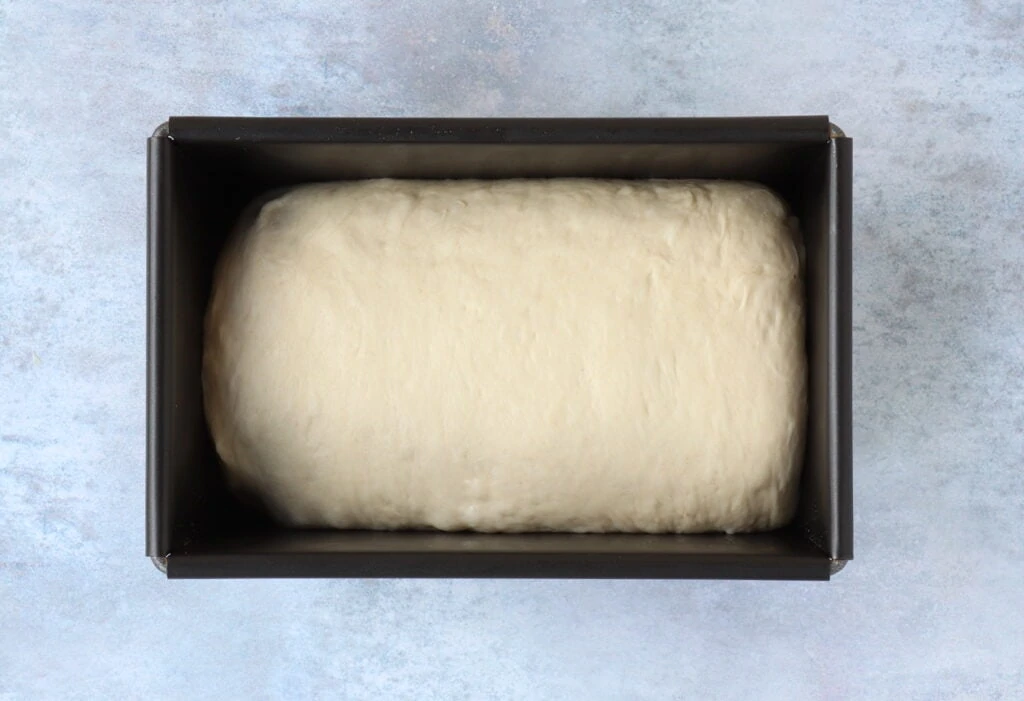
Roll the dough over, so the seam is on the bottom, lift it up and place it into a lightly oiled 2lb farmhouse loaf tin.
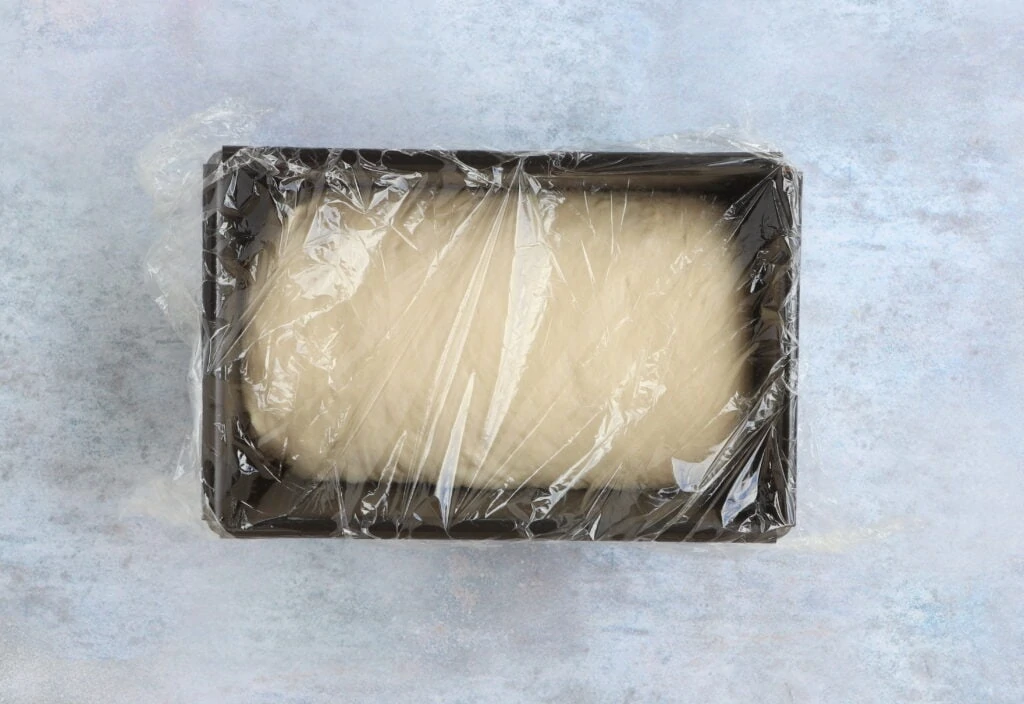
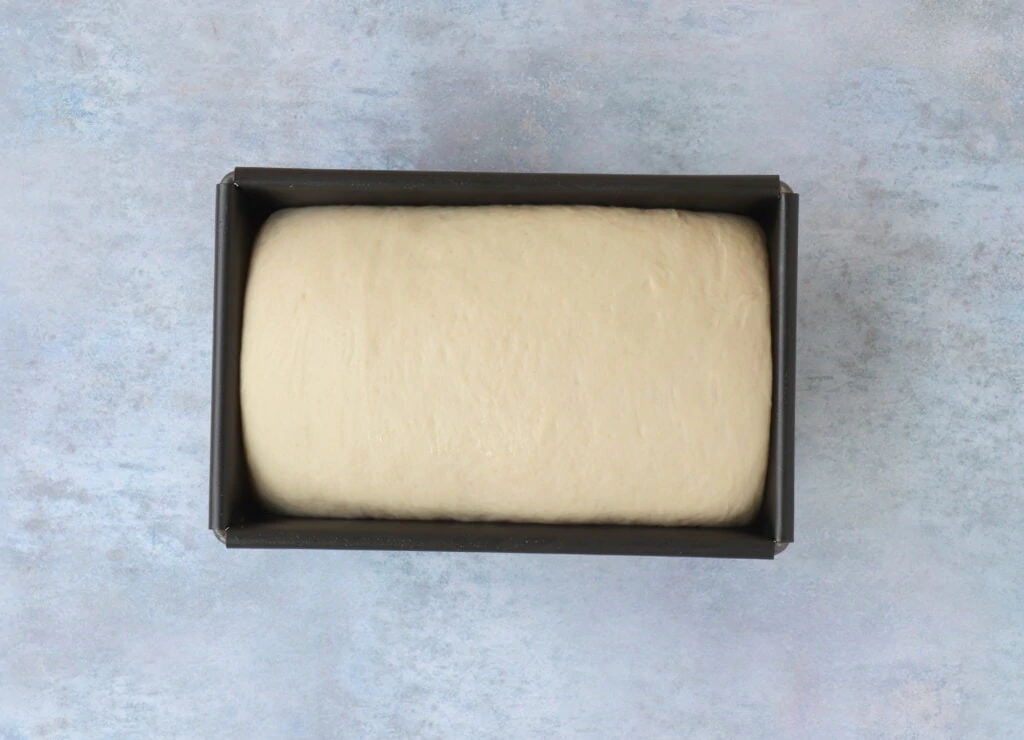
Cover loosely with either cling film (plastic wrap) or a reusable alternative, brush the cling film with oil first to stop it from sticking to the dough. Leave it to prove for 30 minutes, then remove the cling film, and it's ready to bake!
How can you tell if bread has been baked long enough?
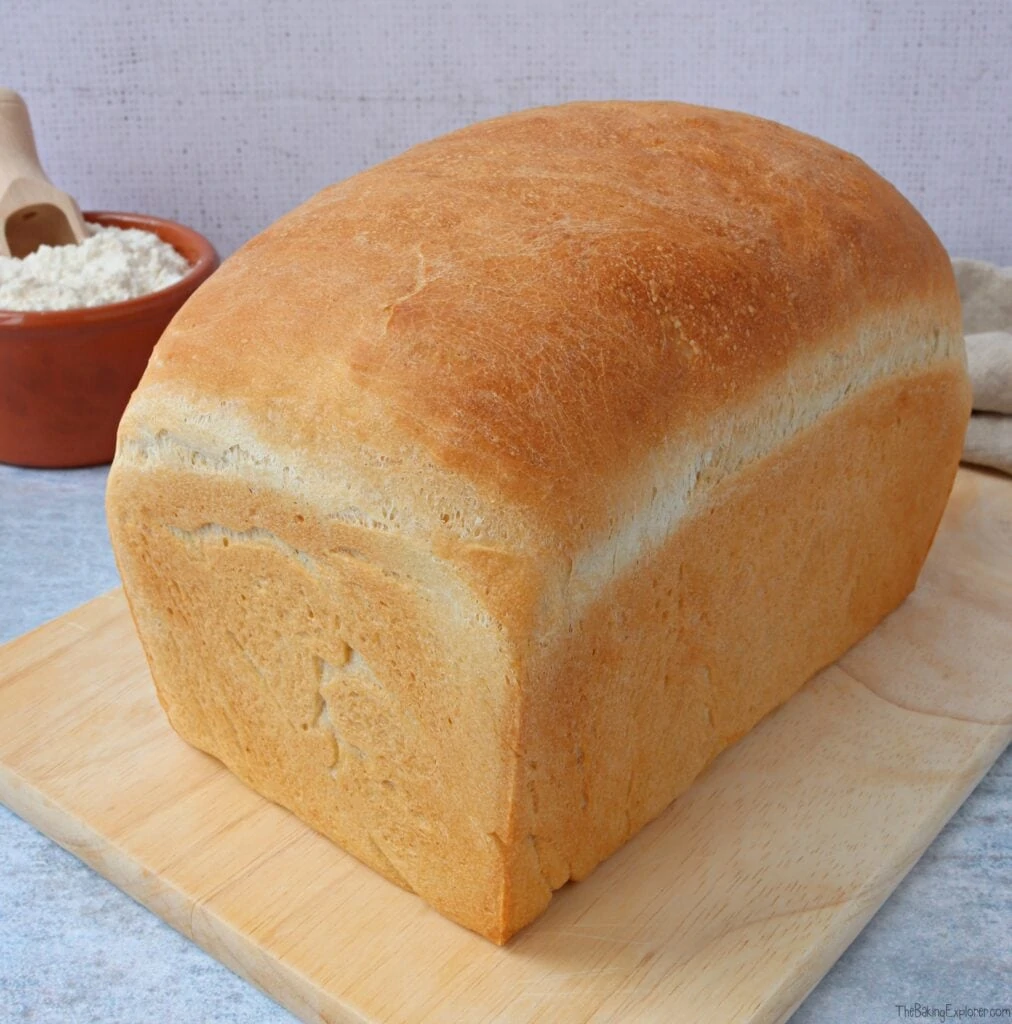
The best way is to tip it out of the tin and tap the base with your fingertips (be careful as it will be very hot!) if it sounds hollow, then it's done. I've never had to bake this recipe longer than 30 minutes, but ovens can vary so it is best to check.
How should you slice the White Bread Loaf?
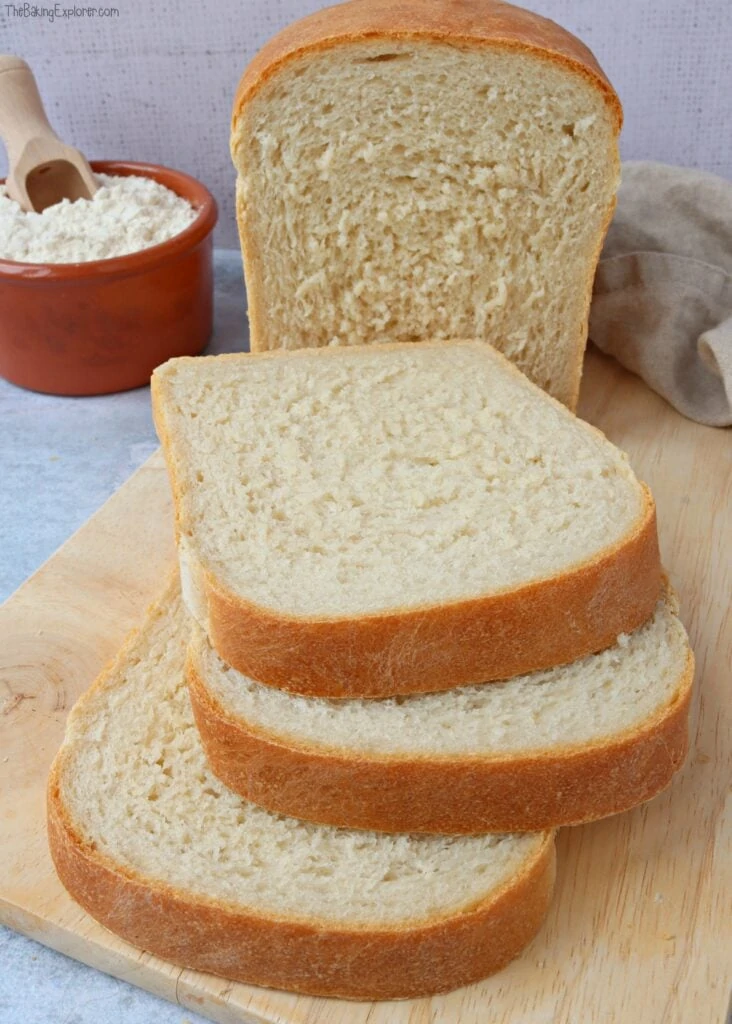
A sharp serrated knife is best for slicing bread. I have a Fiddle Bow bread knife which I got for my birthday and I honestly think they're amazing! They are based in the UK, but they do post them internationally too.
How should bread be stored and for how long?
Unsliced bread can be stored unwrapped for a day on your kitchen worktop. Once you slice it, I've found it best stored in a paper bag. You can also store in an airtight container or a ziplock bag, but the crust does loose it's crustyness when you do this. However if you're just planning to toast it, then this is not an issue. This bread will keep well for 2-4 days, however it really is best eaten within 1-2 days.
Can the White Bread Loaf be frozen?
Yes, you can freeze the bread either whole, or cut into slices and then freeze. Make sure to wrap it well, or freeze in an ziplock bag or plastic tub, to prevent freezer burn.
Can this bread be made with wholemeal flour?
Yes, however I have found this makes the loaf more dense due to the lower amount of protein in wholemeal flour. I prefer to make this loaf with half wholemeal flour and half white flour for a more pleasant texture.
Can this bread recipe be made gluten free?
If you are coeliac or are wanting to bake bread for someone who is, I would advise that you look for a specifically gluten free bread recipe. It is much easier to follow an already gluten free bread recipe, than try to adapt one. I am not familiar with gluten free baking, and I have no experience with baking gluten free bread. I recommend starting with this Gluten Free Bread recipe from The Gluten Free Alchemist.
Can you make this White Bread Loaf recipe into bread rolls?
Yes, after the first prove, split the dough into 12. Roll it into balls, and place into a lightly oiled traybake tin (I use a 12" x 9" tin), or you could use a baking tray too. Then cover and give it a second prove (rise) for 30 minutes. It will only need baking for around 20 minutes, or until golden and risen.
What can go wrong?
Of course there are always some things that could go wrong when baking bread, especially for the first time, here are some common issues and how to solve them:
It didn't rise
- The dough was not proved (left to rise) in a warm place
- You may have added too much flour to the work surface when kneading the dough by hand
- The yeast you used is dead, out of date, or you forgot to add yeast (it happens!)
- You didn't follow the recipe exactly. For example, you didn't use the same flour, you didn't prove the bread long enough, or you didn't knead the dough for long enough
The bread is claggy or dense
All of the above issues can also cause this problem too. Adding too much salt can also create a dense loaf
The bread cracked on top
- The dough was improperly shaped
- Too much flour was used during the kneading process
- The loaf pan is too small (I recommend a 2lb loaf tin for this recipe)
There are air pockets in the bread
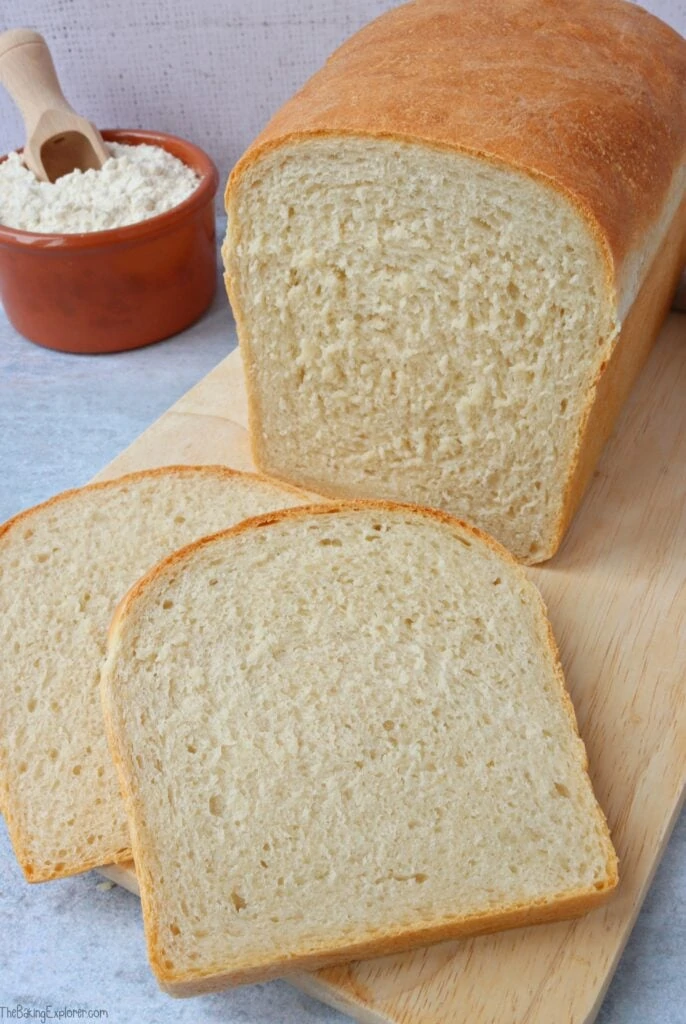
This is because you haven't rolled it tightly enough when shaping the loaf, make sure to roll the dough tightly and press the seam down with your thumbs with each roll.
Anything else?
If you have any other issues with your bread baking, please let me know in the comments below and I will do my best to help you. There is often a simple solution to most bread baking problems!
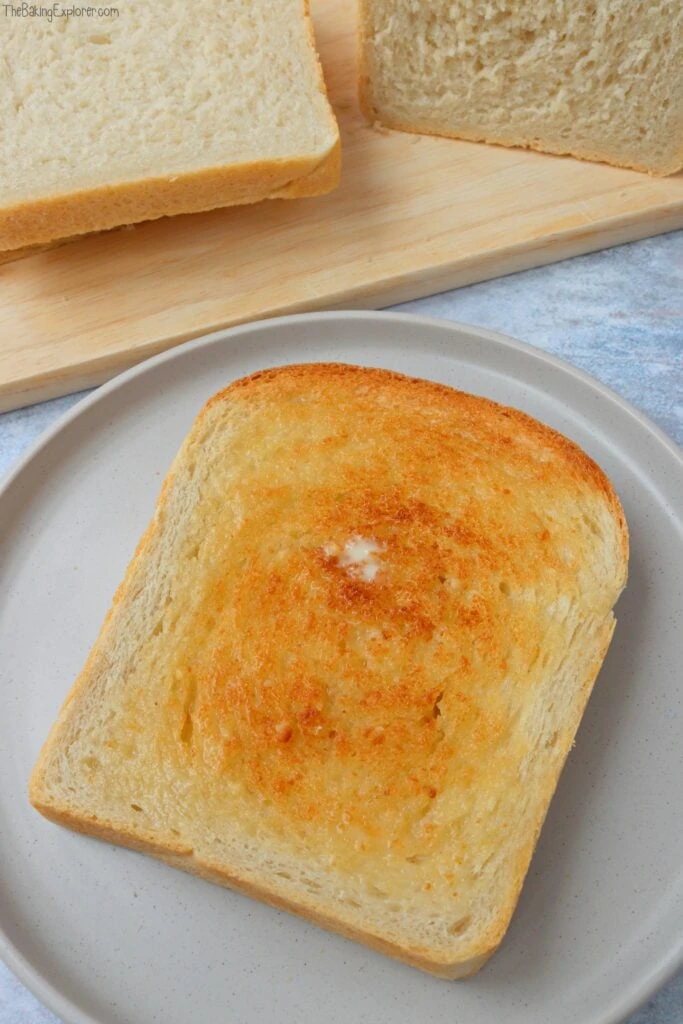
Variations?
You can add flaxseeds/linseeds, poppy seeds, sesame seeds, or sunflower seeds to the dough. Knead them through the dough or sprinkle them on top. Brush the loaf with water or egg wash after you've shaped it and put it in the tin, then sprinkle on the seeds. It also looks really pretty if you slash the top a few times with a sharp knife or lame after adding seeds.
More Baking Basics recipes...
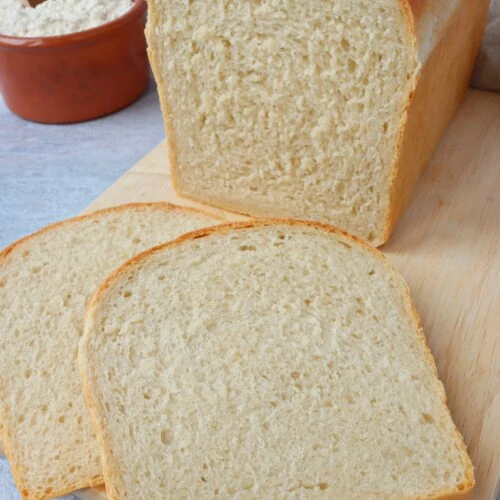
Ingredients
- 500 g Strong white bread flour
- 1 tsp Salt
- 7 g Sachet of fast action dried yeast
- 30 ml Olive oil
- 285-300 ml Water
Instructions
- Put the flour into a large mixing bowl, or the bowl of your stand mixer, then add the salt and yeast on separate sides of the bowl and stir everything together
- Add the olive oil and mix it in, then add the water. Different flours have different levels of absorbancy, so add 285ml and mix everything together to form a rough dough. If it's too dry then you can add more water, but you shouldn't need more than 300ml
- If you are using your stand mixer fitted with a dough hook to knead the dough, set onto a low speed and leave to knead for 10 minutes
- If you are kneading by hand, very lightly dust the work surface with flour, then knead for 10 minutes until the dough is soft and supple
- Lightly oil a bowl (I use a pastry brush to evenly spread the oil all around the bowl), and place the dough in it. Cover with cling film and leave in a warm place to rise for 1 hour, or until doubled in size
- Tip the dough out onto your work surface and use your hands to flatten it out into a rectangle shape, roughly the width of your loaf tin
- Roll it up from one of the shorter ends, using your thumbs to keep the roll tight and press the dough together. Once it's rolled into a sausage shape, use your fingers to pinch the seam together
- Turn the dough over so the seam is on the bottom. Lightly oil your loaf tin (I use a pastry brush to get into all the corners) then pick up the dough and drop it into the tin
- Loosely cover the tin with cling film and leave to rise for 30 minutes
- Meanwhile, pre-heat your oven to 200C Fan/220C/425F/Gas Mark 7
- After the 30 minutes is up, remove the cling film and bake for 30 minutes, or until golden, risen and the bread sounds hollow when the base is tapped
- Allow to cool fully before slicing, then enjoy!
- You can freeze the bread, or it is best eaten within 2 days


Helen - Cooking with my kids
I love homemade bread - your loaf looks perfect!
Beth Sachs
The shape and texture of this loaf is absolutely perfect!
Nikita Gordon
Fab recipe so easy to follow. Will definitely be making again. I put 2tsp of salt in the bread just personal preference.
Supriya Bontala
Came out very well
Chloe Edges
Wow - everyone keeps using the word "perfect" and I'd like to be different but I can't! Perfect describes this bread perfectly!
Eb Gargano | Easy Peasy Foodie
Looks fab! Everyone needs to have a good white bread recipe like this one in their back pocket 😀 Eb x
thebakingexplorer
Absolutely Eb, thank you!
Cat | Curly's Cooking
What an amazing guide to making bread. Your loaf looks fantastic and I love seeing you bake them on Instagram.
Priya Joshi
Fabulous basic loaf recipe! I made it today and it worked a treat! Thanks Kat for such a useful guide 🙂
thebakingexplorer
I'm so glad you were happy with the recipe Priya, thank you for you lovely feedback!
Emma Drake
Made several loaves and two lots of buns, great each time!’
Polly
Absolutely brilliant recipe. I have baked the white loaf twice and with wholemeal and white twice. Every time my family comment on how soft the bread is. This is now my go to bread recipe!!
Sophie
Incredibly easy to follow recipe that created such a delicious loaf it's sparked an obsession in me for homemade bread. I have found the recipe is also very adaptable for making breadcakes as well as wholemeal and seeded loaves.
Macie
I love making bread and I use it. I made it with whole meal flour and it tastes amazing. I really love this recipe. I recommend using wholemeal flour x
Macie
I really love this. 5/5 for definate 🥰
Yasmin
Best loaf of bread I’ve made! Followed the recipe and timings exactly and it came out perfect 😍
thebakingexplorer
So happy to hear this Yasmin, thank you for your lovely feedback!
Kelsey
This recipe is simply amazing. I’ve never attempted to make a loaf of bread before but this recipe is so easy to follow.. mine has just come out of the oven and is absolutely perfect! I’m over the moon, my boyfriend has eaten half the loaf already - we won’t be going back to shop-bought now😅.
Thanks Kat!
thebakingexplorer
Haha he sounds a lot like my partner too - bread never lasts long in our house either!! 😀 I'm so happy you like this recipe so much!
Dawn Goddard
A really simple and easy recipe to follow with a great outcome! I’m new to bread baking and this was lovely to make and tastes really nice too! It’s gone down very well with my husband!
I had to reduce the bake time slightly but that is quite normal for my gas oven so I’m used to that 🙂 I will definitely be making this again!
Nicky
Delicious! I made this to go with a cheese and meats sharing platter, there was none left! So easy to make and not a lot of ingredients. Thank you.
thebakingexplorer
Thanks so much Nicky this is lovely to hear!
Dawn Goddard
This is the best bread I’ve ever made. So light and fluffy! Also a simple recipe to follow. Will be making this time and time again 🙂
thebakingexplorer
Thank you so much for your lovely feedback Dawn!
Kelly Dawnay
This recipe is so clear and simple to make, I made it very quickly yesterday morning and half has already gone 😂 My husband loves bread so it's great to find a recipe we can use again and again and adapt to our needs. First time making bread in a tin and it came out brilliantly. Thanks for another awesome recipe 😁😋
Amy Woodcock
I made this bread yesterday it turned out absolutely beautiful I’ve used many bread recipes but this one beats the the others ,
Really good raise and lovely soft crumb I will stick to this recipe so easy to follow the recipe even if it’s your first time making bread 👍
thebakingexplorer
Thank you so much for such lovely feedback Amy!
William Gow
easy to follow recipe. fantastic bread. thanks
thebakingexplorer
Thanks so much William!
Anne
I’ve tried a few bread recipes in the past but I have to say that I found your recipe simple and easy to follow, and the bread tasted the best! Thank you! 🙂
Kath Wilson
This is a great recipe, I always struggled with bread previously but this recipe is so easy to follow and delicious bread. Thanks so much