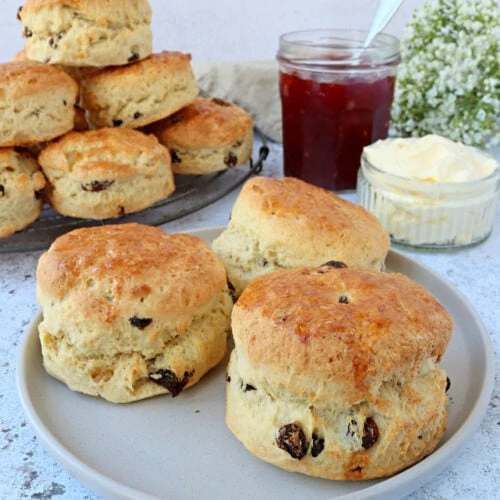
These Plain Scones are a traditional English treat enjoyed with afternoon tea. They are lightly crisp on the outside with a shiny and tempting top, and when you bite into them they are perfectly light and fluffy inside! They are absolutely delicious topped with jam and clotted cream, although I'll leave it up to you which one goes on first!
This post may contain affiliate links. I earn from qualifying purchases.

Welcome to my Baking Basics series!
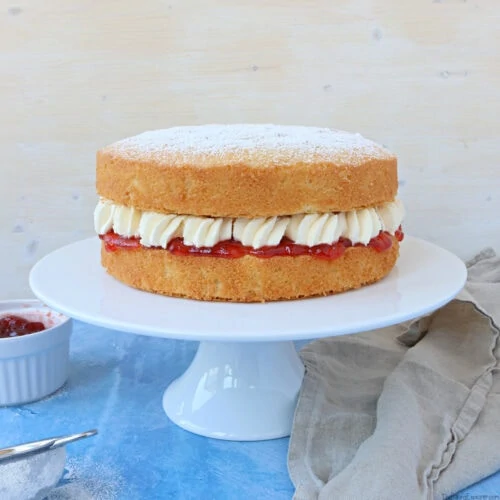
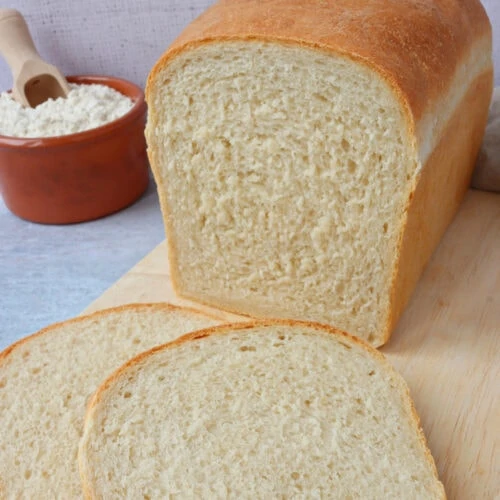
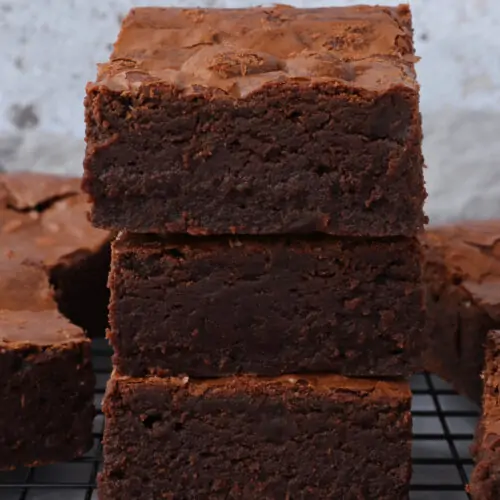
In this series I will be sharing recipes for basic baked goods, think a classic Victoria sponge cake, a brilliant white bread loaf, and ultimate gooey chocolate brownies! So basic in name, but definitely not basic in taste and enjoyment. This series is mainly for beginner bakers who want to learn the secrets behind baking, because getting the basics right is the best place to start. More experienced bakers will really enjoy it too, as there are so many delicious recipes to try out! This time it is the turn of Plain Scones.
The full ingredient quantities are listed in the recipe card at the end of this post. Or you can click the 'Jump to recipe' button at the top of the post to take you straight to it. This post is full of helpful tips and commonly asked questions when making scones, so I do recommend reading through it all first.
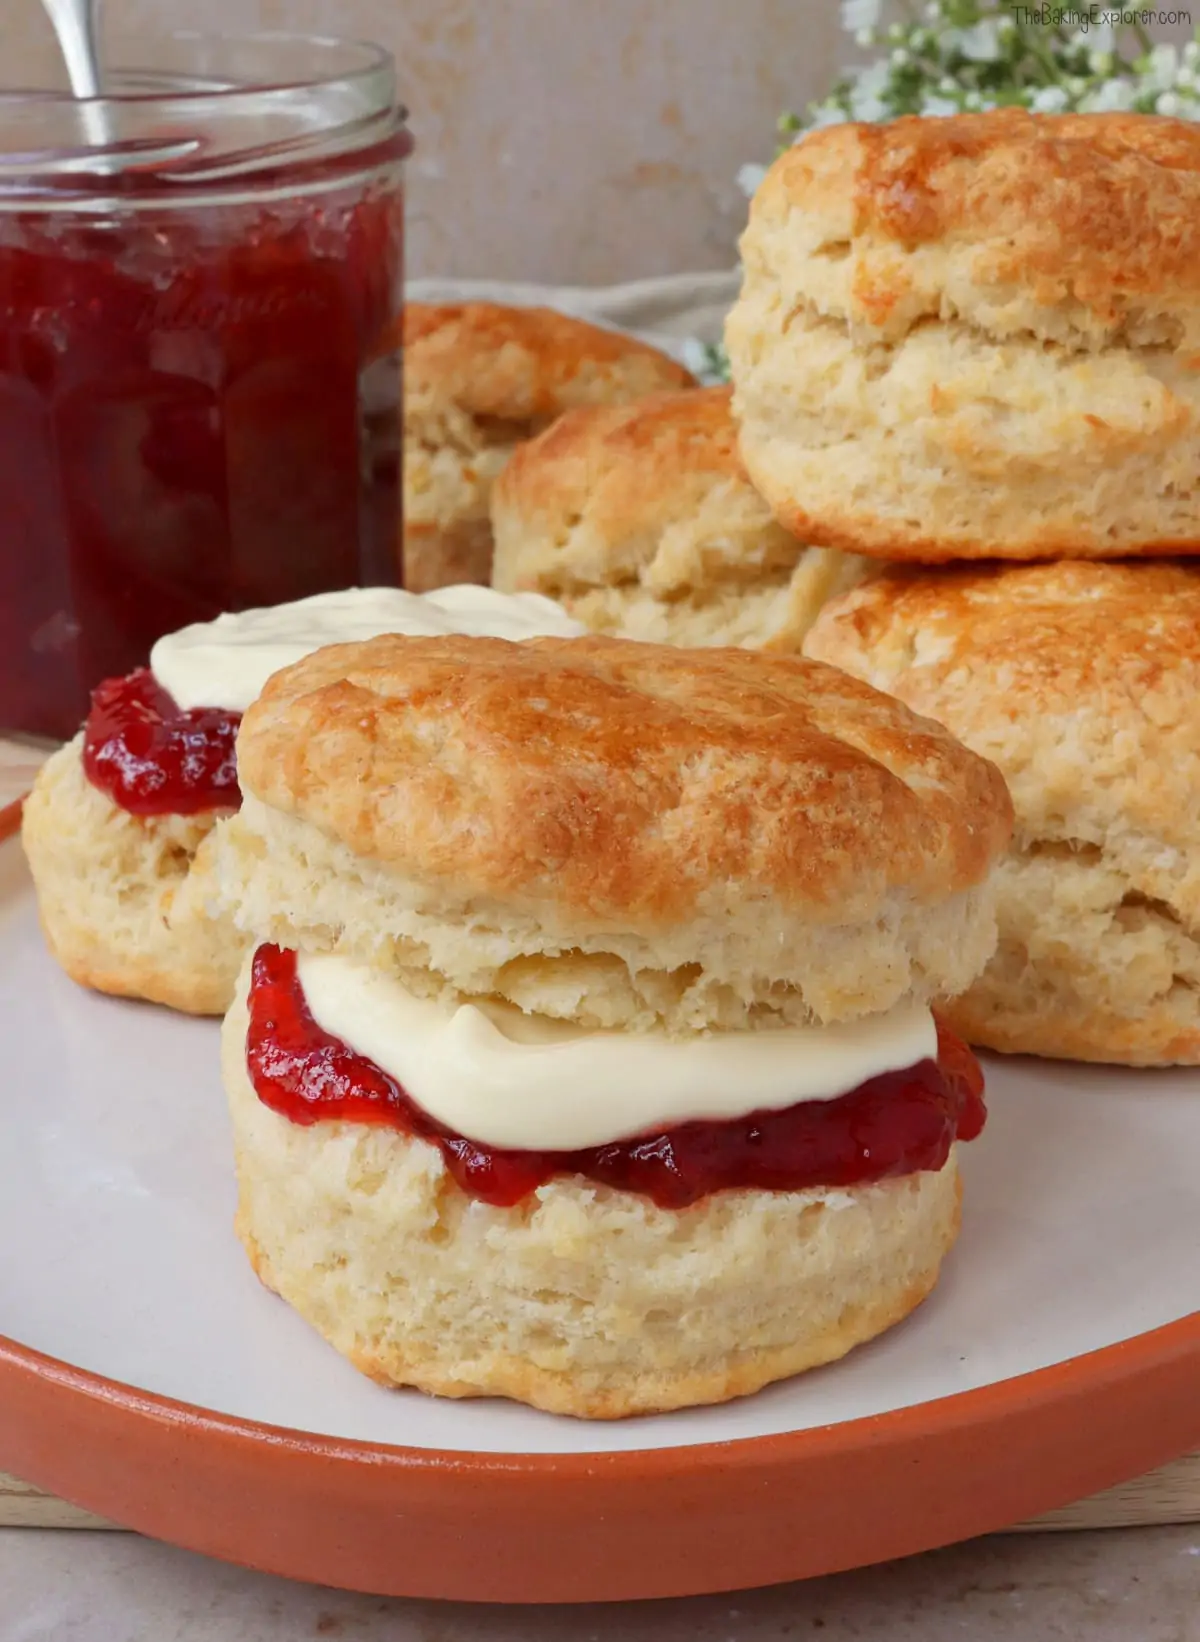
What are scones?
Scones are a type of bread known as a quick bread. They do not need yeast to rise, and instead rely on baking powder and self raising flour. They can be made plain, or things like dried fruit and chocolate chips can be added. You can also make savoury scones with cheese. Scones originate from the United Kingdom, but are eaten all over the world. They are very similar to the American biscuit.
What equipment do you need to make scones?
You only need a few basic pieces of baking equipment to make scones, you can also make them entirely by hand without the need for any electrical equipment. A food processor does come in handy if you don't want to get your hands dirty, or for convenience, but I rarely use one when making these scones. The main things you want to make sure you have are round cutters, as you need to cut out the scones with them. But at a push, you could use a drinking glass turned upside down instead.
Recommended equipment & ingredients
I earn a small amount of money if you buy the products after clicking on the links. You will not be charged anything extra for this. Thank you for supporting The Baking Explorer!

The Ingredients
- Self raising flour - if you want to make the scones with plain or all purpose flour, check the recipe notes
- Caster sugar - also known as super fine sugar, you can also use granulated sugar if you don't have caster sugar
- Baking powder - gives the scones their rise
- Salt - just a pinch for flavour, you can omit it if you don't want to add extra salt
- Butter - the butter must be cold straight from the fridge for the best results. This recipe uses unsalted butter, if you use salted them omit the pinch of salt
- Whole milk - this is the best milk to use for flavour and richness, but semi-skimmed works well too. You can also use non dairy milk
- Lemon juice - I highly recommend using fresh lemon juice, don't worry the scones won't taste of lemon at all. The lemon is used to turn the milk into buttermilk. This helps the scones rise and gives them a lovely texture
- Vanilla extract - this is optional, but it adds a wonderful flavour
- Egg - one large egg goes in the dough, and a medium egg is for glazing the scones
For the full recipe with measurements, head to the recipe card at the end of this post.
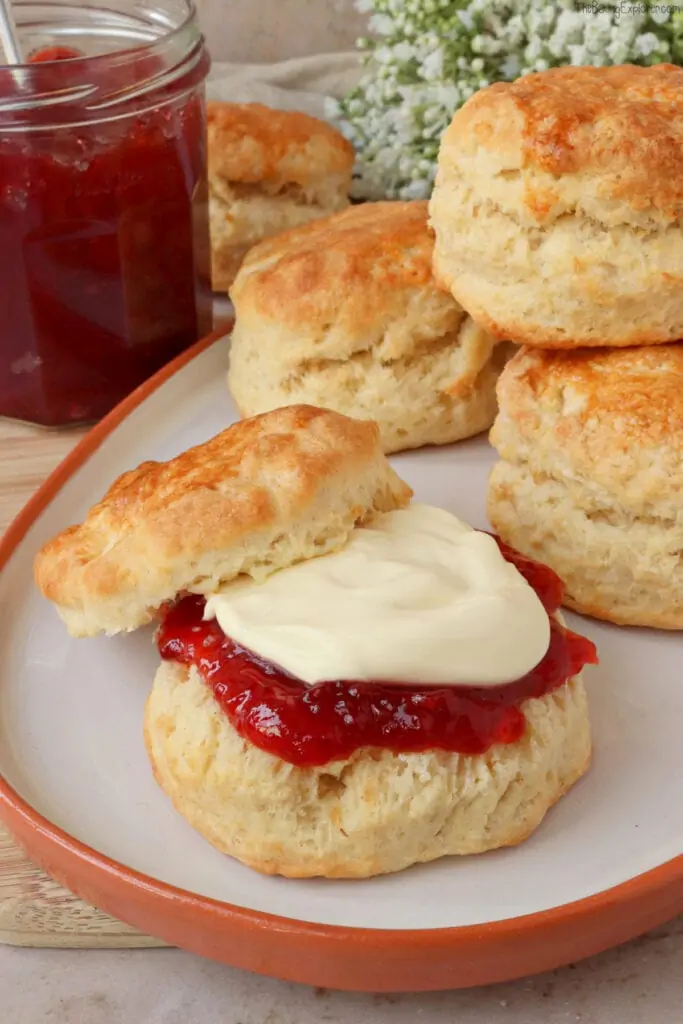
Can you make scones with plain or all purpose flour?
Yes, if you want to make them with plain or all purpose flour, you will need to add extra baking powder as self raising flour contains baking powder (and a little salt). I recommend using 3 teaspoons baking powder for this recipe if you use plain or all purpose flour. You may also wish to add a pinch of salt. When measuring the baking powder, please use proper measuring spoons for the best results, do not use a regular teaspoon that you would stir coffee with for example.
Should you make scones with butter, margarine or a baking spread?
Butter is the best option for flavour and richness in your scones. However, you can absolutely make scones using a margarine or baking spread. I've made them many times using Stork and gotten great results.
For the full recipe with measurements, head to the recipe card at the end of this post.
How to make Plain Scones
Mix the self raising flour, baking powder, caster sugar and salt together in a large mixing bowl. Add the cold butter and use your fingertips to rub it into the flour until it is combined and the whole mixture resembles breadcrumbs.
In another mixing bowl, or in a large jug, add the milk and lemon juice. Once it looks lumpy (this will only take a minute or so) add the egg and vanilla extract. Whisk them all together, then pour the liquid into the bowl of flour.
Bring the mixture together into a dough, being careful not to over work it or knead it. Flatten it out onto a floured surface and create a roughly rectangular shape. Use a round cutter to cut out the scones, push straight down and do not twist the cutter. Place the scones onto a lined baking tray and brush with beaten egg.

How should you cut out scones? Do they have to be round?
Traditional English scones are round, whereas American scones tend to be triangular. I find that circular scones rise more evenly, and they feel like the natural shape for afternoon tea (although I am British so I would say that!) If you want triangular scones, pat the dough out into a circle and cut into triangles like you're cutting a pizza.
How many scones does this recipe make?
It depends on the size of cutter you use and how thickly you pat out the dough. I use a 2.5 inch cutter, and the dough is around 1 inch thick, and I get 8 scones out of this recipe. I find this is an ideal amount because scones don't keep very long and are better fresh. If you want to make more scones, you can double or even triple the recipe.
Do you need to refridgerate the dough before baking?
A reader told me that their mother puts the cut out rounds of scone dough in the fridge for 30 minutes before baking them, so I had to give this a go. I didn't find any major difference in the scones that were chilled and the ones that weren't, so it's up to you if you want to do this or if you want to try it out. It really depends how quickly you want to eat the scones!

How do you make the scones golden and shiny on top?
This apperance is created by brushing the unbaked scones with some beaten egg before they go in the oven. Egg creates the best golden shine, but you can use milk too. Make sure the egg doesn't run down the side of the scones as this can affect the rise. I usually save the leftover beaten egg and make scrambled eggs with it for breakfast, or you could make egg fried rice.
How do you know when the scones are baked?
Scones do not take long to bake, around 12-14 minutes. They will be risen, and golden on top and bottom. You can gently tap the bottom of the scones and they will sound hollow, similar to how you test if a loaf of bread is cooked. Once you've made this recipe a few times you will get used to how they look and how long they take in your oven.
How should the scones be stored and how long do they last?
Scones are always better fresh, in fact about 10 minutes after they've come out of the oven is the perfect time to enjoy them. They're super fresh, lovely and warm! Once they're fully cool, you can store them in an airtight container for 2 days, and you can also freeze them for up to 3 months. Freeze them in a freezer bag, airtight container or well wrapped in cling film.

What can you serve with the scones?
- Butter and jam (or marmalade, lemon curd etc.)
- Clotted cream and jam
- Butter, jam and clotted cream!
- But seriously, what else do you put on scones besides a combination of the above?!
Can the scones be made dairy free or vegan?
Unfortunately this recipe is not vegan or egg free. Once I develop a vegan scone recipe, I will share it here. This recipe can be made dairy free if you replace the milk with a dairy free milk (I like to use unsweetened almond milk), and use dairy free butter (I recommend the Stork baking block or Flora Plant block). Please check the labels of everything you use if serving to someone with an allergy or intolerance.
Can these scones be made gluten free?
Yes! Replace the self raising flour with a gluten free self raising flour blend, make sure the baking powder you're using is gluten free, and add ¼ tsp xanthan gum. If you can't find a gluten free self raising flour blend, you can use a gluten free plain flour blend, but you will need to add an additional ¼ tsp xanthan gum and 3 tsp gluten free baking powder. Please check the labels of everything you use if serving to someone with an allergy or intolerance.

Troubleshooting
When making anything for the first time, there are always things that can go wrong. To avoid this, I recommend reading the recipe through at least twice. I also recommend using digital scales to weigh out your ingredients. I have provided cup measurements, but they are not as accurate and I have not tested the recipe with them.
The scones did not rise
There are a few reasons this could've happened:
- Your baking powder and/or your self raising flour is old and out of date, so has lost it's rising power
- The dough was not thick enough when you cut out the rounds. Scones actually don't rise that much, so the unbaked dough does need to be fairly thick. Aim for it to be 1 inch thick for a good rise
- Over working and generally overhandling the dough. If you knead the dough, or re-roll it too many times, this will affect the rise of the scones
The scones are dry and tough
The most likely cause of this is that the dough was over worked or over handled. It could also be that not enough liquid was used in the mixture.
The scones are leaning to one side
This is usually caused by twisting the cutter when cutting the scones out. Make sure to push straight down and to do twist the cutter at all. It can also be caused by the dough being uneven when you pat it out. If the edge of the dough is slightly shorter than the middle and you cut a scone out with a mixture of dough heights, it will rise more on one side and the scone will look like it is leaning, or be lopsided.
The scones are not golden and shiny on top
The golden shiny top is created by brushing them with beaten egg right before they go in the oven, if you didn't do this, then they won't be golden and shiny on top. Don't worry, it doesn't affect the taste at all!

Mix ins, add ins and variations
There are a few ways you can add a fun twist to these plain scones!
- Add dried fruit. To make fruit scones, check out my Fruit Scones recipe
- Add the zest of one orange and 100g dried cranberries for Cranberry & Orange scones
- Mix in 100g chocolate chips for chocolate scones
- See my other Scones recipes for more ideas!
More scones recipes...
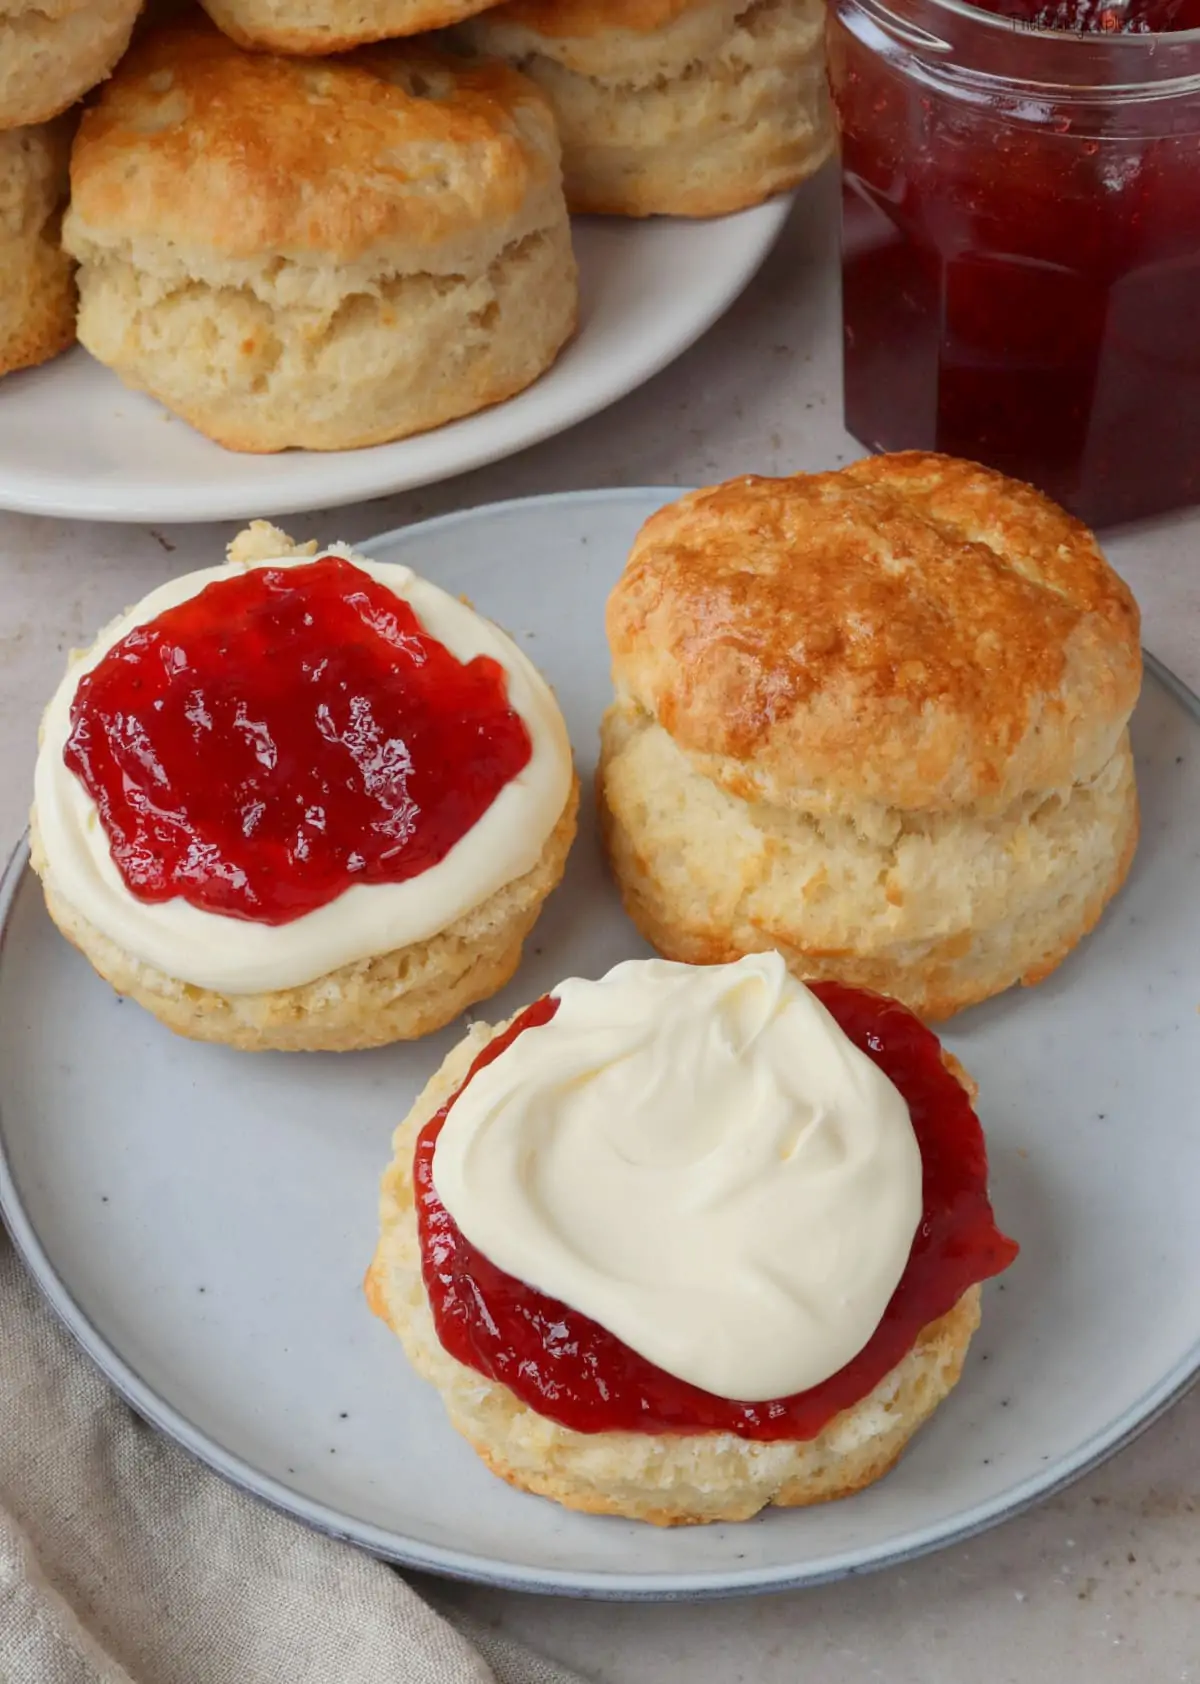
More baking basics recipes...
Plain Scones
Ingredients
For the scones
- 400 g Self raising flour
- 1 ½ tsp Baking powder
- 45 g Caster sugar
- A pinch of Salt
- 90 g Butter unsalted, cold
- 145 ml Whole milk
- 1 tbsp Fresh lemon juice
- 1 tsp Vanilla extract optional
- 1 Egg large
For glazing
- 1 Egg, beaten medium
Instructions
- Pre-heat your oven to 200C Fan/220C/425F/Gas Mark 7
- Put the self raising flour, baking powder, salt and caster sugar in a large mixing bowl and stir together
- Add the butter in small cubes or chunks (or you can grate it in) and rub the mixture together with your fingertips, or pulse in a food processor, until the butter is fully combined and the mixture resembles breadcrumbs
- In a jug, add the milk and lemon juice, leave for a couple of minutes until the milk goes lumpy. Then whisk in the egg and vanilla extract
- Pour the milk mixture into the flour mixture, then mix it in to form a dough
- Tip the dough out onto a floured surface and pat it together as briefly as possible by hand to about 2cm thick
- Cut out rounds using a 2.5 inch cutter, push the cutter down and do not twist it. (You can make the scones bigger or smaller if you like by using different size cutters.) Re-shape the dough when needed until it runs out, but try and handle it as little as possible
- Put the dough rounds onto a lined baking tray and glaze the top with the beaten egg. Bake for 12-14 minutes until the scones are risen, golden brown and sound hollow when tapped on the bottom
- Cool on a rack and then slice or break in half and serve with jam and clotted cream, or any other topping of your choice
- Best served on the day they are made, but can be eaten within 2-3 days. Can also be frozen
Video
Notes
- To make the scones with plain or all purpose flour, use 3 tsp baking powder.
- Although I provide cup measurements, I highly recommend weighing your ingredients out using digital kitchen scales. It is the most accurate way to measure ingredients and will ensure the best results. Digital scales are very low cost and can be purchased for around £12 ($16.50).
- For teaspoon (tsp) and tablespoon (tbsp) measurements, please use measuring spoons and not the type of spoons you eat with. Again this will ensure accuracy and provide the best results.

Nutrition
If you like this, check out more of my Scone recipes!
I'm linking this recipe up with Cook Blog Share.





Ann
Absolutely superb. I always used a different recipe that I thought was ok. These are amazing my new go to scone. Thank you very much. 5* as always.
thebakingexplorer
I'm so happy you liked them Ann, thank you for your lovely feedback!
Bill
First time I ever baked anything and they turned out delicious. My family loved them too.
Thanks a million
Cat | Curly's Cooking
Your scones look absolutely perfect. Your information and step by step guide are so helpful.
Harshida
Hi, can I skip egg in a recipe?
thebakingexplorer
Hi Harshida, egg plays a important role in these scones and making them without it will affect the final result. You also won't have enough liquid to bind the mixture together. As I've mentioned in the post, once I have developed an egg free recipe I will share it. In the meantime, there are many egg free scone recipes available online. I hope that helps 🙂
Liv Grace
Is there by any chance a way to make scones with margarine butter, like the butter u would put on bread?
thebakingexplorer
Hi Liv, yes you can use a baking spread like Stork, or a margarine, instead of real block butter. Do let me know if you try the recipe!
Liv
Thanks so much Xx appreciate it! I will defiantly have to try it!
Helen Denise Arnold
Oh WOW
I've been using the same recipe for years but these are amazing
and will definately be using this recipe from.now on. Not only do.they look amazing but taste so.good. My friends couldn't believe I'd made them.
Eb Gargano | Easy Peasy Foodie
YUM! You can never go wrong with a classic 😀
Jodie
Followed this recipe today and my scones turned out perfect and tasted great. The recipe guide is easy to follow and detailed.
beverley johns
I have never been one for making scones because me and scones are not one of my bakes i can ever get right.Up until now. I took the plunge today and made these not holding out for anything that tasted or resembled a scone.but today this recipe was amazing. I made 7 large scones and i took them to my neighbours with some cream and homemade strawberry jam.
They said and i quote ! WOW these are the best they have tasted . Well there you have it
I will be keeping this recipe thats for sure.
Grant Green
I’ve tried lots of Kat’s recipes and they never cease to impress!
I’d baked scones twice before. The first attempt they were lovely, but too small.
The second recipe I used were the perfect size, but very eggy and salty.
Kat’s recipe is bang on, 10/10!!!!
Julia
Delicious!!
Hayley L Turner
Hi! Can I use squeezy lemon? I'm unsure if there's much of a difference? Thank you!
thebakingexplorer
Hi Hayley, yes I think that would be ok!
Jane Saunders
Just made these Kat - perfect. I usually use buttermilk, but making the switch to milk and lemon juice means one less plastic pot purchased 🙂
thebakingexplorer
So pleased you like them Jane!! I always have trouble using up pots of buttermilk too, so it's great for avoiding waste 🙂
Hayley Turner
Would it be possible to use buttermilk though? As I have some I would like to use up!! If so what quantity would I use? Thank you!
thebakingexplorer
Hi Hayley, yes you can use buttermilk instead. Use the same amount of milk, then add a drop more if needed. I hope you enjoy the scones!
Katharina
Could I use regular all purpose flour instead of self rising flour?
thebakingexplorer
Hi Katharina, yes you can, please check the recipe notes for the details. I hope you enjoy the scones!
Glynnis
Lovely recipe - best scones I’ve ever made! Thank you 🙂
Andrew
My wife and I returned to the USA from London and were craving tea and scones. I found your recipe, and while I am not a skilled baker, I was able to follow your directions and they turned out quite well! I used non-dairy butter and oat milk. Thank you!
thebakingexplorer
Hi Andrew, thank you so much for this lovely feedback! I'm glad I helped you satisfy your scone cravings! 😀
Nicole
Best scones recipe I ever used! Perfect every time 💕
Steve Watson
Can these scones be left overnight, unbaked in the fridge. Thanks
thebakingexplorer
Hi Steve, I've never done this so I can't say for sure sorry
Lolo
Omg. I just made this but double the recipe. They are soo delicious. I couldn't wait for it to cool. 😁😁. I am definitely trying them again. Maybe I will toss in some raisins. Absolutely amazing. I totally love your recipe. I used stork baking margarine instead of butter thou.
Mrs Rice
Why didnt you say which shelf the scenes should be cooked on.
thebakingexplorer
Hi there, it depends on your oven, but the middle shelf is the best place to bake things as the heat is usually the most even there.
Megan
Hi, I’m looking to bake these and serve them the next morning. What would you recommend is the best method for trying to keep them as fresh as possible?
thebakingexplorer
Hi Megan, once they are fully cool, store them in an airtight container in a cool place. I hope you enjoy the scones!
Mesouda Goldman
These were absolutely delicious and a massive hit! Thank you for your recipe. They came out perfectly.