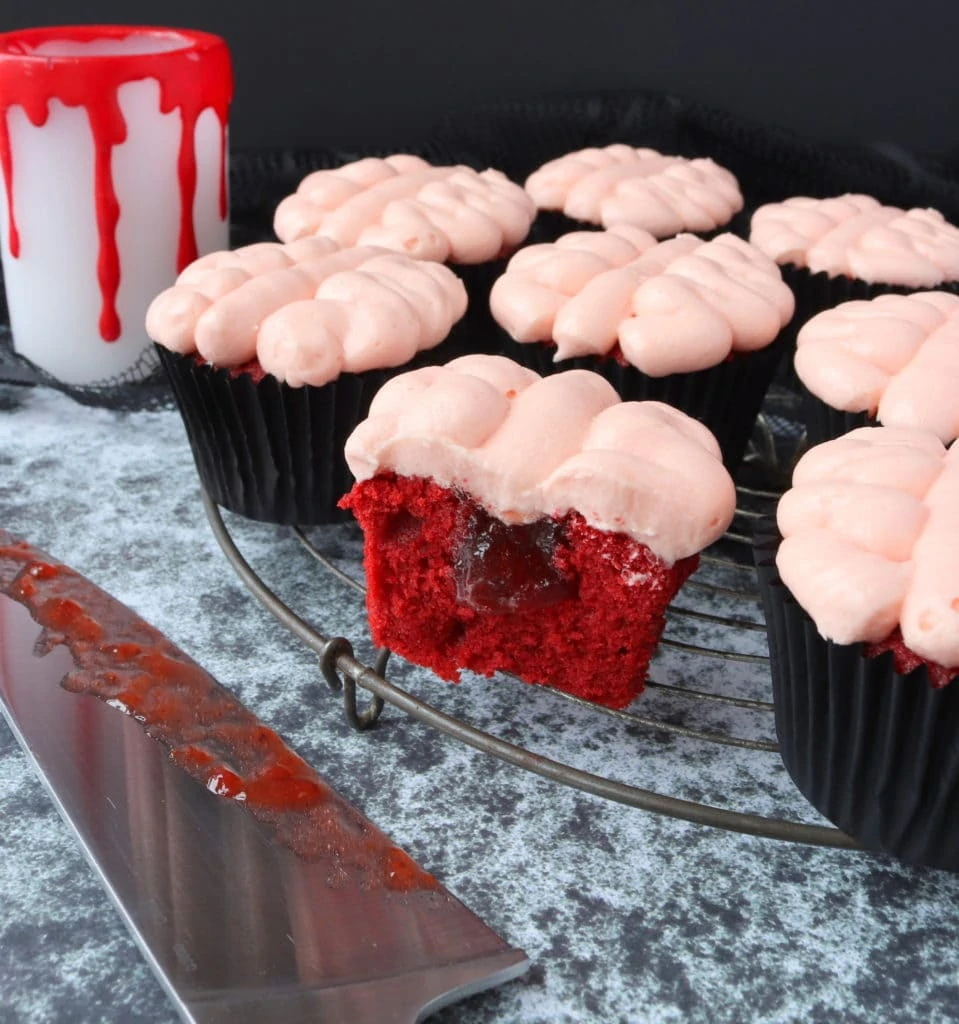
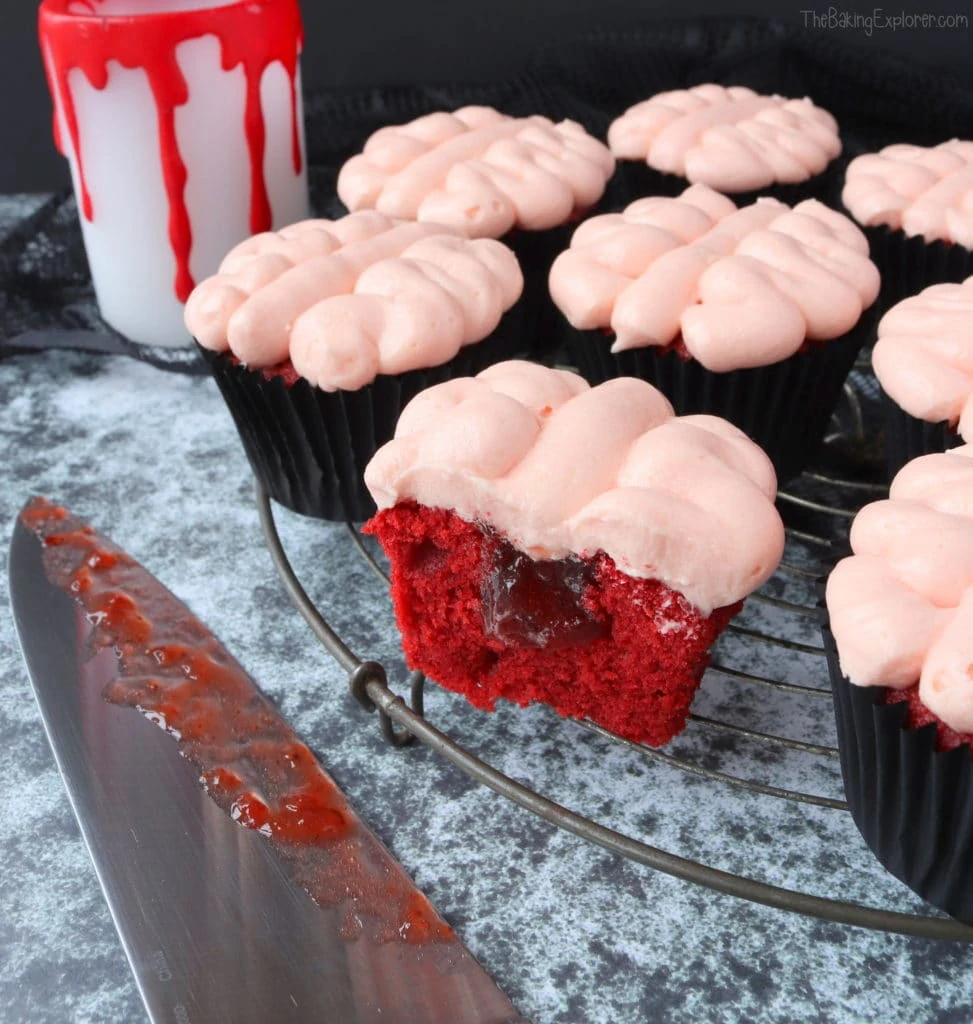
I love celebrating Halloween and every year I decorate my home with candles and pumpkins to celebrate. It's such a fun time of year and a great opportunity to get creative with baking. These Bleeding Brain Cupcakes are perfect spooky treats to delight family, friends, or your local trick or treaters! They are made with a simple red velvet sponge, filled with strawberry or raspberry jam and then decorated to look like a brain, which is so easy to do. They're definitely the yummiest brains I've ever eaten!
Ingredient Tips & Equipment Information
- Make sure all your ingredients (particularly the butter, buttermilk and eggs) are at room temperature before you start baking.
- I used unsalted butter for the buttercream, for the cupcakes I used a baking spread.
- You will need to use a professional grade food colouring to get the same vibrant shades that you can see in my photos. Brands I recommend are Pro Gel and Sugarflair. I have also heard good things about Colour Mill and Americolor.
- Please use a good quality vanilla extract for the best flavour. Do not use an essence as they are synthetic, whereas extracts are natural flavours.
- Although I provide cup measurements, I highly recommend weighing your ingredients out using digital kitchen scales*. It is the most accurate way to measure ingredients and will ensure the best results. Digital scales are very low cost and can be purchased for around £12 ($16.50) .
- For teaspoon (tsp) and tablespoon (tbsp) measurements, please use measuring spoons* and not the type of spoons you eat with. Again this will ensure accuracy and provide the best results.
For the full recipe with measurements, head to the recipe card at the end of this post.
How to make Bleeding Brain Cupcakes
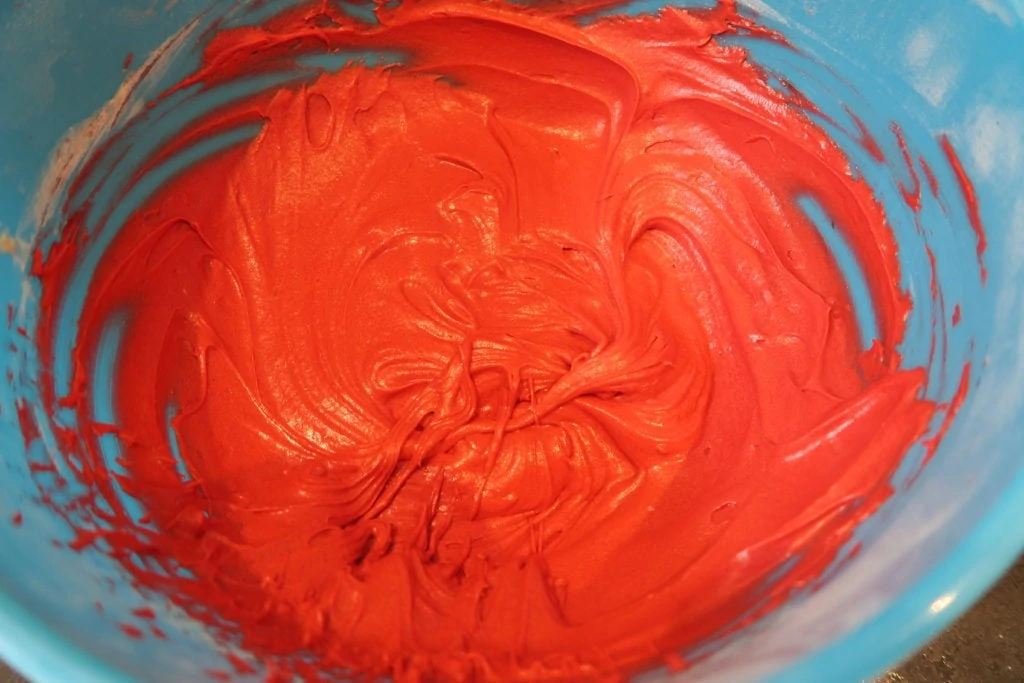
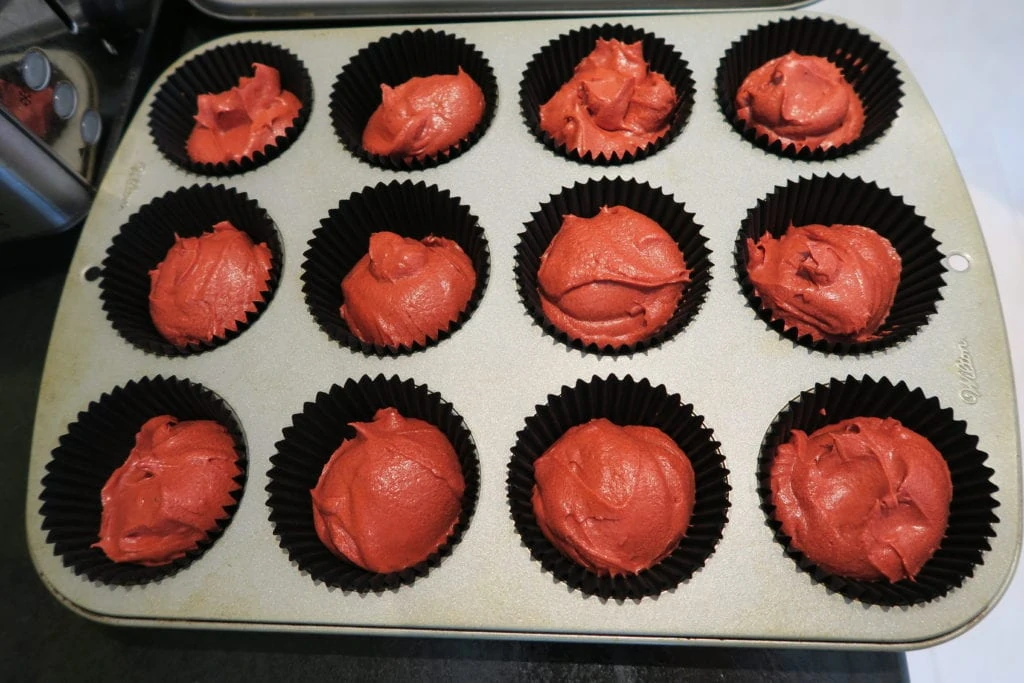
To make the cupcakes, mix together the butter and sugar, then mix in the eggs and vanilla extract. Next, add the cocoa powder, buttermilk, red food coloruing, bicarbonate of soda and self raising flour and mix them in. Then divide the mixture between 12 black cupcake cases.
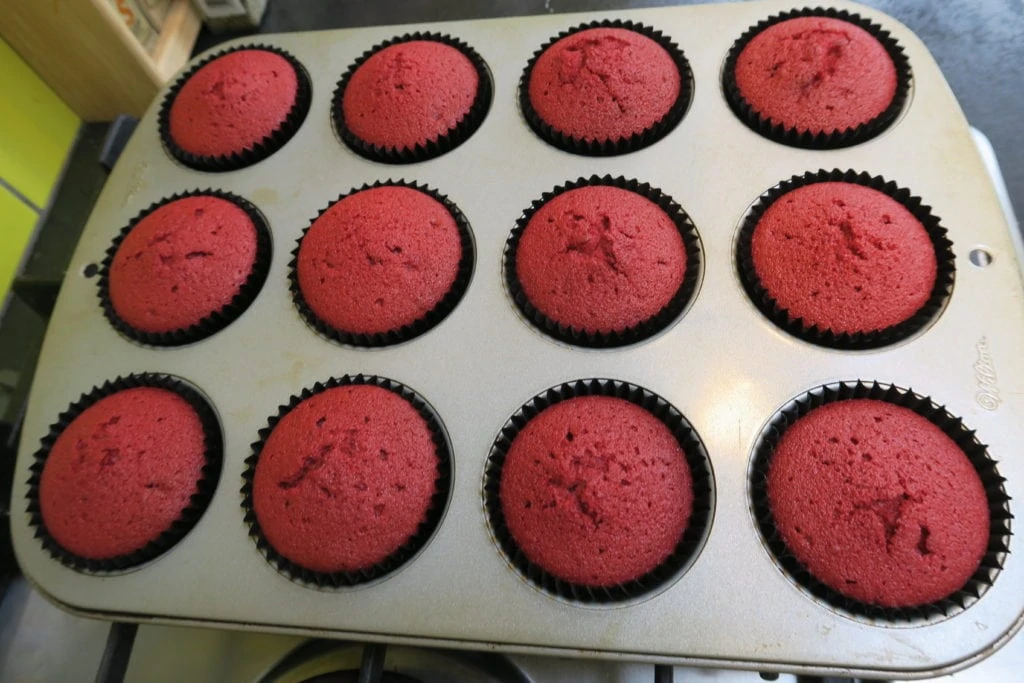
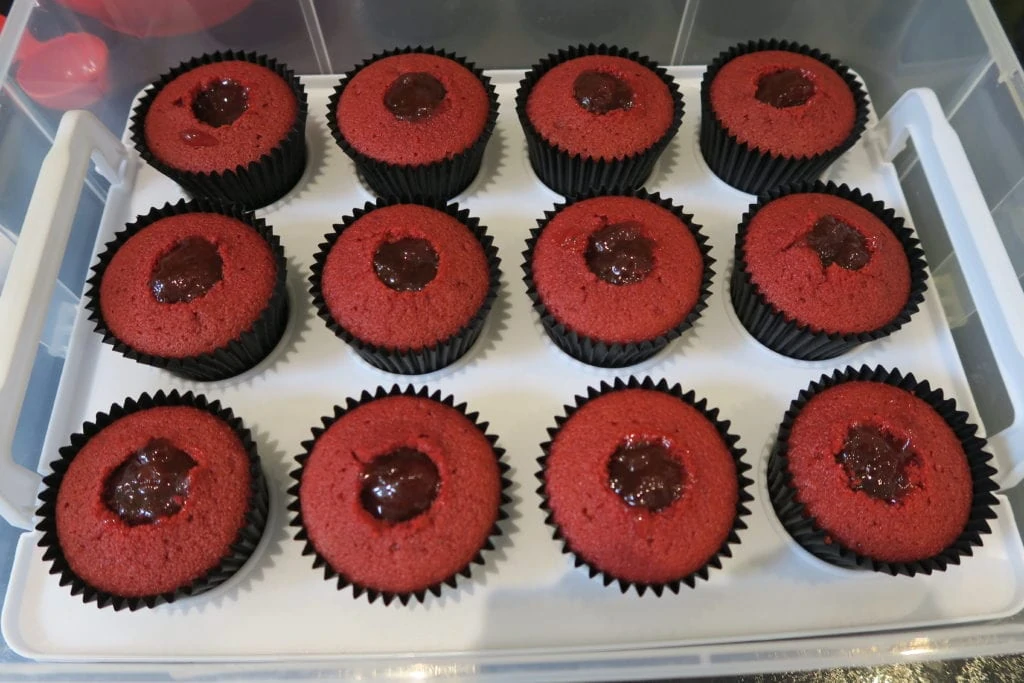
Bake them for 20-25 minutes, then put them on a rack to cool fully. Once they are fully cool, remove the centre with a cupcake corer (or a knife) and fill them with strawberry jam.
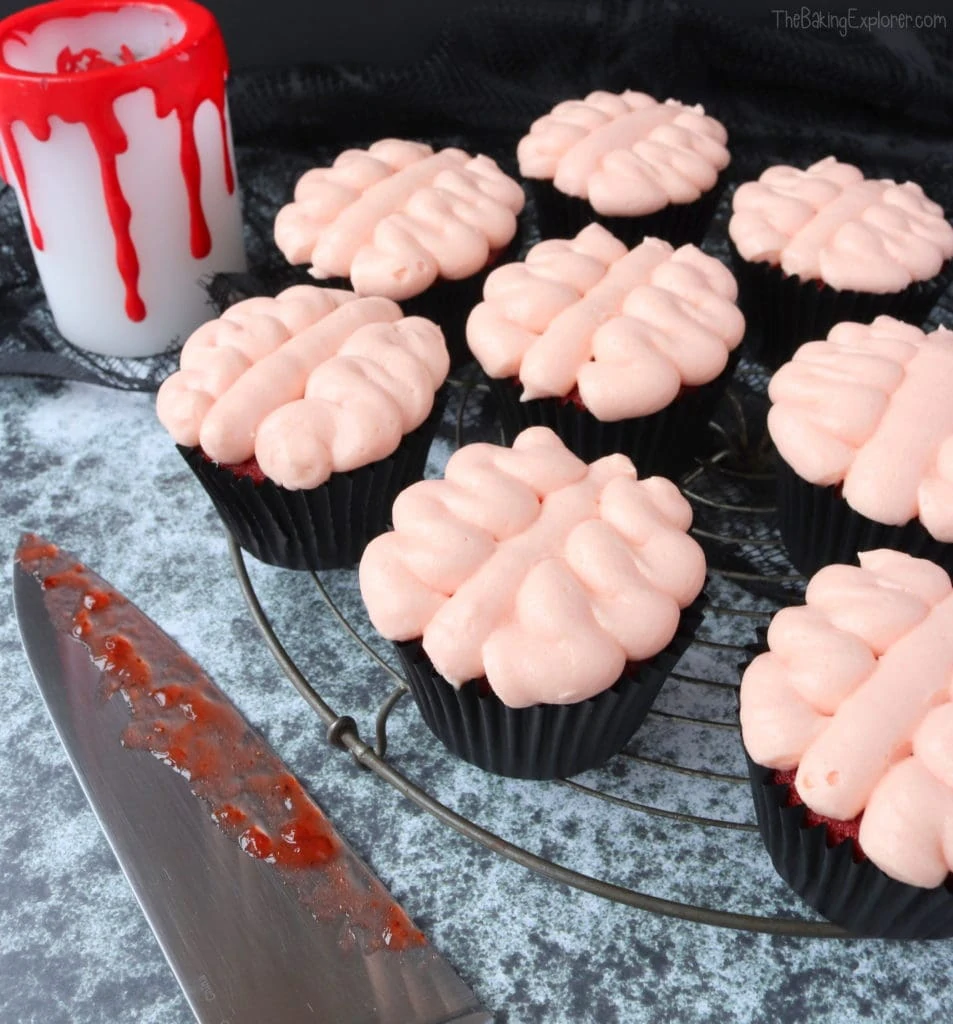
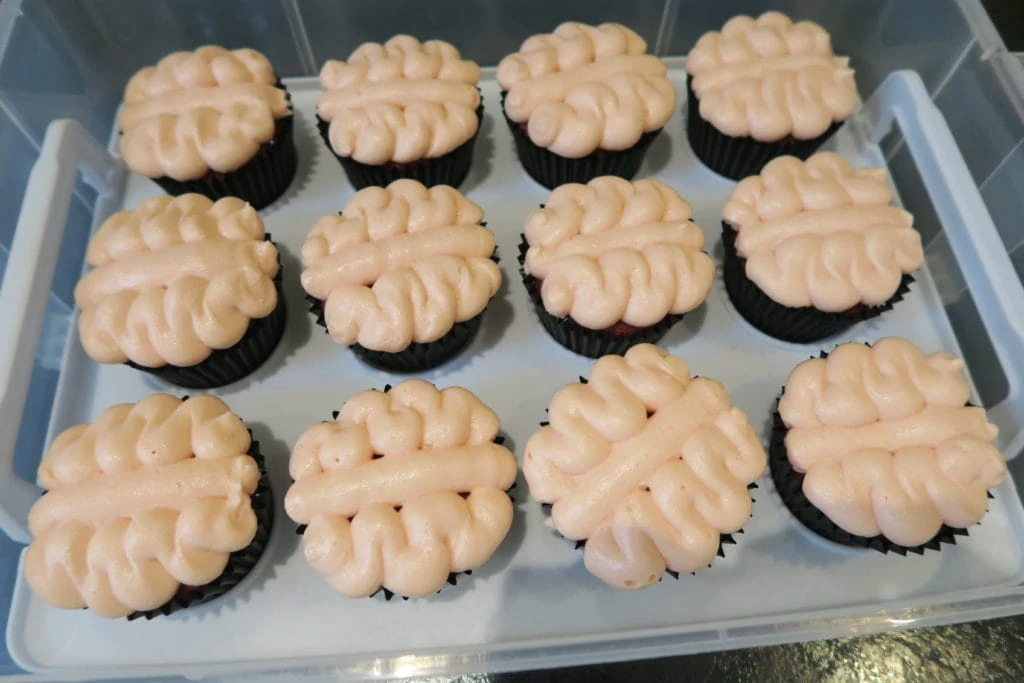
Make the buttercream by mixing the icing sugar, butter, vanilla extract, milk and pink food colouring together. Then pipe it onto the cupcakes using a circular nozzle, pipe a line down the centre first, then squiggles on either side.
For the full recipe with measurements, head to the recipe card at the end of this post.
What is the best food colouring to use?
To get a bright red shade that remains strong after the cupcakes are baked, you need to use a professional grade gel food colouring. You can buy these easily from many online shops, including Amazon. I used the brand Pro Gel for this cake. Sugarflair, Colour Mill and Americolor are other popular brands.
What if you can't get hold of buttermilk?
If you can't hold of buttermilk, you can use the same amount of milk with 1 tbsp lemon juice added, leave it for a few minutes until it goes lumpy then it's ready to use!
Can the cupcakes be frozen?
You can freeze the cupcakes either alone, or decorated. Once the cupcakes are fully cool, wrap them well with cling film or put them in an airtight container. You can freeze the cream cheese frosting on it’s own in a tub, or you can decorate the cupcakes and freeze them assembled.
Can you make this recipe with plain/all purpose flour?
Self raising flour, which is very commonly used in the UK where I am based, already contains a raising agent and a little salt too. Therefore if you want to swap it for plain or all purpose flour, you will need to add some additional baking powder and also a little salt if you like. Some people like to add salt to cake recipes and some don't, so I'll leave that up to you as it won't affect the bake. The general advice is to add 2 teaspoons baking powder (a measuring teaspoon, not the kind you stir your coffee with) per every 200g plain or all purpose flour. So for this recipe you'd need to add 1 ½ teaspoons baking powder. Please note, I have not tested this recipe using plain or all purpose flour.
Can this recipe be made gluten or dairy free?
Yes! For gluten free you can replace the self raising flour with a gluten free self raising flour blend. If you only have a gluten free plain flour blend, you will need to add additonal baking powder. The general advice is to add 2 tsp baking powder per 200g flour, so for this recipe you'd need to add 1 ½ teaspoons baking powder. You may also like to add ½ tsp xanthan gum for better texture. For a dairy free version, use a dairy free baking spread and dairy free milk for the cake and buttercream. You can make dairy free buttermilk by adding 1 tbsp lemon juice (or cider vinegar) to dairy free milk. Please do check the labels for everything you use to make the cupcakes if you are serving it to someone with an allergy or intolerance.
Do you need an electric mixer to make this recipe?
While you can absolutely make this recipe with a wooden spoon and some elbow grease, I do recommend using an electric mixer for the best results. The cupcakes will be lighter and fluffier when made with an electric mixer. The buttercream will also be smoother. You don't have to use an expensive stand mixer either, you can get electric hand whisks for as little as £10!
Troubleshooting
If you have any questions about this recipe, or if something went wrong and you need help, please use the comment form below and I will get back to you. You can also get in touch with me on my Twitter, Instagram or Facebook. I'd love to hear from you!
Recommended equipment & ingredients*
- Cupcake tin
- Mixing bowls
- Kitchen scales
- Electric hand mixer
- Cooling rack
- Piping bags
- Red food colouring
- Pink food colouring
- Round piping nozzle
- Cupcake corer
*I earn a small amount of money if you buy the products after clicking on the links. You will not be charged anything extra for this. Thank you for supporting The Baking Explorer!
More Halloween Cupcake recipes...
Bleeding Brain Cupcakes
Ingredients
For the sponge
- 150 g Butter or baking spread softened, unsalted
- 150 g Caster sugar
- 2 Eggs large
- 1 tsp Vanilla extract
- 85 ml Buttermilk
- 165 g Self raising flour
- 1 ½ tbsp Cocoa powder
- ½ tsp Bicarbonate of soda
- 1 tsp Red food colouring I use Pro Gel or Sugarflair
For the filling
- 200 g Strawberry or Raspberry Jam
For the buttercream
- 200 g Butter unsalted, softened
- 400 g Icing sugar
- 1 tsp Vanilla extract
- 2 tbsp Milk
- Pink food colouring I use Pro Gel or Sugarflair
Instructions
- Pre-heat your oven to 160C Fan/180C/350F/Gas Mark 4 and line a cupcake tin with black cupcake cases
- Whisk the butter and sugar together in a mixing bowl until fluffy, ideally with an electric mixer using the paddle attachment
- Add the eggs and vanilla extract, and mix them in
- Add the buttermilk, cocoa powder, bicarbonate of soda, red food colouring and self raising flour, mix until combined
- Divide the mixture between the cupcake cases
- Bake for 20-25 minutes or until a skewer inserted in the centre of a cupcake comes out clean, then put them on a cooling rack to cool fully
- Once fully cool, use a cupcake corer or a knife to make a hole in the centre of each cupcake
- Fill each hole with the jam, you can use a small spoon or a piping bag to do this
- To make the buttercream, mix the butter on it's own for a couple of minutes. This should ideally be done with an electric mixer using the paddle attachment
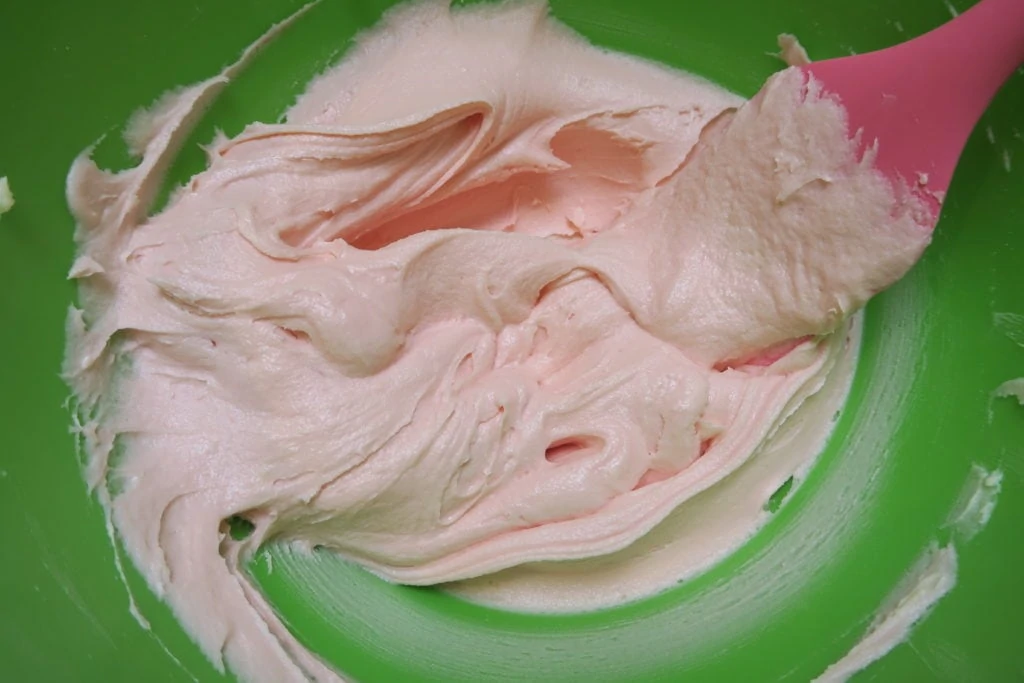
- Add the icing sugar, milk, vanilla extract and a small amount of pink food colouring, and mix until smooth. (Remember that you only want a pale pink colour so be sparing with the pink food colouring, you can always add more but you can't take away!) If the buttercream is too stiff then you can add a little more milk
- Put the buttercream in a piping bag fitted with a circular/round nozzle. Pipe a line down the centre of the cupcake, then squiggles on either side for the brain effect
- Keep in an airtight container in a cool place, and eat leftovers within 3 days

Laura Denman
Very clever =) brain cupcakes are creepy!
Emma | Fork and Good
My favourite 😀
Nayna Kanabar
Very innovative and perfect for a spooky party!
Choclette Blogger
Kat, this is a real horror for Halloween! Thanks for sending them in the direction of We Should Cocoa and enjoy the festivities 🙂
glutenfreealchemist
How gruesomely tasty! The brain icing looks disgustingly lovely and actually, the fact that the cherry sauce was jelly-like definitely adds to the visuals! Congealed blood is a MUST for halloween! Should NEVER be runny!!!!!
Hannah Hearsey
BRAINS! These are epic! Hope you have a happy halloween and many thanks for entering these into We Should Cocoa too!
Ingrid
Once frozen how do you serve them after?
Meaning, how many days do you take them out before he serve them or hours?
thebakingexplorer
Hi Ingrid, it depends on the temperature of your kitchen, but they should defrost within a couple of hours.