
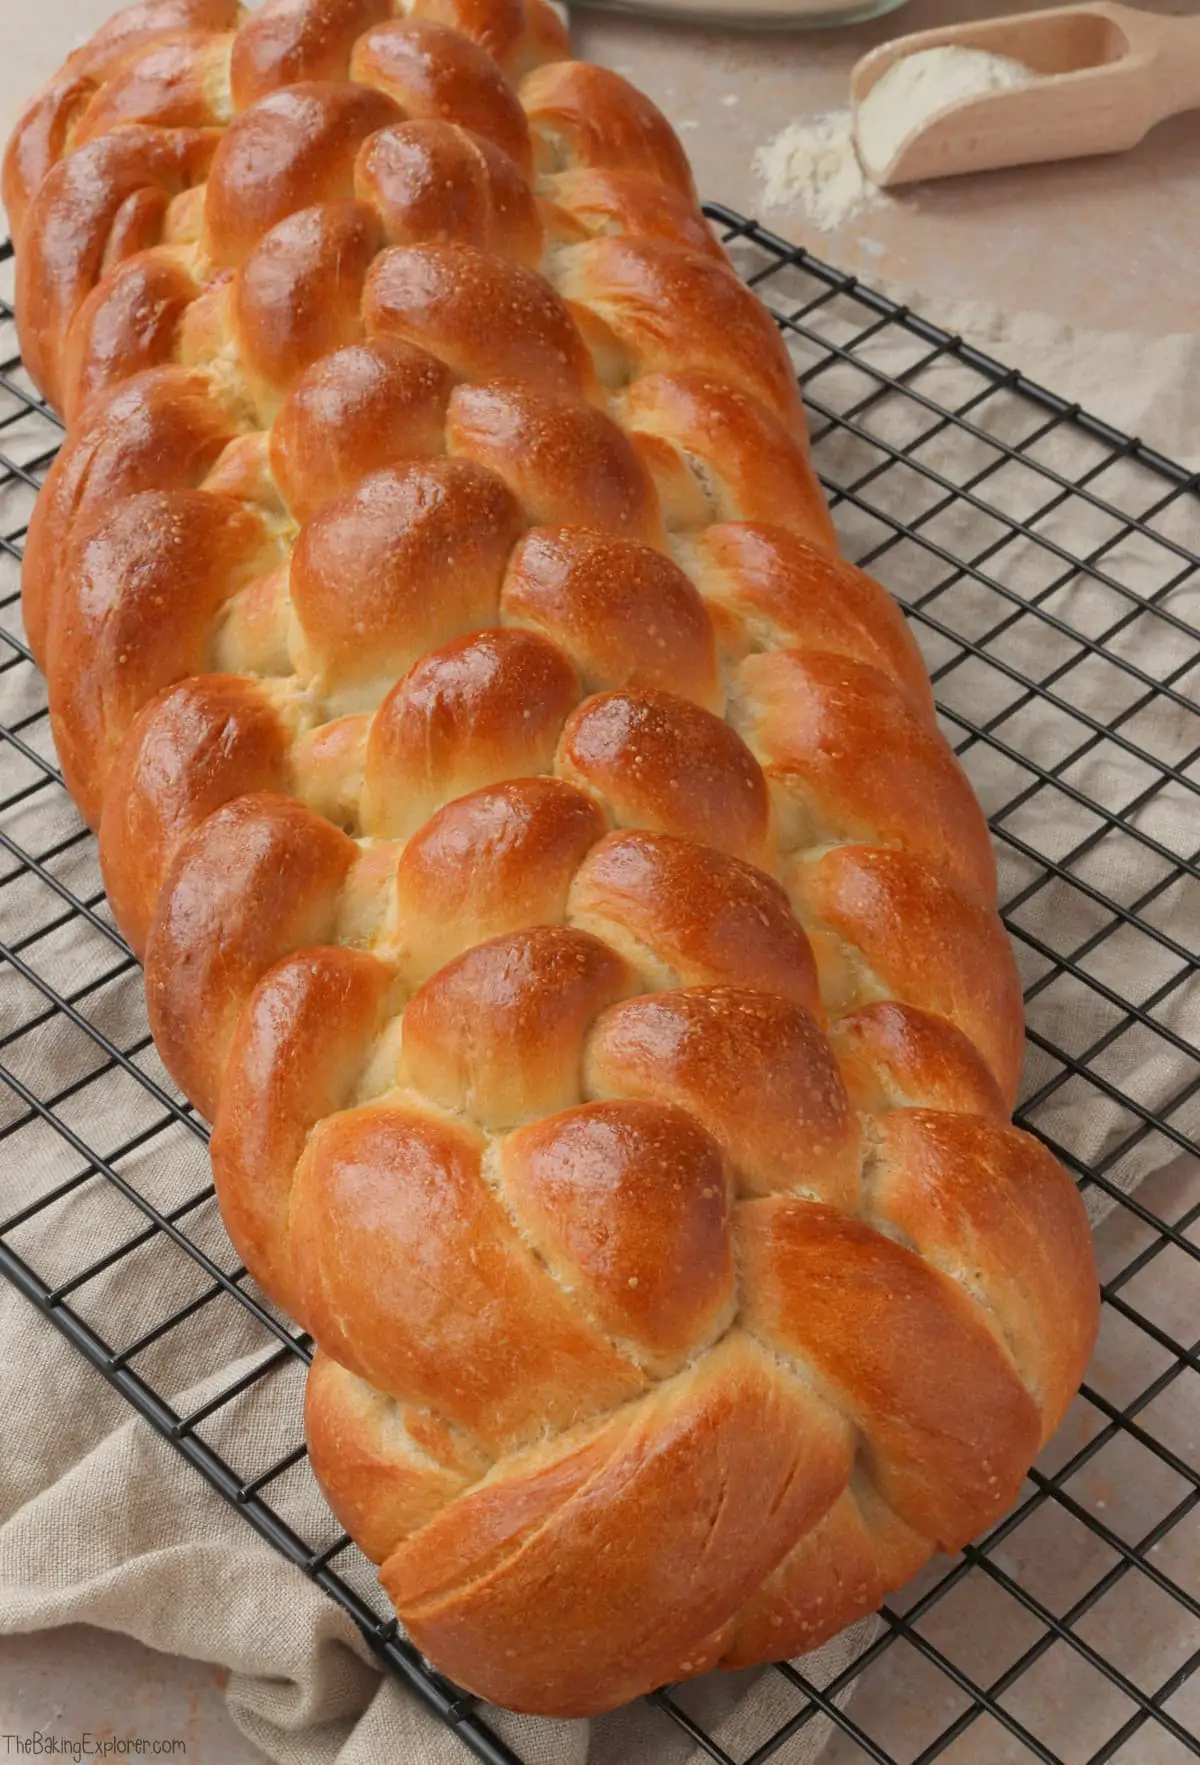
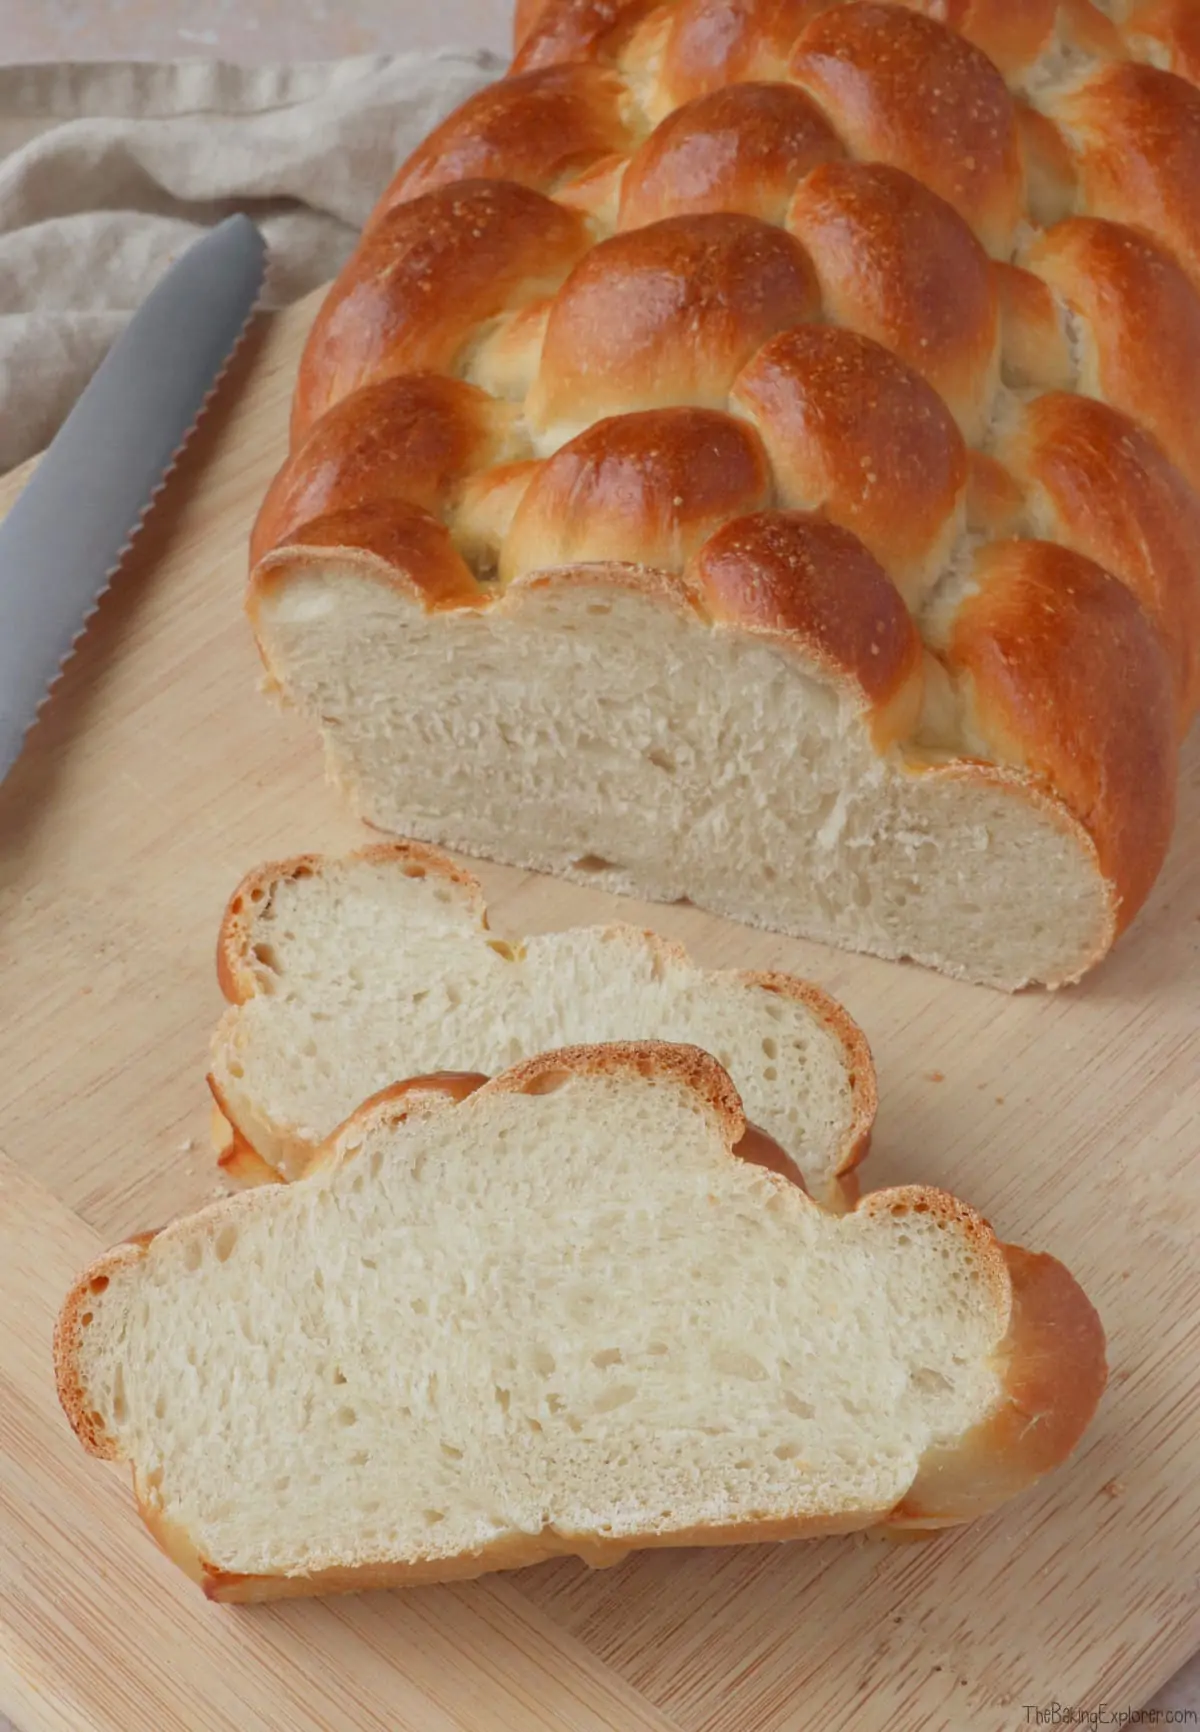
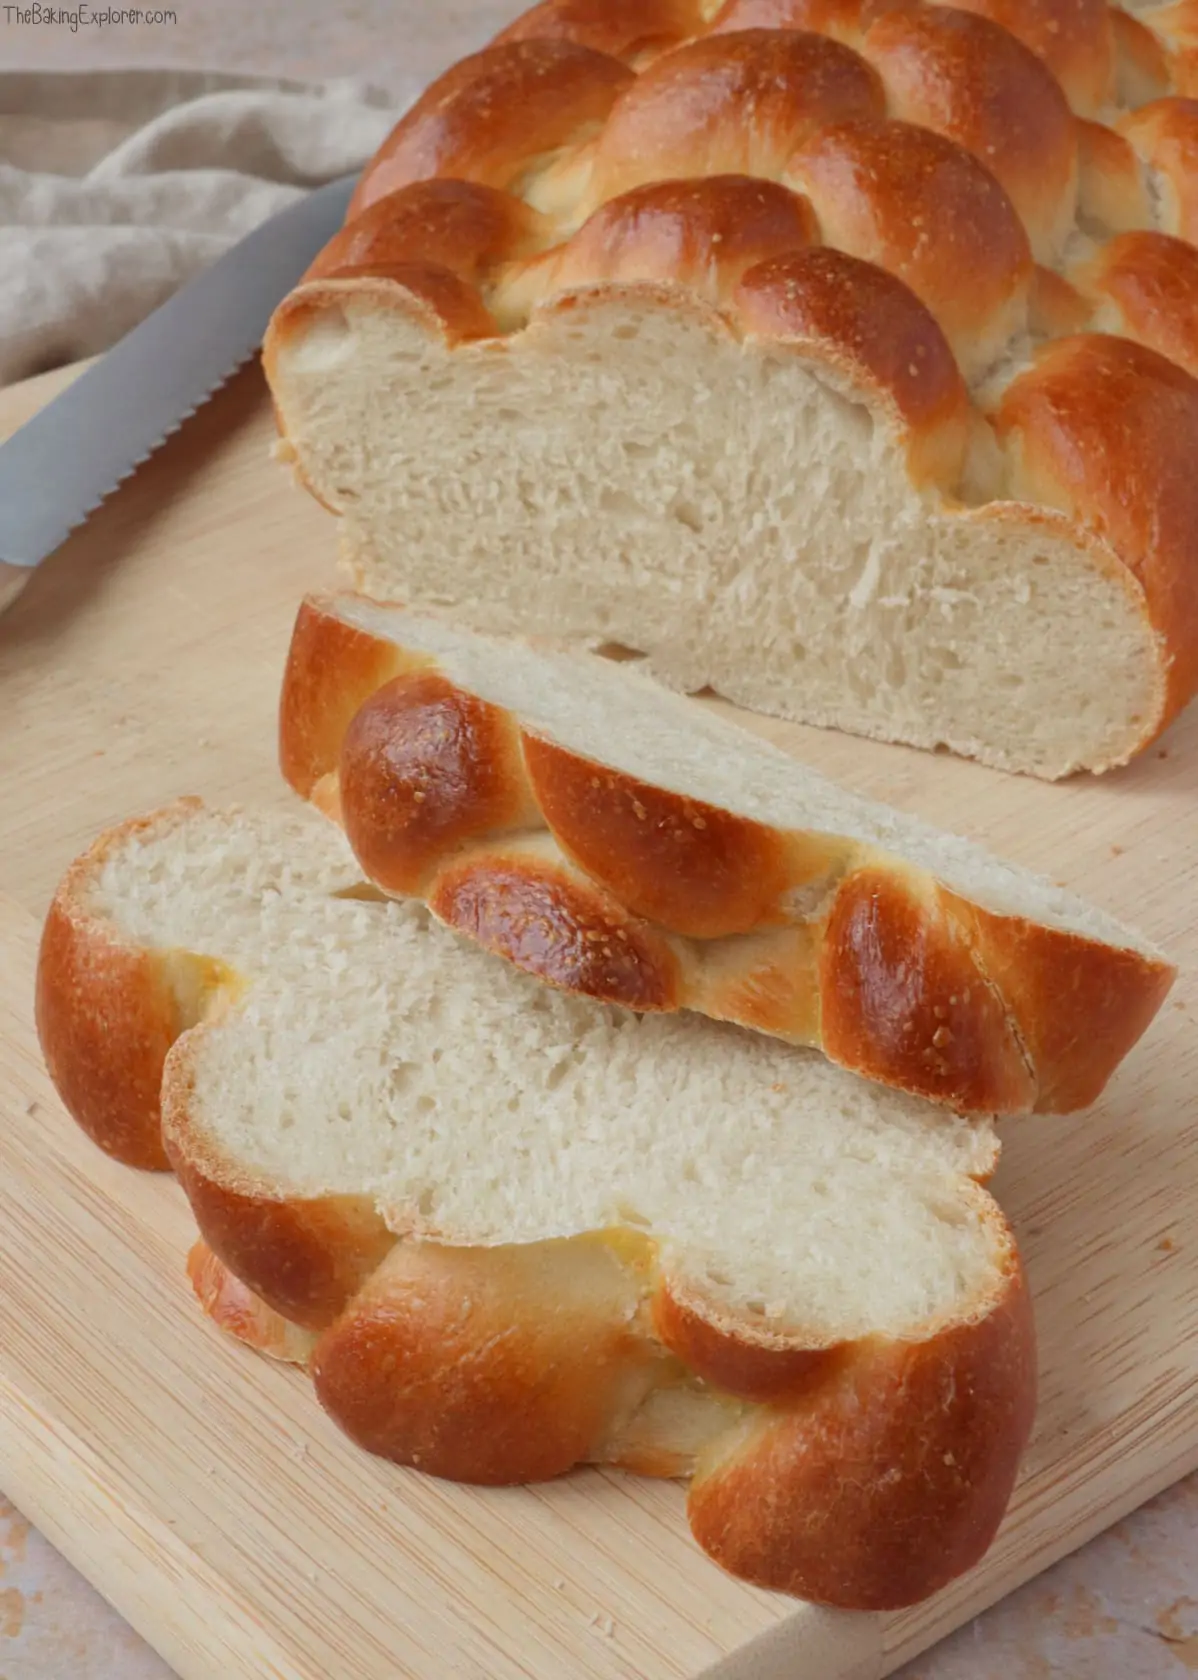
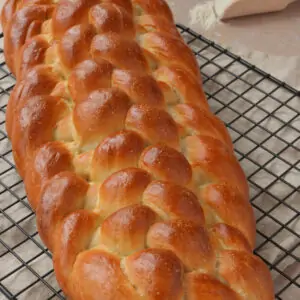
I decided to try make an Eight Strand Plaited Loaf after watching bread week on The Great British Bake Off, since then I've made a few of them! It's a basic bread dough, but shaped in a complex way, with a very impressive and attractive result. This Eight Strand Plaited Loaf is a great way to mix up your bread baking repertoire and have your friends and family wondering how you did it!
This post may contain affiliate links. I earn from qualifying purchases.
For the full recipe with measurements, head to the recipe card at the end of this post.
How to make an Eight Strand Plaited Loaf
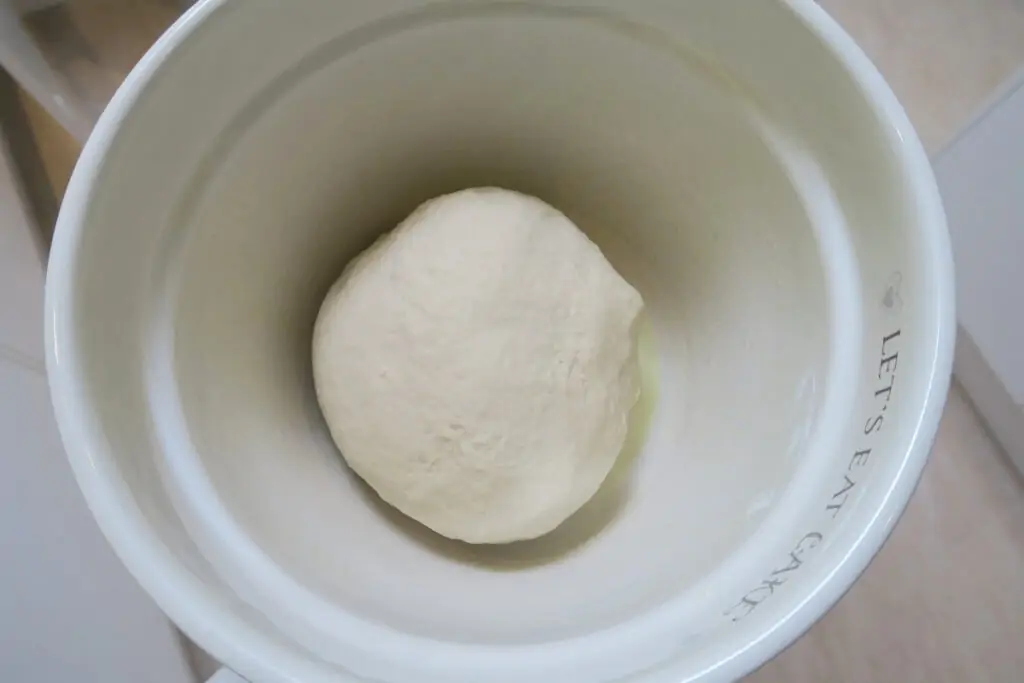
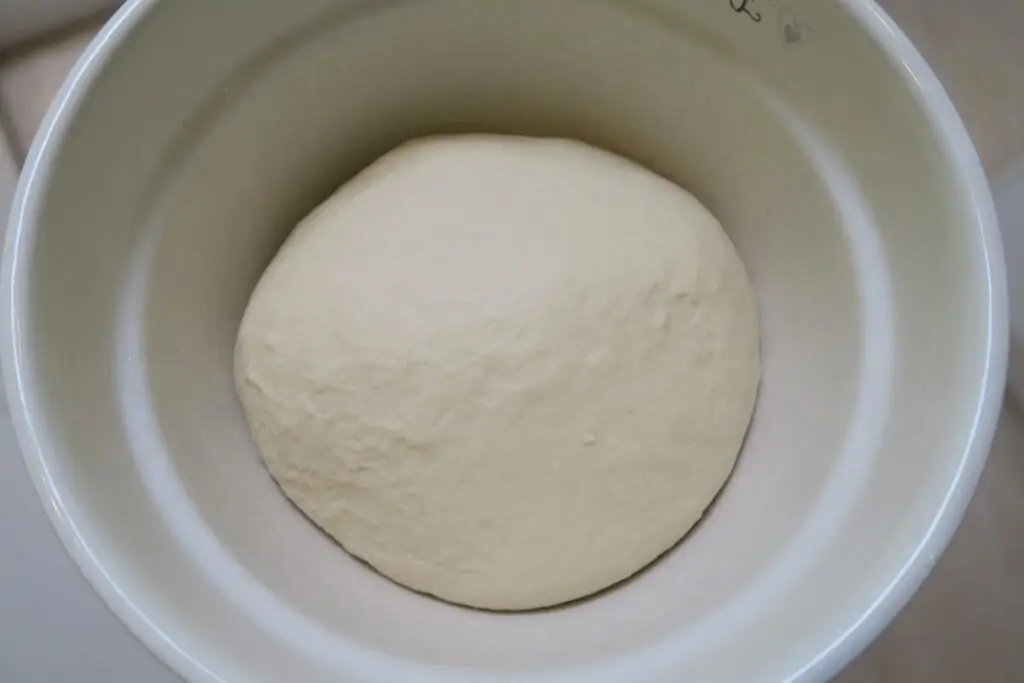
In a large mixing bowl, or the bowl or your stand mixer, add strong white bread flour, fast action dried yeast and salt. Stir together, then add water and olive oil and mixed it together to form a dough. Knead the dough for 10 minutes, either by hand or in a stand mixer with a dough hook. Place the dough into an oiled bowl, cover with cling film and leave to rise for 1 hour or until doubled in size.
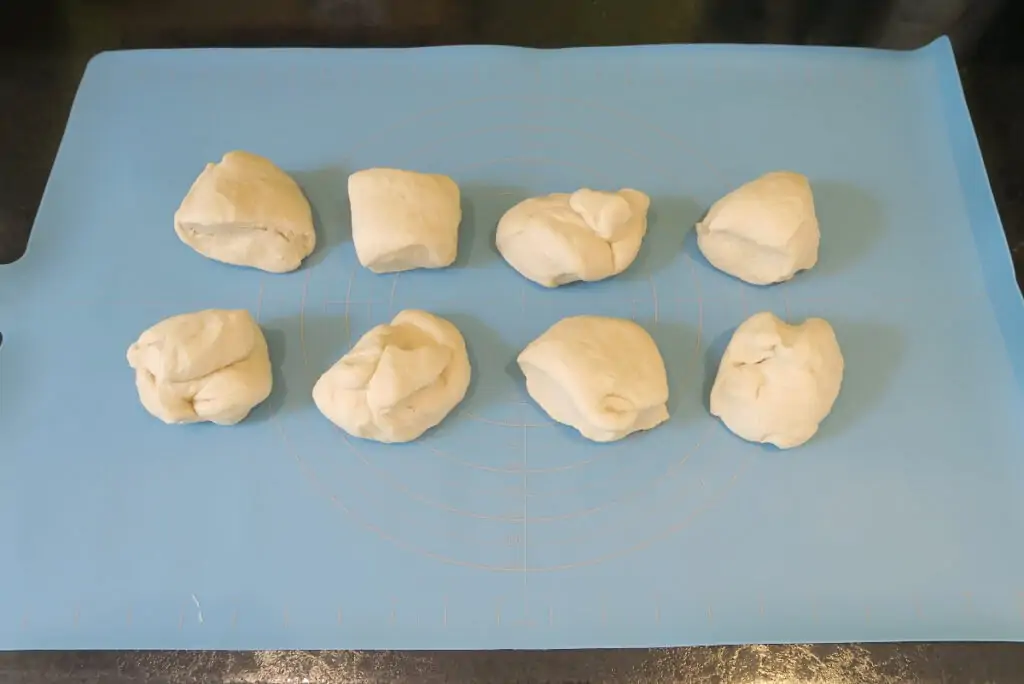
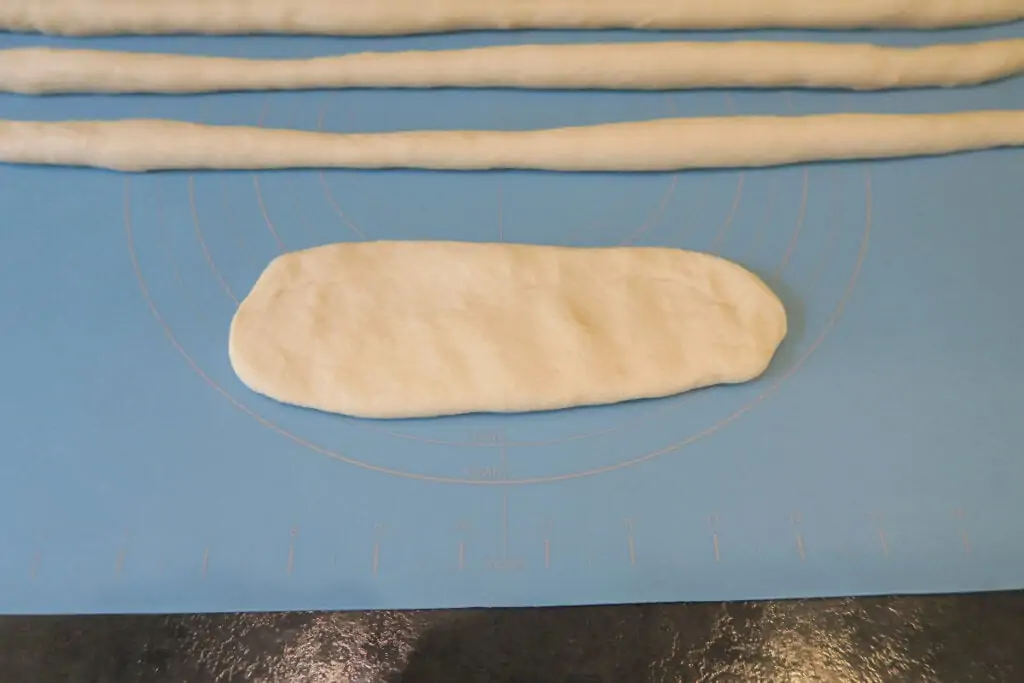
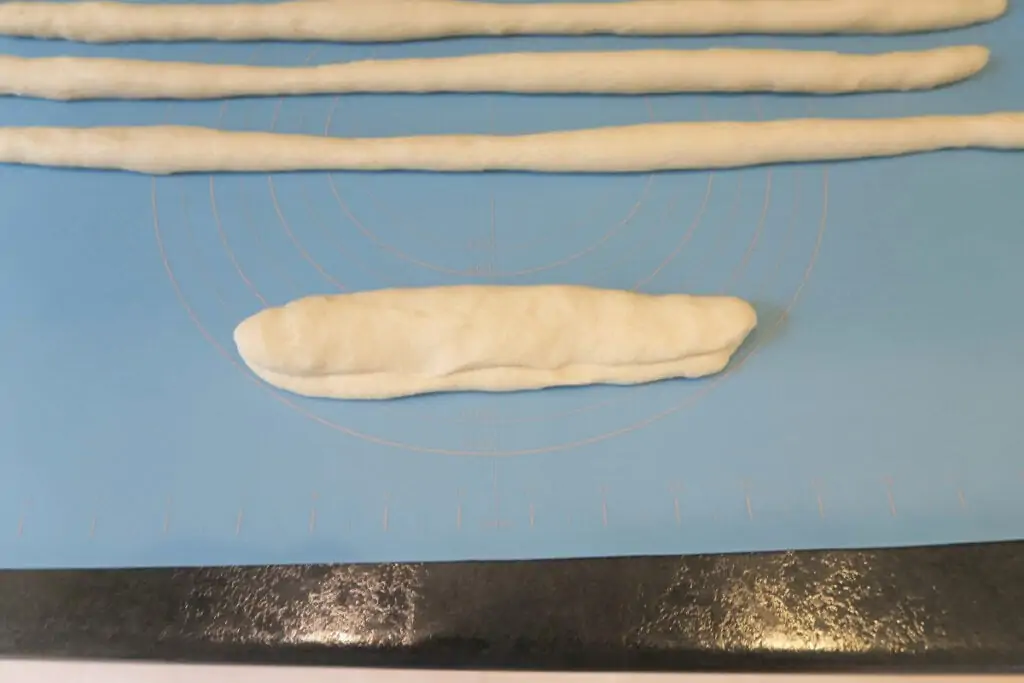
Tip the dough out of the bowl and knead it briefly, then divide it out into eight pieces. Flattened each piece and fold in half, then roll each piece into a long strand approximately 45cm/18" long.

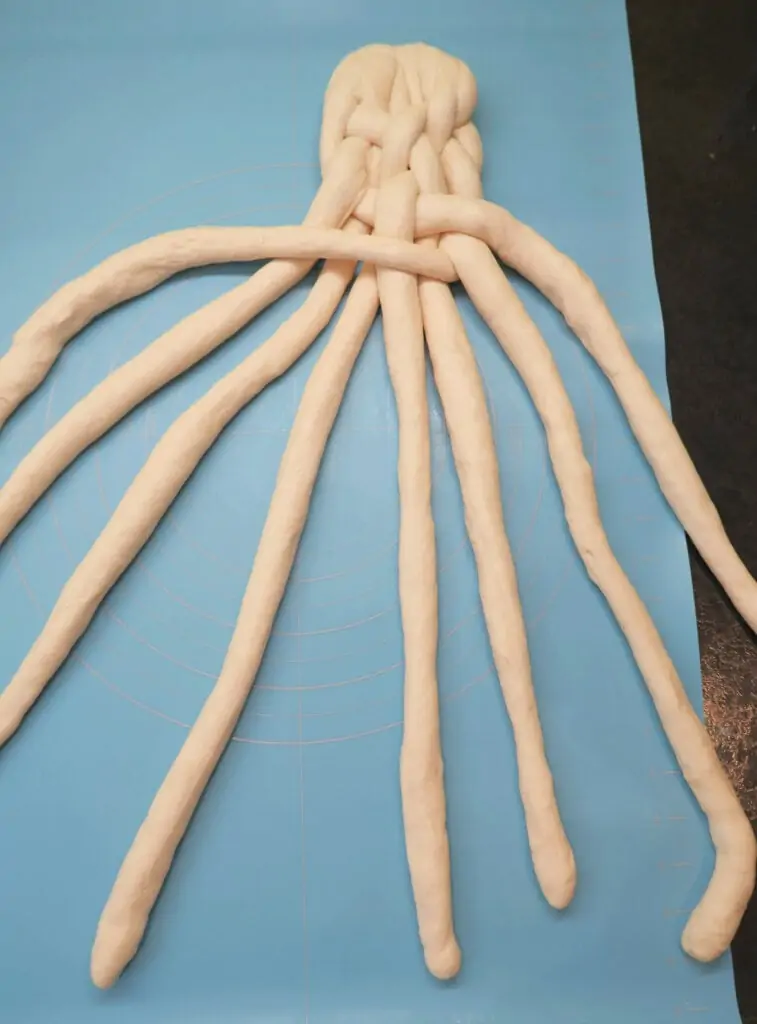
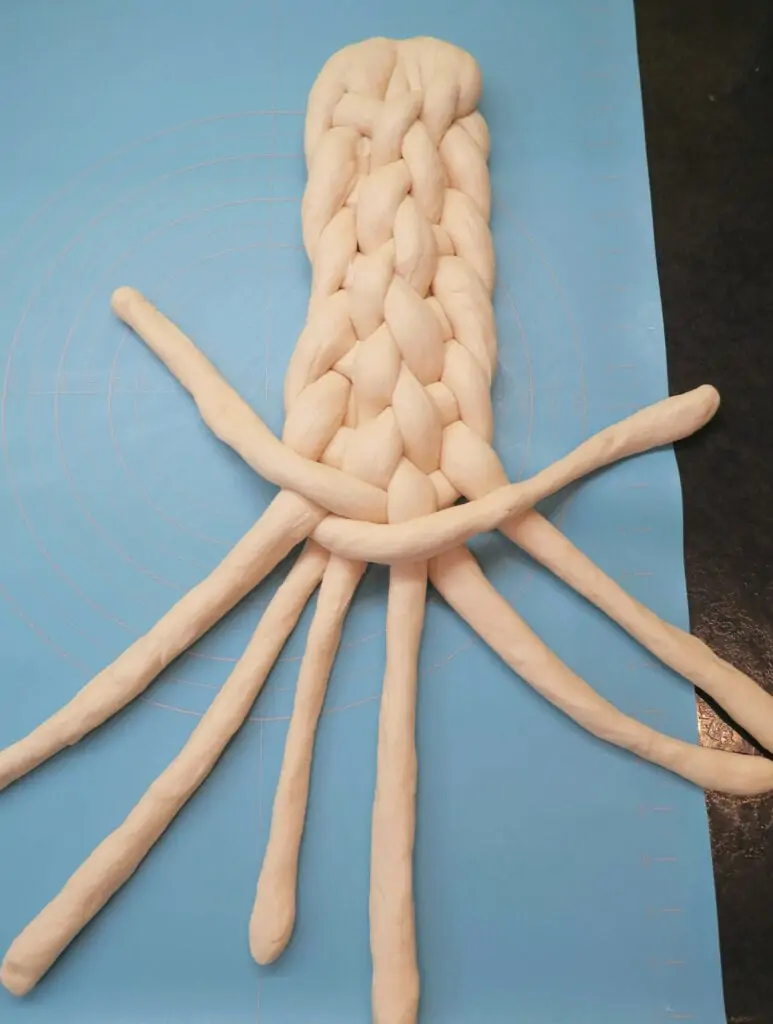
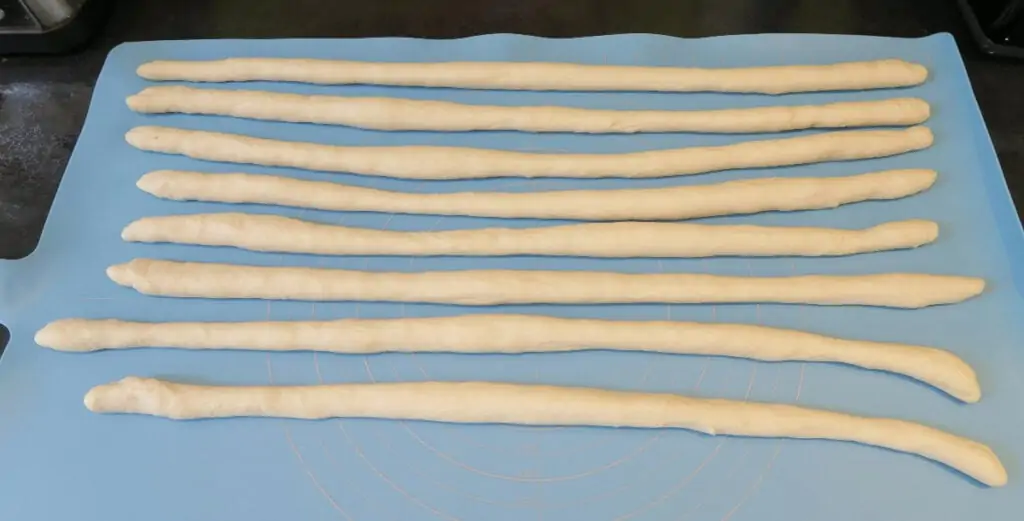
Lay all of the strands out and attach them at the top. Each strand will be numbered from left to right, from numbers one to eight. Each time you move a strand, it will be renumbered to it's new position. Then follow the plaiting sequence:
- Step 1: place 8 under 7 and over 1
- Step 2: place 8 over 5
- Step 3: place 2 under 3 and over 8
- Step 4: place 1 over 4
- Step 5: place 7 under 6 and over 1
- Repeat steps 2-5, until all the dough is plaited
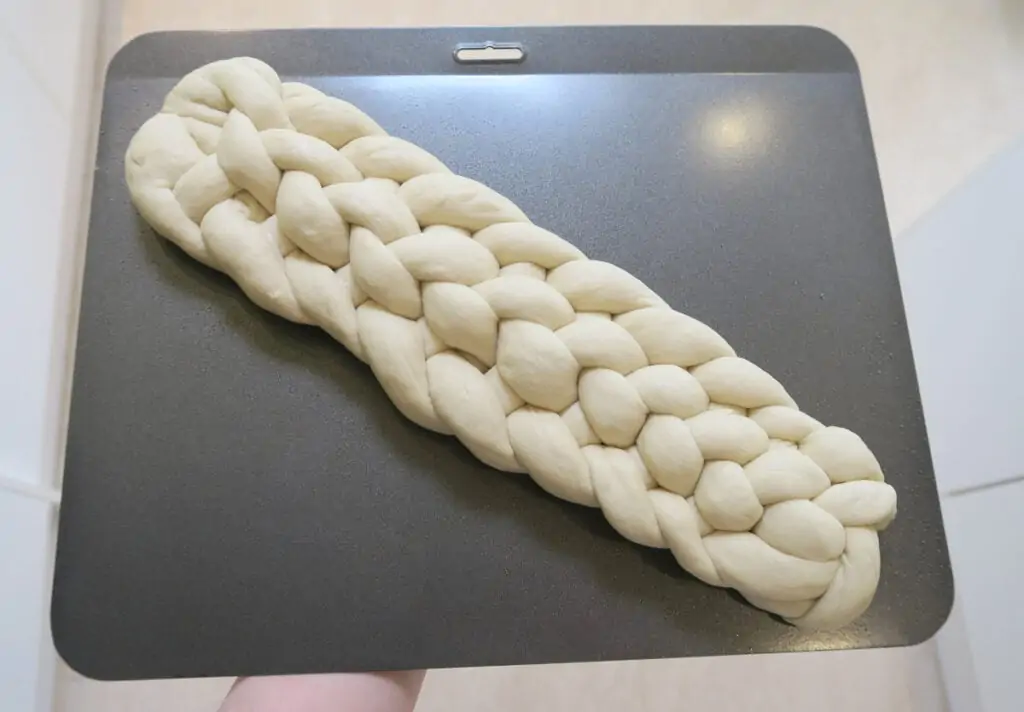
When you get to the end you can either cut off any loose bits, or tuck them underneath.
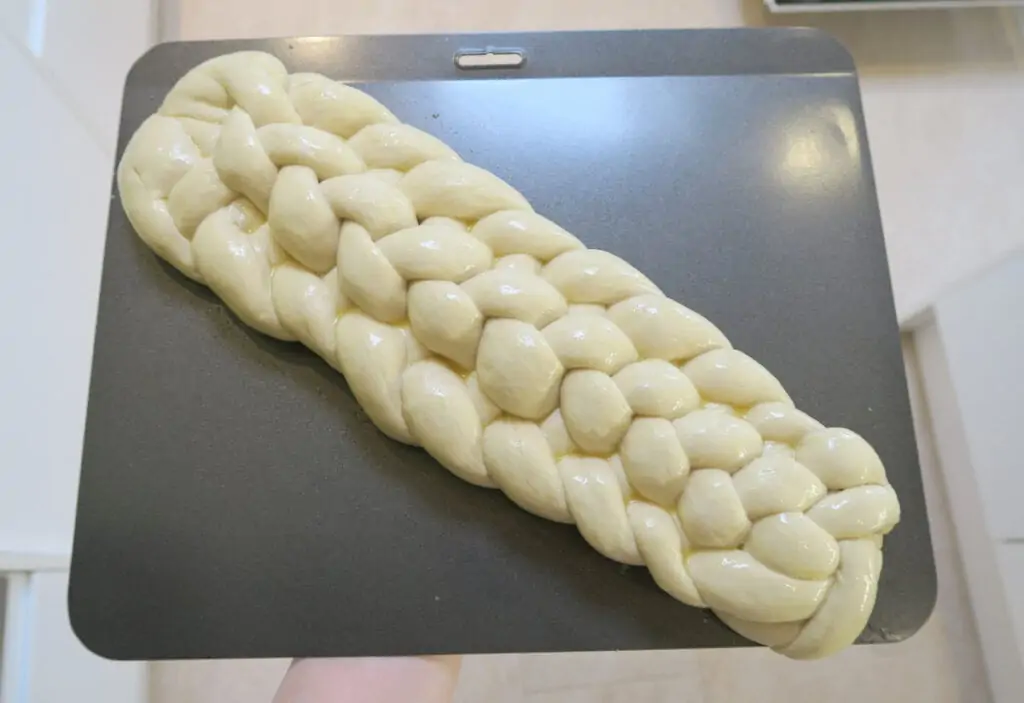
Put it onto a lined baking tray that it lightly oiled, cover it loosely with cling film and leave it to rise again for 1 hour. Then glaze it with beaten egg and bake for 25 minutes.
For the full recipe with measurements, head to the recipe card at the end of this post.


How long does the bread last and can it be frozen?
Unsliced bread can be stored unwrapped for a day on your kitchen worktop. Once you slice it, I've found it best stored in a paper bag. You can also store in an airtight container or a ziplock bag, but the crust does loose it's crispness when you do this. However if you're just planning to toast it, then this is not an issue.
This bread will keep well for 2-4 days, however it really is best eaten within 1-2 days.
Tips for making the Eight Strand Plaited Loaf:
- You can also make this recipe with regular plain flour (also known as all purpose flour), the bread may just rise a little less
- Instead of vegetable oil, you can use any oil that doesn't have a strong taste like canola and sunflower oils. Or, if you do want to add some flavour to your bread you could try an infused oil, like garlic for example
- For details on kneading bread by hand, please check out my White Bread Loaf recipe
Recommended equipment & ingredients
- Mixing bowls
- Cooling rack
- Kitchen scales
- Fast action yeast
- Metal dough scraper/cutter
- Dough scraper
- Stand mixer
- Silicone Brush
- Silicone mat
- Serrated bread knife
I earn a small amount of money if you buy the products after clicking on the links. You will not be charged anything extra for this. Thank you for supporting The Baking Explorer!

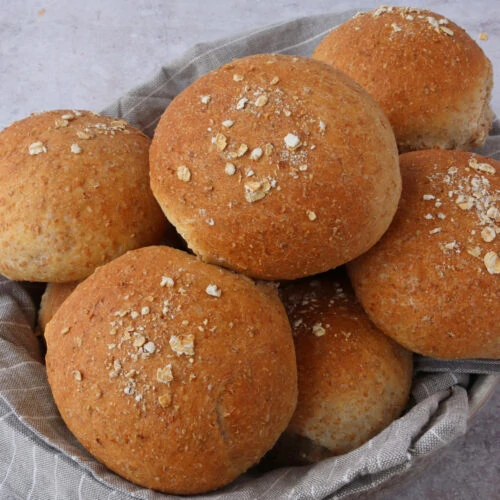
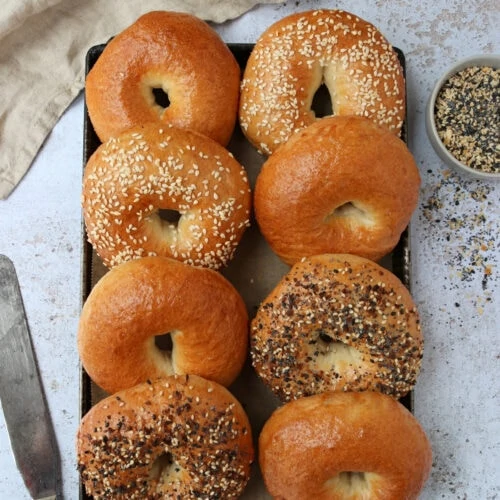
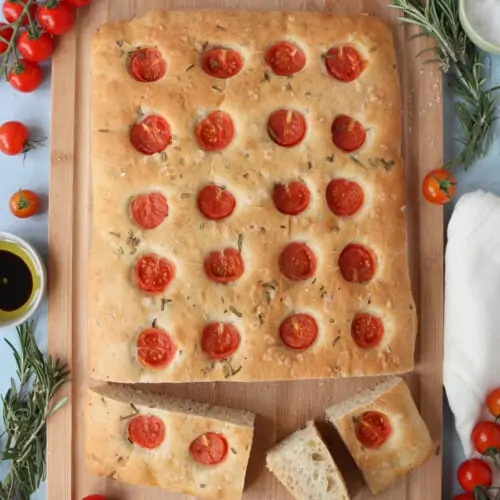
More bread recipes...

Eight Strand Plaited Loaf
Ingredients
- 500 g Strong White Bread Flour
- 300 ml Water
- 2 tbsp Olive oil
- 7 g sachet Fast action dried yeast
- 1 tsp Salt
- 1 Egg medium, beaten
Instructions
- Put the strong white bread flour in a large mixing bowl or the bowl of your stand mixer. Add the salt and yeast on separate sides of the bowl (if you pour the salt directly on the yeast it can stop it from working). Then stir them together
- If using a stand mixer, attach the dough hook and turn the stand mixer on a slow speed. Pour in the water and oil. Keep the mixer running until a dough forms, then leave the mixer to knead the dough for 8 minutes
- If making the dough by hand, pour in the water and oil and mix with a wooden spoon until a dough forms. Place the dough onto a lightly floured surface and knead by hand for 10 minutes
- Place the dough into a lightly oiled bowl, cover with cling film or a tea towl, and leave to rise for 1 hour or until doubled in size
- Tip the dough out onto a lightly floured surface or onto a silicone mat. Briefly knead it to knock the air out, then divide it into eight equal pieces. You can weight them for accuracy if you like
- Flatten each piece out into a sausage shape, then fold in half and use the palms of the hands to roll each piece into a long strand approximately 45cm/18" long
- Lay all of the strands out and attach them at the top by pinching the dough together and tucking it under. Each strand will be numbered from left to right, from numbers one to eight. Each time you move a strand, it will be renumbered to it's new position. Then follow the plaiting sequence:Step 1: place 8 under 7 and over 1Step 2: place 8 over 5Step 3: place 2 under 3 and over 8Step 4: place 1 over 4Step 5: place 7 under 6 and over 1Repeat steps 2-5, until all the dough is plaited
- Chop off any strands that are too long and/or tuck the ends under to neaten it up. Put the plaited bread onto a lined baking tray, cover it loosely with lightly oiled cling film and leave it to rise again for 1 hour
- Pre-heat your oven to 200C Fan/425F/Gas Mark 7
- Glaze the bread with the egg using a silicone pastry brush. Or you can use a clean paint brush (that has never been used with any unedible substances)
- Bake it for 25 minutes until it is golden and sounds hollow when you tap the bottom
- Store in an airtight container for up to 4 days, or you can freeze it
Nutrition
If you like this, check out more of my Bread recipes!
Recipe adapted from Paul Hollywood.
Jenny
Your loaf looks so shiny and beautiful - the plait is so well made too. I bet it smelt and tasted amazing!
Kat BakingExplorer
Thanks Jenny!
Sam
Hi there! I’m itching to try this recipe. From the US and we don’t really have fast action dried yeast — we either have instant or active and I’m wondering which you recommend?
Thanks!
thebakingexplorer
Hi Sam, instant yeast and fast action yeast are the same thing I believe, so that would be my choice. Let me know how you get on!
Johanna GGG
Very impressive - it is great that shows like this get such amazing baking done in our homes - makes me want to experiment more with bread baking - off I go to try and motivate myself 🙂
Kat BakingExplorer
I agree, if it wasn't for Bake Off I wouldn't have experimented half as much as I have with my baking, it really does motivate me
Lucy Allen
What a gorgeous loaf Kat, the plaiting is wonderful! Also impressed that that was made with 500 g flour, mine was too and it was difficult to get all the strands long enough even when I weighed them!
Kat BakingExplorer
Thank you Lucy! You have to just keep rolling them as it's quite a stretchy dough so sometimes they can spring back a little bit.
Anca
Looks really good, the plaiting is stunning. Well done.
Kat BakingExplorer
Thank you so much!
Kate Glutenfreealchemist
Well impressed! I wouldn't have a clue how to make an eight=strand plait..... And the texture of the loaf looks perfect! Well done xx
Kat BakingExplorer
Thank you Kate!
Amanda
I think it looks gorgeous! x
Kat BakingExplorer
Thank you 🙂
Natalie Gardner
This is so impressive and the plaiting looks perfect. There is nothing quite as beautiful as the aroma of the freshly baked bread.
Kat BakingExplorer
You are so kind, thank you!
Angela Campos
This looks amazing! I love how you posted each step with pictures. I think I may give this a try 🙂
Kat BakingExplorer
Thank you! I always find it helpful to show the stages, they do say a picture says a thousand words!