

If you're looking for an easy bake for spooky season, this Halloween Graveyard Cake is a perfect option. It's a delicious chocolate sheet cake, covered in chocolate buttercream, and decorated with Oreo soil, chocolate fingers, biscuit tombstones, jelly snakes, fondant pumpkins and green "grass" buttercream. Kids will love getting involved in both making and decorating this cake. The decor is very customisable too, so you can decorate it with any Halloween sweets you have to hand.
This post may contain affiliate links. I earn from qualifying purchases.

Ingredient Tips & Equipment Information
- Make sure all your ingredients (particularly the butter and eggs) are at room temperature before you start baking.
- I used a baking spread for the cake and unsalted butter for the buttercream.
- If you can't get hold of light brown soft sugar, you can also use regular caster sugar for this cake.
- You will need a 12" x 9" traybake tin for this recipe. However, if you want to make it in a 9" square tin, check the recipe notes for the measurement details.
- I used Cadbury chocolate fingers around the cake, you could also use kit kats or chocolate matchmakers, or any long chocolate stick.
- You can use any cocoa powder for this cake, of course the better quality it is, the better flavour it will have. Also do make sure you are using cocoa powder and not a hot chocolate powder.
- For the gravestones, you could use bourbon biscuits or shortbread instead.
- Although I provide cup measurements, I highly recommend weighing your ingredients out using digital kitchen scales. It is the most accurate way to measure ingredients and will ensure the best results. Digital scales are very low cost and can be purchased for around £12 ($16.50).
- For teaspoon (tsp) and tablespoon (tbsp) measurements, please use measuring spoons and not the type of spoons you eat with. Again this will ensure accuracy and provide the best results.
For the full recipe with measurements, head to the recipe card at the end of this post.
How to make Halloween Graveyard Cake


To make the cake, mix together the baking spread (or butter) and light brown soft sugar, for 2-3 minutes until fluffy. Then mix in eggs, milk and vanilla extract.


Add the self raising flour, cocoa powder, bicarbonate of soda and baking powder, and gently mix or fold in. Spread the mixture out into the tin.


Bake the cake for 25-30 minutes or until a thin skewer inserted in the centre comes out clean. Leave to cool fully. For the buttercream, mix softened butter, icing sugar, cocoa powder and milk together. Spread it all over the cake and decorate with the chocolate fingers, oreo soil, tombstone biscuits, green grass buttercream, jelly snakes and fondant pumpkins.
For the full recipe with measurements, head to the recipe card at the end of this post.


How long does the cake last for and can you freeze it?
The cake will last for 3-4 days in an airtight container in a cool place. You can freeze both the cake and the buttercream. To freeze them separately, wrap the cake well in cling film or put it in an airtight container. The buttercream can be frozen in a sealed tub. To freeze the cake decorated, freeze on a plate until frozen solid, then carefully wrap in cling film. Remove the clingfilm when you take the cake out of the freezer to defrost, as if it defrosts with it still on it could damage the appearance of the decoration.
Can you make this cake with plain/all purpose flour?
Self raising flour, which is very commonly used in the UK where I am based, already contains a raising agent and a little salt too. Therefore if you want to swap it for plain or all purpose flour, you will need to add some additional baking powder and also a little salt if you like. Some people like to add salt to cake recipes and some don't, so I'll leave that up to you as it won't affect the bake. The general advice is to add 2 teaspoons baking powder (a measuring teaspoon, not the kind you stir your coffee with) per every 200g plain or all purpose flour. So for this recipe you'd need to add an additional 1 ¾ teaspoons baking powder. Please note, I have not tested this recipe using plain or all purpose flour.
What size tin do you need for this cake?
This recipe is best made in a 12" x 9" (36.5cm x 26cm) traybake tin with deep sides (4cm or 1.5"). However, if you'd prefer to make it in a smaller 9" square tin, check the recipe card notes section for details on how to change the measurements and baking time.
Can you use different decorations for the Halloween Graveyard Cake?
Yes absolutely. I used Cadbury chocolate fingers for the fence around the cake, so any finger type chocolate stick will work, such as kit kats or matchmakers. On top I made the graveyard by coating Biscoff biscuits in dark chocolate then piping the "RIP" on with white candy melts. You can use any rectangular biscuits for the tombstones, and it's up to you whether you cover them with chocolate or not, as you don't have to. You could also use mini chocolate bars. I used Oreo biscuits for the "soil", which I think is the best choice for the effect, but bourbon biscuits could work too. For the other decor, I used fondant pumpkins and jelly snakes, but you can use any spooky Halloween themed sweets and chocolate you like. For example, chocolate skulls, jelly spiders, chocolate eyeballs, candy corn etc.

How many people does this cake serve?
It completely depends how you slice it up, which is great because it makes this such a versatile cake for parties and gatherings. I love a big chunk of cake so I cut it into 12 slices, but for a party you may prefer to cut it into smaller slices so it feeds more people. You can cut into 16 slices, or even 24 slices.
Can this cake be made gluten free?
Yes! For gluten free you can replace the self raising flour with a gluten free self raising flour blend. If you only have a gluten free plain flour blend, you will need to add additional baking powder. The general advice is to add 2 tsp baking powder per 200g flour, so for this recipe you'd need to add 1 ¾ additional teaspoons baking powder. You may also like to add ½ tsp xanthan gum for better texture. You will need to use gluten free alternatives for the decoration too, as Oreos, Biscoff biscuits and chocolate fingers are not gluten free. Please do check the labels for everything you use to make the cake if you are serving it to someone with an allergy or intolerance.
Can this cake be made dairy free?
For a dairy free version, use a dairy free baking spread and dairy free milk for the cake. For the buttercream you will need a dairy free butter alternative. I recommend Flora Plant or the Stork Baking Block for the buttercream, as they give the best texture. You will also need to use a dairy free alternative to milk for the buttercream. For the decoration, you will need to use dairy free alternatives to the chocolate fingers, and make sure the chocolate that you cover the Biscoff biscuits with is dairy free. Please do check the labels for everything you use to make the cake if you are serving it to someone with an allergy or intolerance.
Do you need an electric mixer to make this recipe?
While you can absolutely make this recipe with a wooden spoon and some elbow grease, I do recommend using an electric mixer for the best results. The cake will be lighter and fluffier when made with an electric mixer. The buttercream will also be smoother. You don't have to use an expensive stand mixer either, you can get electric hand whisks for as little as £10!
More tips for making the Halloween Graveyard Cake:
- If you don't want to use chocolate covered Biscoff biscuits for the tombstones, you could use a bourbon biscuit as it's already brown. Or any other biscuit you come across that looks suitable to be a tombstone! Small chocolate bars would also work.
- If you don't have a piping bag or grass nozzle for the green grass, just add a few small blobs of green buttercream and use the back of a spoon or a fork to create little flicks. It's a spooky graveyard so the less perfect looking, the better!

Troubleshooting
My number one tip for getting the best results is to read through this whole page of tips and recommendations before starting, and follow the recipe exactly. If you have any questions about this recipe, or if something went wrong and you need help, please use the comment form below and I will get back to you. You can also get in touch with me on my Twitter, Instagram or Facebook. I'd love to hear from you!
Recommended equipment & ingredients
- Mixing bowls
- Traybake tin
- Measuring spoons
- Cooling rack
- Kitchen scales
- Electric hand mixer
- Piping bags
- Angled palette knife
- Green food colouring
- Food processor
- Biscoff biscuits
- Grass nozzle
I earn a small amount of money if you buy the products after clicking on the links. You will not be charged anything extra for this. Thank you for supporting The Baking Explorer!

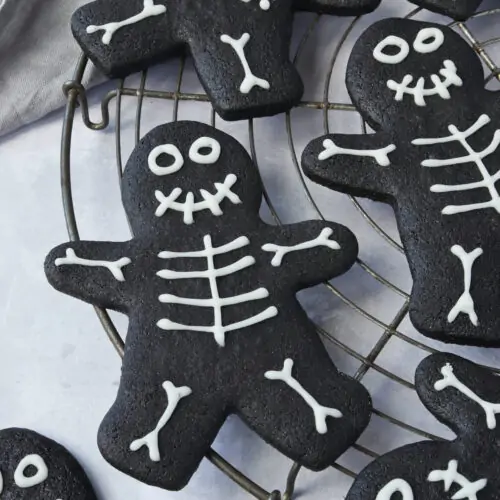
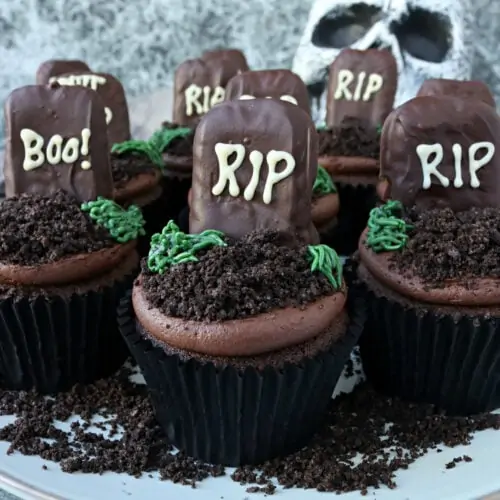
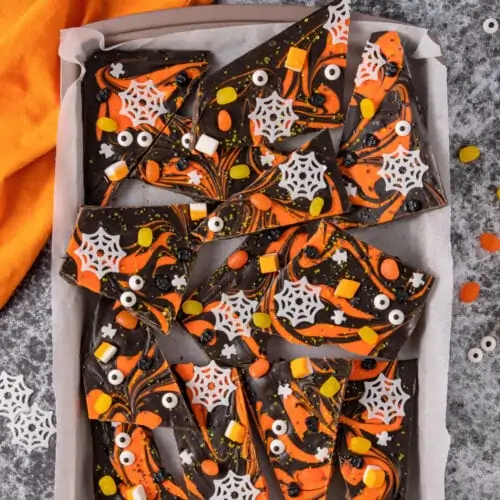
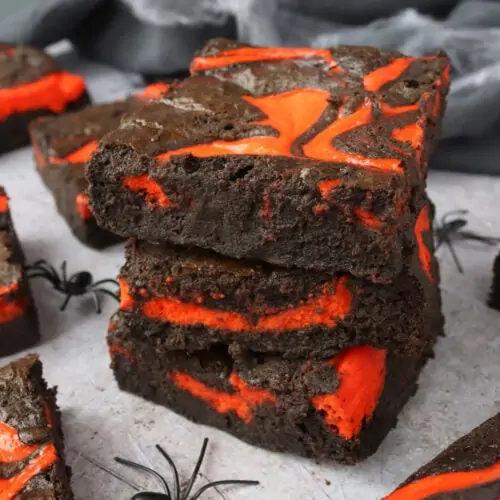
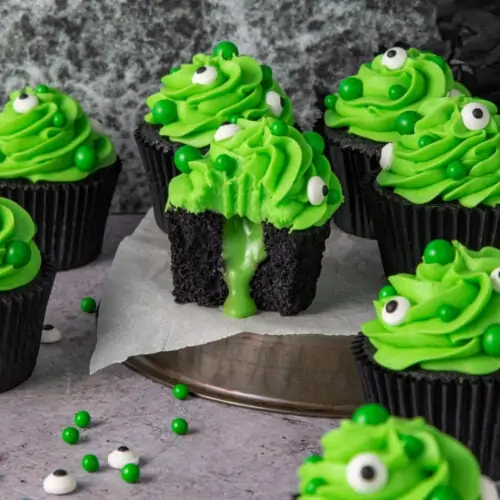
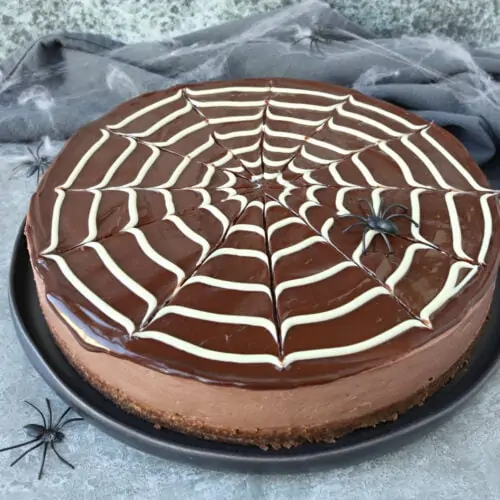
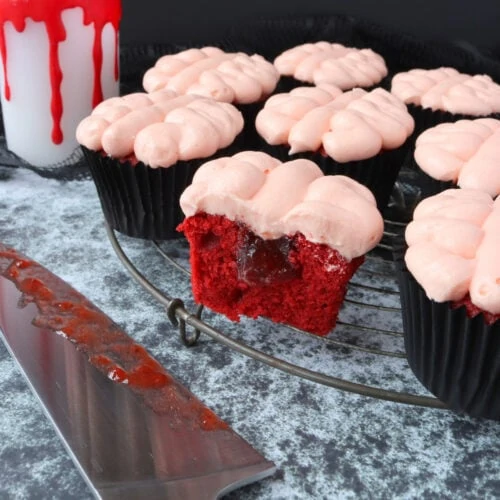
More Halloween recipes...


Halloween Graveyard Cake
Ingredients
For the cake
- 225 g Butter or baking spread unsalted, softened
- 225 g Light brown soft sugar
- 4 Eggs large
- 1 tsp Vanilla extract
- 75 ml Milk
- 175 g Self raising flour
- 50 g Cocoa powder
- ¼ tsp Baking powder
- ¼ tsp Bicarbonate of soda
For the chocolate buttercream
- 200 g Butter unsalted, softened
- 325 g Icing sugar
- 75 g Cocoa powder
- 3 tbsp Milk
For the green buttercream
- 25 g Butter unsalted, softened
- 50 g Icing sugar
- ⅛ tsp Vanilla extract
- ¼ tsp Milk
- Green food colouring
For decoration
- 125 g Dark chocolate melted
- 8 Biscoff biscuits
- 25 g White candy melts or white chocolate
- 200 g Chocolate fingers
- 120 g Oreos crushed into crumbs
- Jelly snakes optional
- Fondant pumpkins optional
Instructions
- Pre-heat your oven to 160C Fan/180C/350F/Gas Mark 4, and grease and line a 12" x 9" traybake tin
- Make the cake by mixing the baking spread (or butter) and light brown soft sugar in a large bowl until fluffy, about 2-3 minutes, ideally using an electric mixer
- Add the eggs, milk and vanilla extract, and mix until fully incorporated
- Gently mix or fold in the self raising flour, cocoa powder, baking powder and bicarbonate of soda
- Pour the mixture into the tin, smooth it out if needed to spread it out evenly
- Bake for 25-30 minutes or until a skewer inserted in the centre comes out clean. Leave to cool fully either in the tin or on a cooling rack
- While the cake is baking and cooling, make the biscuit graves. Snap about a third of the biscuit off at the end, this makes them a bit shorter and a better size for the cake. Melt the dark chocolate and dip the biscuit into it, shaking off any excess gently, place onto baking paper to set. Once the dark chocolate is set, melt the white candy melts and put in a piping bag. Snip a small bit off the end of the piping bag. Pipe on your chosen designs, then leave to set
- To make the chocolate buttercream, mix the butter in an electric mixer with the paddle attachment for a few minutes. Add the icing sugar, cocoa powder and milk and mix until well combined. You can add more milk if the buttercream is too stiff
- Ideally using an angled palette knife, spread the buttercream all over the top and sides of the cake
- Break the chocolate fingers into varying lengths, stick them around the sides of the cake with the broken side down, push them gently into the buttercream so they stick to the cake. Then cover the top of the cake with the Oreo crumbs
- Use a knife to cut slits in the top of the cake where you want the biscuit graves to go, then gently push them into the slits. Decorate the rest of the cake with the jelly snakes, fondant pumpkins, or whatever decor you have
- Make the green grass buttercream by mixing together the butter and icing sugar, then add the vanilla and green food colouring, and mix until smooth and the desired shade is achieved. For best results use a stand mixer with the paddle attachment or a handheld electric mixer
- Put the green buttercream into a piping bag fitted with a multi opening grass nozzle, and add some "grass" around the biscuit graves, and in random places all over the cake. Or add small blobs with a spoon and use the back of a spoon to flick the buttercream around and create texture
- To serve, slice into squares. Store any leftovers in an airtight container in a cool place and eat within 3 days
Video
Notes
- Make sure all your ingredients (particularly the butter and eggs) are at room temperature before you start baking.
- I used a baking spread for the cake and unsalted butter for the buttercream.
- If you can't get hold of light brown soft sugar, you can also use regular caster sugar for this cake.
- You will need a 12" x 9" traybake tin for this recipe. However, if you want to make it in a 9" square tin, check the recipe notes for the measurement details.
- I used Cadbury chocolate fingers around the cake, you could also use kit kats or chocolate matchmakers, or any long chocolate stick.
- You can use any cocoa powder for this cake, of course the better quality it is, the better flavour it will have. Also do make sure you are using cocoa powder and not a hot chocolate powder.
- For the gravestones, you could use bourbon biscuits or shortbread instead.
- Although I provide cup measurements, I highly recommend weighing your ingredients out using digital kitchen scales. It is the most accurate way to measure ingredients and will ensure the best results. Digital scales are very low cost and can be purchased for around £12 ($16.50).
- For teaspoon (tsp) and tablespoon (tbsp) measurements, please use measuring spoons and not the type of spoons you eat with. Again this will ensure accuracy and provide the best results.
- 170g Butter or baking spread
- 170g Light brown soft sugar
- 3 Large eggs
- 1 tsp Vanilla extract
- 130g Self raising flour
- 38g Cocoa powder
- Scant ¼ tsp Baking powder
- Scant ¼ tsp Bicarbonate of soda
- 56ml Milk
Leave a review & recipe rating