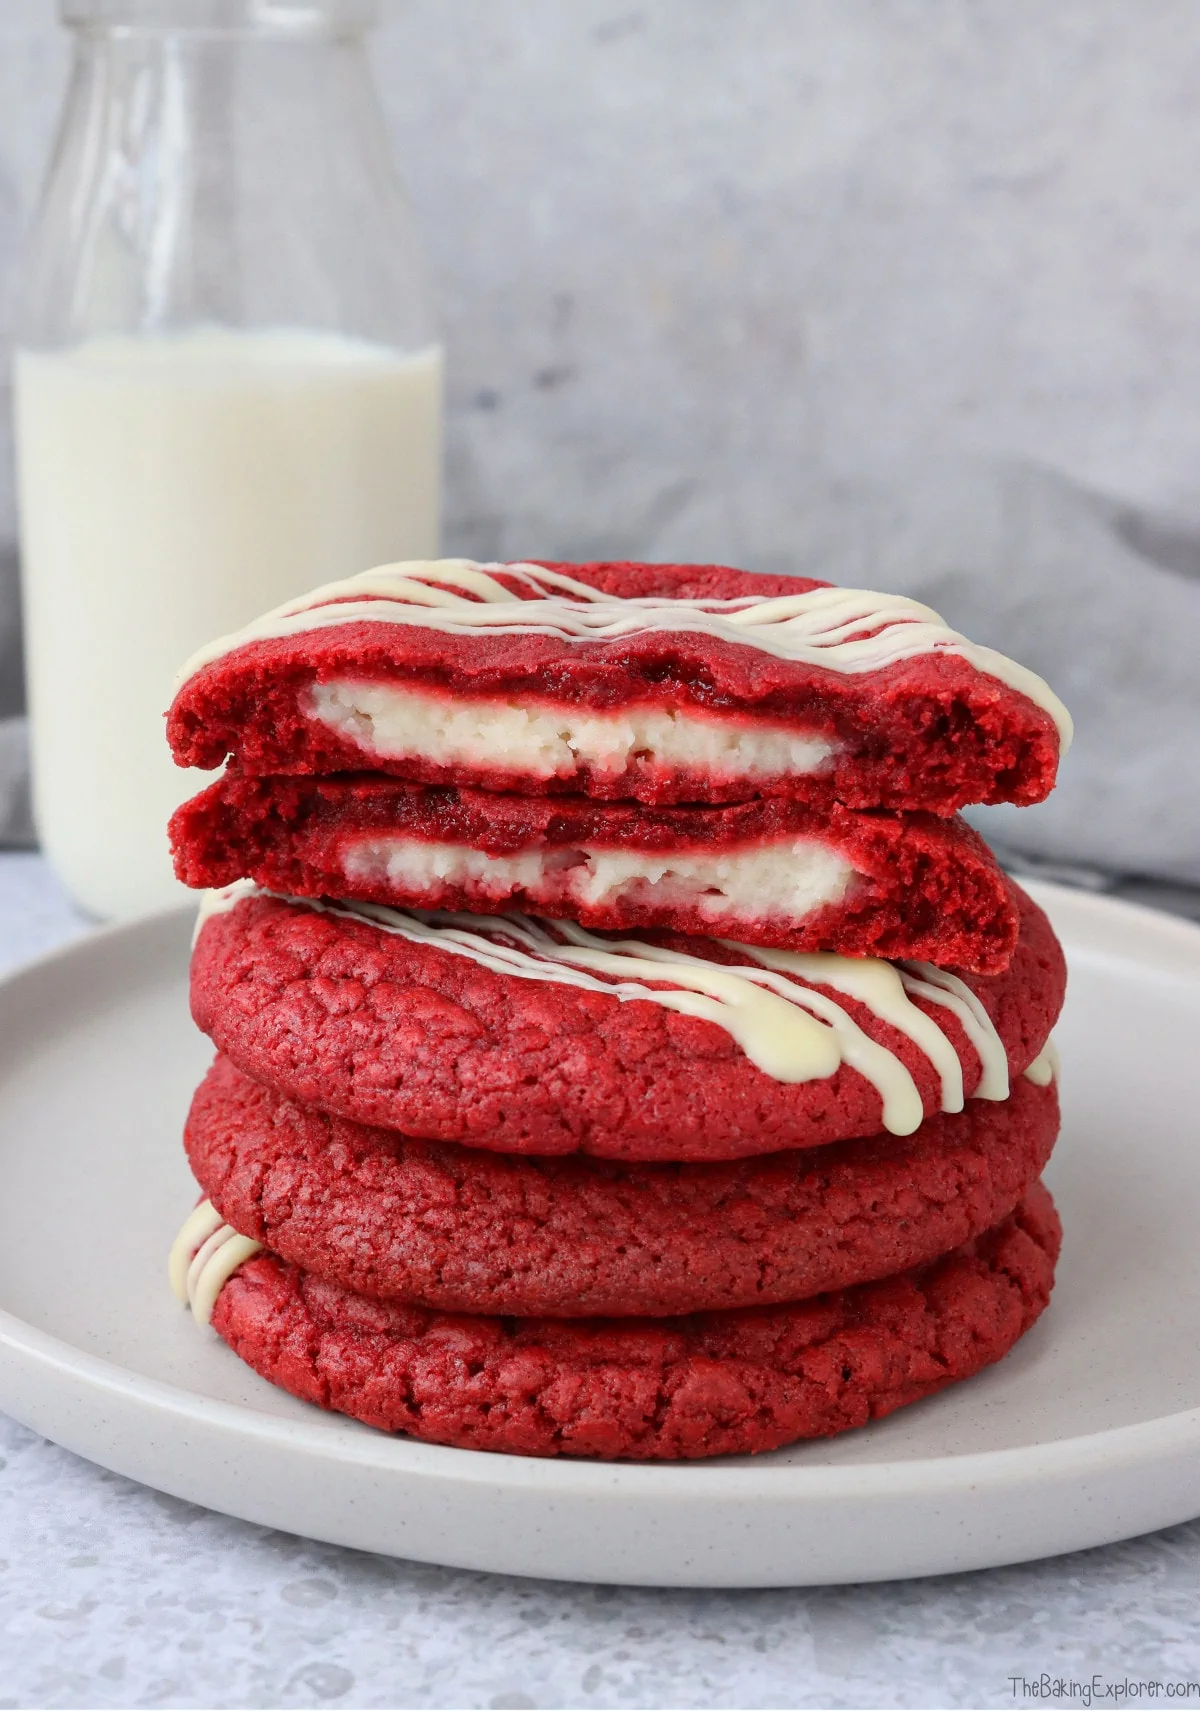
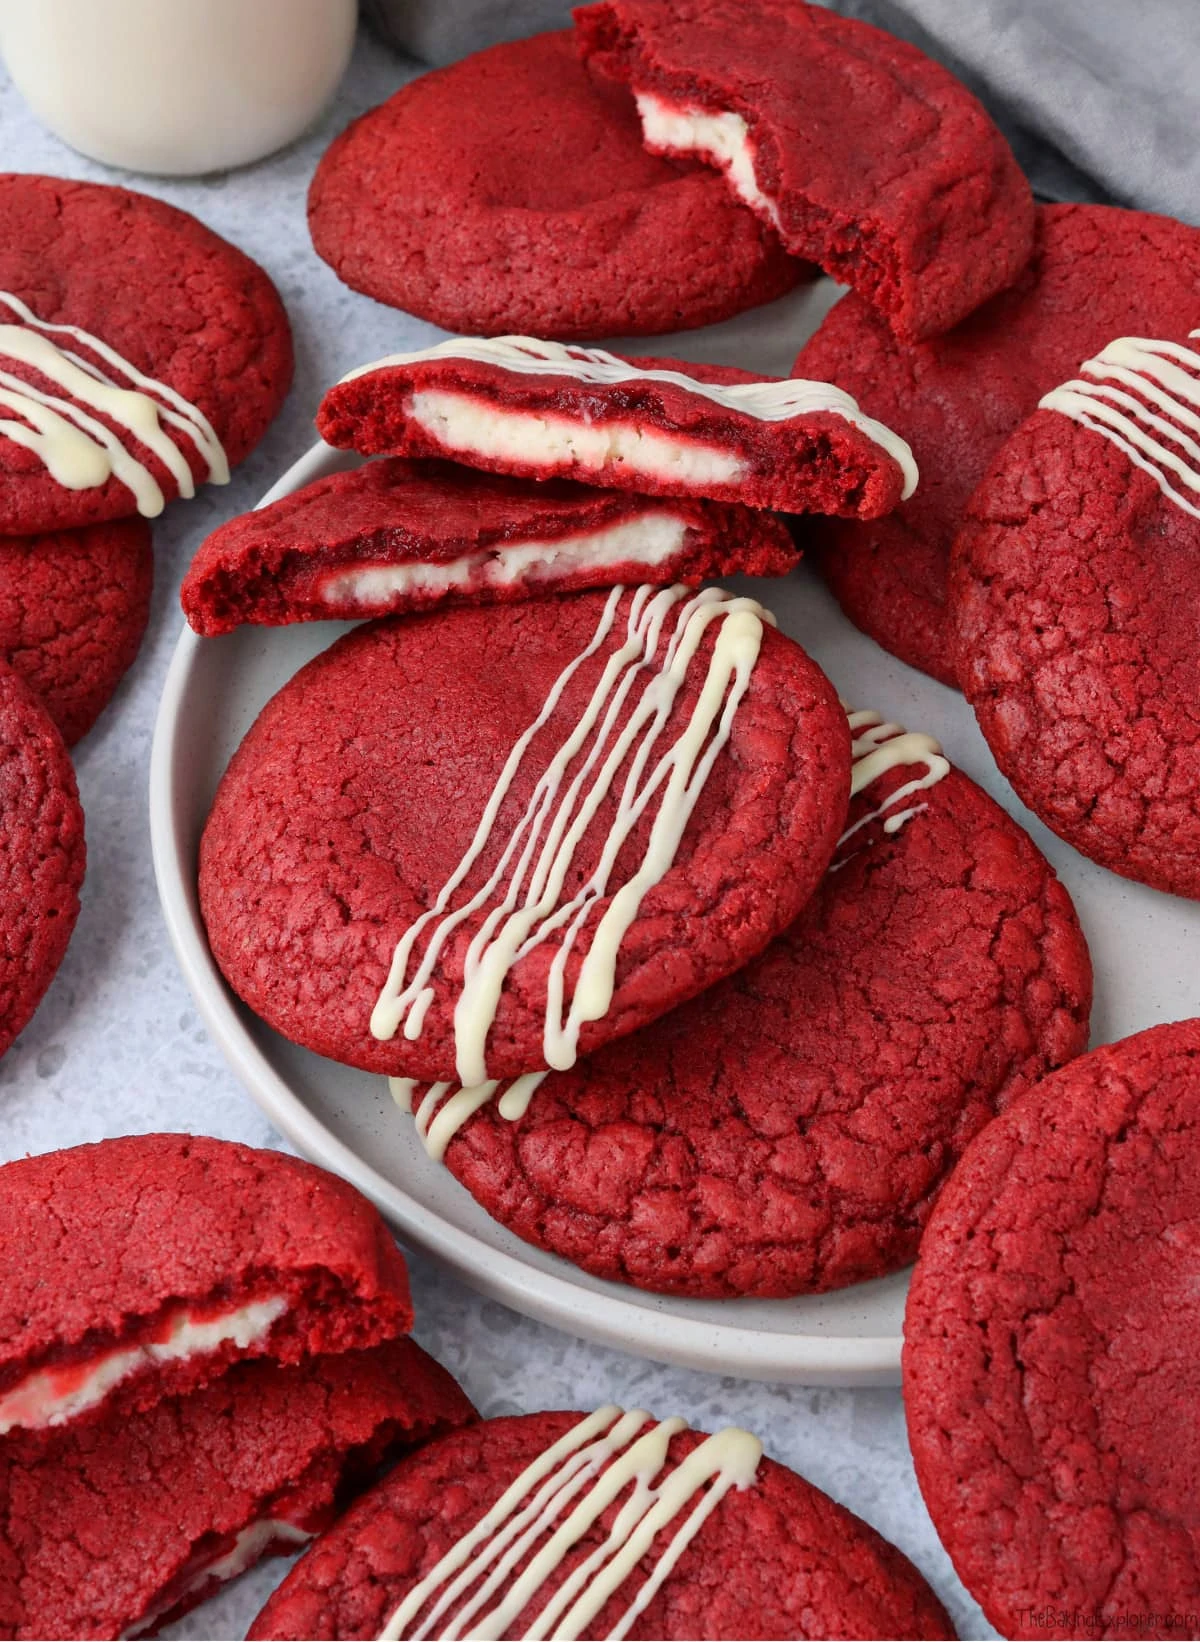
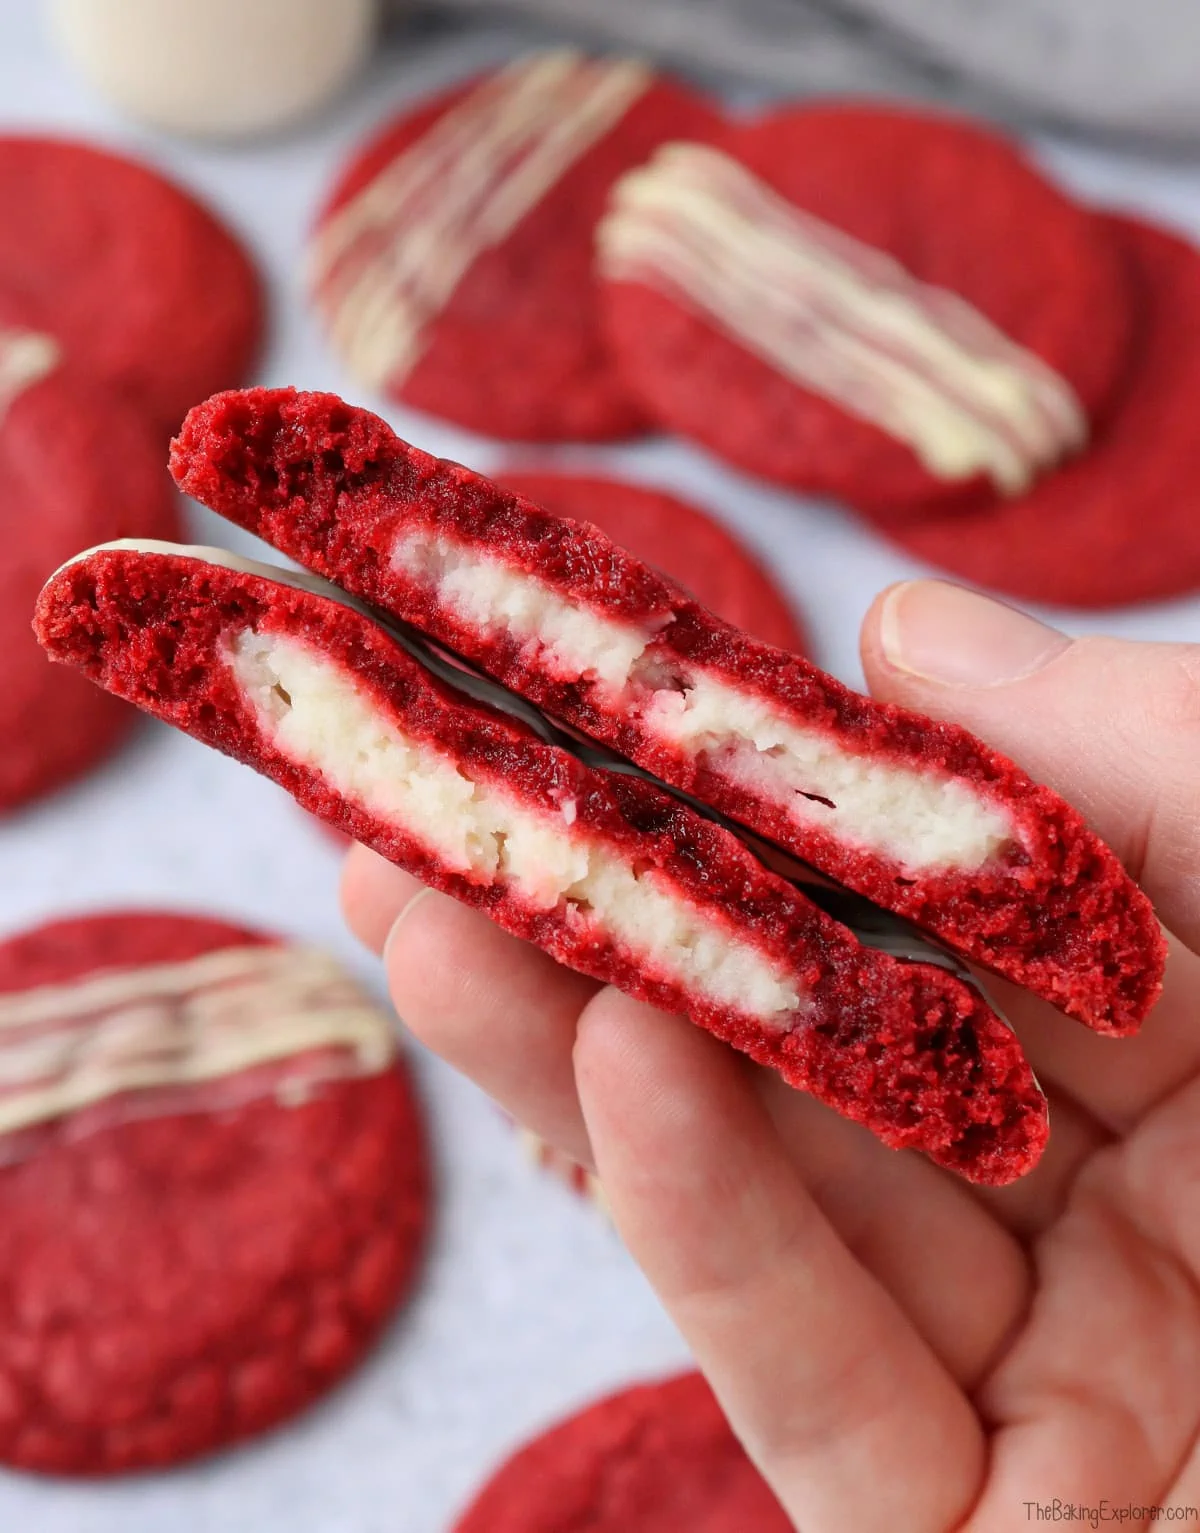
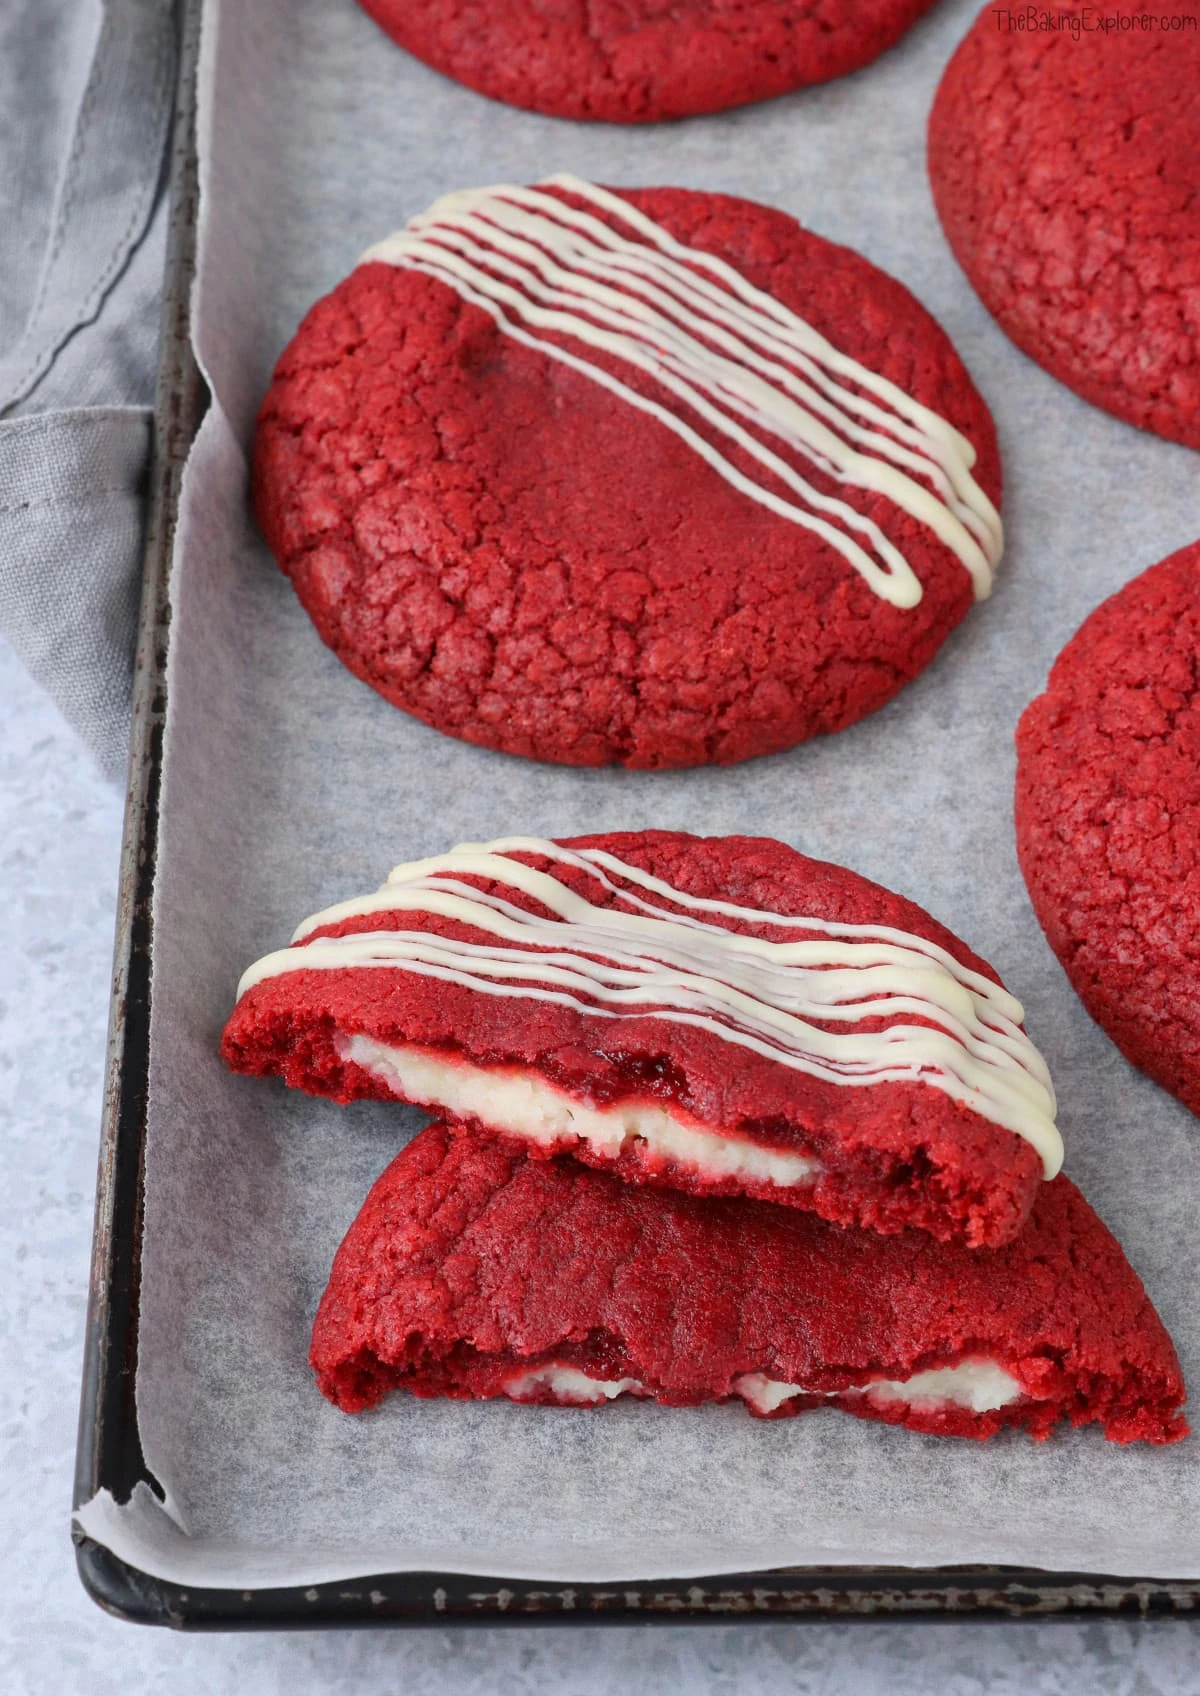
These yummy Cheesecake Stuffed Red Velvet Cookies are filled with a delicious cheesecake centre! The best part of red velvet cake is definitely the cream cheese frosting, so sweet cream cheese just had to be at the centre of this recipe. The stuffed cookies are buttery and soft, with lovely crispy edges and of course a gooey middle! They're fairly straightforward to make too, check my step by step photos below to find out exactly how that cheesecake filling gets inside the cookie dough.
Ingredient Tips & Equipment Information
- Make sure all your ingredients (particularly the butter and eggs) are at room temperature before you start baking. The cream cheese can be used straight from the fridge.
- I prefer to use unsalted butter for this recipe, but you can also use a baking spread.
- You will need to use a professional grade food colouring to get the same shade of red that you can see in my photos. Brands I recommend and use often are Pro Gel and Sugarflair. Colour Mill and Americolor are other good quality brands.
- I prefer to use Philadelphia full fat cream cheese for the filling as it gives me the best results.
- For the best flavour, use a vanilla extract and not an essence.
- Although I provide cup measurements, I highly recommend weighing your ingredients out using digital kitchen scales*. It is the most accurate way to measure ingredients and will ensure the best results. Digital scales are very low cost and can be purchased for around £12 ($16.50) .
- For teaspoon (tsp) and tablespoon (tbsp) measurements, please use measuring spoons* and not the type of spoons you eat with. Again this will ensure accuracy and provide the best results.
For the full recipe with measurements, head to the recipe card at the end of this post.
How to make Cheesecake Stuffed Red Velvet Cookies
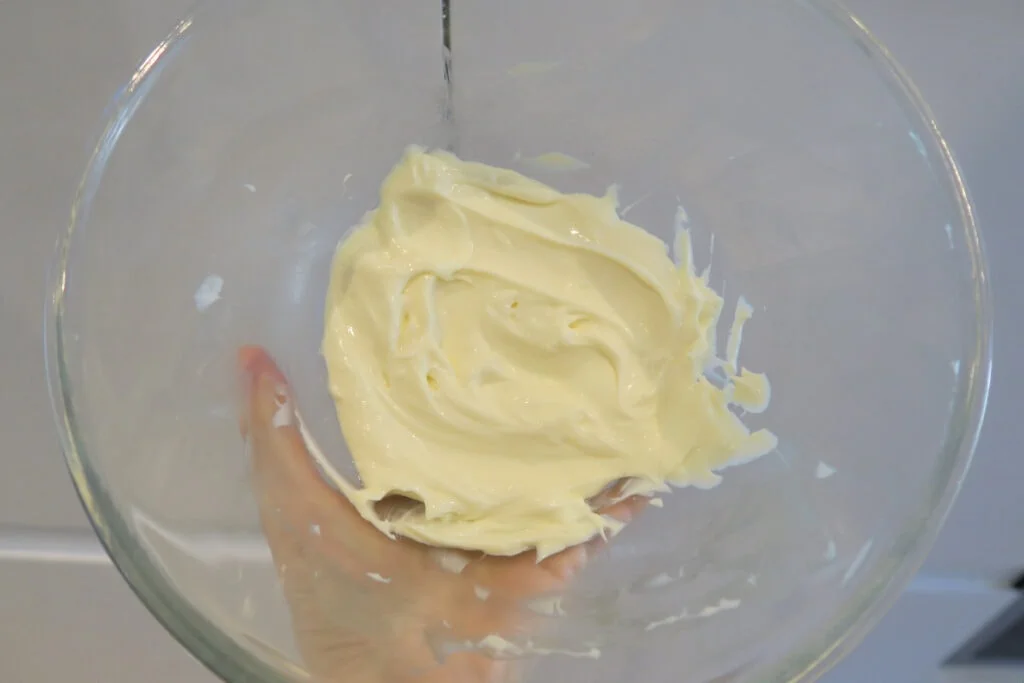
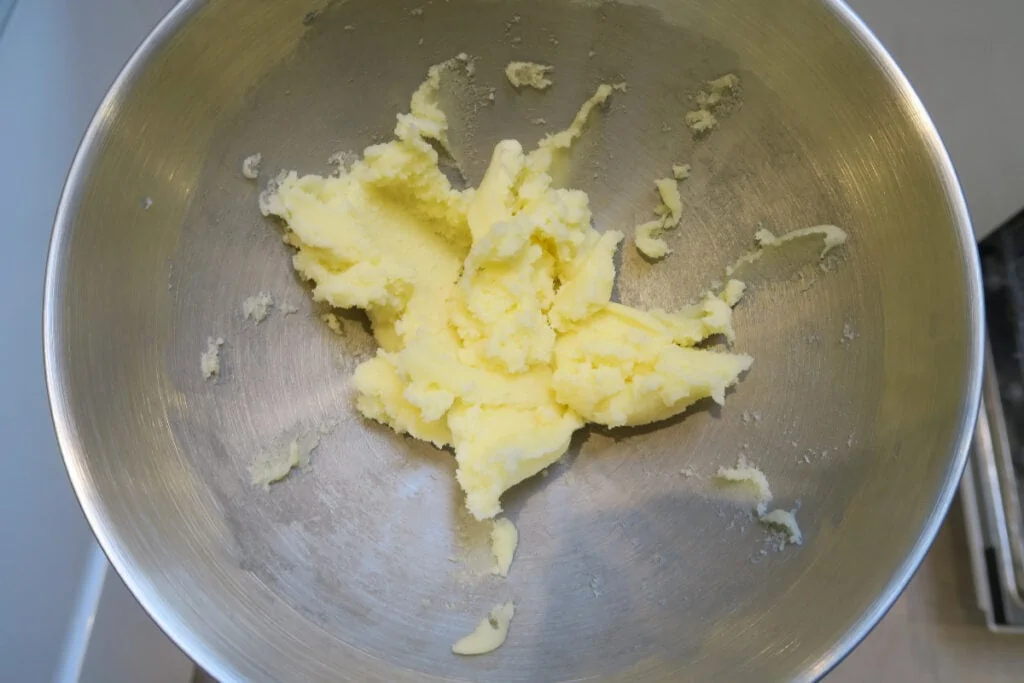
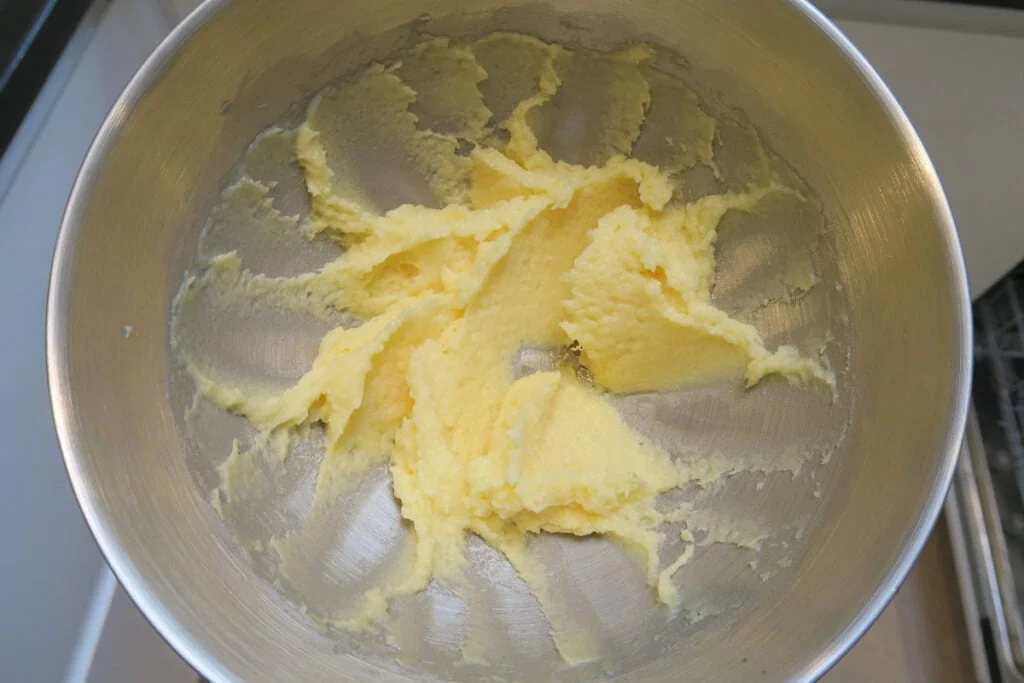
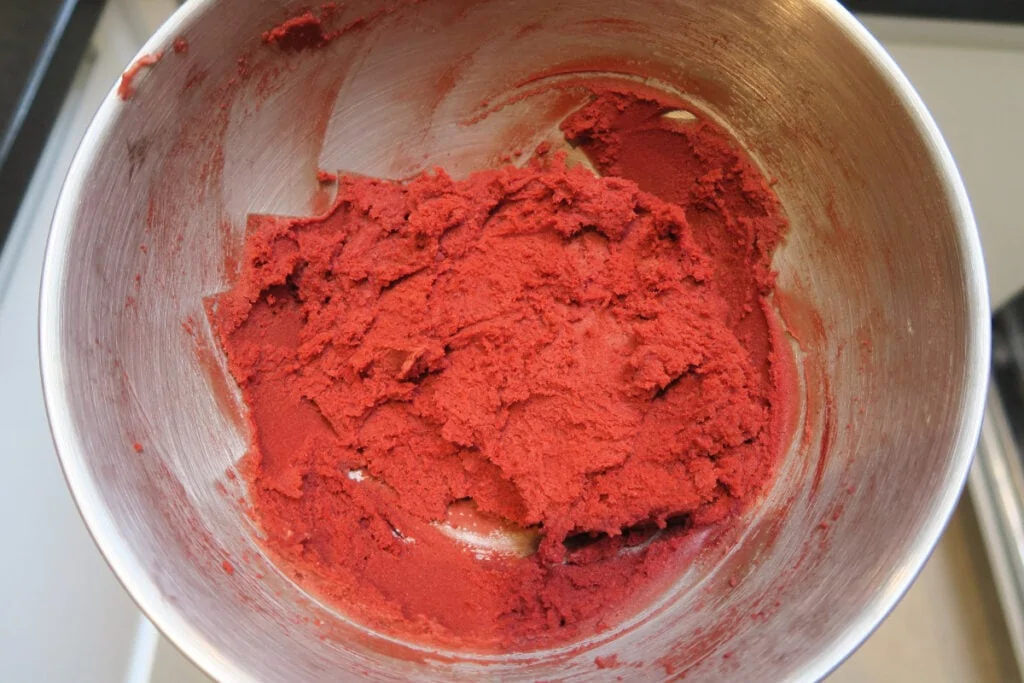
Make the cheesecake filling by mixing together cream cheese, icing sugar and vanilla extract. Set aside. Then make the cookie dough. Mix the butter and sugar together, the add the egg and vanilla and mix them in. Next, add the plain flour, baking powder, cocoa powder and red food coloring. Mix until a dough forms.
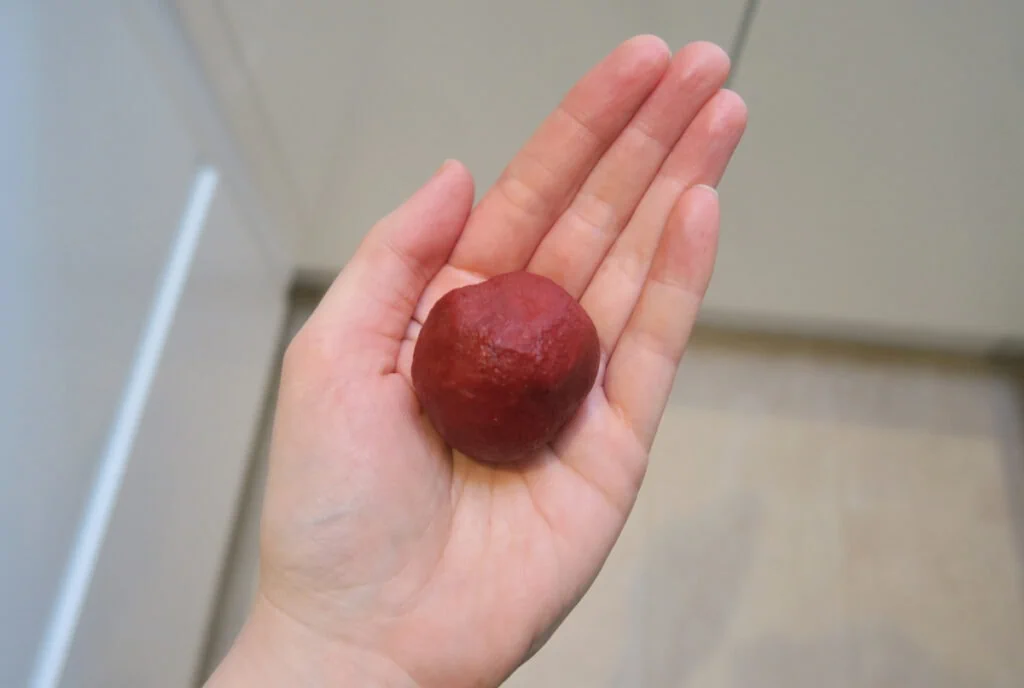
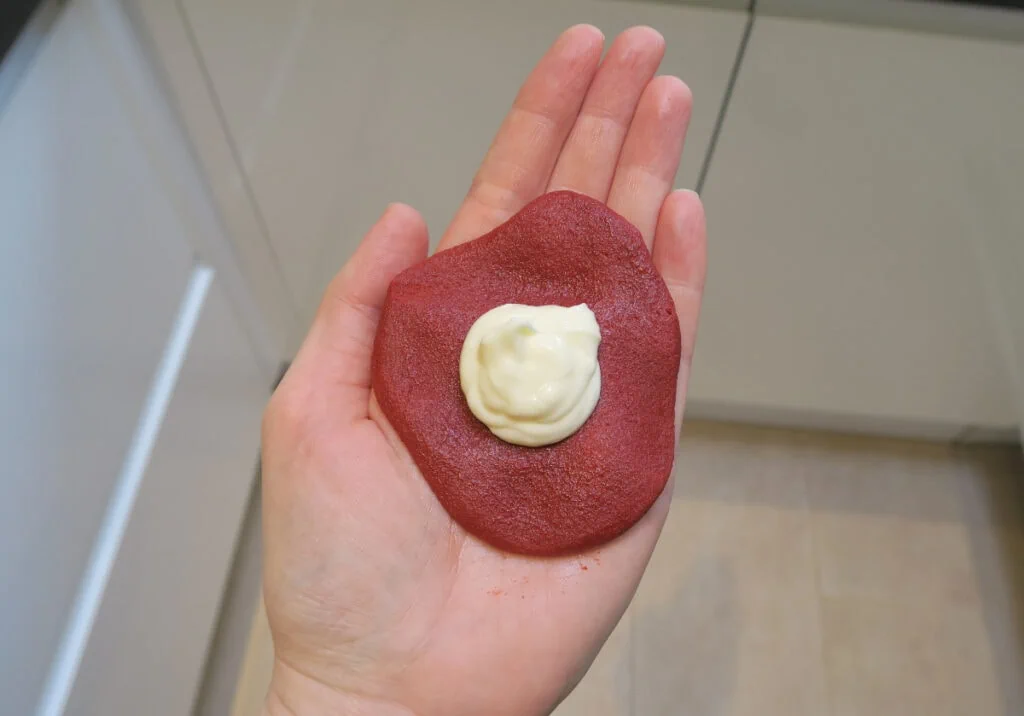
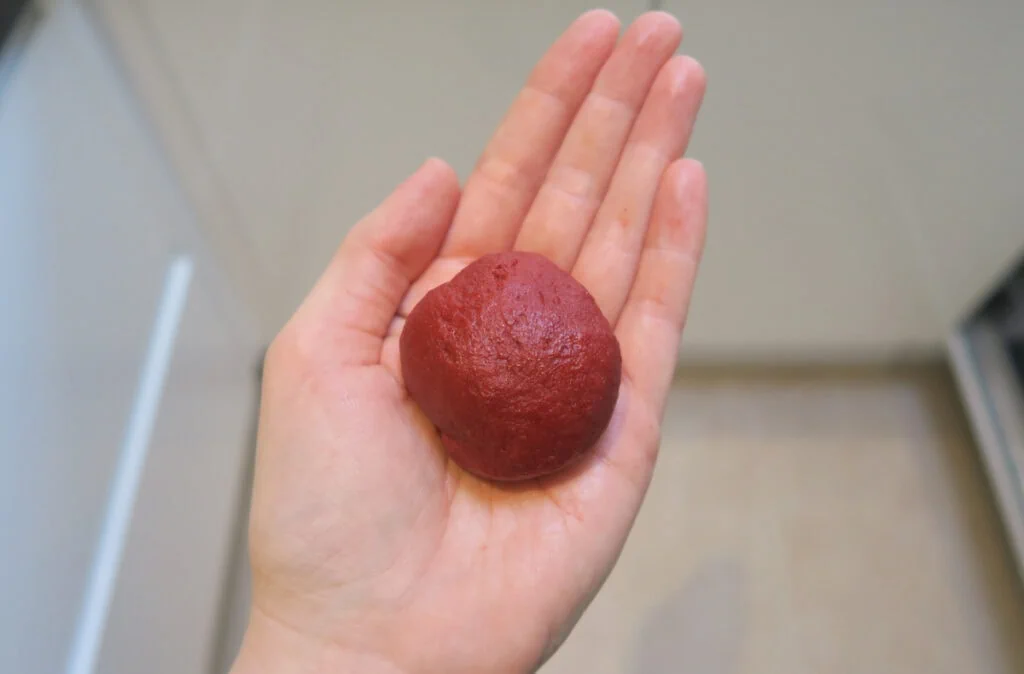
Divide the dough into portions, I went for 50g of dough per cookie. Roll each one into a ball, then flatten it out in your hand. Place a teaspoon of the cream cheese mixture in the centre, and fold the dough over, sealing it together by pinching it with your fingertips. Roll it back into a ball shape.
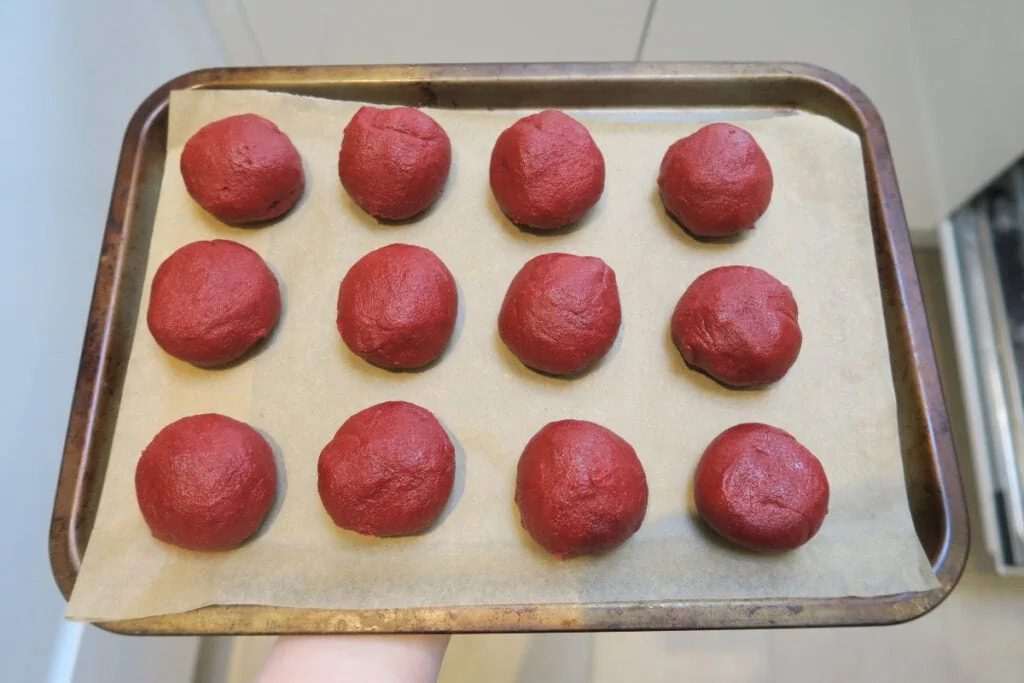
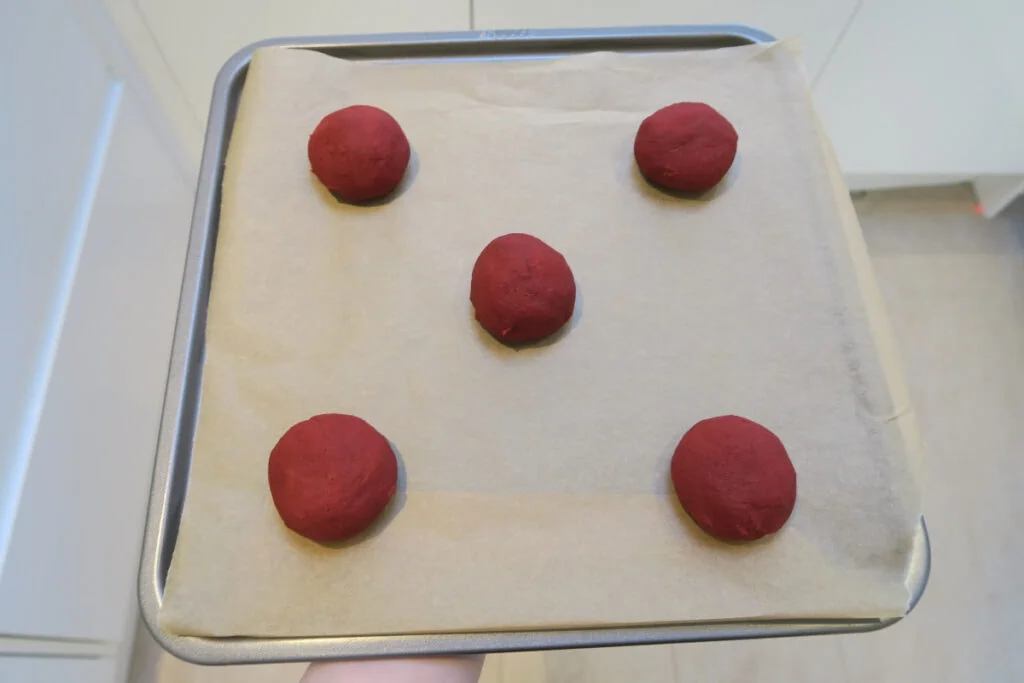
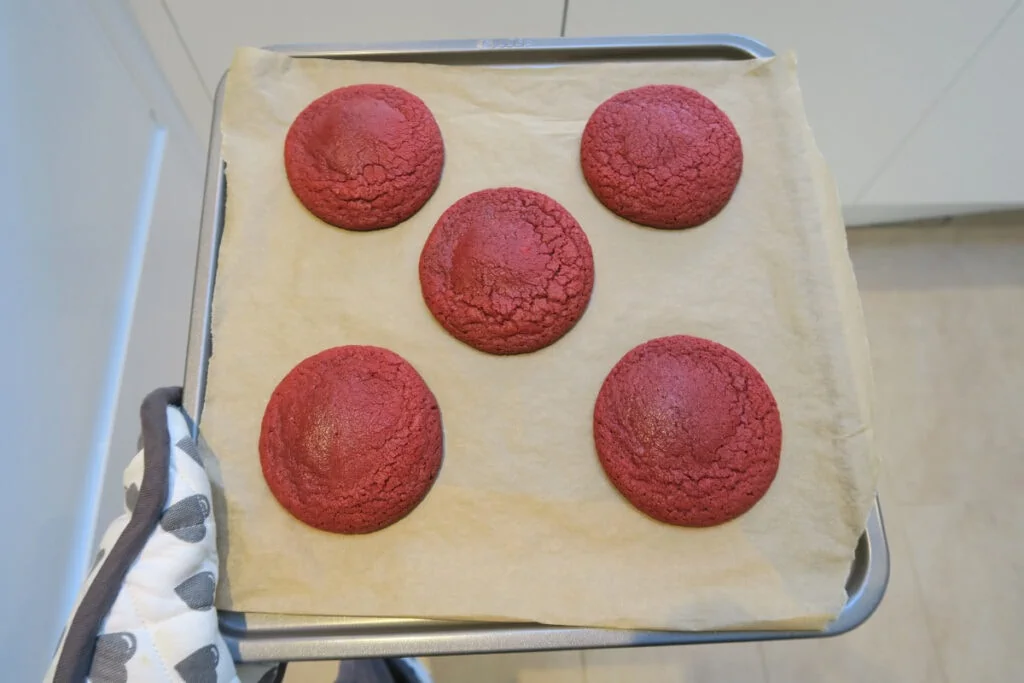
Once all of the dough balls are stuffed with cheesecake filling, place them on a lined baking tray and put them in the freezer for 30 minutes. To bake, put them onto lined baking trays, leaving space between them, and bake for 13 minutes.
For the full recipe with measurements, head to the recipe card at the end of this post.
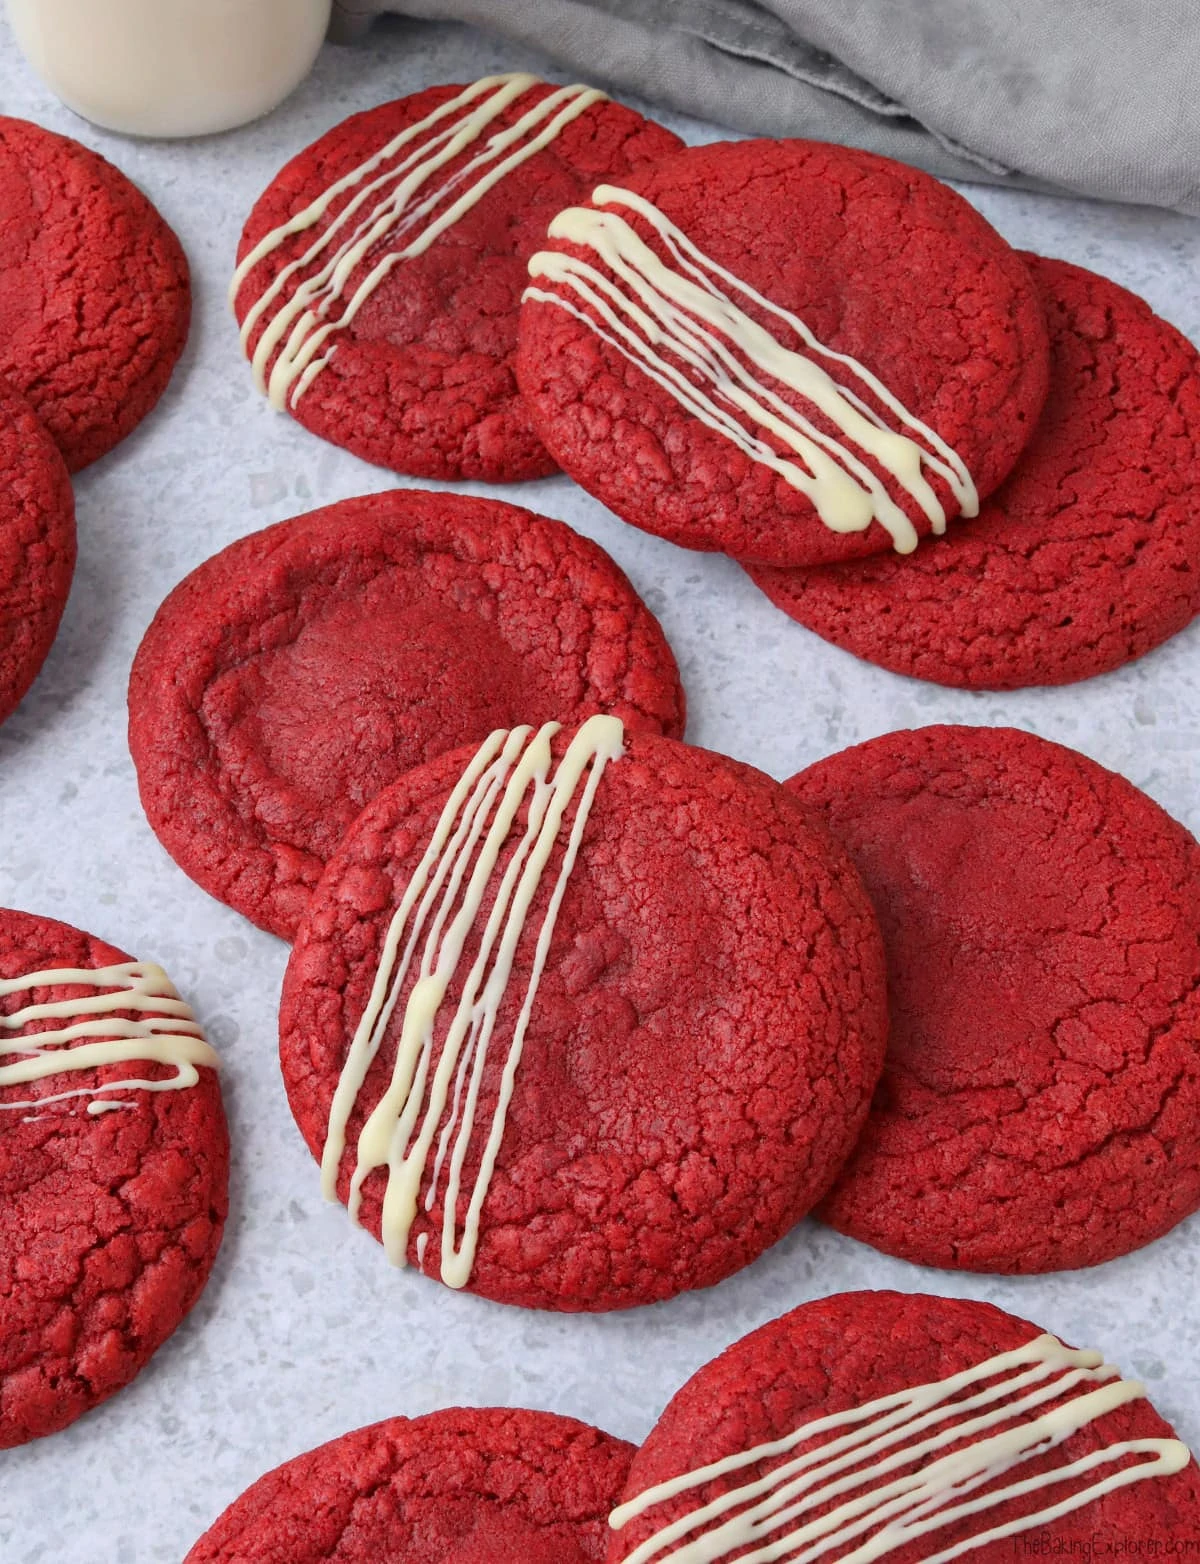
Do you have to freeze the cookies before baking them?
No, you don't have to. But I found that freezing them first gave me thicker cookies. If you don't mind them being thinner and flatter, then feel free to bake them straight away.
What is the best food colouring to use?
To get a bright red shade that remains strong after the cookies are baked you need to use a professional grade gel food colouring. You can buy these easily from many online shops, including Amazon. I use the brands Sugarflair (Red Extra shade) and Pro Gel often. Other good quality brands include Colour Mill and Americolor.
How should the cookies be stored and can they be frozen?
You can keep the balls of unbaked cookie dough in the freezer for up to 3 months, and you can bake them straight from frozen whenever you fancy a fresh cookie. The baked cookies will last for 3-4 days in an airtight container in a cool place. You can freeze the baked cookies too, wrap them well or store in a freezer bag for up to 3 months. Put a square of baking paper between each one to stop them from sticking together.
Do you need any electric mixer to make this recipe?
No, while an electric mixer is helpful in making these cookies, you don't need one to make them. You can absolutely make the cookies by hand with a wooden spoon. If you have an electric stand mixer, then you can use the paddle attachment to make these cookies.
Can this recipe be made gluten free?
For gluten free you can replace the plain flour with a gluten free plain flour blend. You may also like to add ¼ tsp xanthan gum for better texture. Please check the labels of everything you use if serving to someone with an allergy or intolerance.
Can this recipe be made dairy free?
For a dairy free version, use a dairy free baking spread instead of butter for the cookies. You will also need to use dairy free cream cheese for the filling, and dairy free white chocolate for decoration. Please check the labels of everything you use if serving to someone with an allergy or intolerance.
More tips for making the Cheesecake Stuffed Red Velvet Cookies:
- Make sure to leave space between the balls of cookie dough on the baking trays as they will spread when baking, about 2" should ensure they don't stick together. If you make bigger cookies, you will need to leave more space.
- Let the cookies cool on the baking tray for at least 5 minutes (nearer to 10 minutes is ideal) before trying to move them onto a cooling rack. Otherwise they will be too soft and will break or stick to the baking paper.
- For perfectly round cookies, as soon as they come out of the oven get a round cookie cutter that is larger than the cookies and put it around each cookie. Move it in a circular motion, pressing against the sides of the cookies gently to adjust any irregularities. This is called scooting or hula hooping.
- The white chocolate drizzle on top is optional. Or you could dip half of the cookie in white chocolate, or add a circle of white chocolate on top of the cookie and some sprinkles too!
Troubleshooting
If you have any questions about this recipe, or if something went wrong and you need help, please use the comment form below and I will get back to you. You can also get in touch with me on my Twitter, Instagram or Facebook. I'd love to hear from you!
Recommended equipment & ingredients*
- Baking trays
- Mixing bowls
- Cooling rack
- Kitchen scales
- Stand mixer
- Red food colouring
- Round cutters
- Piping bags
*I earn a small amount of money if you buy the products after clicking on the links. You will not be charged anything extra for this. Thank you for supporting The Baking Explorer!
More red velvet recipes...
Cheesecake Stuffed Red Velvet Cookies
Ingredients
For the cheesecake filling
- 85 g Cream cheese I used Philadelphia
- 25 g Icing sugar sieved
- ¼ tsp Vanilla extract
For the cookies
- 125 g Butter softened, unsalted
- 200 g Caster sugar also known as superfine sugar
- 1 Egg large
- 1 tsp Vanilla extract
- 200 g Plain flour
- 1 tsp Baking powder
- 1 tbsp Cocoa powder
- Red food colouring I used Sugarflair Red Extra
To decorate (optional)
- 50 g White chocolate melted, optional
Instructions
- Put the cream cheese, icing sugar and vanilla extract into a mixing bowl and mix together until smooth using a spatula or a spoon. Set aside
- Ideally using a stand mixer with the paddle attachment, mix the butter and sugar together for a few minutes
- Add the egg and vanilla extract and mix in
- Add the plain flour, baking powder, cocoa powder and red food colouring. Mix together, add more red food colouring if needed to reach the desired shade
- Divide the dough into 14 portions, I weighed the dough and used 50g per cookie
- Roll each portion into a ball using the palms of your hands, then flatten the dough out into a disc in the palm of your hand
- Place a teaspoon of the cream cheese mixture into the centre of the flattened out piece of dough
- Fold the dough around the cream cheese filling and pinch the dough together to seal the cream cheese inside the dough. Roll it back into a ball shape
- Place the ball of cheesecake filled dough onto a lined baking tray, do the same with all of the dough until it is used up. Then put all of them into the freezer for 30 minutes
- Meanwhile, pre-heat your oven to 180C Fan/400F/Gas Mark 6
- After the 30 minutes is up and your oven is pre-heated, place the frozen dough balls onto lined baking trays, leaving space (at least 2") between them to spread. If you don't have enough baking trays, keep the dough in the freezer and bake the cookies in batches
- Bake for 13 minutes, remove from the oven and leave to cool for at least 10 minutes on the baking trays before moving to a cooling rack
- Place the cookies onto some baking paper, and drizzle with the melted white chocolate. Leave to set
- Store leftovers in an airtight container in the fridge and eat within 3 days
Video
Notes
- Make sure all your ingredients (particularly the butter and eggs) are at room temperature before you start baking. The cream cheese can be used straight from the fridge.
- I prefer to use unsalted butter for this recipe, but you can also use a baking spread.
- You will need to use a professional grade food colouring to get the same shade of red that you can see in my photos. Brands I recommend and use often are Pro Gel and Sugarflair (Red Extra shade). Colour Mill and Americolor are other good quality brands.
- I prefer to use Philadelphia full fat cream cheese for the filling as it gives me the best results.
- For the best flavour, use a vanilla extract and not an essence.
- Although I provide cup measurements, I highly recommend weighing your ingredients out using digital kitchen scales*. It is the most accurate way to measure ingredients and will ensure the best results. Digital scales are very low cost and can be purchased for around £12 ($16.50) .
- For teaspoon (tsp) and tablespoon (tbsp) measurements, please use measuring spoons* and not the type of spoons you eat with. Again this will ensure accuracy and provide the best results.



Joy
Hi when I made these I used the correct ingredients but found the dough was very sticky to roll into balls so had to use extra flour but then they didn’t look round any ideas as to why?
thebakingexplorer
Hi Joy, it is a little sticky, but not overly so. I wouldn't advise adding extra flour as it can affect the final result. What do you mean by not round - was this after baking or before?