
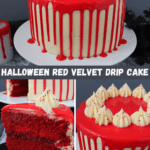
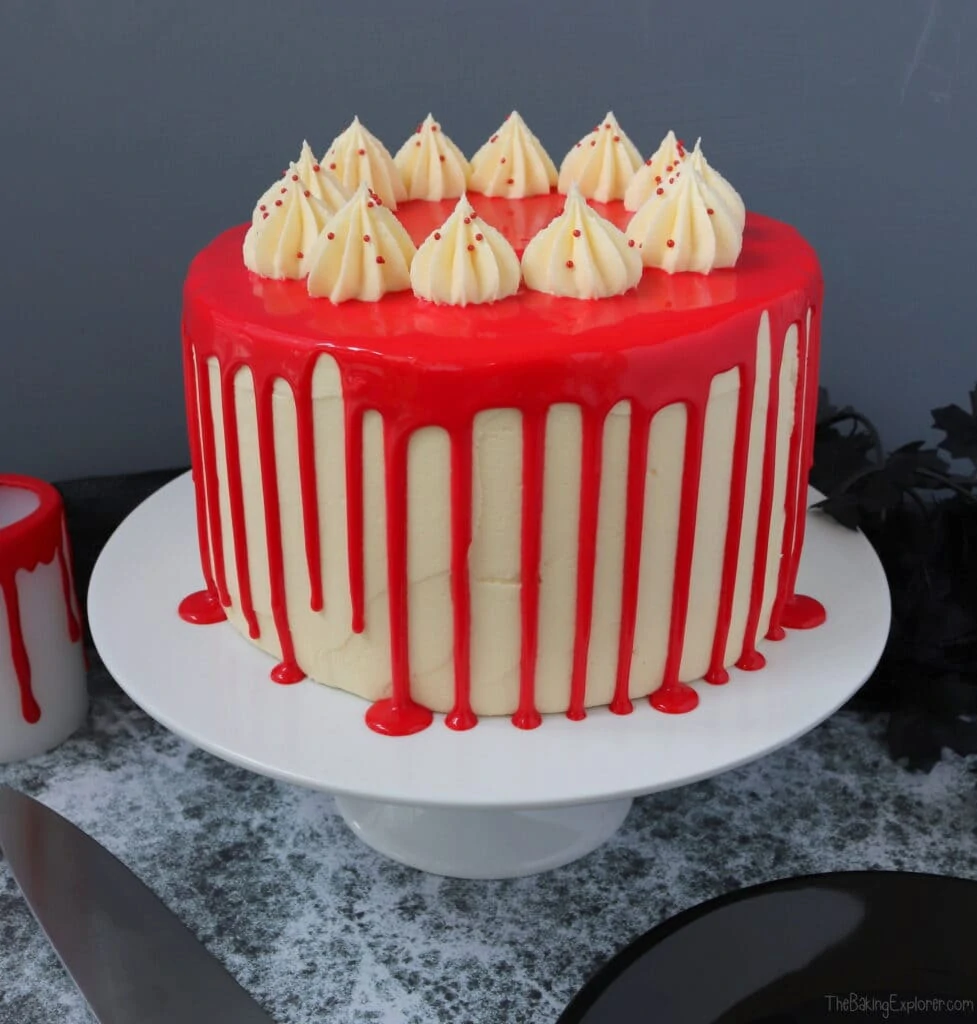
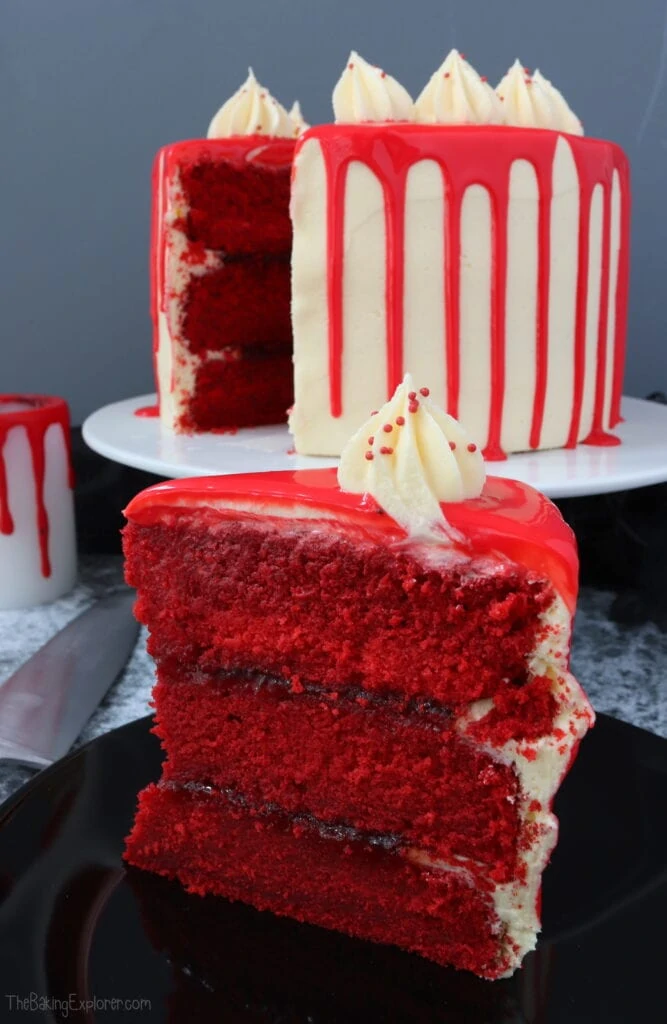
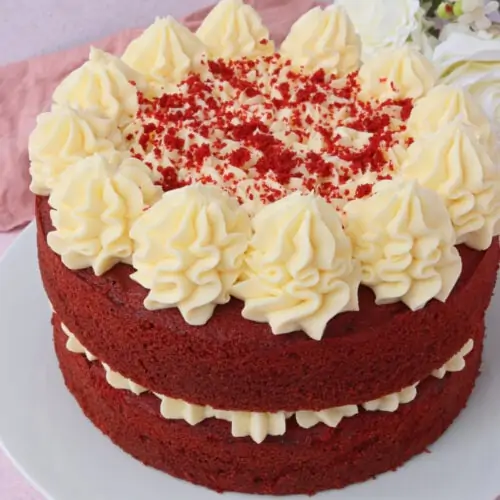
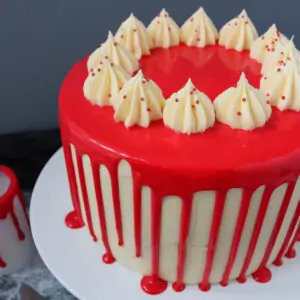
You can enjoy red velvet cakes anytime of year, but I do think they lend themselves particularly well to Halloween with their bright red centres. This Halloween Red Velvet Drip Cake is made with three gloriously scarlet sponges, filled with red fruit jam, covered in sweet vanilla buttercream and dripping in a blood red white chocolate ganache for that spooky factor! It would make a great centrepiece for a Halloween party, try displaying it with a plastic knife stabbed in the centre! Or if it's not the time of year to scare your guests then omit the ganache and serve a pretty red velvet cake instead!
This post may contain affiliate links. I earn from qualifying purchases.
Ingredient Tips & Equipment Information
- Make sure all your ingredients (particularly the eggs, butter and buttermilk) are at room temperature before you start baking.
- I prefer to use a baking spread like Stork for the cake, and unsalted butter for the buttercream as I find they provide the best results.
- For the brightest red shade that stays vibrant and strong after baking, use a good quality professional food colouring. My favourite brands are Pro Gel and Sugarflair. Sugarflair do a shade called Red Extra, which is excellent for red velvet cakes.
- For all the tips and tricks on how to make a drip cake, including a how to video, check out my Ultimate Drip Cake How To Guide!
- Although I provide cup measurements, I highly recommend weighing your ingredients out using digital kitchen scales. It is the most accurate way to measure ingredients and will ensure the best results. Digital scales are very low cost and can be purchased for around £12 ($16.50).
- For teaspoon (tsp) and tablespoon (tbsp) measurements, please use measuring spoons and not the type of spoons you eat with. Again this will ensure accuracy and provide the best results.
For the full recipe with measurements, head to the recipe card at the end of this post.
How to make a Halloween Red Velvet Drip Cake
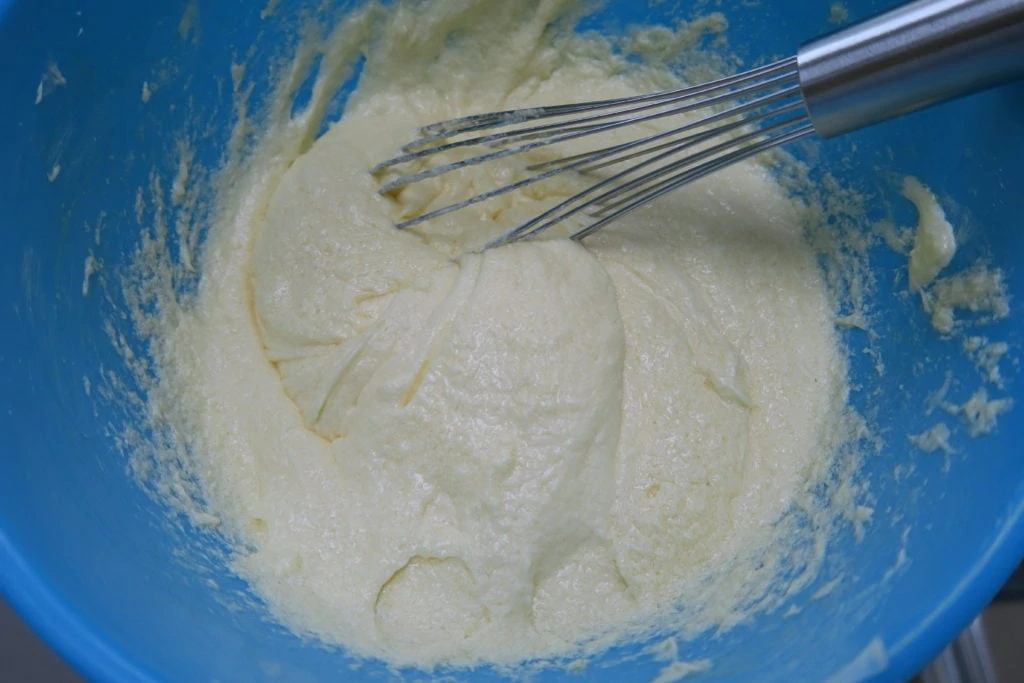
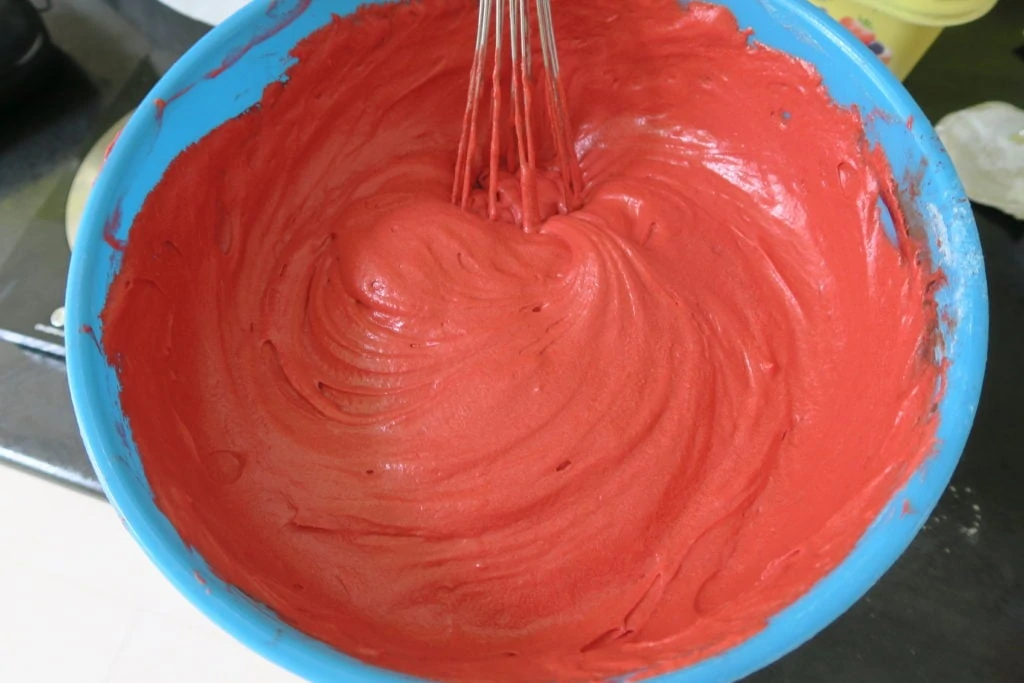
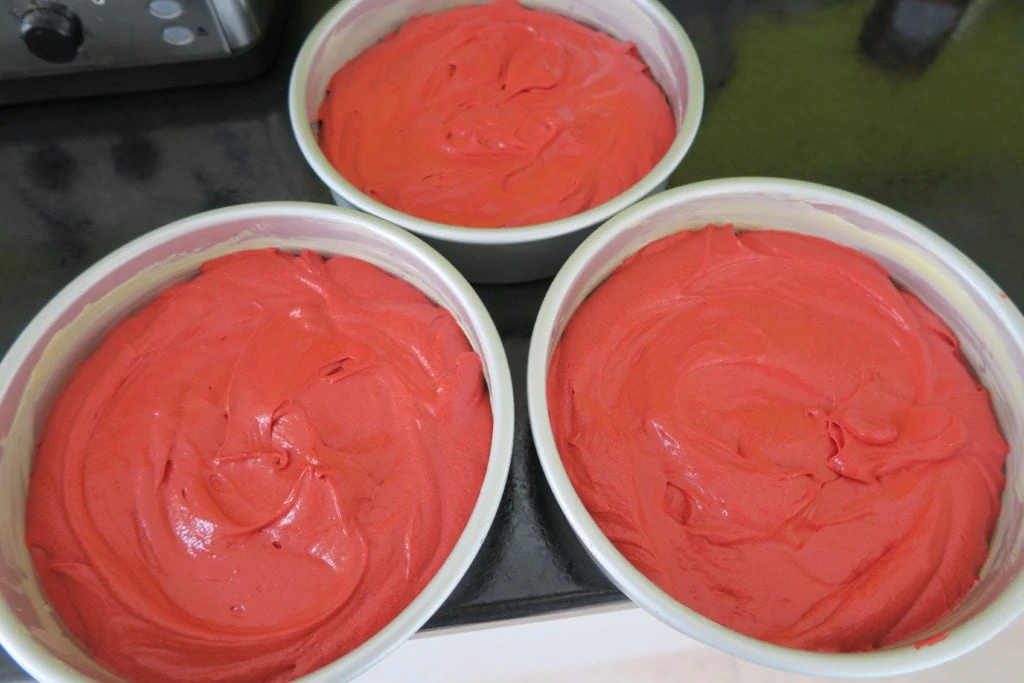
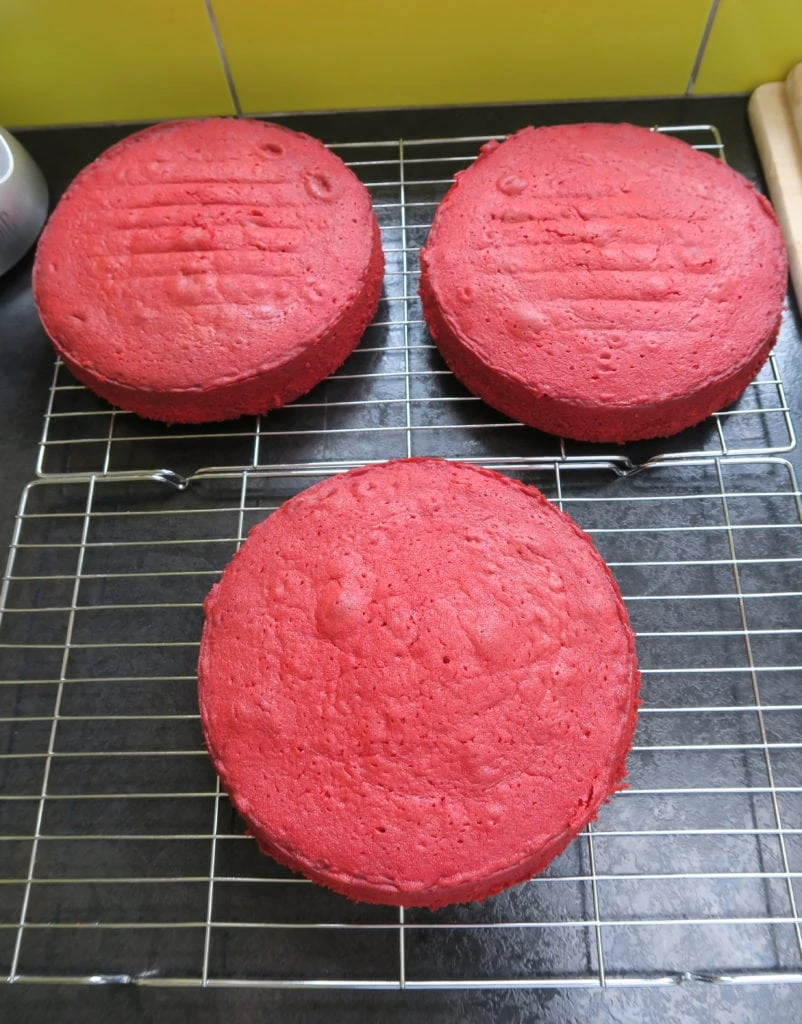
To make the sponge, mix the butter and sugar together, then whisk in eggs and buttermilk. Then add self raising flour, cocoa powder, bicarboate of soda and red food colouring and whisk until combined. Divide the mixture equally between three cake tins and bake them for 30 minutes, or until a skewer inserted in the centre comes out clean. Set them on a cooling rack to cool completely.
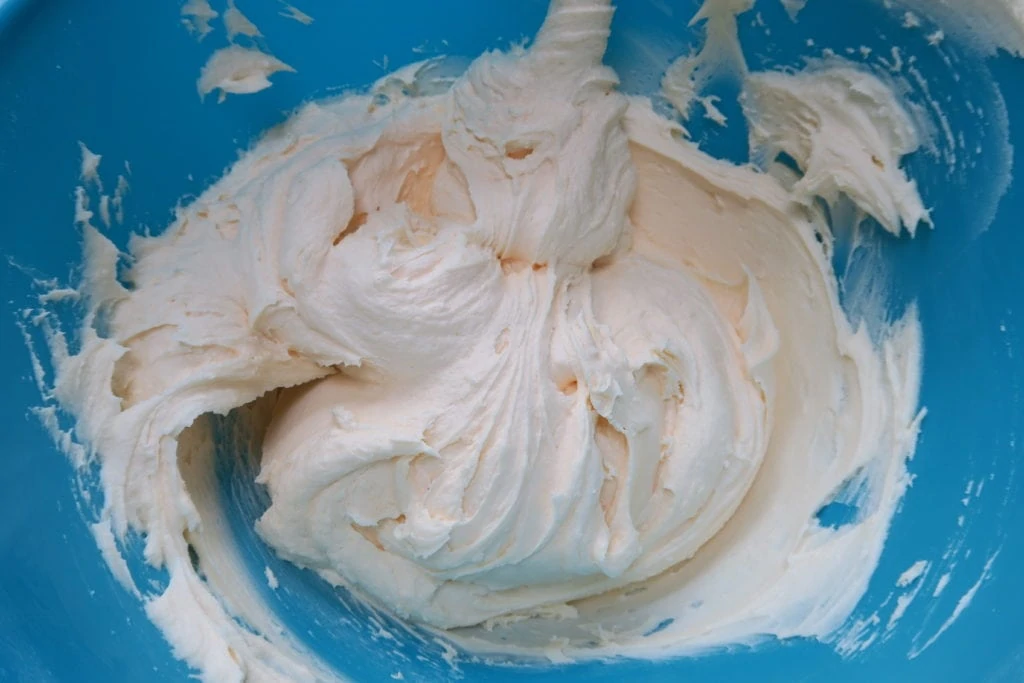
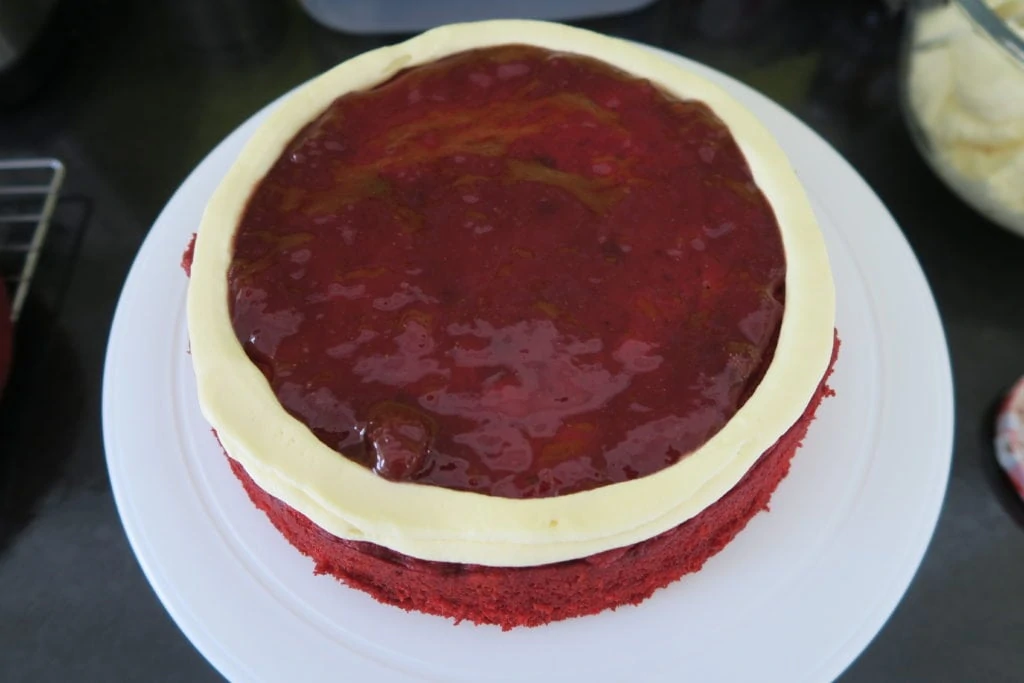

Next make the buttercream by mixing the butter, icing sugar, milk and vanilla together until smooth. Layer up the cakes, first piping a ring of buttercream around the edge, and then filling the middle with jam. Once they are stacked up, give the whole cake a crumb coat and put it in the fridge to firm up. Then give the cake a final coat of buttercream, and put it back in the fridge.
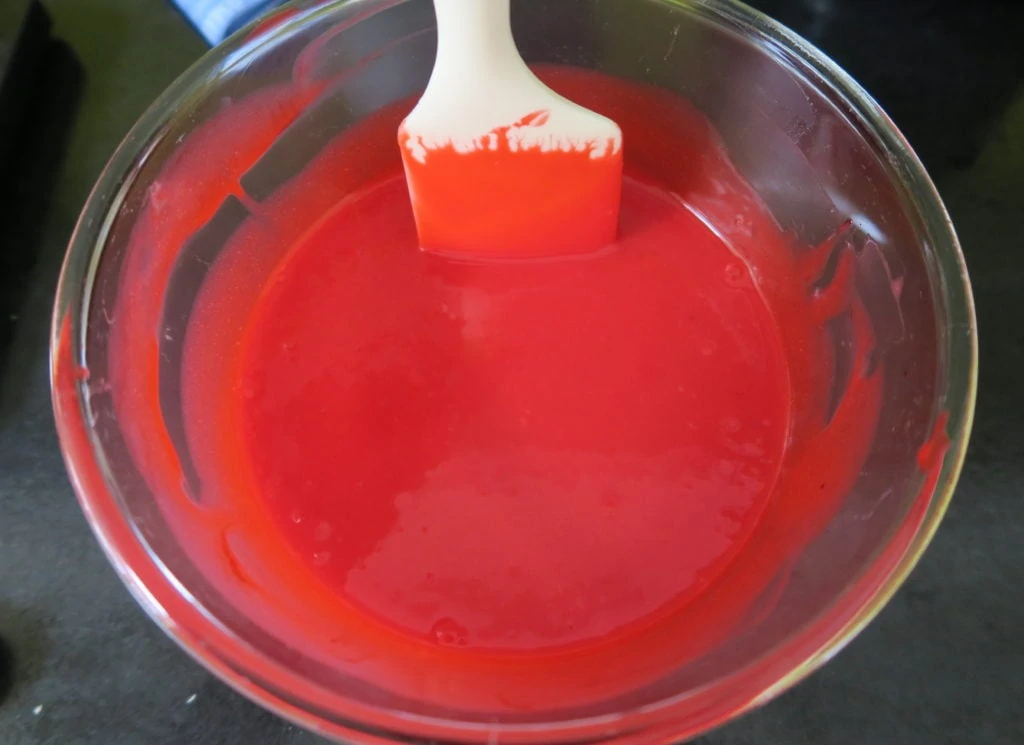
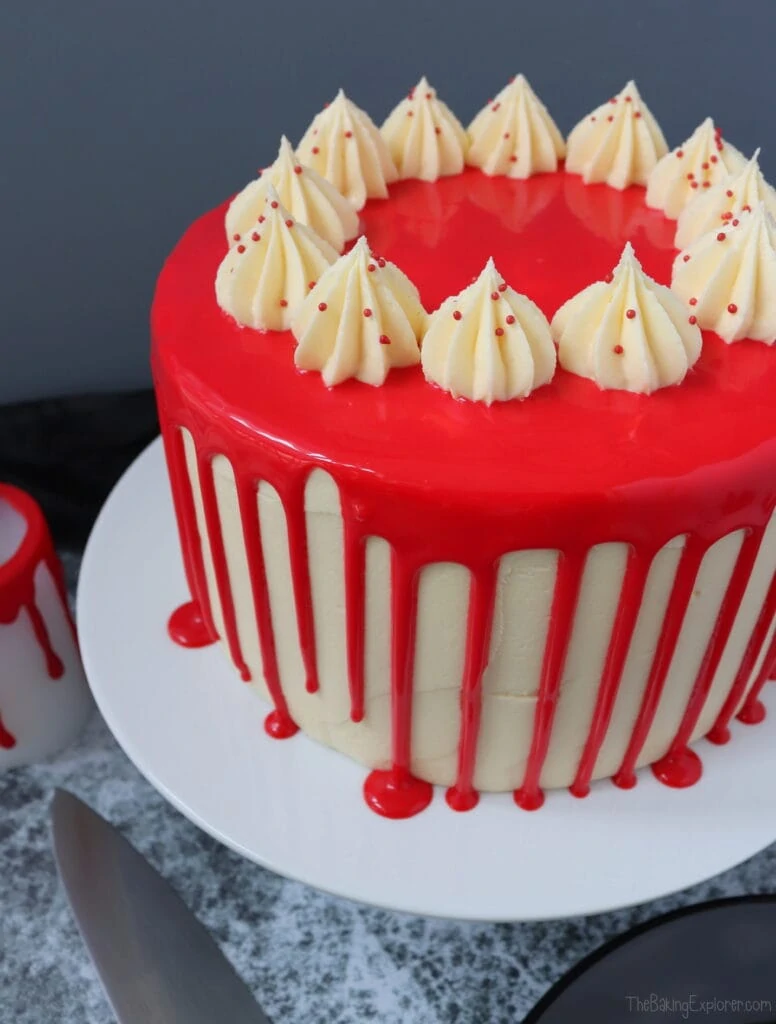
Make a white chocolate ganache and colour it red with food colouring. Cover the cake with the ganache and let it drip down the sides, add some extra buttercream around the top and some red sprinkles.
For the full recipe with measurements, head to the recipe card at the end of this post.
How should the cake be stored and can it be frozen?
The cake should be stored in an airtight container in a cool place and will last for 3-4 days. You can freeze the sponges either alone, or decorated. Once the sponges are fully cool, wrap them well with cling film or put them in an airtight container with some baking paper between them. You can freeze the buttercream on it’s own in a tub, or you can decorate the cake and freeze it fully assembled. To do this and avoid damage to the decoration, freeze it either in an airtight container. Or let it freeze solid on a cake board or plate, then wrap in cling film. Remove the cling film when you take it out to defrost it, if you don’t it could damage the decoration as it defrosts and softens. You can also freeze slices of the cake, again well wrapped in cling film or in airtight containers.
Can you make the cake with plain/all purpose flour?
Self raising flour, which is very commonly used in the UK where I am based, already contains a raising agent and a little salt too. Therefore if you want to swap it for plain or all purpose flour, you will need to add some additional baking powder and also a little salt if you like. Some people like to add salt to cake recipes and some don't, so I'll leave that up to you as it won't affect the bake. The general advice is to add 2 teaspoons baking powder (a measuring teaspoon, not the kind you stir your coffee with) per every 200g plain or all purpose flour. So for this recipe you'd need to add 5 teaspoons baking powder. Please note, I have not tested this recipe using plain or all purpose flour.
Can this recipe be made gluten or dairy free?
Yes! For gluten free you can replace the self raising flour with a gluten free self raising flour blend. If you only have a gluten free plain flour blend, you will need to add additional baking powder. The general advice is to add 2 tsp baking powder per 200g flour, so for this recipe you'd need to add 5 teaspoons baking powder. You may also like to add 1 tsp xanthan gum for better texture. For a dairy free version, use a dairy free baking spread and dairy free buttermilk for the cake, and dairy free spread and dairy free milk for the buttercream.
Can this cake be made with two layers?
Yes! Please check the notes after the recipe at the bottom of this post for details. Please note, the drip is much more effective with a taller cake.
Can this cake be made in different size cake tins?
Yes! If you would like to make this cake in different size tins, please check my Conversion Guide to find out how to adjust the cake recipe.
How do you get the perfect drip?
It's really important to have a good base for the drip, so the cake needs a 'crumb coat' then a top layer of buttercream. Try and get the top layer as smooth as you can so the drip has a nice even surface to drip down. Each layer of buttercream needs to firm up in the fridge and be chilled when you apply the drip. Be frugal with the drip amounts at first and see how far it drips, then you can reduce or increase the amount of drip you release from the piping bag or squeeze bottle as you move around the cake. For all the information, including a tutorial video and step by step instructions with photos, check out my Ultimate Drip Cake How To Guide!
More tips for making the Halloween Red Velvet Cake:
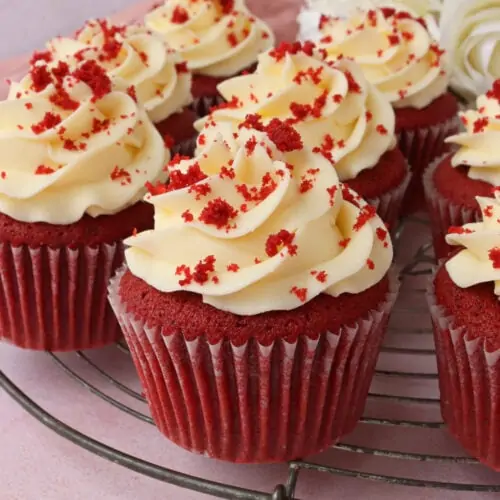
- I filled the middle of the cake with jam for an extra 'bloody' effect, but you could fill with vanilla buttercream or cream cheese frosting instead if you prefer. For my cream cheese frosting recipe check out my Red Velvet Cupcakes recipe.
- I used a Wilton 1M piping nozzle to pipe the buttercream onto the top of the cake.
- For an extra gory effect, 'stab' the cake with a plastic knife and drizzle some of the blood red ganache over the blade!
Troubleshooting
If you have any questions about this recipe, or if something went wrong and you need help, please use the comment form below and I will get back to you. You can also get in touch with me on my Twitter, Instagram or Facebook. I'd love to hear from you!
Recommended equipment & ingredients
- 8" cake tins
- Mixing bowls
- Cooling rack
- Kitchen scales
- Electric hand mixer
- Piping bags
- Red food colouring
- Decorating turntable
- Angled palette knife
- Buttercream scraper/smoother
- Wilton 1M Piping nozzle
I earn a small amount of money if you buy the products after clicking on the links. You will not be charged anything extra for this. Thank you for supporting The Baking Explorer!
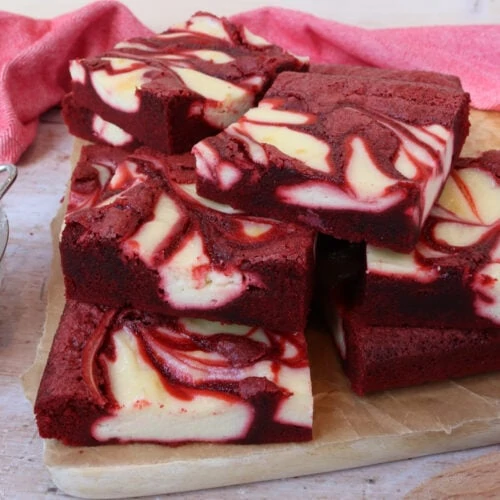
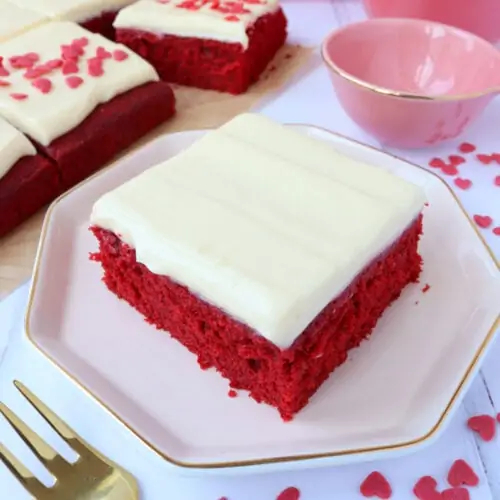
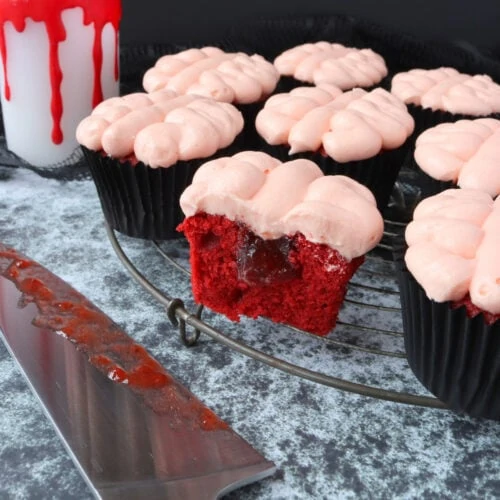
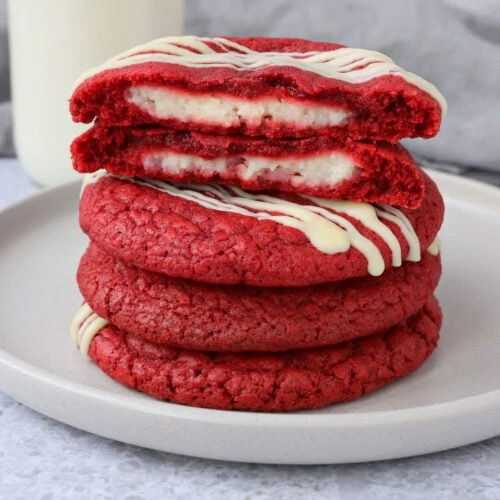
More red velvet recipes...
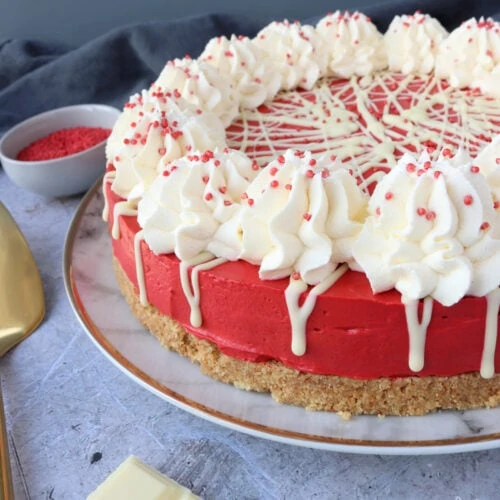
More drip cake recipes…

Halloween Red Velvet Drip Cake
Ingredients
For the sponge
- 500 g Butter or baking spread softened, unsalted
- 500 g Caster sugar
- 6 Eggs large
- 2 tsp Vanilla extract
- 200 ml Buttermilk
- 500 g Self raising flour
- 1 tsp Bicarbonate of soda
- 3 tbsp Cocoa powder
- 1-2 tbsp Red food colouring I use Sugarflair Red Extra
For the buttercream
- 400 g Butter softened, unsalted
- 800 g Icing sugar
- 2 tsp Vanilla extract
- 2-3 tbsp Milk
For the filling
- 200 g Strawberry or raspberry jam
For the ganache
- 140 g White chocolate
- 55 ml Double cream
- Red food colouring I use Sugarflair Red Extra
For decoration
- Red sprinkles optional
Instructions
- Pre-heat your oven to 160C Fan/350F/Gas Mark 4, and grease and line three 8" cake tins (that are at least 2" deep)
- Make the sponge by mixing the butter and caster sugar in a large bowl, ideally using an electric hand mixer or in the bowl of a stand mixer, until light and fluffy (about 2-3 minutes)
- Add the eggs and buttermilk, and mix until fully incorporated
- Add the self raising flour and cocoa powder and mix in gently and just until you can't see any flour anymore
- Add the red food colouring and mix gently until you get the desired shade
- Divide the mixture between the tins, use scales for accuracy if you like
- Bake them for 30-35 minutes or until a skewer inserted in the middle comes out clean. Leave them to fully cool either in the tins or remove from the tins and place on cooling racks
- To make the buttercream mix the butter on it's own for a few minutes, then add the icing sugar, vanilla extract and milk, and mix until smooth. Use an electric mixer for best results. If the buttercream is too stiff, you can add more milk
- If the cakes have domed on top, level them off with a cake leveller or a serrated knife
- Put one of the sponges on a decorating turntable and put some of the buttercream in a piping bag to pipe a border of buttercream around the edge of the sponge - this is to stop the jam seeping into the buttercream that you will spread around the sides of the cake
- Fill in the centre of the sponge with half of the jam, then add the next sponge on top
- Do the same again - pipe a buttercream border and fill the centre with the remaining jam, then add the final sponge
- Use a thin layer of buttercream to fully crumb coat the cake, then put it in the fridge for 30 minutes to firm up
- Remove from the fridge and smooth on a final thicker layer of the buttercream, use a palette knife or buttercream smoother to make it smooth all over. Refrigerate again for 30 mins
- To make the white chocolate ganache, put the ingredients into a bowl and microwave for 20 seconds, then stir. Continue microwaving in 10 second blasts, stirring between each blast, until melted and smooth
- Then add the red food colouring and mix until you have the desired shade
- Put the ganache into a piping bag and snip a small section off the end, or put it in a squeezy bottle
- Pipe blobs around the edge of the cake, allowing the ganache to drip down the sides in varying amounts
- Pipe more ganache on top of the cake and use a palette knife to smooth it out
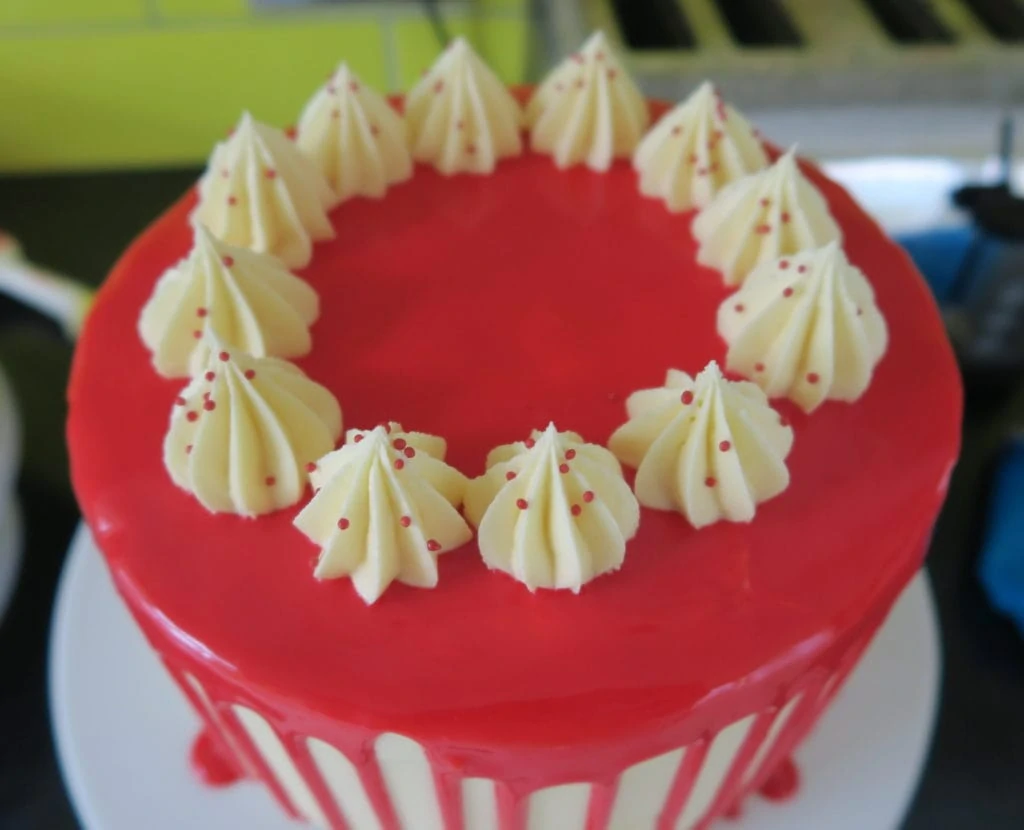
- Then put the remaining buttercream into a piping bag fitted with a nozzle of your choice and pipe rosettes in a circle on top of the cake
- Add sprinkles if desired, and a bloody plastic knife for a spooky effect!
- Leftovers will keep in an airtight container in a cool place or in the fridge for 3-4 days
Video
Notes
- Make sure all your ingredients (particularly the eggs, butter and buttermilk) are at room temperature before you start baking.
- I prefer to use a baking spread like Stork for the cake, and unsalted butter for the buttercream as I find they provide the best results.
- For the brightest red shade that stays vibrant and strong after baking, use a good quality professional food colouring. My favourite brands are Pro Gel and Sugarflair. Sugarflair do a shade called Red Extra, which is excellent for red velvet cakes.
- For all the tips and tricks on how to make a drip cake, including a how to video, check out my Ultimate Drip Cake How To Guide!
- Although I provide cup measurements, I highly recommend weighing your ingredients out using digital kitchen scales. It is the most accurate way to measure ingredients and will ensure the best results. Digital scales are very low cost and can be purchased for around £12 ($16.50).
- For teaspoon (tsp) and tablespoon (tbsp) measurements, please use measuring spoons and not the type of spoons you eat with. Again this will ensure accuracy and provide the best results.
Michelle Frank | Flipped-Out Food
I would totally serve this with a Mike Meyers-sized (plastic) butcher knife stuck into the middle! I love red velvet cake anyway, but this one looks so fun and GORY! LOVE IT! Thanks for bringing your Halloween red velvet cake to #CookBlogShare. 😉
thebakingexplorer
Yes that would be the perfect way to serve it!!
Cat | Curly's Cooking
Such a lovely deep red colour. Love the use of the jam to make it even more gory looking. A great cake for any Halloween gathering!
thebakingexplorer
Thanks Cat! It would be great at a Halloween party!
Lorraine Heywood
Hello, I’m planning to bake this for my son’s birthday. How would I covert the recipe to make a 4 tier 6” cake?
Many thanks.
thebakingexplorer
Hi Lorraine, you can use my cake converter to adjust the measurements for different tin sizes, you can access it here: https://view.flodesk.com/pages/641e13c2674bc7e38a12bffc
Amy
Wow, this cake turned out beautiful!
thebakingexplorer
Thank you Amy!
Corina Blum
IT sounds absolutely delicious and that red blood ganache is exactly the right colour! I could see it being a very popular cake if it was in our house. Thanks for sharing with #CookOnceEatTwice!
thebakingexplorer
Thanks Corina! I'm so pleased with the bright red colour too!
Nickki
This cake is so perfect for Halloween!! I love the red “blood” dripping down the side - so effective! The inside looks really delicious too. I would love a slice!
thebakingexplorer
Thanks so much Nickki! It really is dressed for Halloween 🙂
Mila
Hello Kat!
I have no words, the cake is absolutely gorgeous! I wish I could place an order for this cake!
Thanks for sharing at the Fiesta Friday party!
thebakingexplorer
Aww thank you so much Mila!
frugal hausfrau
That is one incredible cake! It doesn't even look real it's so perfect!! Thanks for sharing your creation with us at Fiesta Friday this week!
Mollie
thebakingexplorer
Oh thank you so much! 😀
Mayuri Patel
Just love how the colour of the cake has turned out.. deep red. Looks perfect and just too tempting. Wish I could dig into it.
thebakingexplorer
Thank you! Me too it's such a perfect red for Halloween!
Amanda W.
Hi Kat, when the ganache cooled down hours later - do you need to pulse it in microwave so that it goes back to dripping consistency? thanks
thebakingexplorer
Hi, yes you can microwave it or warm it in a pan if needed 🙂
Sylvie
What a gorgeous cake, Kat! That red drip is absolutely stunning 🙂
B
Help! I want to make this for a birthday - Can I make the same cake but with cream cheese filling?
thebakingexplorer
Hi, yes of course, you can make the cake and fill with the filling of your preference 🙂
Abbey
Hi, Do you think this red ganache would work over gray icing, or is it too translucent?
thebakingexplorer
Hi Abbey, yes I think it would work well as it's quite thick. Let me know how you get on!
Leo
Hi. I tried to make the white chocolate red but ended up almost finishing a whole bottle of red gel and it was still not as red as this. Please give me some tips on how to make it as deep red as this? I used chefmaster red food gel 🙁
thebakingexplorer
Hi Leo, I've never heard of Chef Master sorry so I don't know what it's like. The brands I use are Pro Gel and Sugarflair - Sugarflair do an extra red shade which is even more potent!
Kelly Hancock
I made this for our Halloween party and it was a really fun bake to do! Love the tips for the colour gel, I used progel and its the best red colour I've used!. The cake tastes amazing, I swapped out sprinkles for cake crumbs and used the domed pieces to make white chocolate covered cake truffle eyeballs
Thanks so much!
thebakingexplorer
Hi Kelly, I'm so happy the tips helped you and I'm so pleased you enjoyed this recipe!
Virginia Lago
Hi. Would the ganache drip properly if the cake was iced with frozen whipped topping rather than buttercream frosting? Kiddo doesn’t like buttercream frosting. Thank you.
thebakingexplorer
Hi, do you mean like whipped cream?