
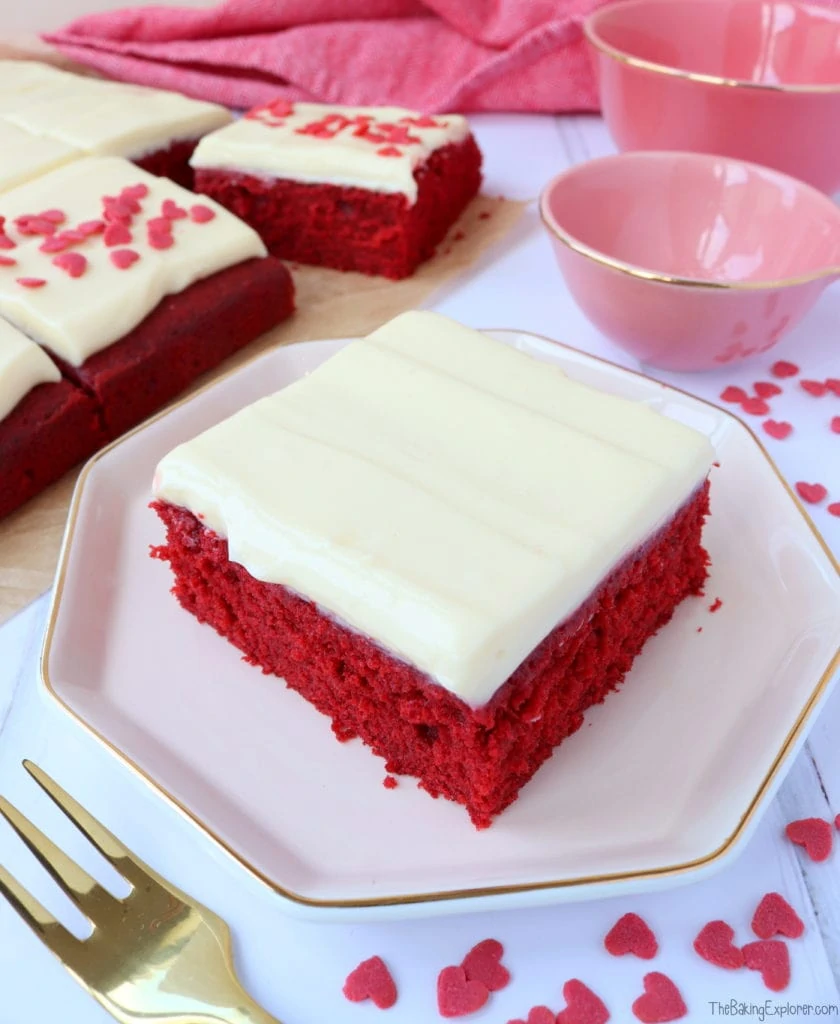
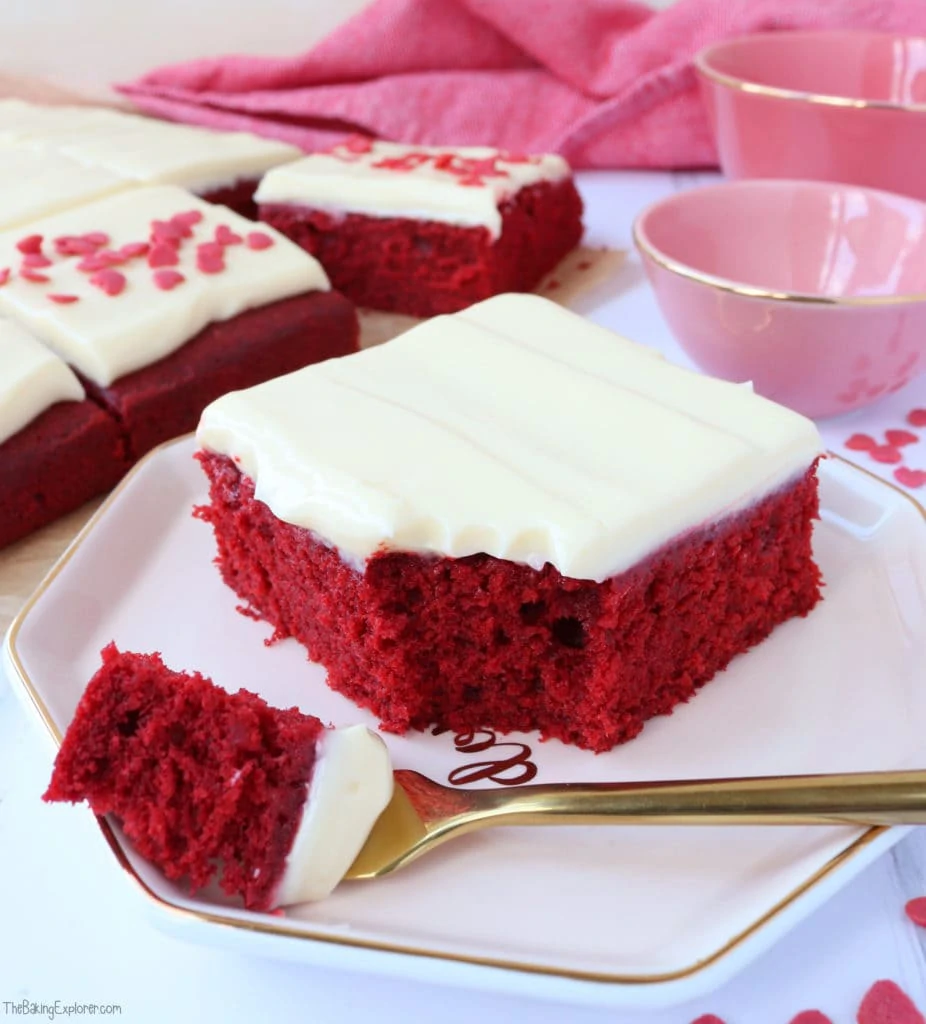
I've noticed that people either love red velvet, or they're not quite sure what all the fuss is about. Well I'm here to convert the unsure crowd! Firstly, it's not just a red coloured cake. Because it's made with buttermilk you get an extra moist and very light cake - what's not to like about that? Then there's a hint of chocolate and the sweet tang of the cream cheese frosting. I'm actually salivating as I write this!! If you're still unsure, then get baking this Red Velvet Traybake. It has a lovely light sponge that melts in the mouth, and it's smothered in totally droolworthy cream cheese frosting! This would be a great bake sale recipe or Valentine's Day treat for your loved ones.
This post may contain affiliate links. I earn from qualifying purchases.
Ingredient Tips & Equipment Information
- Make sure all your ingredients (particularly the butter, buttermilk and eggs) are at room temperature before you start baking.
- I used unsalted butter for the buttercream, for the cake I used a baking spread.
- You will need to use a professional grade gel food colouring to get the same shade of red that you can see in my photos. Brands I recommend are Pro Gel, Sugarflair and Colour Mill.
- I prefer to use Philadelphia full fat cream cheese for the buttercream as it gives me the best results.
- Although I provide cup measurements, I highly recommend weighing your ingredients out using digital kitchen scales. It is the most accurate way to measure ingredients and will ensure the best results. Digital scales are very low cost and can be purchased for around £12 ($16.50).
- For teaspoon (tsp) and tablespoon (tbsp) measurements, please use measuring spoons and not the type of spoons you eat with. Again this will ensure accuracy and provide the best results.
For the full recipe with measurements, head to the recipe card at the end of this post.
How to make a Red Velvet Traybake
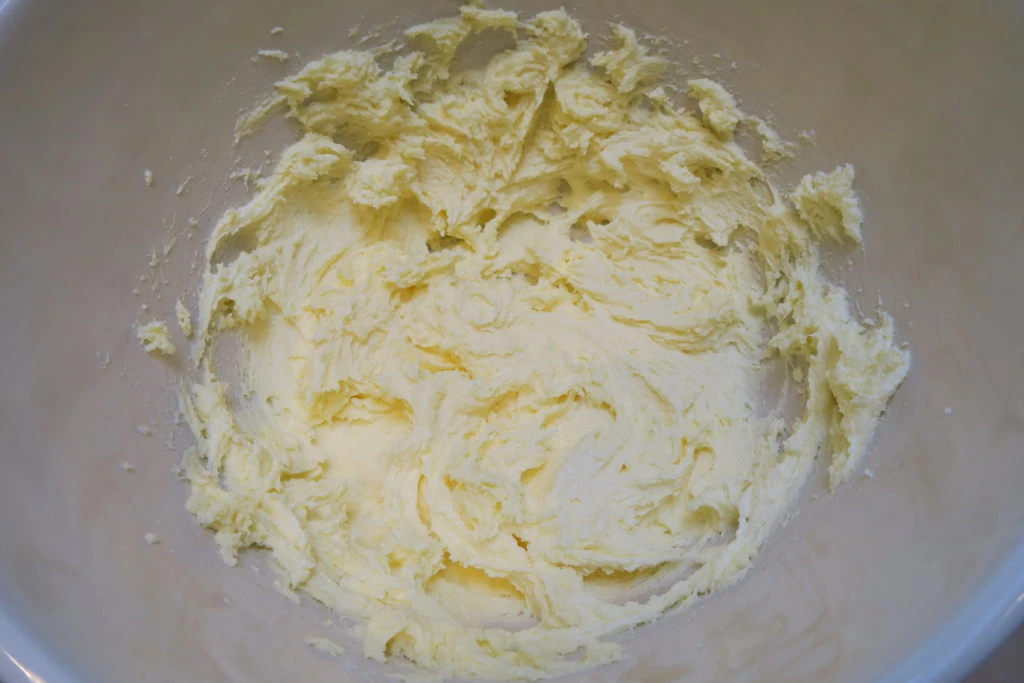
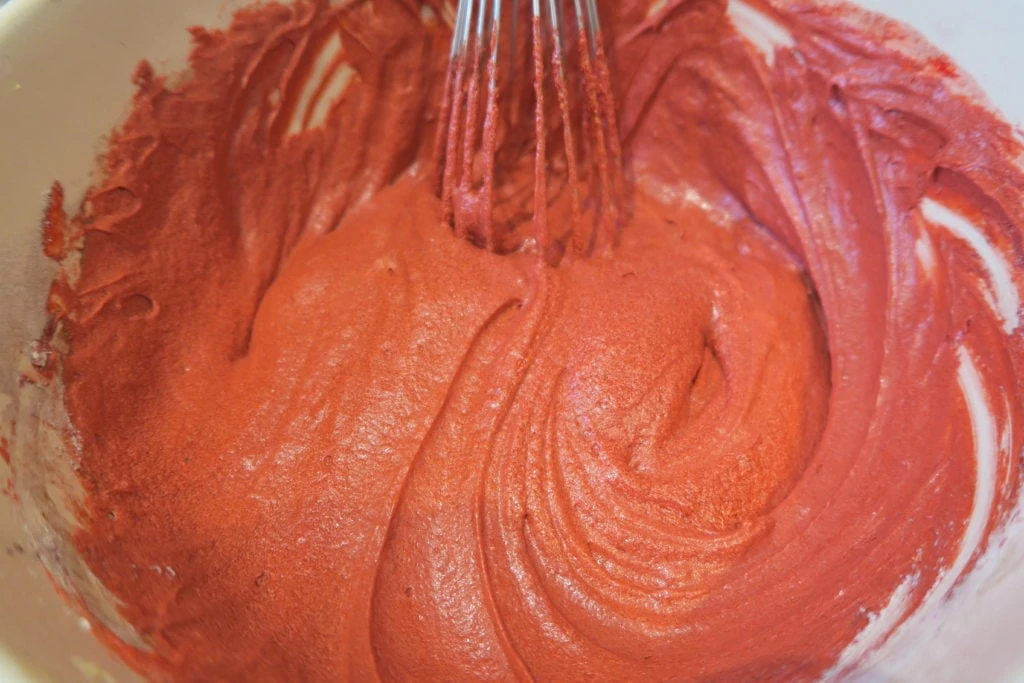
To make the sponge, mix butter and sugar together until fluffy. Then whisk in eggs, buttermilk, vanilla extract and red food colouring. Finally add self raising flour, bicarbonate of soda and cocoa powder.
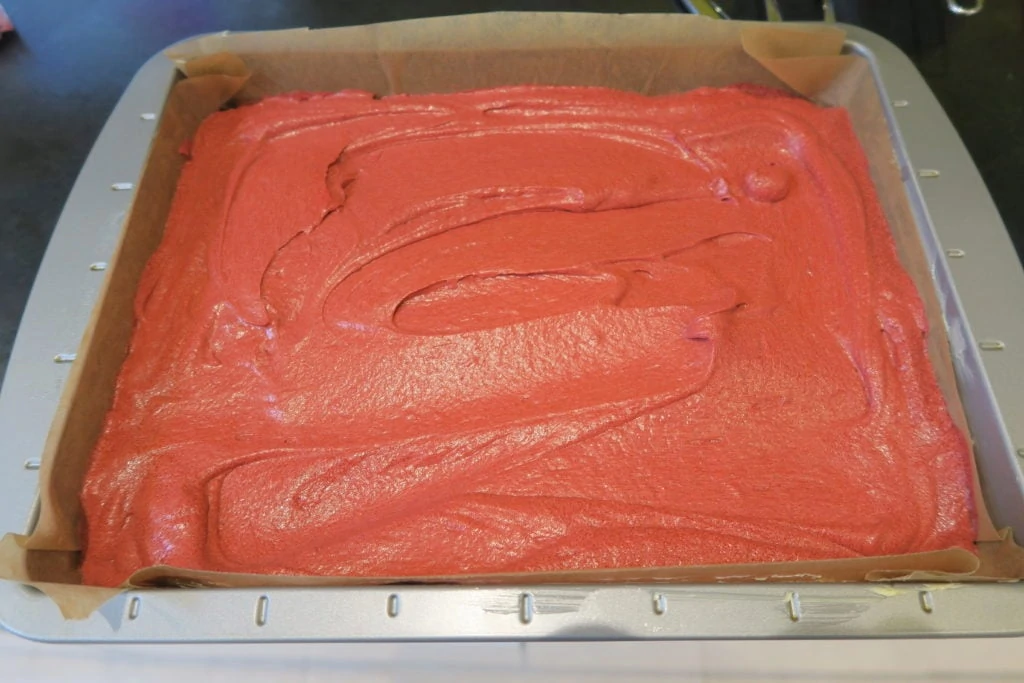
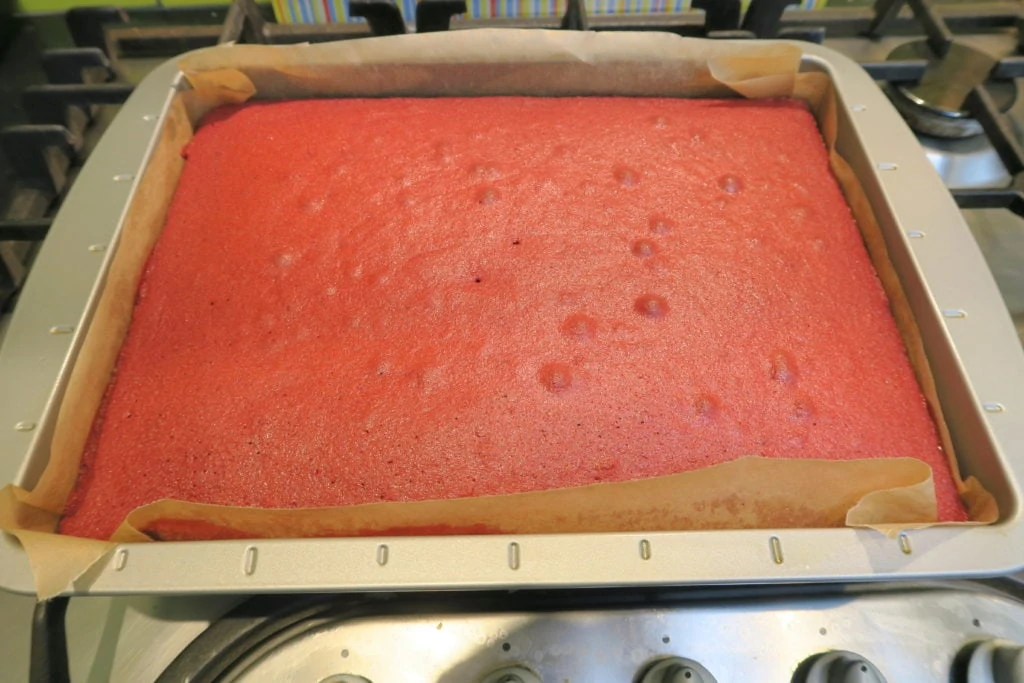
Pour the mixture into a traybake tin and bake it for 25 minutes.
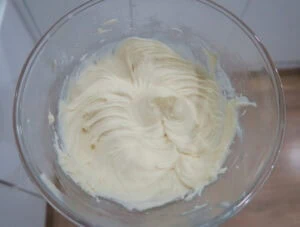
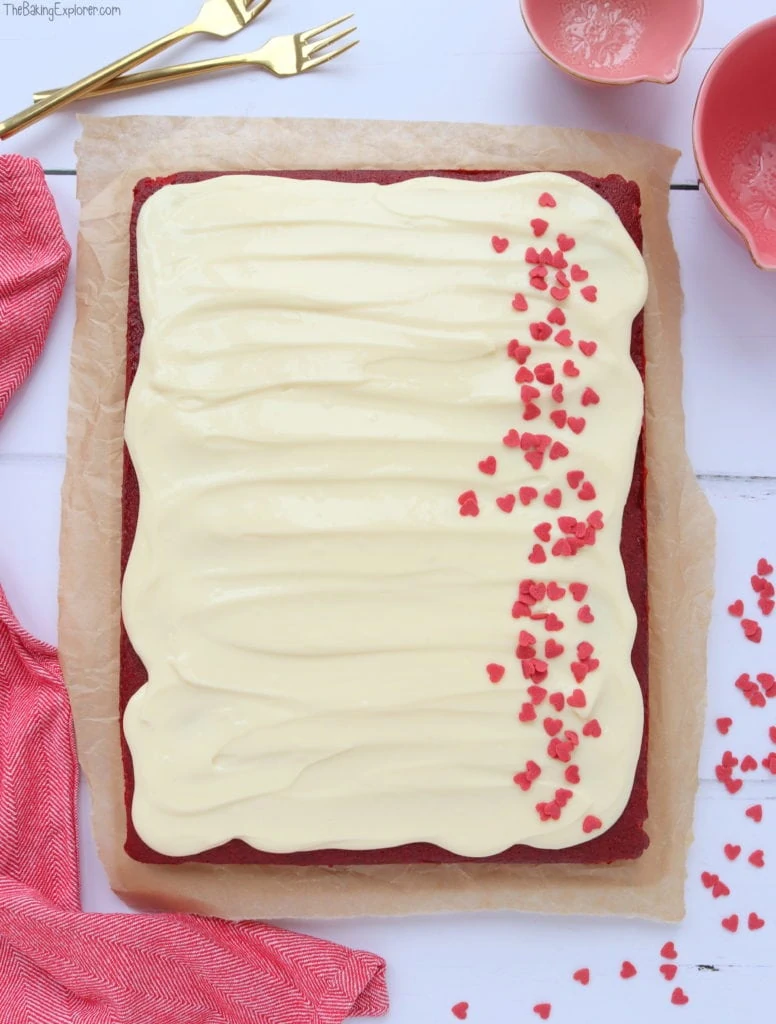
To make the cream cheese frosting mix butter and icing sugar together, then mix in cream cheese and vanilla extract. You can decorate the Red Velvet Traybake with some heart shaped sprinkes, leave it plain or decorate with sprinkles of your choice.
For the full recipe with measurements, head to the recipe card at the end of this post.

What is the best food colouring to use?
To get a bright red shade that remains strong after the traybake is baked you need to use a professional grade gel food colouring. You can buy these easily from many online shops, including amazon. I used the brand Pro Gel for this traybake, I also regularly use the brand Sugarflair.
What if you can't get hold of buttermilk?
If you can't hold of buttermilk, you can use the same amount of milk with 1 tbsp lemon juice added, leave it for a few minutes until it goes lumpy then it's ready to use!
Can you make the traybake with plain/all purpose flour?
Self raising flour, which is very commonly used in the UK where I am based, already contains a raising agent and a little salt too. Therefore if you want to swap it for plain or all purpose flour, you will need to add some additional baking powder and also a little salt if you like. Some people like to add salt to cake recipes and some don't, so I'll leave that up to you as it won't affect the bake. The general advice is to add 2 teaspoons baking powder (a measuring teaspoon, not the kind you stir your coffee with) per every 200g plain or all purpose flour. So for this recipe you'd need to add 2 teaspoons baking powder. Please note, I have not tested this recipe using plain or all purpose flour.
How long does the Red Velvet Traybake last for and can you freeze it?
The cake will keep in an airtight container for 3 days in the fridge. You can freeze the sponges either alone, or decorated. Once the sponges are fully cool, wrap them well with cling film or put them in an airtight container with some baking paper between them. You can freeze the frosting on it’s own in a tub, or you can decorate the cake and freeze it fully assembled. To do this and avoid damage to the decoration, freeze it either in an airtight container. Or let it freeze solid on a cake board or plate, then wrap in cling film. Remove the cling film when you take it out to defrost it, if you don’t it could damage the decoration as it defrosts and softens. You can also freeze slices of the cake, again well wrapped in cling film or in airtight containers.
Can this recipe be made gluten or dairy free?
Yes! For gluten free you can replace the self raising flour with a gluten free self raising flour blend. If you only have a gluten free plain flour blend, you will need to add additional baking powder. The general advice is to add 2 tsp baking powder per 200g flour, so for this recipe you'd need to add 2 teaspoons baking powder. You may also like to add ½ tsp xanthan gum for better texture. For a dairy free version, use a dairy free baking spread for the cake and buttercream. You can make dairy free buttermilk by adding 1 tbsp lemon juice (or cider vinegar) to dairy free milk. You will also need to use dairy free cream cheese for the buttercream. Please check the labels of everything you use if you are serving this cake to someone with an allergy or intolerance.
More tips for making the Red Velvet Traybake:
- I use a 12" x 9" traybake tin for all of my traybake recipes, I would recommend getting one if you can. If you're using a smaller tin remember that it will take longer to bake.
- Make sure to store the traybake in the fridge once it's been frosted.
Troubleshooting
My number one tip for getting the best results is to read through this whole page of tips and recommendations before starting, and follow the recipe exactly. If you have any questions about this recipe, or if something went wrong and you need help, please use the comment form below and I will get back to you. You can also get in touch with me on my Twitter, Instagram or Facebook. I'd love to hear from you!
Recommended Equipment and Ingredients
- Traybake tin
- Mixing bowls
- Cooling rack
- Angled palette knife
- Electric hand mixer
- Red food colouring
- Heart sprinkles
I earn a small amount of money if you buy the products after clicking on the links. You will not be charged anything extra for this. Thank you for supporting The Baking Explorer!
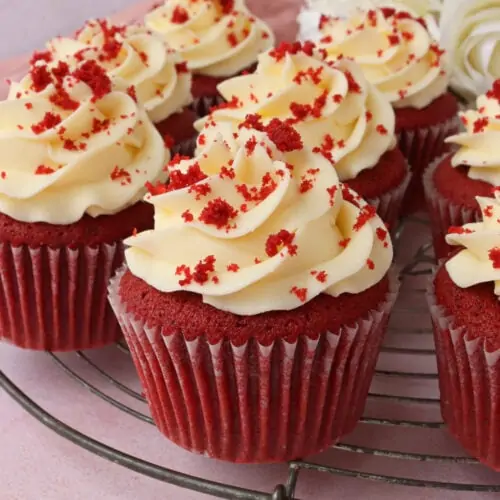
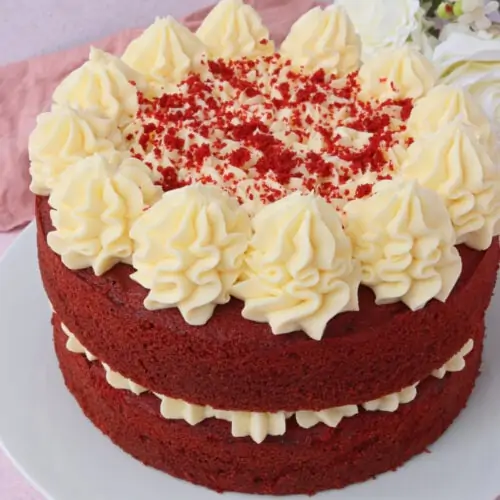
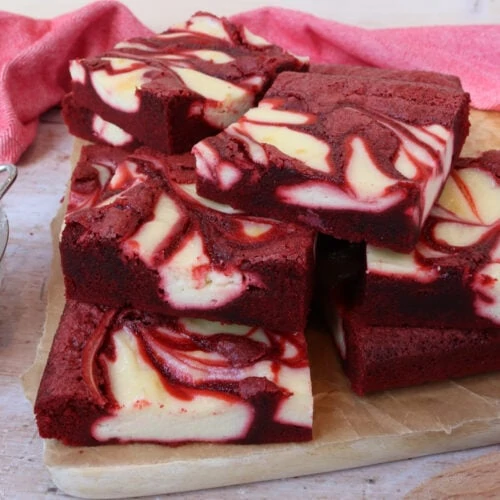
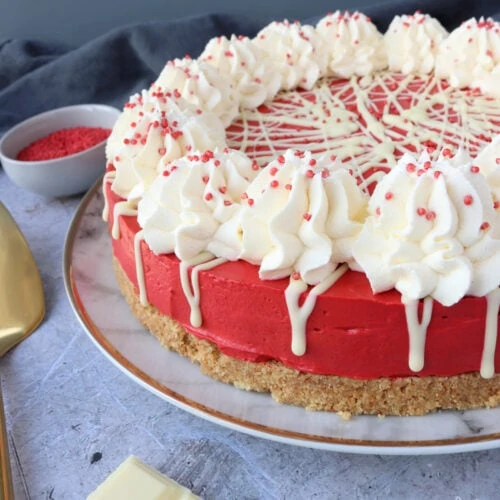
More Red Velvet recipes...

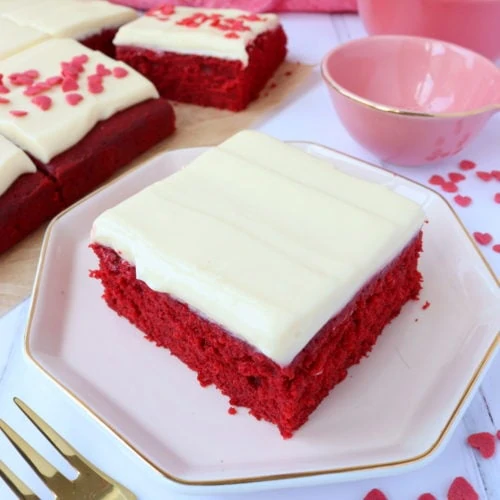
Red Velvet Traybake
Ingredients
For the sponge
- 225 g Butter or baking spread softened, unsalted
- 225 g Caster sugar
- 3 Eggs large
- 1 ½ tsp Vanilla extract
- 125 ml Buttermilk
- 225 g Self raising flour
- 2 tbsp Cocoa powder
- ½ tsp Bicarbonate of soda
- 2 tsp Red food colouring I use Sugarflair Red Extra
For the frosting
- 125 g Butter softened, unsalted
- 125 g Icing sugar
- 250 g Full fat cream cheese I use Philadelphia
- ½ tsp Vanilla extract
For decoration
- Sprinkles optional
Instructions
- Pre-heat your oven to 160C Fan/180C/350F/Gas Mark 4, and grease and line a 12" x 9" traybake tin
- Make the sponge by mixing the baking spread and caster sugar in a large bowl until fluffy, ideally using an electric mixer for around 2-3 minutes
- Add the eggs and vanilla extract, and mix until fully incorporated
- Add the buttermilk, self raising flour, cocoa powder, bicarbonate of soda and red food colouring and mix in until you can't see any flour anymore and everything is fully combined
- Pour the batter into the lined traybake tin, spread it out into an even layer, and bake for 25-30 minutes, or until a thin skewer inserted in the centre comes out clean. Leave to cool fully
- To make the cream cheese frosting use an electric hand whisk to mix the butter on it's own briefly until loosened and creamy. Then add the icing sugar and mix it in. Finally add the cream cheese and vanilla extract and mix until smooth. Do not over mix as it can become sloppy and you won't be able to thicken it again
- Smooth the buttercream onto the sponge using a palette knife, then add the sprinkles to decorate (if using)
- Cut into squares to serve. Store leftovers in an airtight container in the fridge and eat within 3 days
Video
Notes
- Make sure all your ingredients (particularly the butter, buttermilk and eggs) are at room temperature before you start baking.
- I used unsalted butter for the buttercream, for the cake I used a baking spread.
- You will need to use a professional grade gel food colouring to get the same shade of red that you can see in my photos. Brands I recommend are Pro Gel, Sugarflair and Colour Mill.
- I prefer to use Philadelphia full fat cream cheese for the buttercream as it gives me the best results.
- Although I provide cup measurements, I highly recommend weighing your ingredients out using digital kitchen scales. It is the most accurate way to measure ingredients and will ensure the best results. Digital scales are very low cost and can be purchased for around £12 ($16.50).
- For teaspoon (tsp) and tablespoon (tbsp) measurements, please use measuring spoons and not the type of spoons you eat with. Again this will ensure accuracy and provide the best results.
Kate - Gluten Free Alchemist
This sponge looks beautiful and perfect (as always) Kat. Red Velvet is an interesting one. I love the idea of it, but the amount of food colouring required to get the depth of flavour always seems a little excessive and puts me off making it very often. I've tried using beetroot powder in the past instead, but it's either not intense enough or I end up with beetroot sponge! Yummy though... xx
Jackie
Do you need to store this in the fridge because of the cheese frosting
Thank you
thebakingexplorer
Hi Jackie, yes I would advise storing in the fridge to keep the frosting fresh.
Lou | Crumbs and Corkscrews
Oooo I'm in love with that colour! I use the same colour gels and they are great for getting a fabulous colour without adding huge amounts into the recipe. What a great recipe for Valentines! Thanks for sharing #CookBlogShare
Chloe Edges
I'm another sceptic! It looks great but I almost never use food colouring. I'm sure this would still taste amazing naturally coloured anyhow and I'll eat cream cheese frosting on just about anything!
Debbie
Do you cool in the tin or of a cooling rack ?
thebakingexplorer
Hi Debbie, either is ok 🙂
Jo Allison / Jo's Kitchen Larder
No convincing needed here. I love both the colour and the flavour of red velvet and although I'm not a huge fan of using lots of food colouring there is definitely time and place for that. I like your traybake version instead of cake as well. Nice and simple!
Eb Gargano | Easy Peasy Foodie
This looks so pretty! Love red velvet cake - and such a great idea for valentines day! Eb x
Charlotte
You say to add baking powder under step 5 but haven’t said how much?
Thanks!
thebakingexplorer
Sorry this is a typo, there is no baking powder required 🙂
Cui Petras
Hi Can I swap the flour to Gluten free? Thanks
thebakingexplorer
Hi, yes you can do this, I hope you enjoy the cake!
Jasmine
Hi, what can you substitute the caster sugar with ?
thebakingexplorer
Hi, you could swap it for granulated sugar. But caster sugar is best, it's very widely available.
Alisha
Hi Kat!
Can I know why there is no bicarbonate of soda here but there is in the cupcakes version? Much love from Singapore! Xx
thebakingexplorer
Hi Alisha, I revamped the cupcake recipe a little while ago and updated it to include bicarb. I'm happy with the traybake recipe at the moment, and I don't have any current plans to revamp it. If you want to use the cupcake recipe instead for a traybake, I'd recommend increasing the quantities by 25% for a 12x9 inch tin. I hope that helps!
Choccheeks
This recipe looks great I always make a red velvet cake but wanted to make a sheet cake to take to an event, but I've never made red velvet without the bicarb and vinegar in abit scared to try it and it won't have that distinctive red velvet texture, does it still have that texture without it?
Louise
I’ve just finished making this cake for my partner, such a great easy to follow recipe, turned out amazing