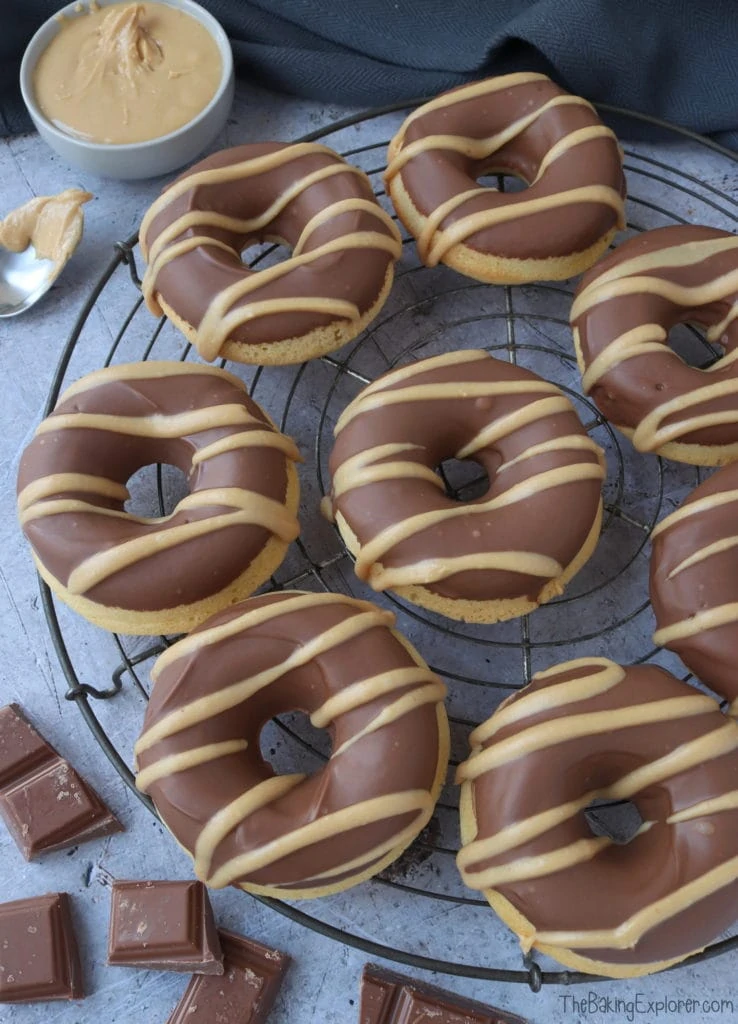
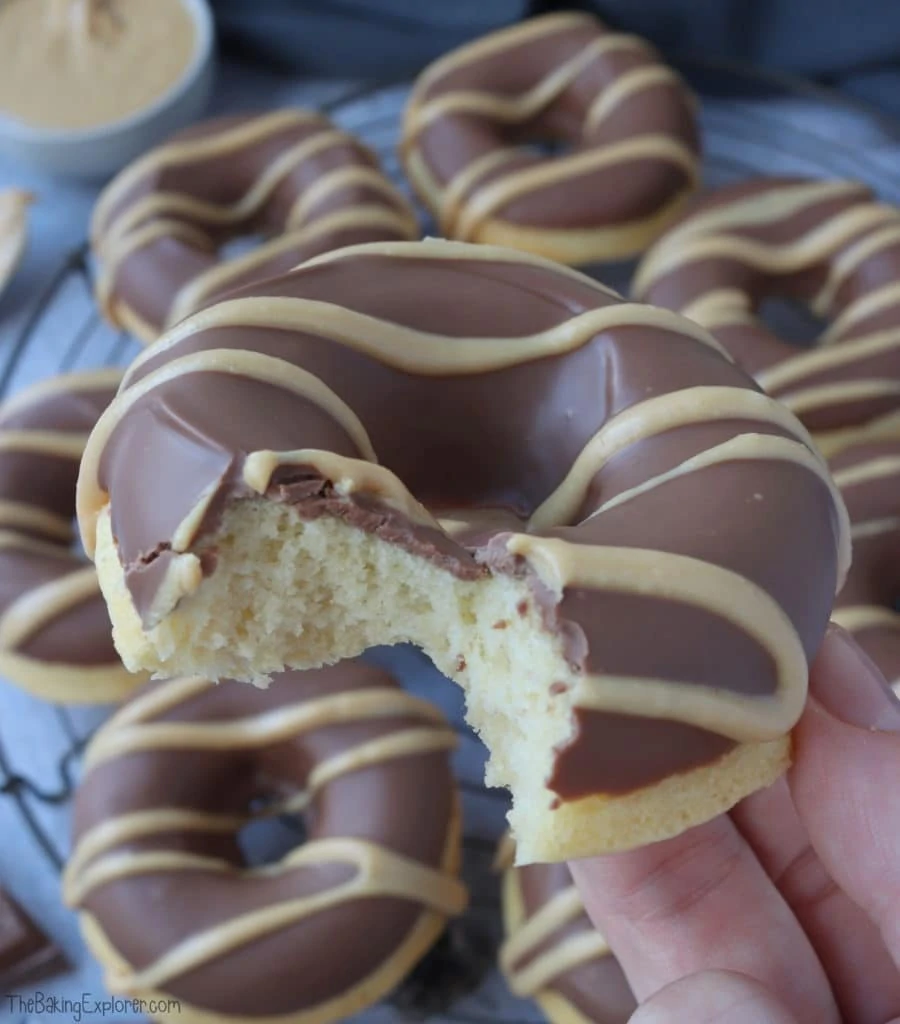
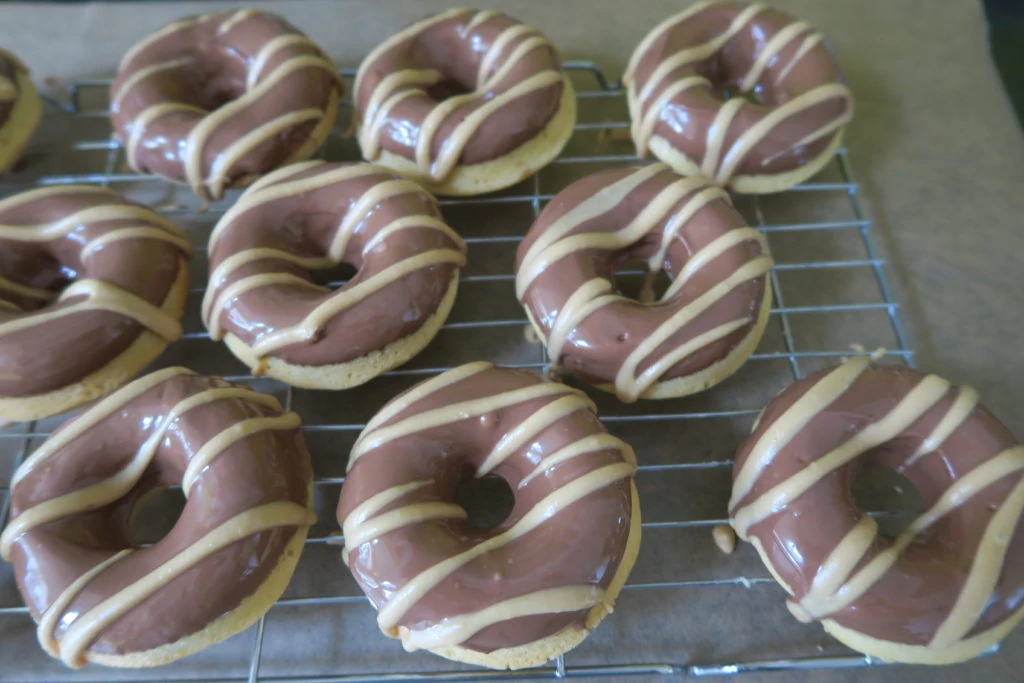
Chocolate and peanut butter is one of my favourite combinations, and I'm also a huge baked donut fan. I have lots of baked donut recipes on my blog, so these Chocolate & Peanut Butter Baked Donuts were bound to happen eventually! They are a baked peanut butter flavoured baked donut. Then I've dipped them in milk chocolate and drizzled them with peanut butter - delicious!
Ingredient Tips & Equipment Information
- Make sure your ingredients, particularly the eggs, are at room temperature before you start baking.
- You can use a different type of oil besides vegetable oil. I'd recommend one that doesn't have a strong flavour, canola and sunflower oil would both work well.
- You will need a 12 hole donut pan (or two 6 hole donut pans) to make this recipe. Check the recommend equipment section for a link to the one I use.
- Although I provide cup measurements, I highly recommend weighing your ingredients out using digital kitchen scales*. It is the most accurate way to measure ingredients and will ensure the best results. Digital scales are very low cost and can be purchased for around £12 ($16.50) .
- For teaspoon (tsp) and tablespoon (tbsp) measurements, please use measuring spoons* and not the type of spoons you eat with. Again this will ensure accuracy and provide the best results.
For the full recipe with measurements, head to the recipe card at the end of this post.
How to make Chocolate & Peanut Butter Baked Donuts
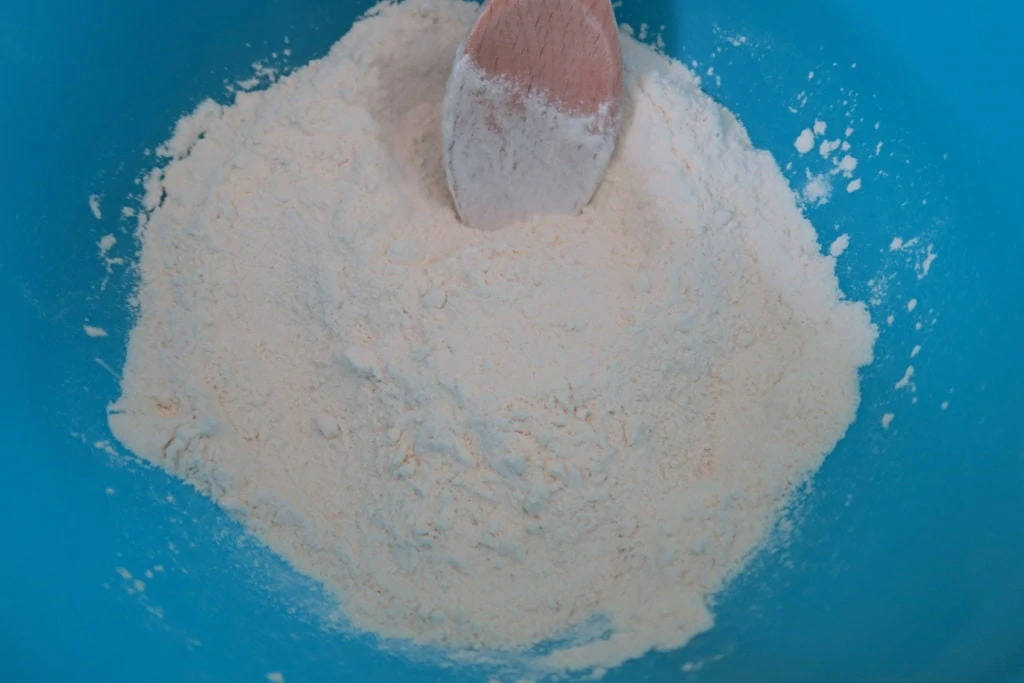
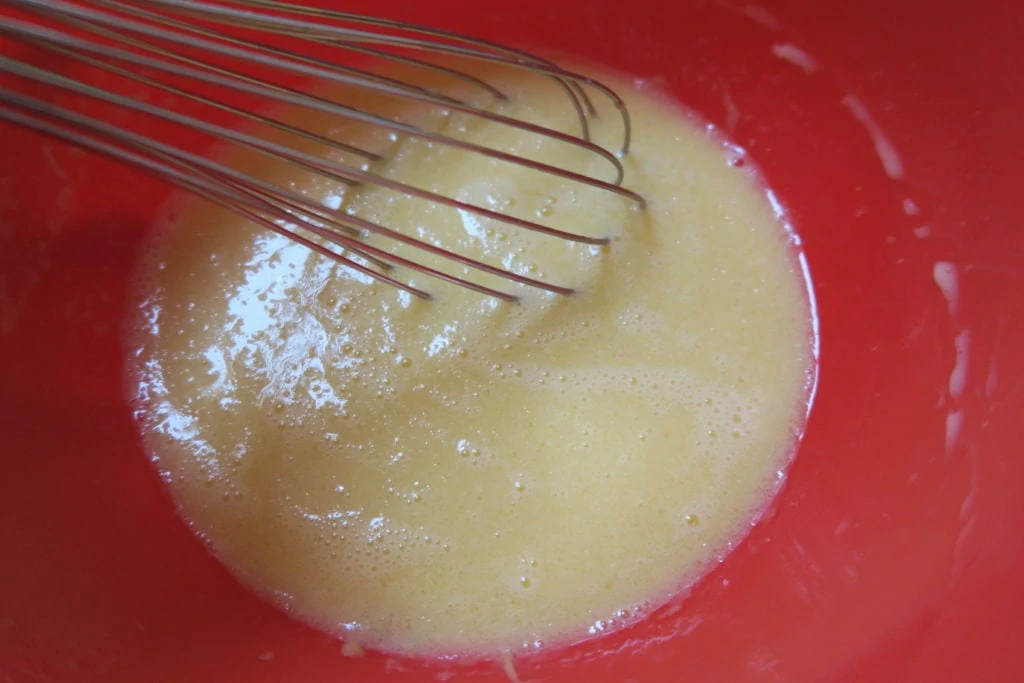
In a mixing bowl stir together the self raising flour and caster sugar. In another bowl, whisk up the milk with the eggs, oil and peanut butter.
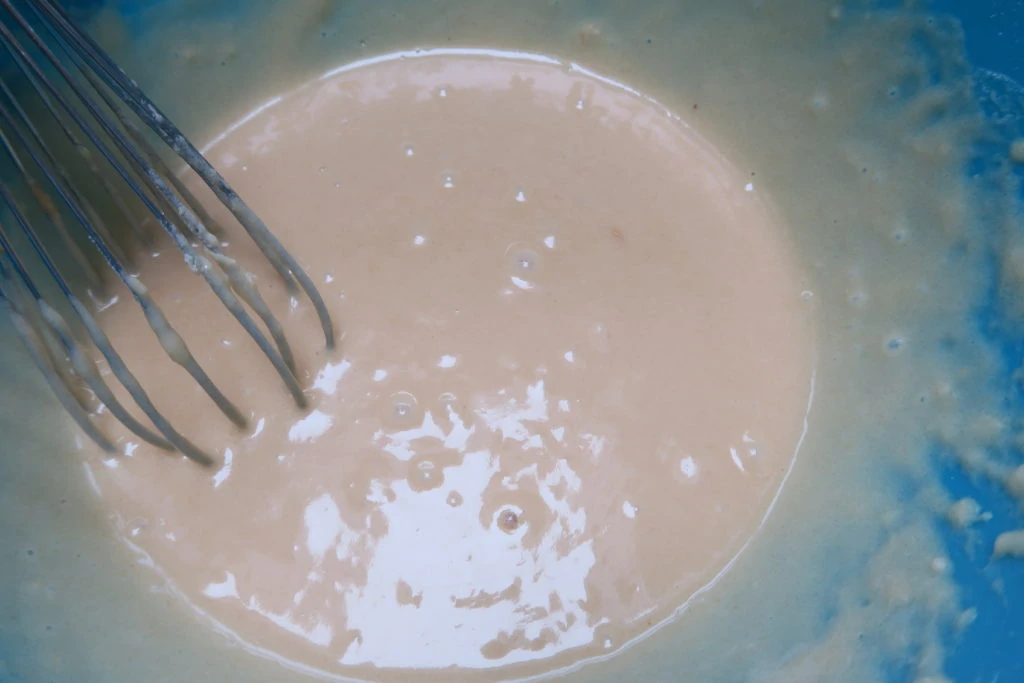
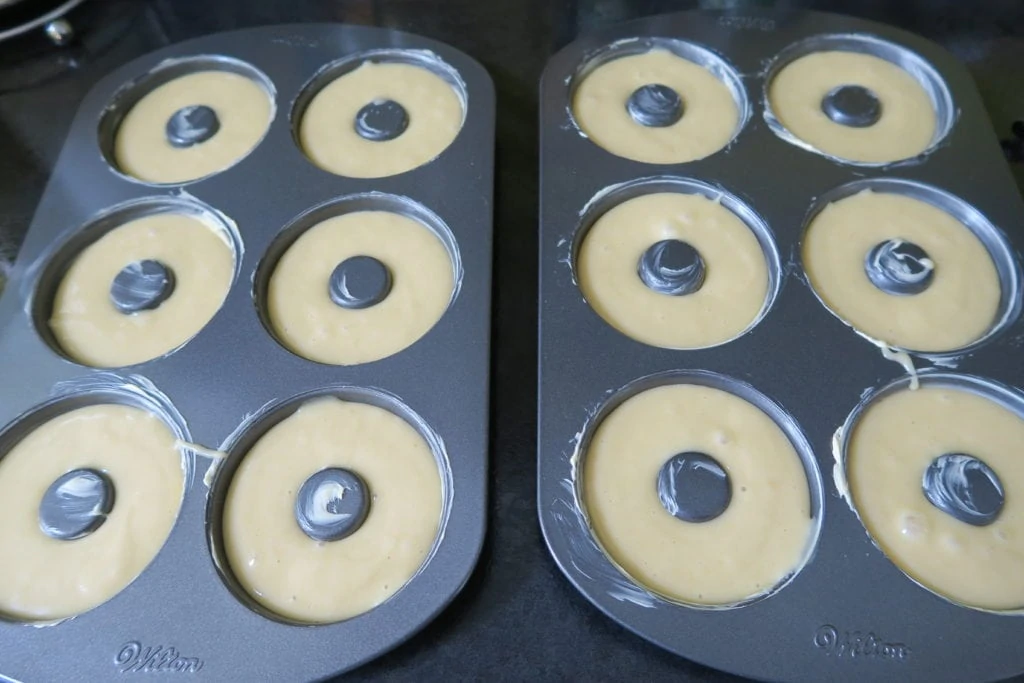
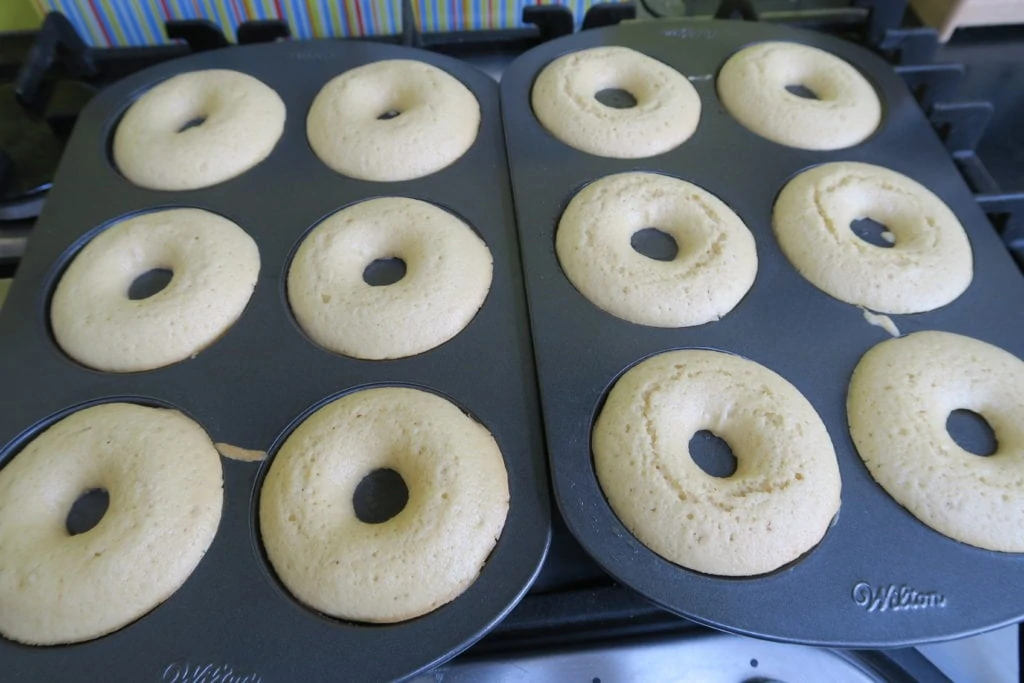
Then pour the egg mixture into the flour mixture and whisk them together. Put the batter into a piping bag and divide it between the donut tins.
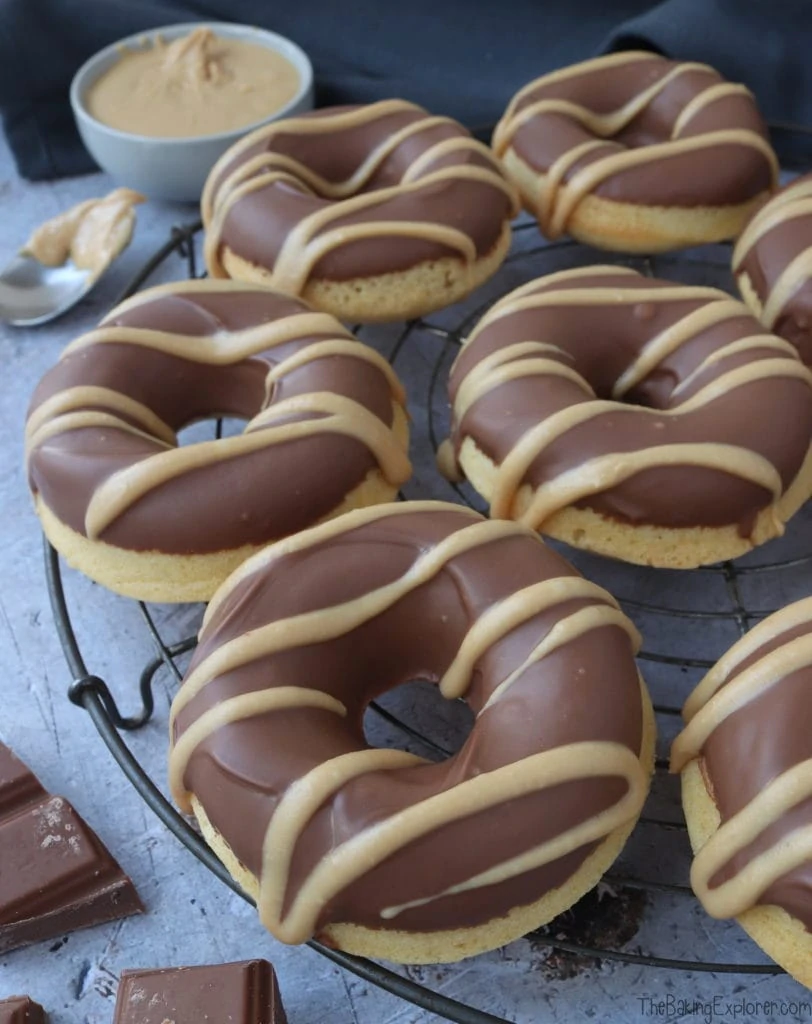
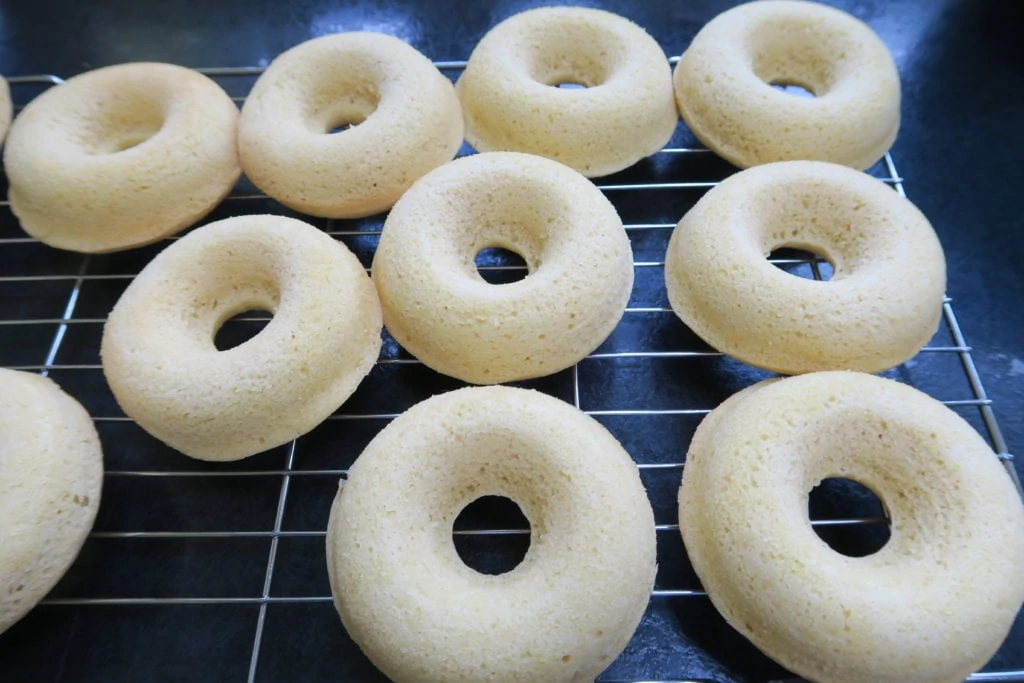
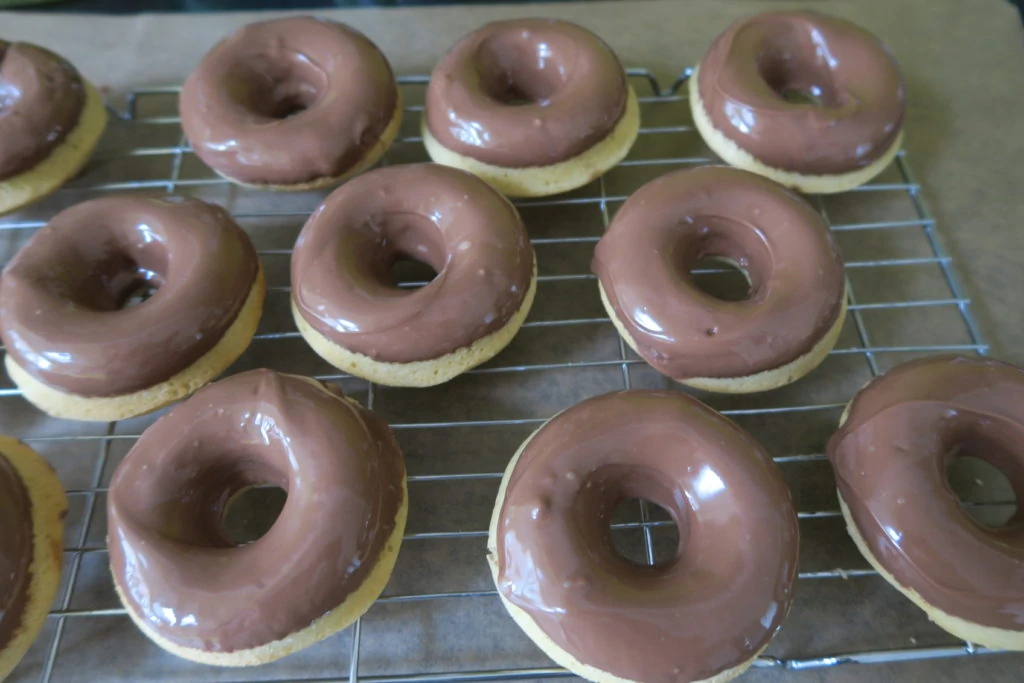
Bake them for 12 minutes, then remove them from the tins and leave them to cool. Melt the chocolate and dip the top half of each donut into it. Then drizzle warmed peanut butter over them and leave them to set.
Do you need a donut tin to make this recipe?
The simple answer is yes! I highly recommend investing in a donut tin* (or two!), they are not expensive and they’re easy to obtain from Amazon, plus there are so many yummy baked donut recipes on my website that you’ll be able to make with them!
Can you make the donuts with plain/all purpose flour?
Self raising flour, which is very commonly used in the UK where I am based, already contains a raising agent and a little salt too. Therefore if you want to swap it for plain or all purpose flour, you will need to add some additional baking powder and also a little salt if you like. Some people like to add salt to cake recipes and some don't, so I'll leave that up to you as it won't affect the bake. The general advice is to add 2 teaspoons baking powder (a measuring teaspoon, not the kind you stir your coffee with) per every 200g plain or all purpose flour. So for this recipe you'd need to add 2 + ¼ teaspoons baking powder. Please note, I have not tested this recipe using plain or all purpose flour.
How long do baked donuts last for and can they be frozen?
Although baked donuts will last for a few days if stored in an airtight container in a cool place, they are best the day they're made. You can freeze the donuts without any of the decoration. Wrap them up well, with a small square of baking paper between each donut so they don't stick together, and freeze for up to 3 months.
Can the donuts be made gluten or dairy free?
Yes, to make these donuts gluten free, replace the self raising flour with a gluten free self raising flour blend. If you only have a gluten free plain flour blend, you will need to add baking powder. The general advice is to add 2 tsp baking powder per 200g flour, so for this recipe you'd need to add 2 teaspoons baking powder. You may also like to add ¼ tsp Xanthan Gum for better texture. They can easily be made dairy free by using a plant based milk. Make sure to also grease the donut tins with a dairy free butter.
How do you remove the donuts from the tin?
I use a spoon to gently loosen them around the edges and prise them out of the tin. If you are using a non stick tin and you have greased it well with butter or baking spread, then they should just pop out with ease.
Do you need an electric mixer to make this recipe?
No, I actually never use an electric mixer to make this recipe as it's so quick and easy to do by hand. The dry ingredients and wet ingredients can be quickly combined with a hand whisk, and it is better to do it this way to avoid over mixing. If you are using an electric mixer, keep it on a low speed and only mix for a short time.
More tips for making the Chocolate & Peanut Butter Baked Donuts:
- The donut batter is very wet, so I recommend using a piping bag or a jug to pour it into the tin.
- These donuts would also be delicious dipped or drizzled in melted dark or white chocolate!
- You could also decorate these donuts with some chopped peanuts, Reese's Pieces or Reese's Peanut Butter Cups.
Troubleshooting
If you have any questions about this recipe, or if something went wrong and you need help, please use the comment form below and I will get back to you. You can also get in touch with me on my Twitter, Instagram or Facebook. I'd love to hear from you!
Recommended equipment & ingredients*
*I earn a small amount of money if you buy the products after clicking on the links. You will not be charged anything extra for this. Thank you for supporting The Baking Explorer!
More Peanut Butter recipes...
Chocolate & Peanut Butter Baked Donuts
Ingredients
For the donuts
- Butter or baking spread for greasing the tin
- 175 g Caster sugar
- 225 g Self raising flour
- 175 ml Milk cow's or plant milk will both work
- 30 ml Vegetable oil
- 2 Eggs large
- 50 g Peanut butter
For decoration
- 250 g Milk chocolate melted
- 50 g Peanut butter warmed
Instructions
- Pre-heat your oven to 160C Fan/180C/350F/Gas Mark 4 and grease two 6-hole donut tins with butter or baking spread
- In a large mixing bowl, stir together the self raising flour and caster sugar
- In another bowl, whisk together the milk, vegetable oil, peanut butter and eggs
- Pour the milk mixture into the flour mixture, and whisk together until combined
- Divide the batter between the tins. You can put the batter into a piping bag or a jug to make it a bit neater to dispense into the tins, but you can do it with a spoon too
- Bake them for 12 minutes, then remove them from the tin (I use a spoon to gently prise them out) and leave to cool on a cooling rack
- Melt the milk chocolate in the microwave, make sure to use a microwave safe bowl. Heat the chocolate for 30 seconds, stir it, then heat in 10 second bursts, stirring in between
- Set the donuts onto a rack with a baking tray or some baking paper underneath to catch any drips of chocolate
- Dip the top half of the donuts in the milk chocolate and place back on the rack
- Warm the peanut butter for 30 seconds in the microwave, put it in a small piping bag and cut a small amount off the end, drizzle it over the wet milk chocolate. Or you could drizzle with a spoon
- Leave to set, or put them in the fridge to set the chocolate faster
- Store leftover in an airtight container and eat within 3 days
Notes
- Although I provide cup measurements, I highly recommend weighing your ingredients out using digital kitchen scales*. It is the most accurate way to measure ingredients and will ensure the best results. Digital scales are very low cost and can be purchased for around £12 ($16.50) .
- For teaspoon (tsp) and tablespoon (tbsp) measurements, please use measuring spoons* and not the type of spoons you eat with. Again this will ensure accuracy and provide the best results.

Cat | Curly's Cooking
Delicious! The perfect flavour combination.
thebakingexplorer
Thank you, I agree!
Kat @ Kat's 9 Lives
These look incredible! You can never go wrong with chocolate and peanut butter!
thebakingexplorer
Thank you Kat!
Jenny Paulin
Mmmmm Kat your doughnuts look incredible! I saw them on FB last night and thought wow! and also yum!
I do not know how you are managing to keep posting recipes with your new baby, I can also assume that 1). you are just super organised or 2). you worked very hard to get lots done before he was born! Whichever one, your bakes keep on looking amazing xx
thank you for linking to #Bakeoftheweek
thebakingexplorer
You are right on number 2! I made all the recipes while I was pregnant, I had two months worth of blog posts ready to go when he arrived. And thank you so much!!
Nicolette Lafonseca
It is the best taste combo! I keep meaning to get a doughnut pan from Lakeland and get distracted by mops
thebakingexplorer
I hope you can get one next time, or pop over to Amazon and grab one then you'll be eating donuts in no time!
Choclette
Oh yes, peanut butter and chocolate is one of the best combinations. Your doughnuts look absolutely gorgeous and I bet they taste pretty wonderful too. I've been meaning to invest in some doughnut rings for at least 5 years ?
Thanks for sharing with #CookBlogShare
thebakingexplorer
Haha I think it's about time you did! Thank you so much 🙂
Jo Allison / Jo's Kitchen Larder
It gets me every time that they are so easy to make!!! Chocolate and peanut butter is the winner in my eyes too, perfect combo of sweet and salty! Thank you for sharing your delicious donuts with #BakingCrumbs 🙂
thebakingexplorer
Thank you Jo! It's one of the reasons I love making them so much, they're so easy!
Jenny Walters
These are just beautiful Kat. I am going to get myself a donut pan and make them. I have always been put off before just thinking they would be dry but love the look of yours and the oil added I’m sure this is the perfect recipe for me to try. Thanks so much for bringing them to #BakingCrumbs
thebakingexplorer
Thank you Jenny! If you can wait till the next day, they get even more moist!
Mother of 3
Those look so amazing! I just bought a donut pan this fall and have only used it once. We'll have to try these. Pinned.
thebakingexplorer
I hope you enjoy them! There are several donut recipes on my blog for you to get some use out of your donut pan with 🙂
Helen at Casa Costello
We eat so many donuts in our house that we really need to invest in our own pan. What a fabulous taste combination and they look so perfectly neat. Thanks so much for sticking with us at #BakeoftheWeek x
Jill Phillips
Seeing this recipe inspired me to buy some silicone donut trays. It then took me nearly a year (!) to get round to baking them. I wish I hadn't waited so long - they were delicious and my husband was delighted as they are his favourites.
thebakingexplorer
Thank you Jill, I'm so happy you and your husband enjoyed the donuts!