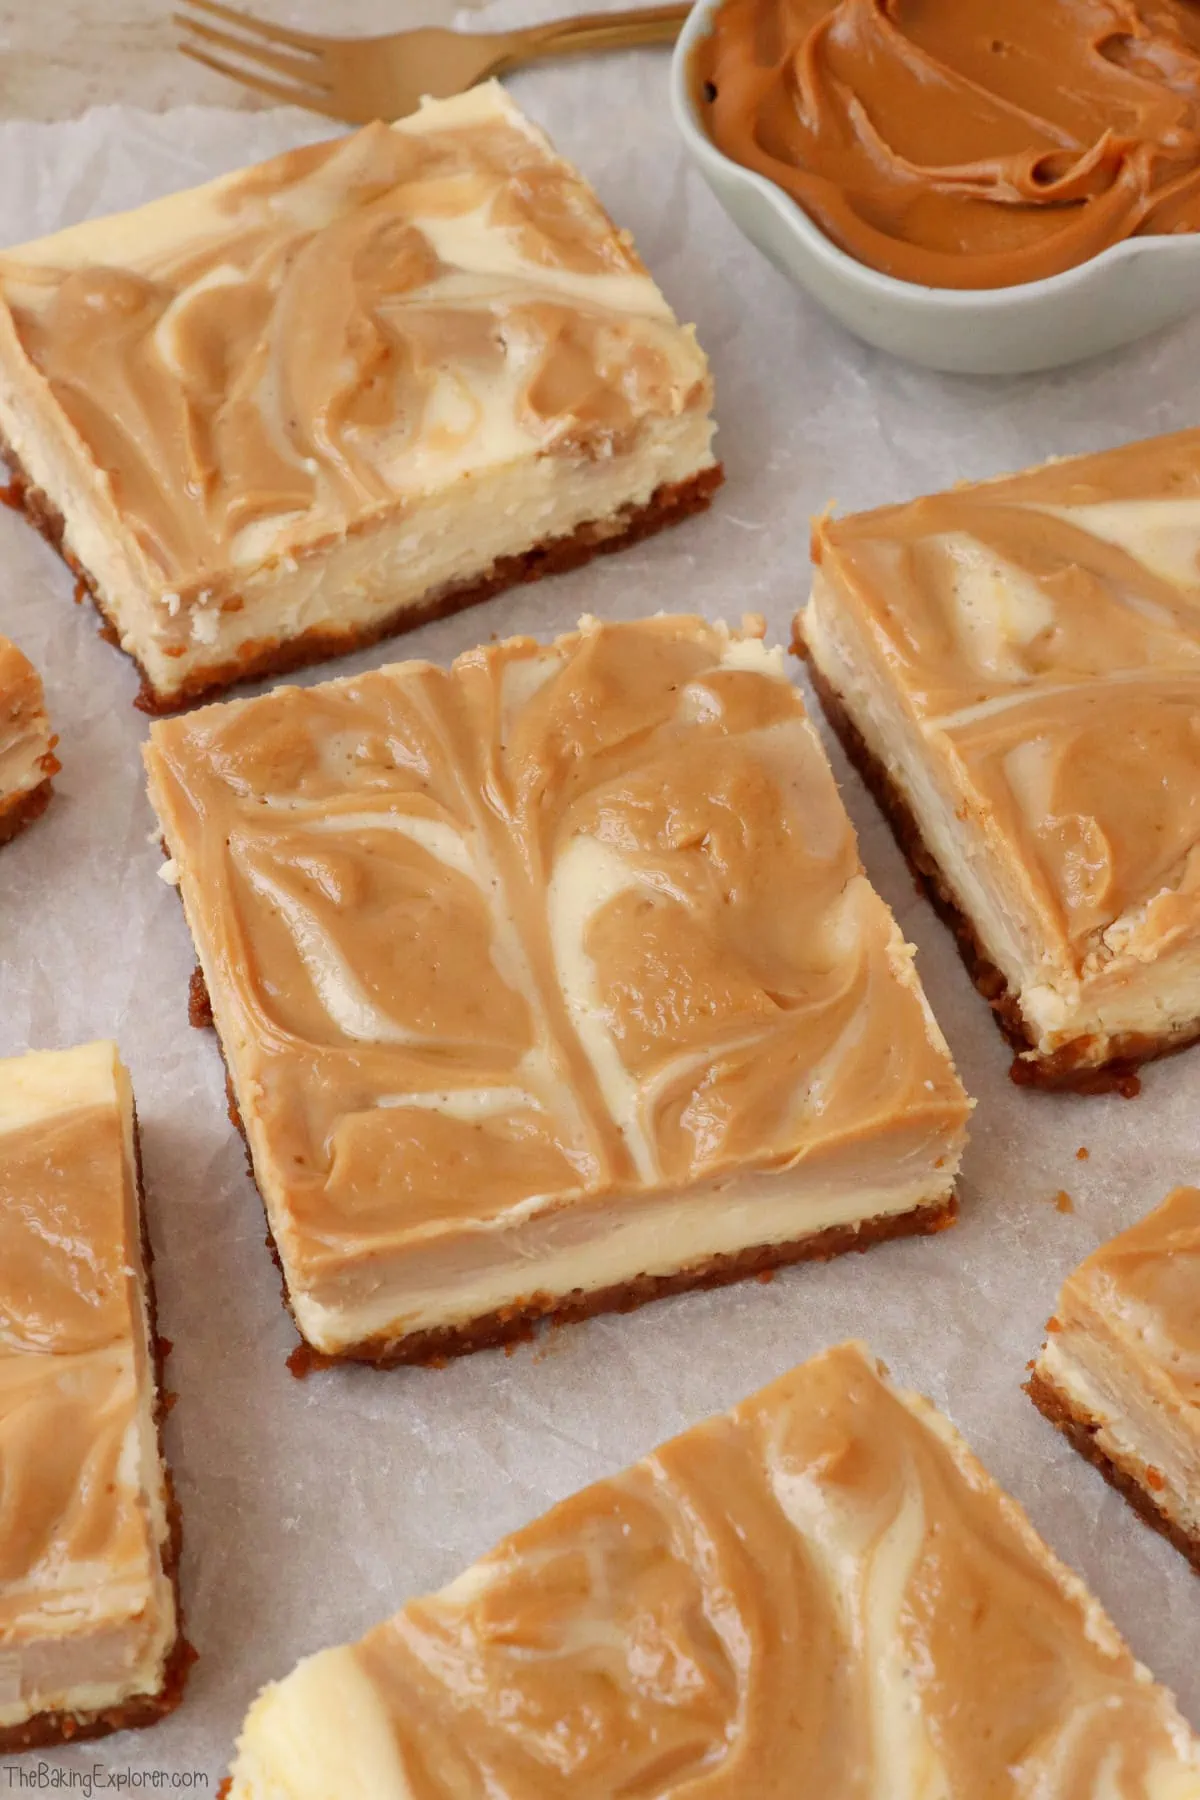
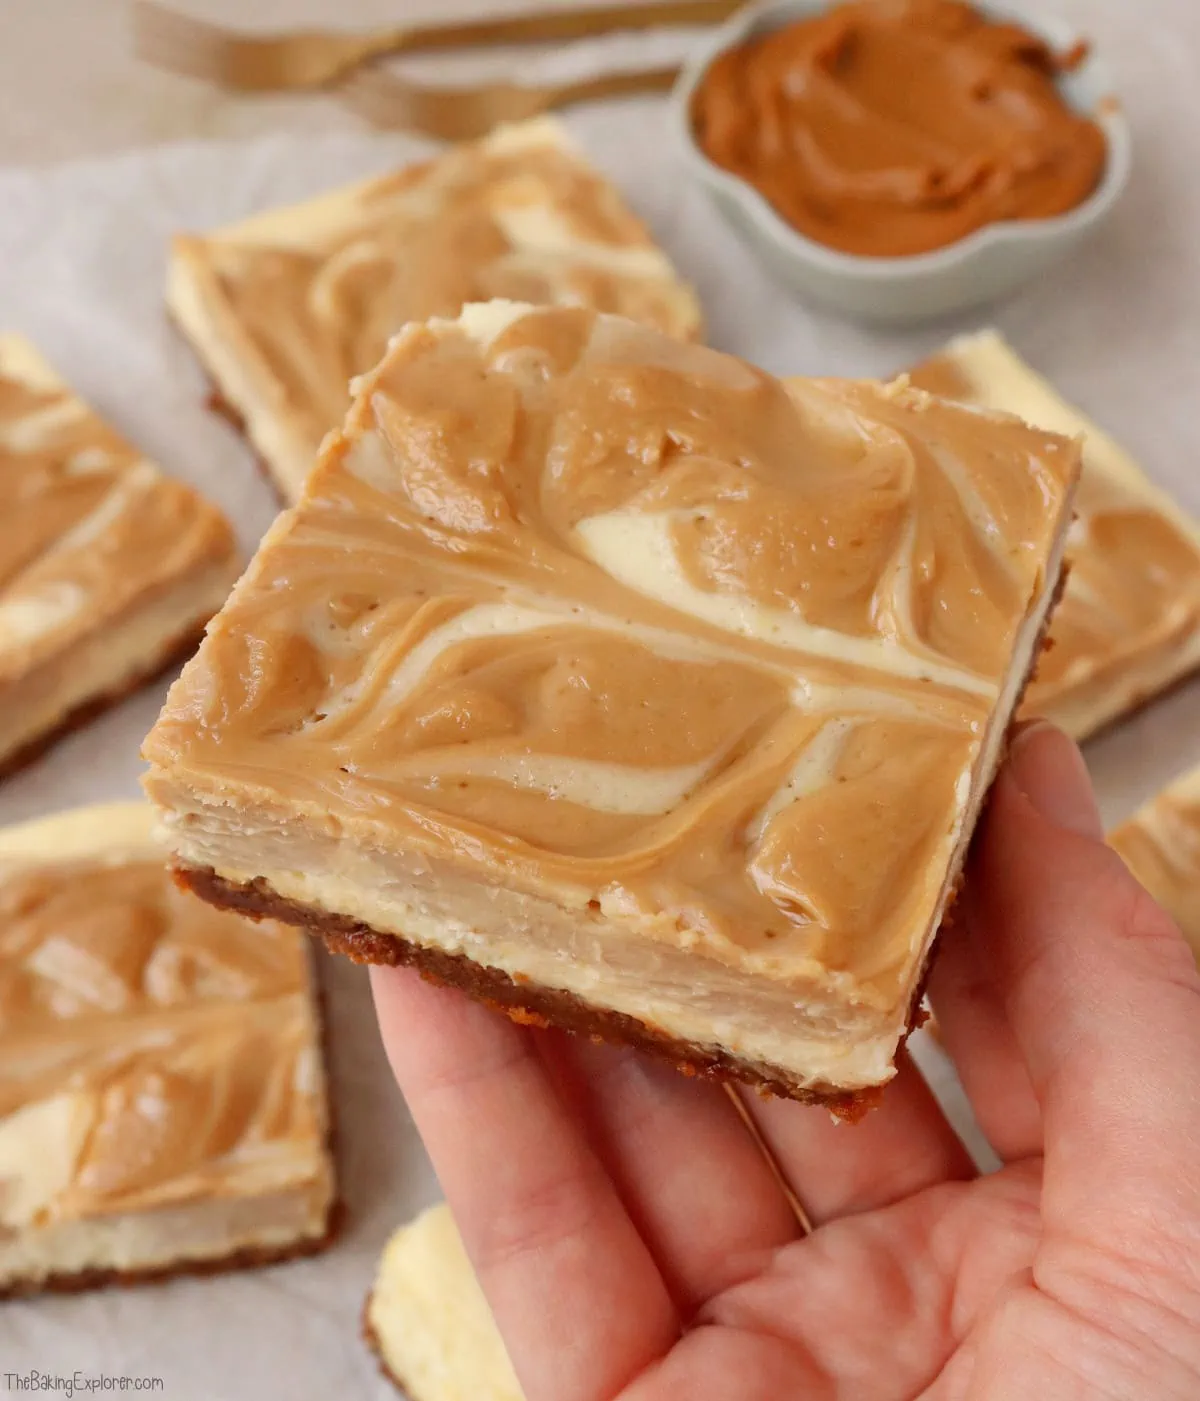
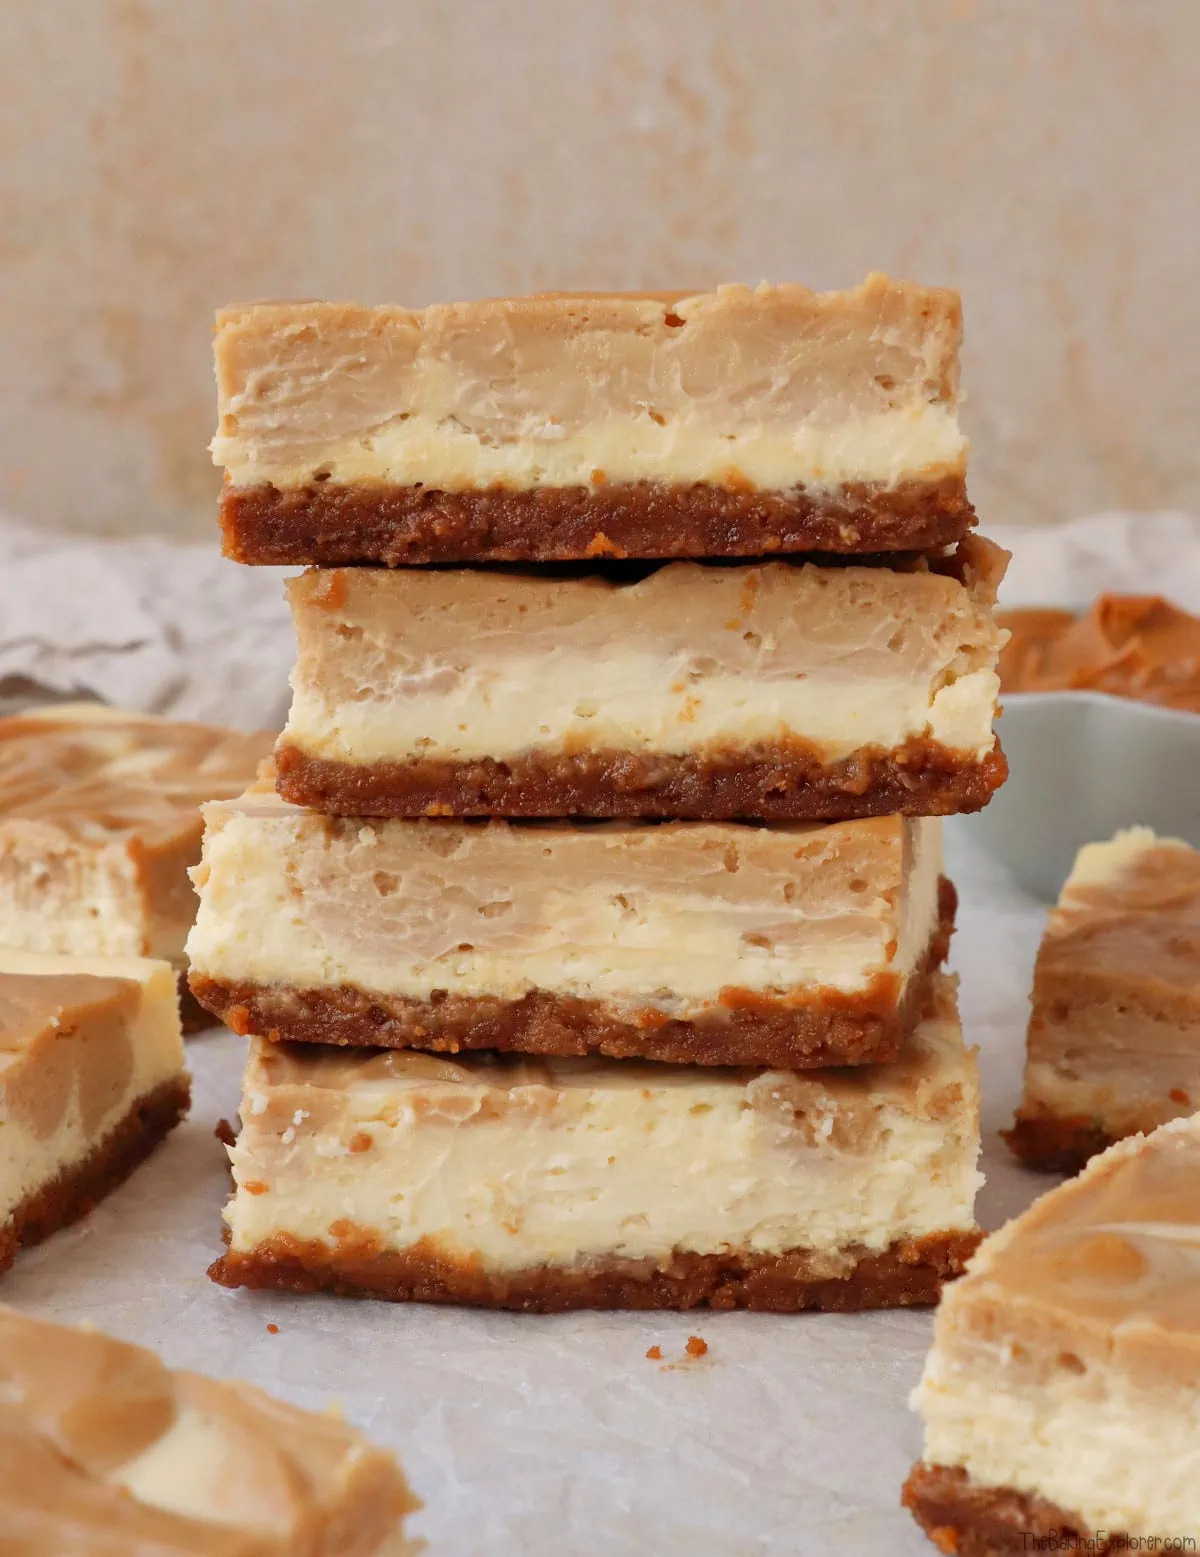
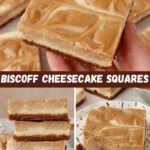
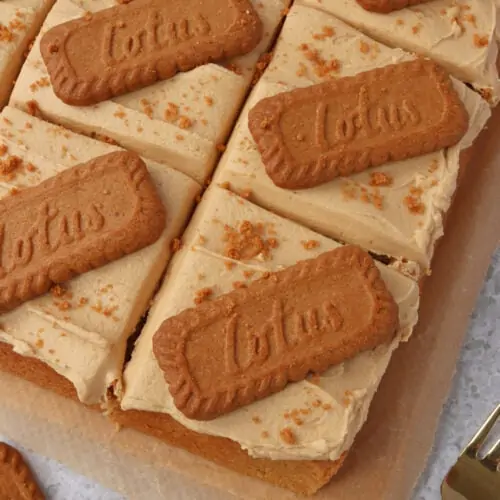
These Biscoff Cheesecake Squares have a base layer of Lotus Biscoff biscuits, then they're topped with creamy vanilla cheesecake which is then swirled with Biscoff cheesecake. I find making baked cheesecake in a traybake so simple to make and also really easy to portion out and serve, plus the swirled effect means there's no additional decoration needed! They are so creamy and full of caramelised biscuit flavour. They are an absolute dream for anyone who loves Biscoff and cheesecake!
Ingredient Tips & Equipment Information
- You can use either butter or baking spread for the biscuit base, I find that baking spread makes the cheesecake easier to remove from the tin as it doesn't make the base set as solidly.
- You can use digestive biscuits instead for the base, but the Lotus Biscoff ones really add to the Biscoff flavour so I do recommend them!
- I used the smooth Biscoff spread for the Biscoff cheesecake.
- Although I provide cup measurements, I highly recommend weighing your ingredients out using digital kitchen scales*. It is the most accurate way to measure ingredients and will ensure the best results. Digital scales are very low cost and can be purchased for around £12 ($16.50) .
- For teaspoon (tsp) and tablespoon (tbsp) measurements, please use measuring spoons* and not the type of spoons you eat with. Again this will ensure accuracy and provide the best results.
For the full recipe with measurements, head to the recipe card at the end of this post.
How to make Biscoff Cheesecake Squares
To make the biscuit base use a food processor to blitz the biscuits into crumbs, then mix them with melted butter and press into the bottom of a lined baking tin. Set aside while you make the filling.
To make the vanilla cheesecake, whisk together cream cheese, eggs, sugar and vanilla until smooth. Then make the Biscoff cheesecake filling by whisking together cream cheese, eggs, sugar and Biscoff spread until smooth.
Pour the vanilla cheesecake into the baking tin on top of the biscuit base. Add spoonfuls of the Biscoff cheesecake all over the vanilla cheesecake. Using a butter knife, swirl the mixture around to create a pretty pattern. Bake the cheesecake for 30 minutes, or until it has a slight wobble to it, then let it cool completely. Once it's cool, put it in the fridge to chill before slicing.
For the full recipe with measurements, head to the recipe card at the end of this post.
What is Biscoff?
Biscoff spread, made by the brand Lotus, is also known as cookie butter. It has a deep caramel flavour and a hint of cinnamon and other spices. Lotus are best known for their biscuits, which are commonly served with coffee. The biscuits are used to make the spread, and you can buy it in crunchy and smooth varieties. The spread is similar to Nutella or peanut butter in terms of texture, but it has a unique flavour. It’s also naturally vegan.
How long does the cheesecake last and can it be frozen?
The cheesecake should be stored in the fridge and will last for 3-4 days. You can freeze the undecorated cheesecake, however you do need to let it set in the fridge first. Setting it in the freezer will affect the texture and it won't be as nice. Once it's set in the fridge, you can remove it from the tin and put the cheesecake in a box or tupperware. You could also slice it up, and freeze in portions. Then you can easily defrost a few slices at a time depending on when you'd like some cheesecake!
What size tin do you need for this cheesecake?
This recipe is best made in a 12" x 9" (36.5cm x 26cm) traybake tin with deep sides (4cm or 1.5"). However, if you'd prefer to make it in a smaller 9" square tin, check the recipe card notes section for details on how to change the measurements and baking time.
How many people does this cheesecake serve?
It completely depends how you slice it up, which is great because it makes this such a versatile cheesecake for parties and gatherings. I love a big chunk of cheesecake so I cut it into 12 slices, but for a party you may prefer to cut it into smaller slices so it feeds more people. You can cut into 16 slices, or even 24 bitesize slices.
Can this cheesecake be made gluten or dairy free?
You can make the cheesecake dairy free by replacing the butter and cheesecake with dairy free versions. Unfortunately Biscoff spread is not gluten free, so you cannot make the cheesecake gluten free using Biscoff spread and Biscoff biscuits.

Troubleshooting
If you have any questions about this recipe, or if something went wrong and you need help, please use the comment form below and I will get back to you. You can also get in touch with me on my Twitter, Instagram or Facebook. I'd love to hear from you!
Recommended equipment & ingredients*
*I earn a small amount of money if you buy the products after clicking on the links. You will not be charged anything extra for this. Thank you for supporting The Baking Explorer!

More Biscoff recipes...
- Biscoff Cake Traybake
- Biscoff Drip Cake
- Vegan Biscoff Cake
- Vegan Biscoff Cupcakes
- Biscoff Rocky Road
- Biscoff & Banana Cake with Caramel Drip
- Lotus Biscoff Cupcakes
- Biscoff Brownies
- Biscoff Cheesecake (No Bake)
- Biscoff Loaf Cake
- Biscoff Ice Cream (No Churn)
- Biscoff Blondies
- Biscoff Apple Crumble
- Chocolate Biscoff Cupcakes
- Biscoff Slutty Brownies (Biscoff Brookies)
- Biscoff Swiss Roll
- Biscoff Cake
- Biscoff Baked Donuts
- Biscoff Millionaire's Shortbread
- Biscoff Cookie Pie
- Biscoff Yule Log
- Biscoff Pancakes
- Biscoff Rice Krispie Treats
Biscoff Cheesecake Squares
Ingredients
For the biscuit base
- 300 g Lotus Biscoff Biscuits
- 100 g Butter or baking spread melted
For the vanilla cheesecake
- 600 g Full fat cream cheese
- 115 g Caster sugar
- 2 Eggs large
- 1 tsp Vanilla extract
For the biscoff cheesecake
- 300 g Full fat cream cheese
- 65 g Caster sugar
- 1 Egg large
- 150 g Lotus Biscoff spread
Instructions
- Pre-heat your oven to 160C Fan/180C/350F/Gas Mark 4 and grease and line a 12" x 9" traybake tin
- Use a food processor to make fine crumbs out of the biscuits. You could also crush them in a bowl or ziploc bag with a rolling pin
- Add the melted butter to the biscuit crumbs and mix well. Press the mixture into the lined tin until it is compact and even
- To make the vanilla cheesecake, whisk together the cream cheese, caster sugar, eggs, and vanilla extract, using an electric whisk or stand mixer, until smooth
- To make the Biscoff cheesecake, whisk together the cream cheese, caster sugar, eggs, and Biscoff spread, using an electric whisk or stand mixer, until smooth
- Pour the vanilla filling over the biscuit base, then add spoonfuls of the Biscoff filling all over. Use a butter knife to swirl it around and create a pretty pattern
- Bake for 30 minutes or until it has set fully and only has a slight wobble. Leave to cool fully, then chill in the fridge
- To serve, cut into squares. Keep any leftovers in the fridge for up to 3 days
Notes
- You can use either butter or baking spread for the biscuit base, I find that baking spread makes the cheesecake easier to remove from the tin as it doesn't make the base set as solidly.
- You can use digestive biscuits instead for the base, but the Lotus Biscoff ones really add to the Biscoff flavour so I do recommend them!
- I used the smooth Biscoff spread for the Biscoff cheesecake.
- Although I provide cup measurements, I highly recommend weighing your ingredients out using digital kitchen scales*. It is the most accurate way to measure ingredients and will ensure the best results. Digital scales are very low cost and can be purchased for around £12 ($16.50) .
- For teaspoon (tsp) and tablespoon (tbsp) measurements, please use measuring spoons* and not the type of spoons you eat with. Again this will ensure accuracy and provide the best results.
Nutrition
If you like this, check out more of my Cheesecake recipes!
NB. this post is NOT sponsored by Lotus Biscoff - I just love their products!



Monika Dabrowski
Looks really tasty and sounds pretty easy to make, which for me is always a bonus when it comes to desserts!
thebakingexplorer
It is so easy to make Monika!
Tilly Jaye Horseman
OK, how have I not come across Biscoff spread before...? Must investigate and procure! These sound delicious!
thebakingexplorer
Oh you must! It's delicious stuff!
Cat | Curly's Cooking
These look so tasty and making it in a tray bake tin is a great idea.
thebakingexplorer
Thanks Cat! It's so easy as a traybake!
Jenny Paulin
ooooh Kat these sound amazing! I love Biscoff and lotus biscuits and, infact , cheesecake, so I know I would love to eat these!
apologies for the time taken to comment and share and wishing you a happy new year xx
#Bakeoftheweek thanks you for your support x x
thebakingexplorer
Thanks so much Jenny!
Laura
Why does mine crack as it is cooling?
thebakingexplorer
Hi Laura, try baking them for less time and/or cooling them in the oven. Sometimes an overbaked cheesecake can be too dry which can cause cracks, or a sudden change in temperature can cause the cracks. I hope that helps!
Chloe
the best, cannot go wrong with this! easy to make & a big hit with everyone! who doesn’t love biscoff?!
Bex
Will a caramel chocolate spread work the same can’t get hold of the biscoff
thebakingexplorer
Hi Bex, I don't think so. I have lots of other cupcake recipes including many chocolate ones you can browse through here: https://thebakingexplorer.com/category/cupcakes/
Amy Baker
I made this last night did everything as it said but it seems quite wet (the buiscuit base) when I had it all hard and cooled? What can I do?
thebakingexplorer
Hi Amy, I think I aleady responded to you on Facebook, but I'll put the answer here too in case it helps anyone else. There could be a few reasons for this. If the cheesecake wasn’t fully cool before putting it in the fridge, if the filling was under baked, or if the base was not fully cool when the filling was added. Unfortunately you can’t fix it now it’s happened but hopefully these tips help for next time. I have heard that some people brush egg white over the base before baking it as a seal to stop the cheesecake moisture affecting the biscuit base, which is a handy trick.
Azlina
Another 5 star recipe for me, perhaps my favourite one (it’s so difficult to choose which one is my favourite) so far. The layers are just beautiful, I love how you photographed every step so I could go back to compare & see if I’ve missed something, also the useful notes. This one was also a big winner at work, with the neighbors & family.
thebakingexplorer
So pleased to hear this, thank you!