
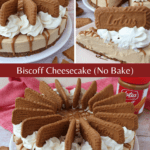
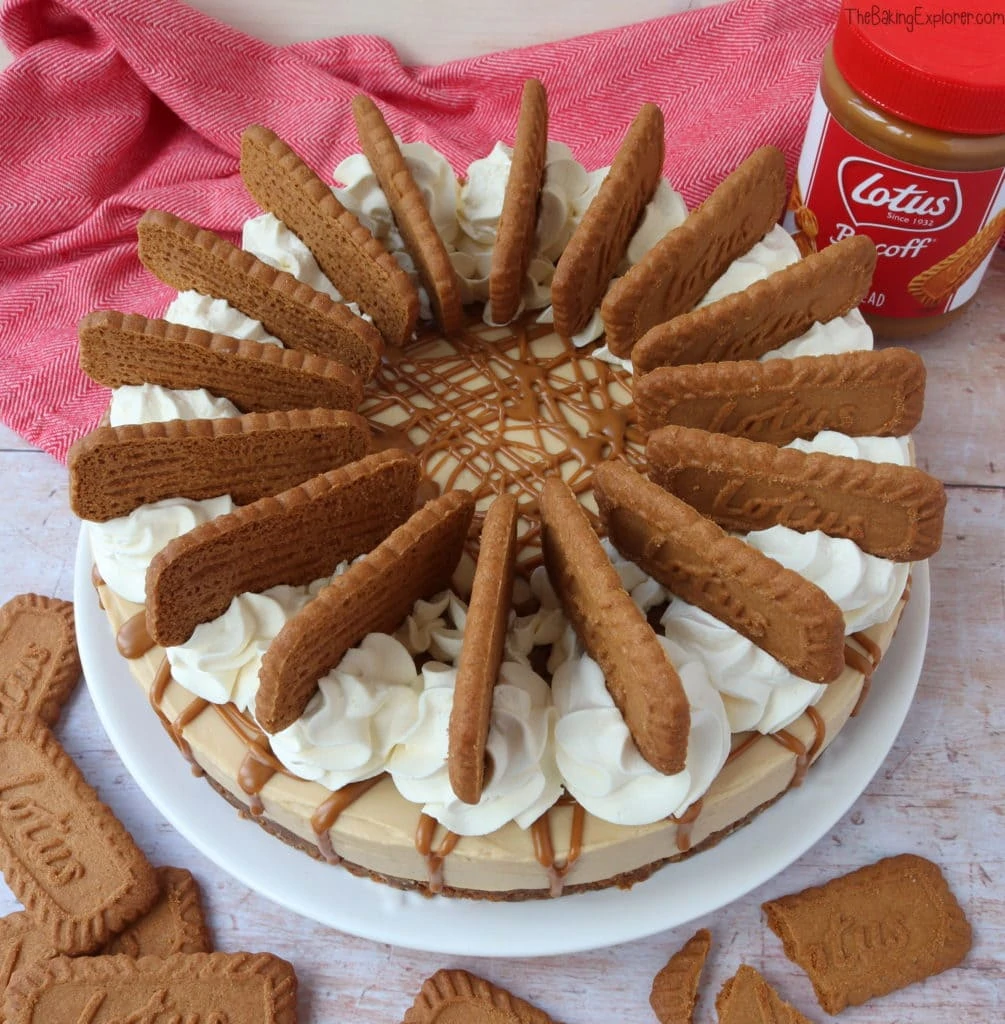
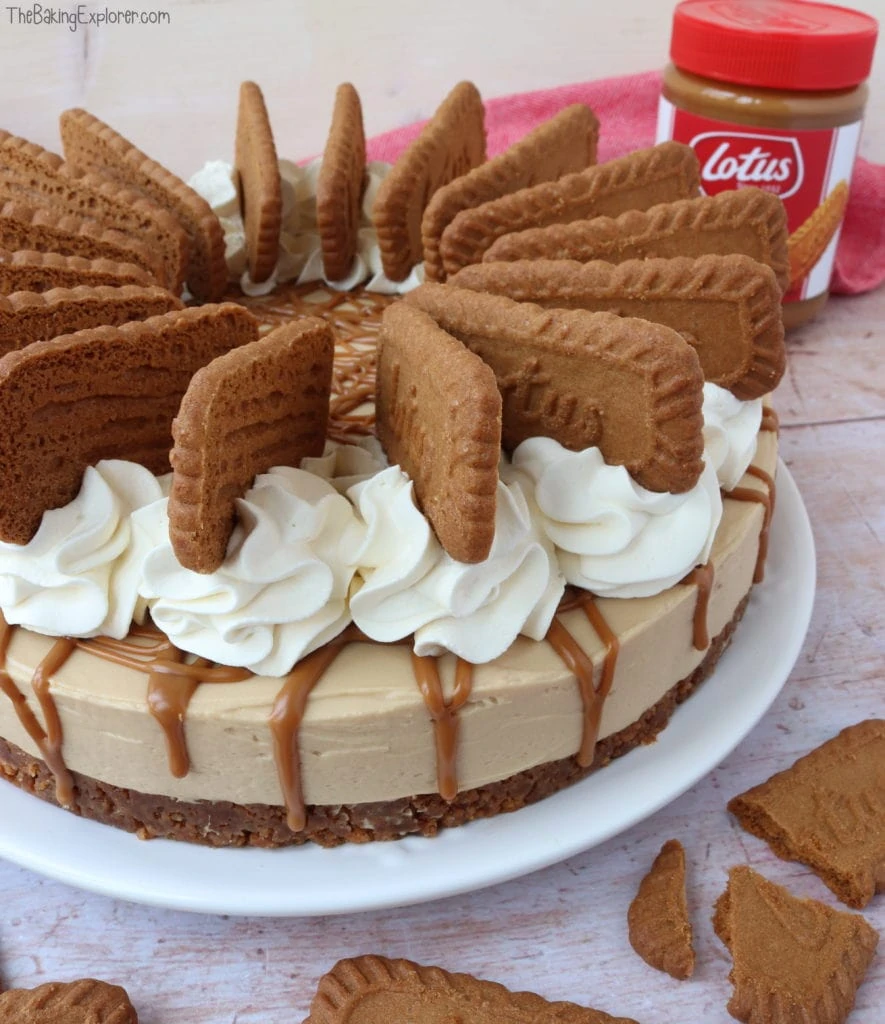
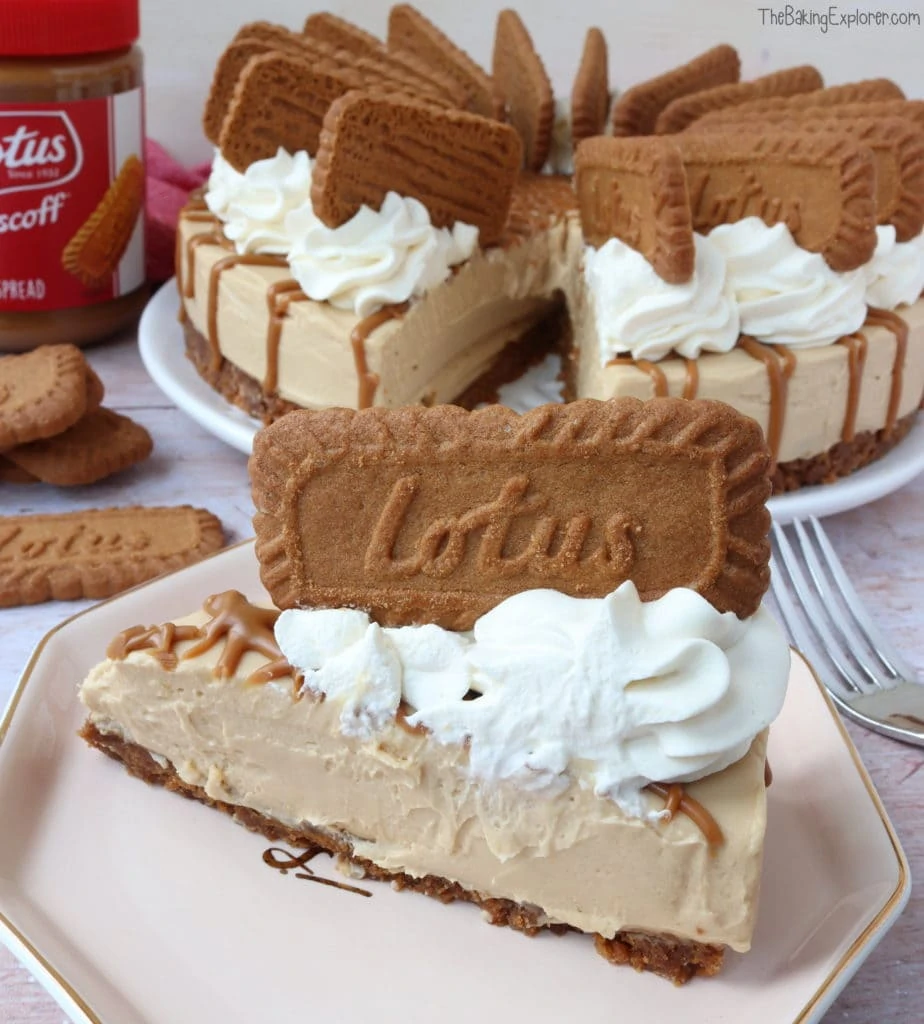
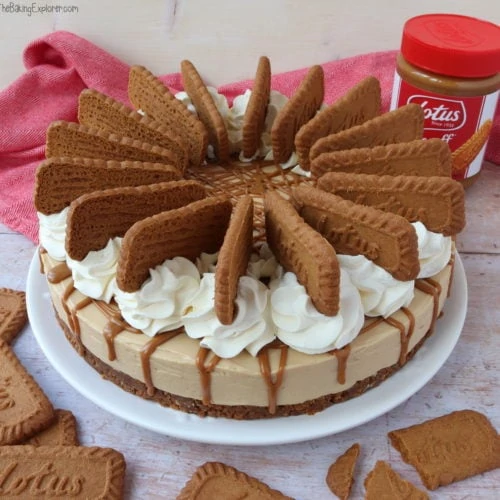
Biscoff spread by the brand Lotus is a big hit in my house! Of course, I love putting it in desserts. I've made a few Biscoff desserts so far, and I thought it was about time for a No Bake Biscoff Cheesecake! The base is Biscoff biscuits of course, the cream cheese filling is infused with Biscoff spread and it's topped with whipped cream, melted Biscoff spread and Biscoff biscuits! Did I say Biscoff enough times?!

Ingredient Tips & Equipment Information
- It is really important to stick to the ingredients and use full fat cream cheese and double cream (a cream with a 48% fat content), both of these ingredients are essential to ensure the no bake cheesecake sets. If you want to make a low fat version, I suggest doing this in small dessert glasses or ramekins as they will not set well enough to be sliced.
- I am based in the UK and I find that Philadelphia cream cheese is the thickest and best quality cream cheese to use for no bake cheesecakes. I have made many cheesecakes with supermarket own brand cream cheeses too, and they have worked great. If you can though, I think it is worth spending a little more for Philadelphia (and no they haven't paid me to say this!)
- You can use either butter or baking spread for the biscuit base, I find that baking spread makes the cheesecake easier to remove from the tin as it doesn't make the base set as solidly.
- You can find lots of answers to common no bake cheesecake questions on my How To Make A No Bake Cheesecake guide. If you've never made a no bake cheesecake before, I highly recommend reading through my guide first!
- Although I provide cup measurements, I highly recommend weighing your ingredients out using digital kitchen scales*. It is the most accurate way to measure ingredients and will ensure the best results. Digital scales are very low cost and can be purchased for around £12 ($16.50) .
- For teaspoon (tsp) and tablespoon (tbsp) measurements, please use measuring spoons* and not the type of spoons you eat with. Again this will ensure accuracy and provide the best results.
For the full recipe with measurements, head to the recipe card at the end of this post.
How to make Biscoff Cheesecake
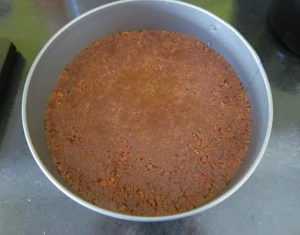
To make the base use a food processor to whizz up the biscuits into crumbs. Mix in the melted butter and press the mixture into the bottom of a 23cm springform tin. Put it in the fridge for 30 minutes to set.
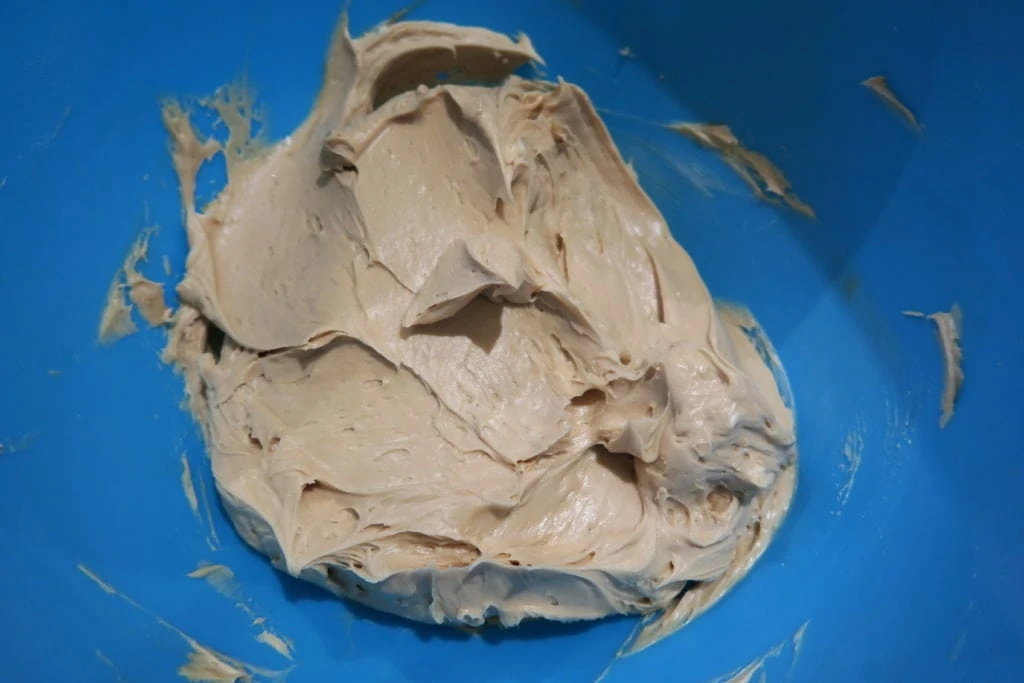
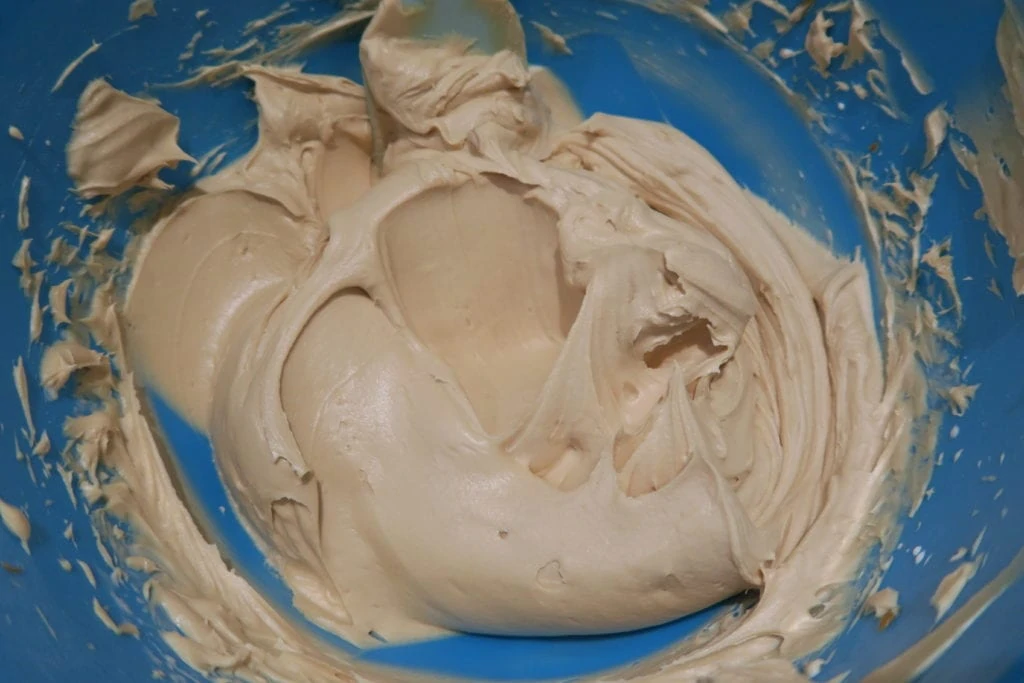
For the cheesecake filling, use an electric hand whisk to mix together the cream cheese, Biscoff spread and icing sugar. Once it is smooth with no lumps, add the double cream and whisk until it is very thick and holds it’s shape.
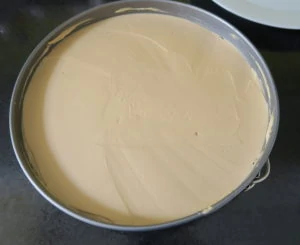
Then smooth the mixture into the tin on top of the biscuit base and put it in the fridge overnight to set.
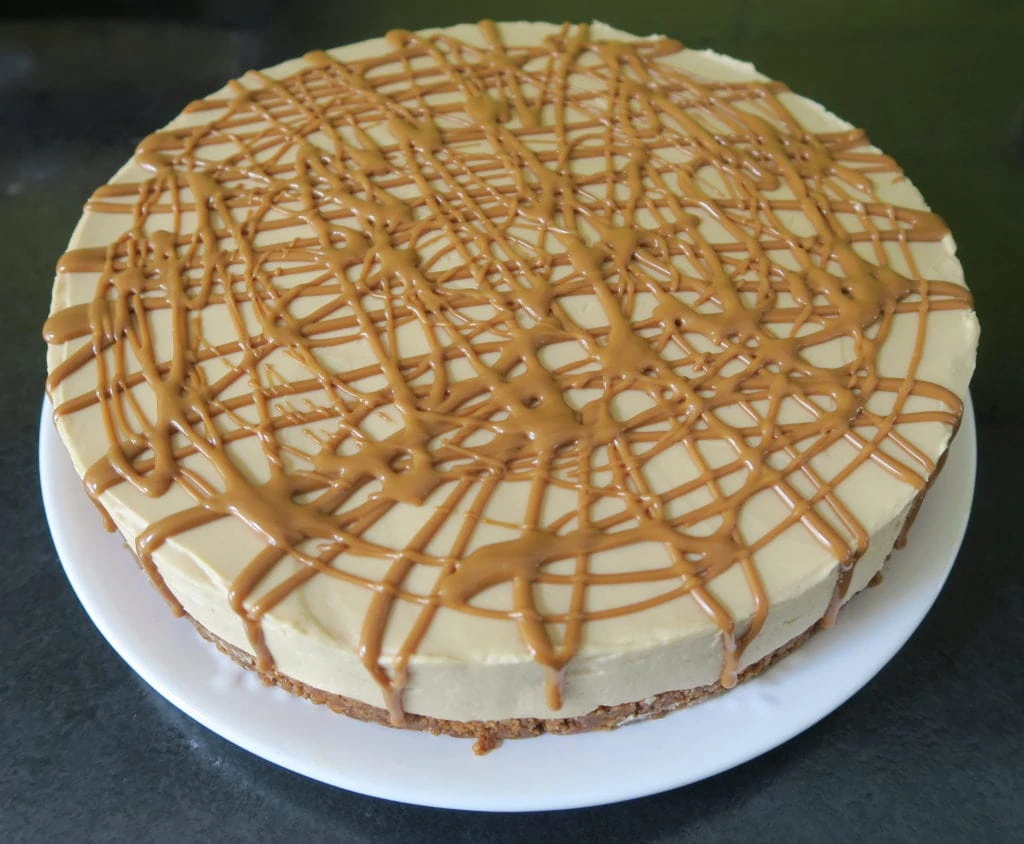
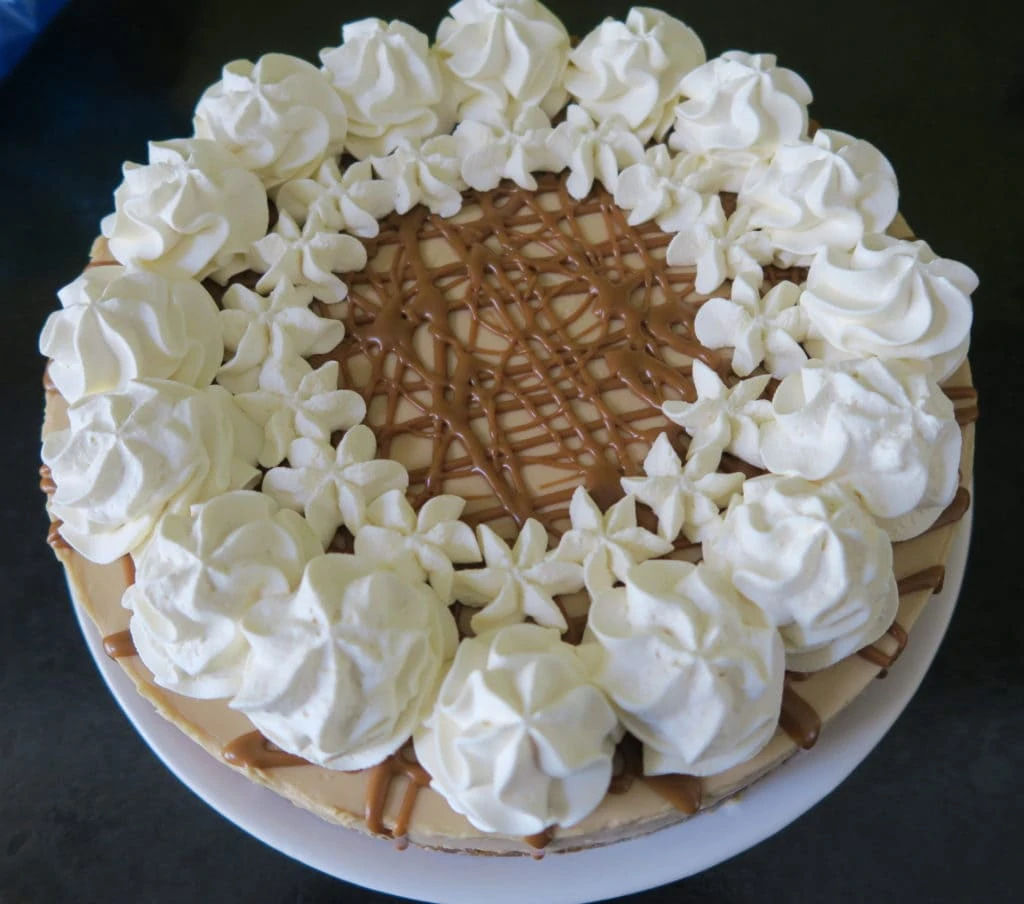
Remove it from the tin, and warm the Biscoff spread in the microwave. Then drizzle it all over the cheesecake. Then whip up the double cream with the icing sugar and vanilla, and pipe it all around the edges of the cheesecake.
For the full recipe with measurements, head to the recipe card at the end of this post.
What is Biscoff?
Biscoff spread, made by the brand Lotus, is also known as cookie butter. It has a deep caramel flavour and a hint of cinnamon and other spices. Lotus are best known for their biscuits, which are commonly served with coffee. The biscuits are used to make the spread, and you can buy it in crunchy and smooth varieties. The spread is similar to Nutella or peanut butter in terms of texture, but it has a unique flavour. It’s also naturally vegan.
How do you remove a no bake cheesecake from the tin?
To see step by step photos and a video showing you how to remove a no bake cheesecake from the tin, as well as the answers to lots of other common no bake cheesecake questions, check out my How to make a No Bake Cheesecake guide!
How do you make sure the cheesecake sets?
When you’re mixing the filling, you want it to get to a stage where you can scoop some up with your spatula or spoon and you have to give it a tap on the side of the bowl or slight flick of the wrist to get the mixture off the spoon. If it’s sloppy and slides right off the spoon without any encouragement needed, then you need to mix it more. Always use an electric mixer for best results. It’s also very important to use full fat cream cheese and double cream (heavy cream), as any low fat versions will affect the setting of the cheesecake. I always set my cheesecake overnight in the fridge, I’d suggest a minimum of 4 hours.
How long does the cheesecake last and can it be frozen?
The cheesecake should be stored in the fridge and will last for 3-4 days. You can freeze the undecorated cheesecake, however you do need to let it set in the fridge first. Setting it in the freezer will affect the texture and it won't be as nice. Once it's set in the fridge, you can remove it from the tin and put the cheesecake in a box or tupperware. You could also slice it up, and freeze in portions. Then you can easily defrost a few slices at a time depending on when you'd like some cheesecake!
Troubleshooting
If you have any questions about this recipe, or if something went wrong and you need help, please use the comment form below and I will get back to you. You can also get in touch with me on my Twitter, Instagram or Facebook. I'd love to hear from you!
Recommended Equipment and Ingredients*
- 23cm Springform tin
- Electric hand mixer
- Biscoff spread
- Food processor
- Piping bags
- Wilton 2D Piping nozzle
- Biscoff biscuits
*I earn a small amount of money if you buy the products after clicking on the links. You will not be charged anything extra for this. Thank you for supporting The Baking Explorer!
More Biscoff recipes...
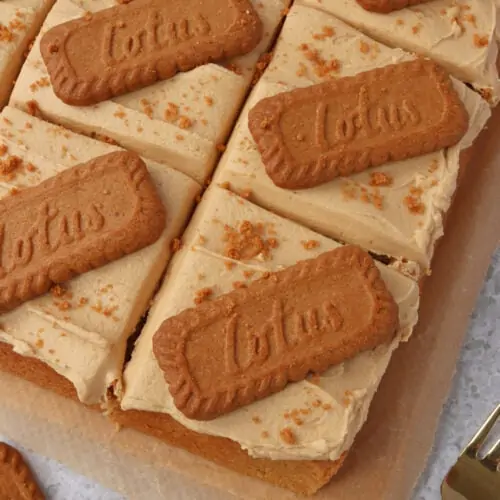
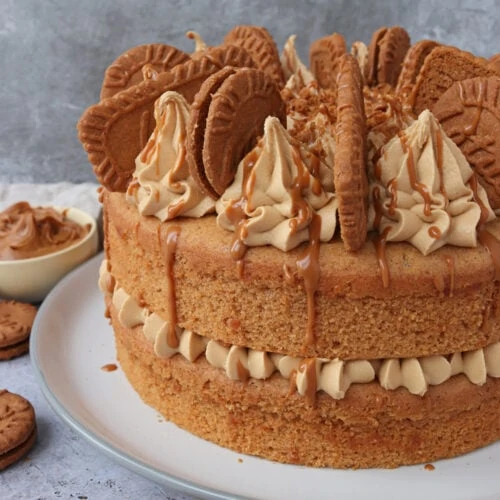
- Biscoff Cake Traybake
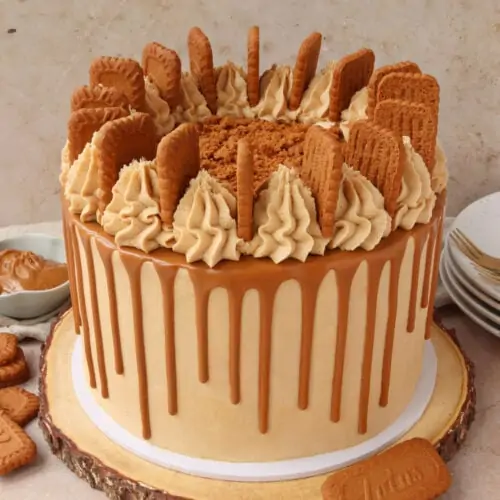
- Biscoff Drip Cake
- Vegan Biscoff Cake
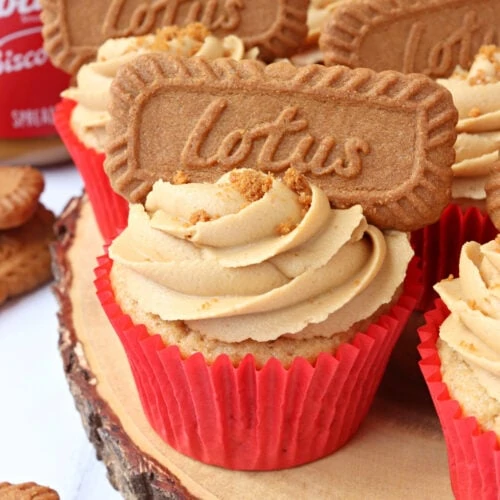
- Vegan Biscoff Cupcakes
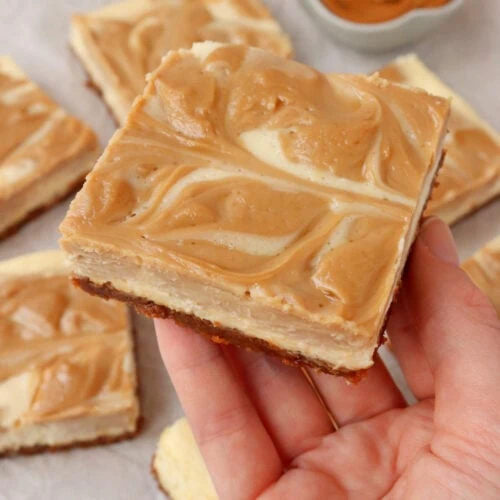
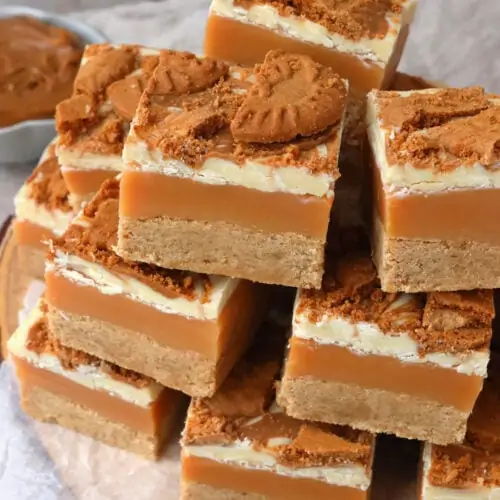
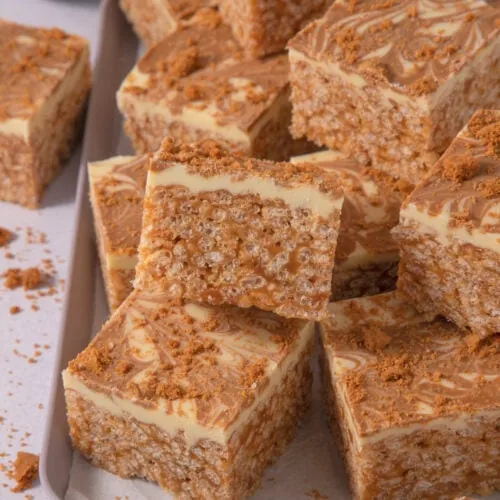
- Biscoff Cheesecake Squares
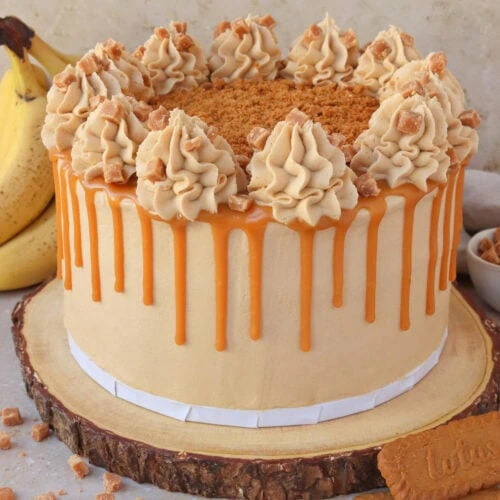
- Biscoff & Banana Cake with Caramel Drip
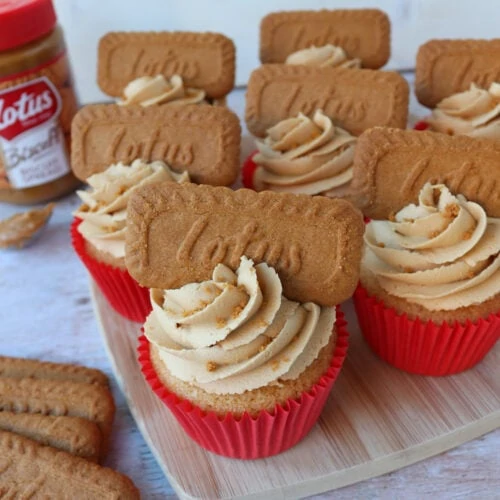
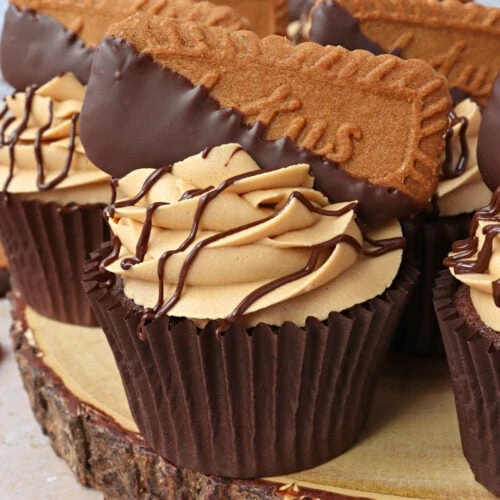
- Lotus Biscoff Cupcakes
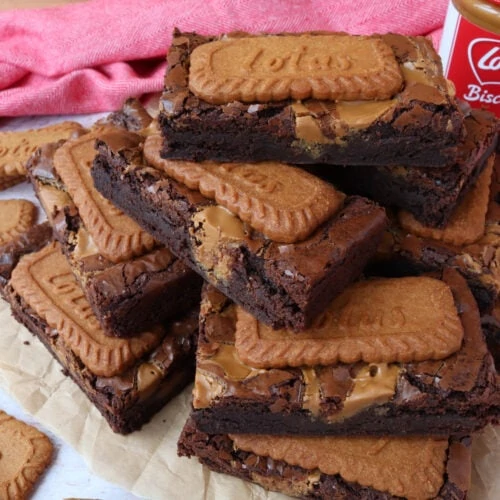
- Biscoff Brownies
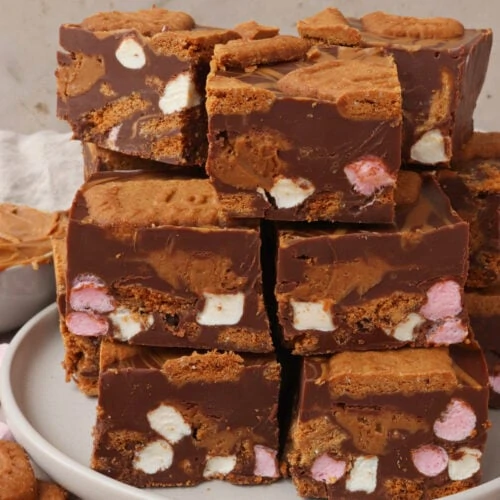
- Biscoff Rocky Road
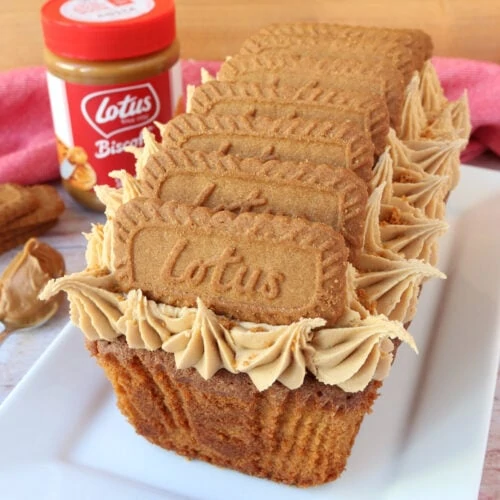
- Biscoff Loaf Cake
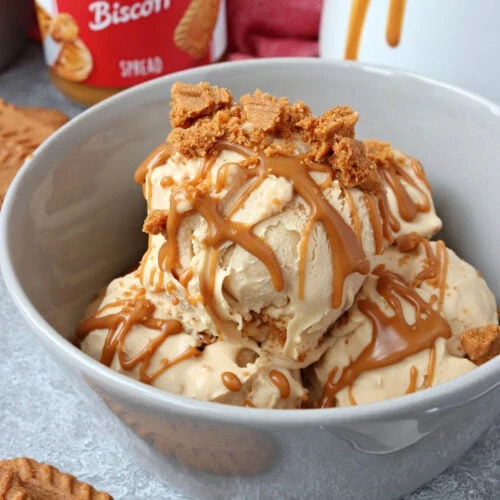
- Biscoff Ice Cream (No Churn)
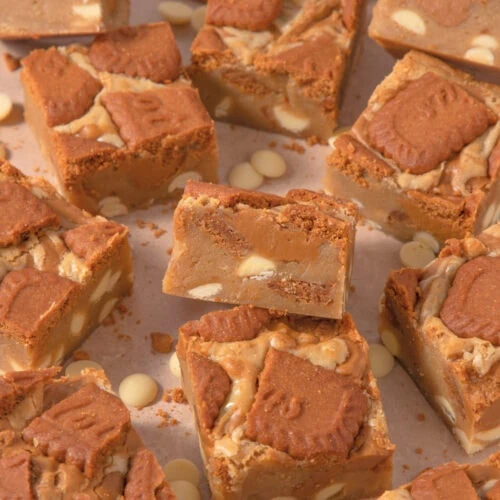
- Biscoff Blondies
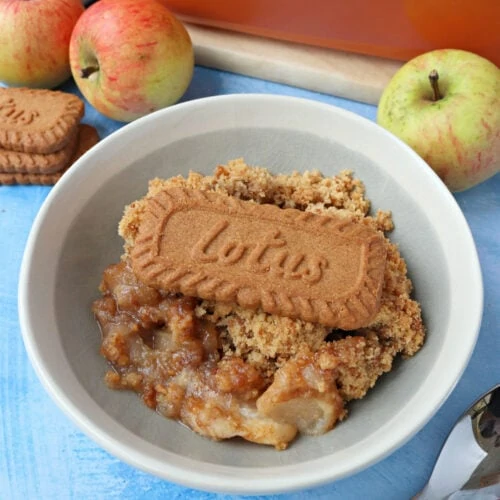
- Biscoff Apple Crumble
- Chocolate Biscoff Cupcakes
- Biscoff Slutty Brownies (Biscoff Brookies)
- Biscoff Swiss Roll
- Biscoff Cake
- Biscoff Baked Donuts
- Biscoff Millionaire's Shortbread
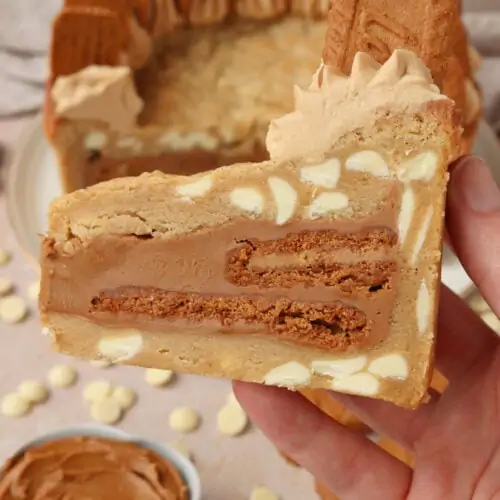
- Biscoff Cookie Pie
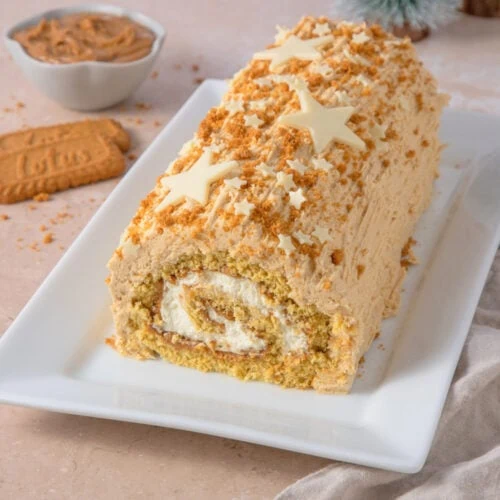
- Biscoff Yule Log
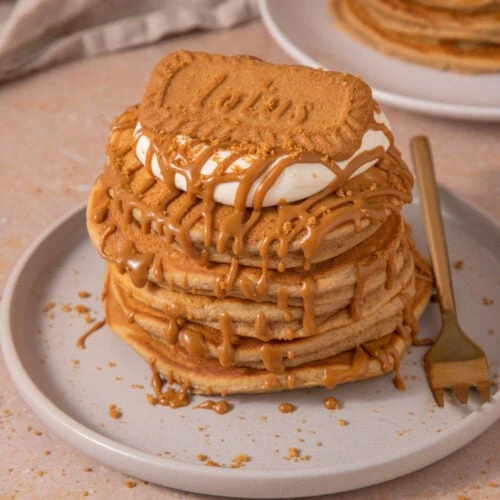
- Biscoff Pancakes
- Biscoff Rice Krispie Treats
Biscoff Cheesecake (No Bake)
Ingredients
For the biscuit base
- 300 g Lotus Biscoff biscuits
- 125 g Butter or baking spread melted
For the cheesecake filling
- 600 g Full fat cream cheese
- 300 g Biscoff spread
- 125 g Icing sugar
- 300 ml Double cream
For the decoration
- 75 g Biscoff spread
- 300 ml Double cream
- 1 tsp Vanilla extract
- 1 tbsp Icing sugar
- 16 Lotus Biscoff biscuits
Instructions
- To make the base use a food processor to whizz up the biscuits into crumbs, or bash them with a rolling pin in a bowl
- Mix in the melted butter and press the mixture into the bottom of a 23cm springform tin. Put it in the fridge for 30 minutes to set
- For the cheesecake filling use a food mixer with a whisk attachment or an electric hand whisk to mix together the cream cheese, Biscoff and icing sugar until smooth with no lumps
- Add the double cream and whisk until it is very thick and holds it's shape
- Smooth the mixture into the tin on top of the biscuit base, then put it in the fridge overnight, or for at least 4 hours, to set
- Remove from the tin and put on your serving plate. Smooth the sides with a butter knife to create a neater finish
- To decorate, warm the Biscoff for 30-45 seconds in the microwave and pipe or drizzle it all over the cheesecake
- Then whip up the double cream with the icing sugar and vanilla, and pipe it all around the edges of the cheesecake
- Place the Lotus Biscoff biscuits on top of the cream. The biscuits will go soft after several hours in contact with the cream so add them later if you're not serving the cheesecake straight away
- Serve immediately, store any leftovers in the fridge and eat within 2 days
Video
Notes
- It is really important to stick to the ingredients and use full fat cream cheese and double cream (a cream with a 48% fat content), both of these ingredients are essential to ensure the no bake cheesecake sets. If you want to make a low fat version, I suggest doing this in small dessert glasses or ramekins as they will not set well enough to be sliced.
- I am based in the UK and I find that Philadelphia cream cheese is the thickest and best quality cream cheese to use for no bake cheesecakes. I have made many cheesecakes with supermarket own brand cream cheeses too, and they have worked great. If you can though, I think it is worth spending a little more for Philadelphia (and no they haven't paid me to say this!)
- You can use either butter or baking spread for the biscuit base, I find that baking spread makes the cheesecake easier to remove from the tin as it doesn't make the base set as solidly.
- You can find lots of answers to common no bake cheesecake questions on my How To Make A No Bake Cheesecake guide. If you've never made a no bake cheesecake before, I highly recommend reading through my guide first!
- Although I provide cup measurements, I highly recommend weighing your ingredients out using digital kitchen scales*. It is the most accurate way to measure ingredients and will ensure the best results. Digital scales are very low cost and can be purchased for around £12 ($16.50) .
- For teaspoon (tsp) and tablespoon (tbsp) measurements, please use measuring spoons* and not the type of spoons you eat with. Again this will ensure accuracy and provide the best results.
Nutrition
If you like this, check out more of my Cheesecake recipes!
NB. this post is NOT sponsored by Lotus Biscoff - I just love their products!
Monika Dabrowski
I've never had biscoff spread (is it like caramel?) but the cheesecake looks gorgeous and I am sure tastes delicious. Thank you for bringing your recipe to #CookBlogShare
thebakingexplorer
Yes its described as caramelised biscuit, but it also has a spiced flavour to it too. You must try it!
Patience Scott-Russell
I’ve made this recipe twice now and it is AMAZING, my whole family loved it and it is so delicious.
thebakingexplorer
Thank you so much for letting me know, I'm so happy to hear this!!
Georgina
Roughly how long do you whip the double cream in for? I understand this can vary on the speed.
thebakingexplorer
Hi Georgina, it doesn't take very long, maybe 2-3 minutes. You want it to get to a stage where you can scoop some up with your spatula or spoon and you have to give it a tap on the side of the bowl or slight flick of the wrist to get the mixture off the spoon. If it’s sloppy and slides right off the spoon without any encouragement needed, then you need to mix it more. I hope that helps!
Georgie
Do you line the bottom of the tin at all as I struggle to get the base off of the bottom of the tin ?
thebakingexplorer
Hi Georgie, no I never line the tin as I find it too difficult to get any paper off the bottom of the cheesecake. I loosen the cheesecake from the base with a palette knife, then I gently slide it off onto a plate. I hope that helps!
Simon
I never liked cheesecake but I had to try this. Now I want to go make 100 more
thebakingexplorer
Thanks so much Simon, that is brilliant feedback!!
Faye Quinn
After making the Biscoff cheesecake. It was unreal. Can't wait to make it again.
Ali
Just made this and its in the fridge but I used low fat cream cheese and swapped the double cream for Skyr yoghurt to keep the calories down.
thebakingexplorer
Hi Alison, I appreciate you want to reduce the calories, but the cheesecake will not set without the correct ingredients so please be prepared for this when you remove it from the tin. I'd recommend serving it into individual dessert glasses or ramekins as the mixture will be quite loose. You might like my Healthy Cheesecake Pots for next time - you could always serve them with a Biscoff biscuit or a drizzle of melted Biscoff spread 😀 https://thebakingexplorer.com/healthy-cheesecake-pots/
Cat | Curly's Cooking
Oh my, this looks so delicious!
thebakingexplorer
Thanks Cat, it really was!
Louise Fairweather
This looks amazing. Think I may get my youngest to help make this over half term
thebakingexplorer
Oh fantastic, let me know if you do!
Jo Allison / Jo's Kitchen Larder
Oh wow! We are huge fans of biscoff biscuits in our house but I have not braved the spread yet (I was worried we might like it too much lol)! I might just have to add it to my grocery list this week though as your cheesecake sounds amazing Kat! Thank you for sharing it with #BakingCrumbs 🙂
thebakingexplorer
Haha yes it is addictive stuff! I hope you like the cheesecake!
Eb Gargano | Easy Peasy Foodie
YUM! I love biscoff and I can only imagine how good it must be in cheesecake form. Plus this looks gorgeous - a real showstopper!! Eb x
thebakingexplorer
Thanks Eb!
Jenny Walters
Now this is the sort of recipe that wakes me in the middle of the night. Sweet Lord it is GORGEOUS! I love every single thing about it and I am so going to have to make it. No bake cheesecakes are one of life's greatest pleasures and so worth it...always Thank you for sharing it with us at #BakingCrumbs
thebakingexplorer
Ah thank you so much Jenny for your kind words! I hope you like the cheesecake!!
Lyndsey
Made this for the first time for my work colleagues and they loved it! It was so easy to make and delicious
thebakingexplorer
Yay! That's awesome Lyndsey, thank you for letting me know!
Melissa
I’m attempting this today, but with chocolate lotus biscuits (that’s all that was available) and I won’t be adding the fancy topping. I’ve put it all into my fitness pal and it’s going to be 513 calories per serving, without the extra biscuits etc on top. Worth it ??
harvey19
This looks amazing!!!!
Can I freeze it?
thebakingexplorer
Thank you! I've never frozen it myself, but I've heard of others freezing it successfully without the decoration (the whipped cream and biscuits).
Sue
I’m making this for my daughters birthday base in the fridge as I type. Could only get crunchy Biscoff spread - smooth completely sold out. Hope it looks as delicious as yours when finished!
thebakingexplorer
Crunchy will work fine, just with extra crunchy bits! 🙂
Jodie
Can I ask why piping nozzle size and brand used for cream on this cheesecake please
thebakingexplorer
Hi Jodie, I used a Wilton 2D nozzle and Philadelphia cream cheese.
Hannah
My biscuits went soft ontop? Is it best to serve straight away or put the biscuits on when serving?
thebakingexplorer
Hi Hannah, yes the biscuits will go soft from the moisture of the cream after a little while. It's best to add them as close to serving as you can 🙂
Anthony
Unfortunately this never worked for me.... the mixture was too runny and would not thicken up as hard as i tried. What a waste of ingredients, i was gutted 😥😥😥 If you can reply to try and advise where you think i went wrong?? it would be much appreciated. Thanks, Anthony
thebakingexplorer
Hi Anthony, I'm sorry the recipe didn't turn out as you expected. You can still eat the ingredients though, try freezing them for a frozen dessert! The main reasons for it not thickening up would be: not using the right quantity of ingredients, or using different ingredients. So for example if you didn't use double cream and full fat cream cheese. I also recommend using an electric mixer for the best results. You can find all my tips and tricks, including a video on how to make no bake cheesecakes here: https://thebakingexplorer.com/how-to-make-a-no-bake-cheesecake/ I hope that helps!
Hayley
I was the same Anthony! This recipe failed for me too! I used all full fat ingredients, followed the recipe exactly and used an electric mixer. I am so gutted! I used all branded ingredients too! Such a waste of money, I hated throwing it in the bin!
thebakingexplorer
Hi Hayley, you definitely don't need to throw it in the bin, it will still have been perfectly edible and delicious. The main reason for cheesecake not setting is not mixing it enough, I hope that helps for next time 🙂
Nadia Maani
Absolutely delicious and easy to make 👌🏽👌🏽
thebakingexplorer
Thank you Nadia!
Louise O'Reilly
Hi. Love this receipe. Would the same quantity of ingredients work for a 20cm tin?
thebakingexplorer
Hi Louise, no you would need to reduce the ingredient amounts. In order to do this, multiple each ingredient amount by 0.79 to get the amount for a 20cm tin. I hope that helps!
Amanda
Lovely and surprisingly simple recipe. I made this with my 3 year old daughter during a busy morning and it came out beautifully. Thankyou.
carrie
Hi I'm making this for a birthday cake cheesecake does it set hard enough to take out of the spring tin after over night and onto a cake board decorate then deliver that night ?
thebakingexplorer
Hi Carrie, yes definitely it'll be fine for that. There's a paragraph detailing how to make sure the cheesecake sets in this blog post, so as long as you follow those guidelines it'll work great!
Jill Phillips
Great recipe - made it at the weekend for friends and everyone loved it!
thebakingexplorer
So happy you liked it Jill!
Coral Jade
So I made this for my fellas birthday rather than a cake. Bit mad considering I’ve never made a cheesecake before and I go for something like this but oh my was it worth it. We was all in heaven. It was so delicious. Very easy to make too which is a bonus. The only downfall I would have to say is when it’s left in the fridge the biscoff biscuits on top do go soft but you can always add these as you go :). Thanks for sharing Kat x
thebakingexplorer
Thanks so much for the lovely feedback! Yes the biscuits do go soft eventually, unfortunately it's unavoidable when biscuits come into contact with moisture - one thing you can do is dip them in melted chocolate to create a 'barrier' between the biscuit and the cheesecake/cream. I hope that helps for next time!
Pam
This was wonderful and I'll definitely do it again- possibly tomorrow!
However I found that there was too much filling for the base and was able to make a second smaller one to give away. Next time I will do half or two thirds of the recipe.
Thanks for a brilliant recipe.
thebakingexplorer
Hi Pam, I'm so pleased you enjoyed the recipe! Did you possibly use a smaller sized tin? This recipe is for a 23cm springform tin (about 9 inches) I make all of my cheesecakes in this size tin and the filling is never too much. I hope this helps for next time!
Julia Cleaver
Love this recipe! I halve the ingredients and it’s the perfect amount for 12 mini cheesecakes. I’ve made them several times now and successful every time. Just be sure to pack the biscuit layer down well. Most recent batch made from dairy free ingredients (Philadelphia Plant, Elmlea Plant and Flora Plant Butter). Expected a bit of a disaster but worked perfectly and tasted great. Thanks Kat xx
AC
Does this recipe freeze well?
thaw and add toppings....?
thebakingexplorer
Hi, yes you can freeze it then defrost and add the toppings. Do make sure to set it in the fridge first before freezing it.
Nancy
I'm just in the middle of making this cheesecake, roughly how long do I whisk it for please, its thick but I think it should be thicker,advice appreciated.
thebakingexplorer
Hi Nancy, it's hard to give an exact time because it depends what mixer you are using and the speed you are using. As I've described in the post, you want it to get to a stage where you can scoop some up with your spatula or spoon and you have to give it a tap on the side of the bowl or slight flick of the wrist to get the mixture off the spoon. If it’s sloppy and slides right off the spoon without any encouragement needed, then you need to mix it more. I hope that helps!
Katie
Made this for American Thanksgiving. It is my second no bake cheesecake I have made from you and both huge hits. Tonight one person said this might have been the best cheesecake they have eaten.
Deborah Holloway
Just a quick one but would it matter if I only use 500g of philadelphia cream cheese instead of 600g? only asking as here in Australia the philadelphia cream cheese are 250g packs. Just curious if it would still work or would I need the extra pack for the 100g?
thebakingexplorer
I've not tried it so I can't say for sure, but I think it would probably be ok!
Janis Wallis
This is the second time I’ve made this cheesecake for family birthday parties. They absolutely love it. All your cheesecakes are amazing. Very easy to follow recipes.