A Gingerbread House just screams winter and Christmastime doesn't it?! I absolutely love how they look, how they all can be so different, and of course how delicious they taste! It's such a fun baking project to get you in the festive mood, plus kids and adults alike will have so much fun getting creative and decorating the house. I've created a free template for the pieces, which you can download and print out by clicking on the links within this post. Of course you can also buy Gingerbread House cookie cutter sets too. I really love the gingerbread recipe for this house as it's the perfect texture and taste. Don't forget to tag me on social media so I can see your Gingerbread House!
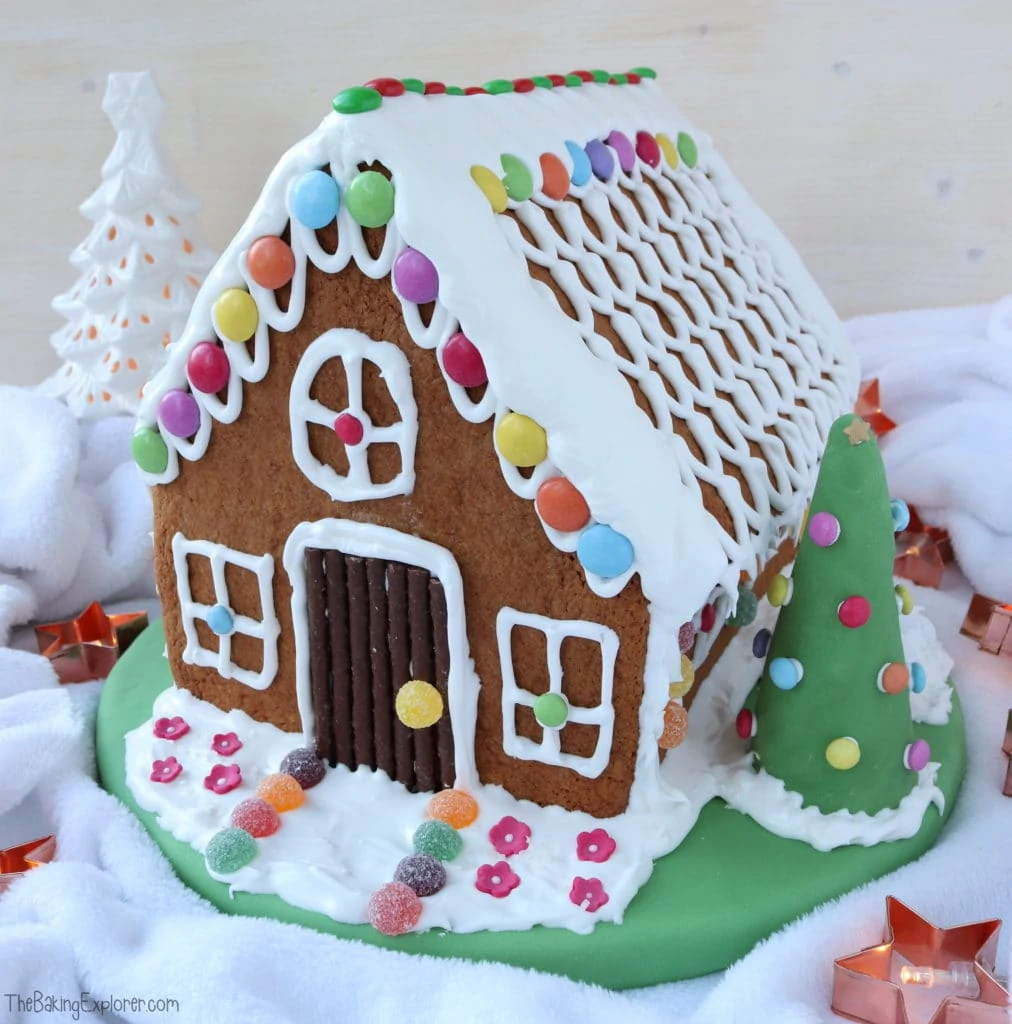
For the full recipe with measurements, head to the recipe card at the end of this post.
How to make a Gingerbread House
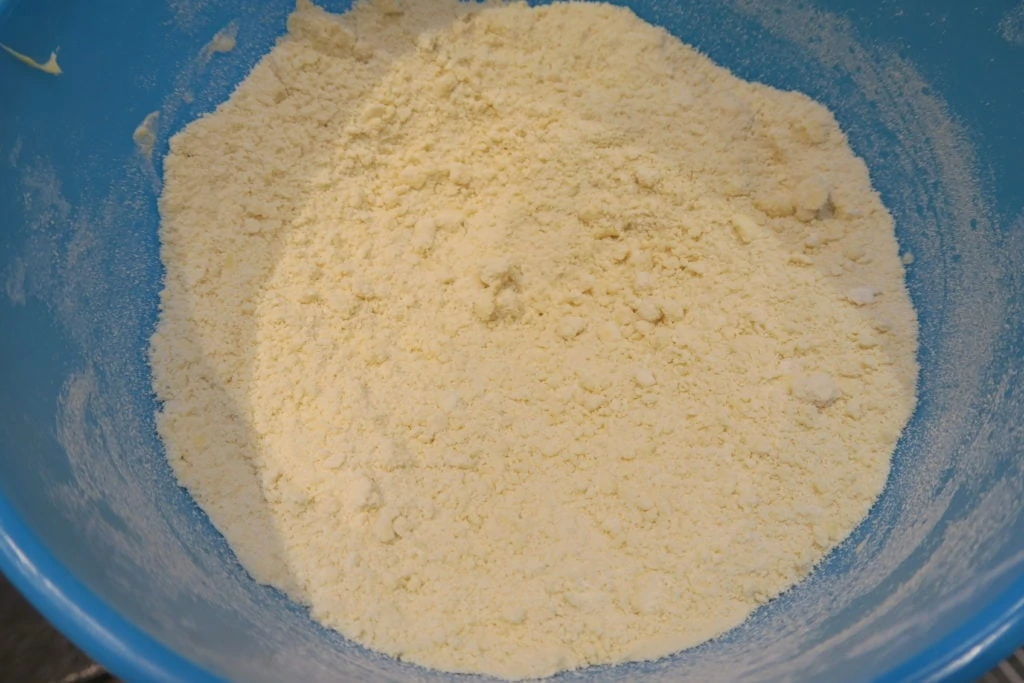
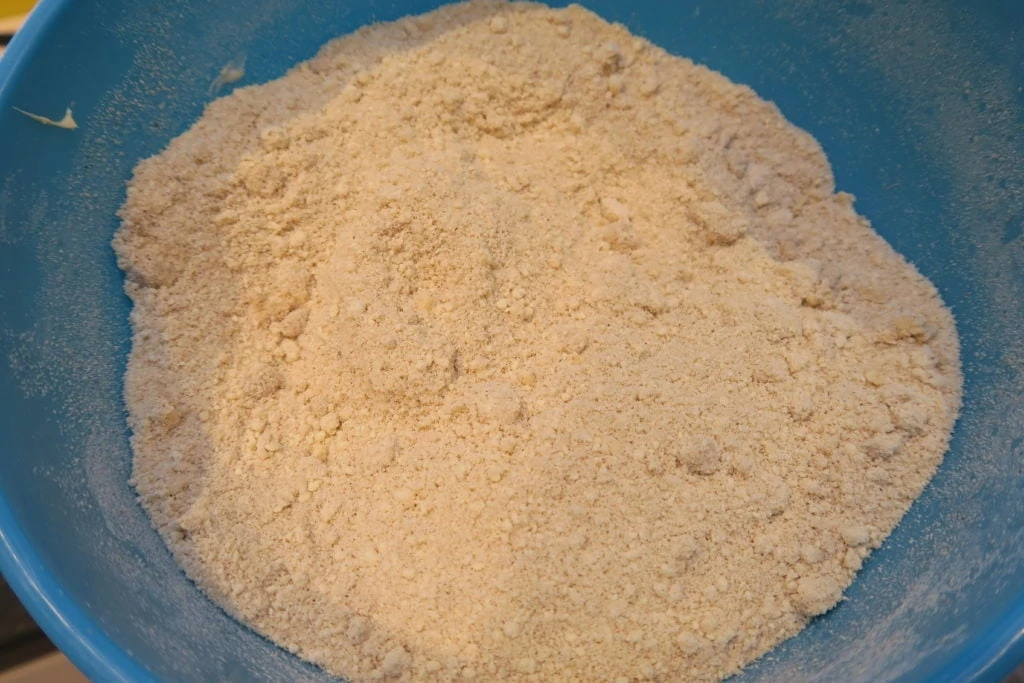
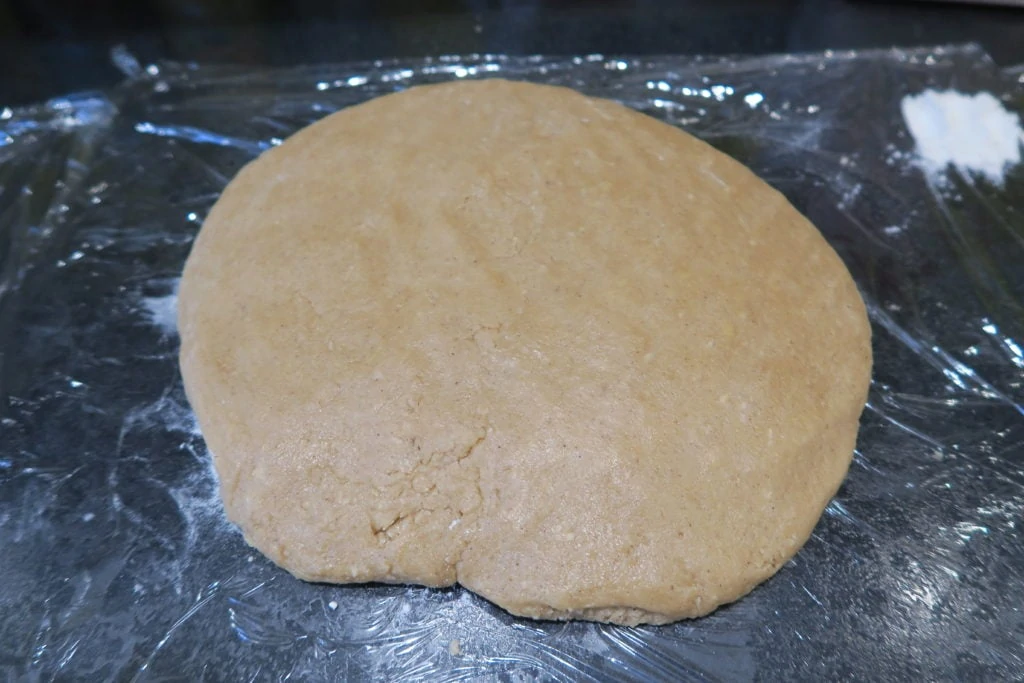
Put plain flour, bicarbonate of soda, and butter into a large mixing bowl. Using your fingers, rub the mixture together until it resembles fine breadcrumbs (or you can do this in a food processor). Then add ground ginger, mixed spice, and light brown sugar and stir it in. In a pan on a low heat, warm up the golden syrup. Meanwhile, beat the eggs in a small bowl. Make a well in the flour mixture, and pour in the beaten eggs and warmed golden syrup. Combine the mixture together until a dough forms. Then wrap it in cling film and put it in the fridge to chill for 1 hour.
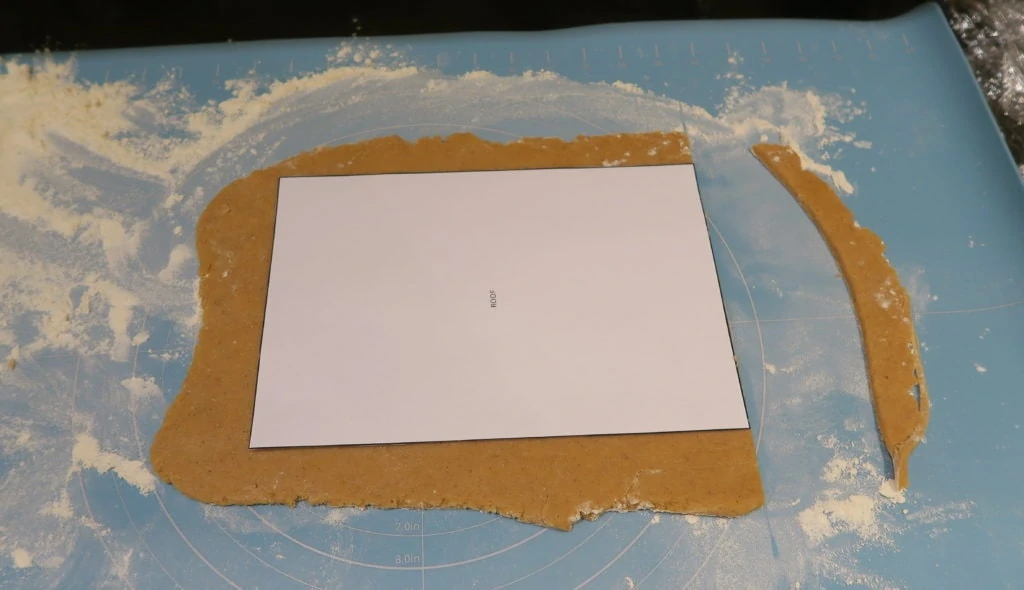
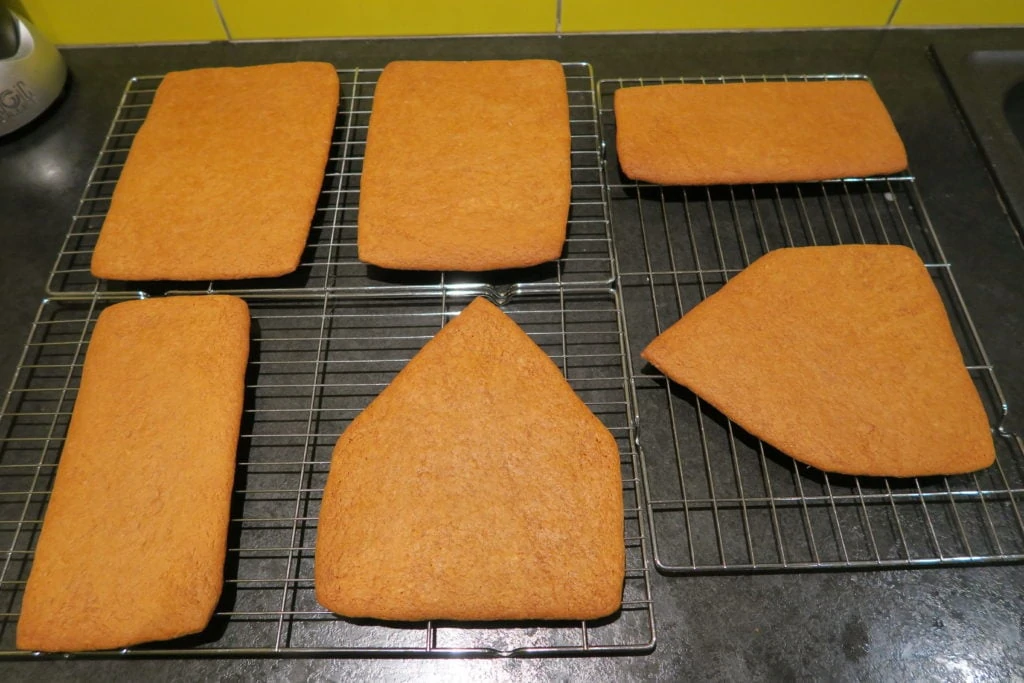
I didn't use a cookie cutter set for this house, I made my own template which you can print and download using the link below. Roll out the dough to about 5mm thick and use my template to cut out the shapes of the house: two sides, the front and back, and two roof pieces. Place them onto lined baking trays and bake each one for 15 minutes (you will need to do this in batches). Then let them cool fully on cooling racks.
Click here to download and print out my Gingerbread House template!
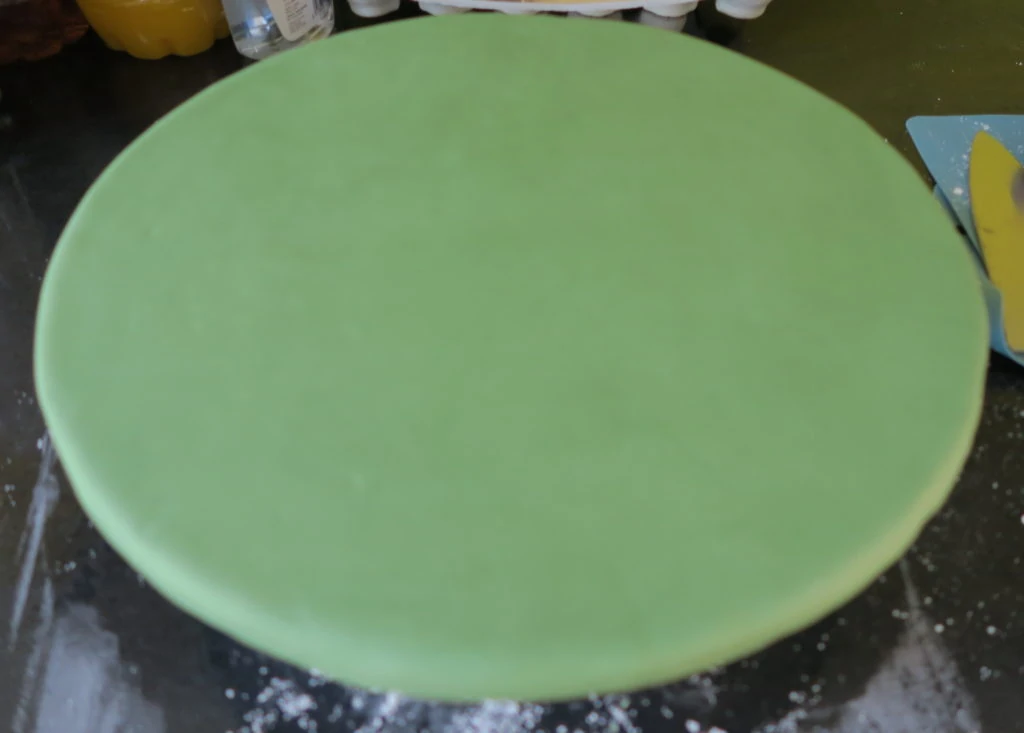
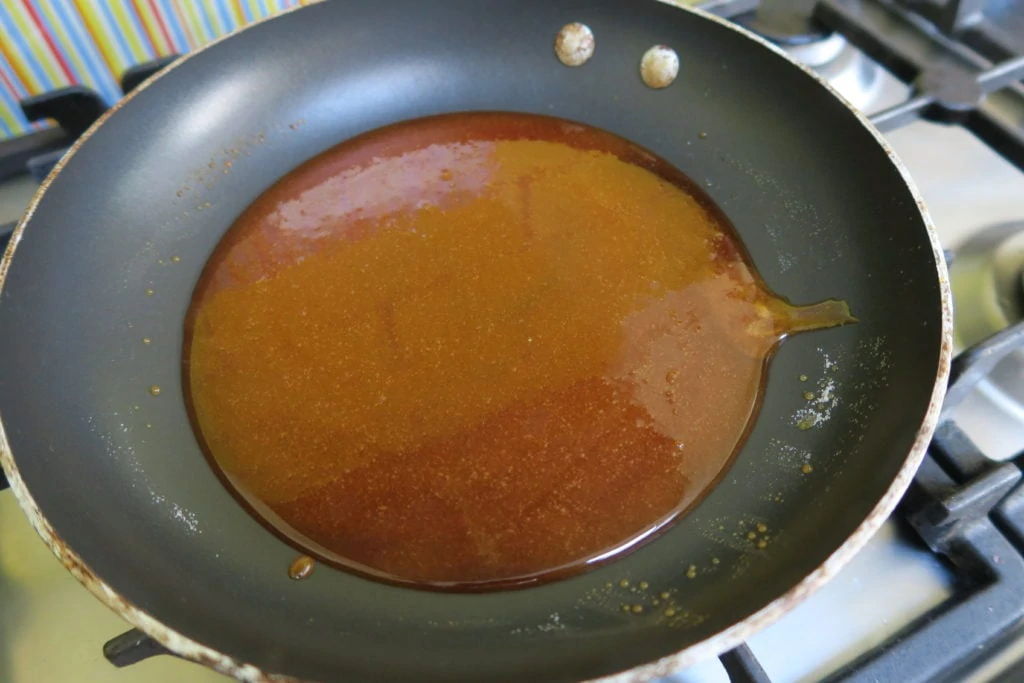
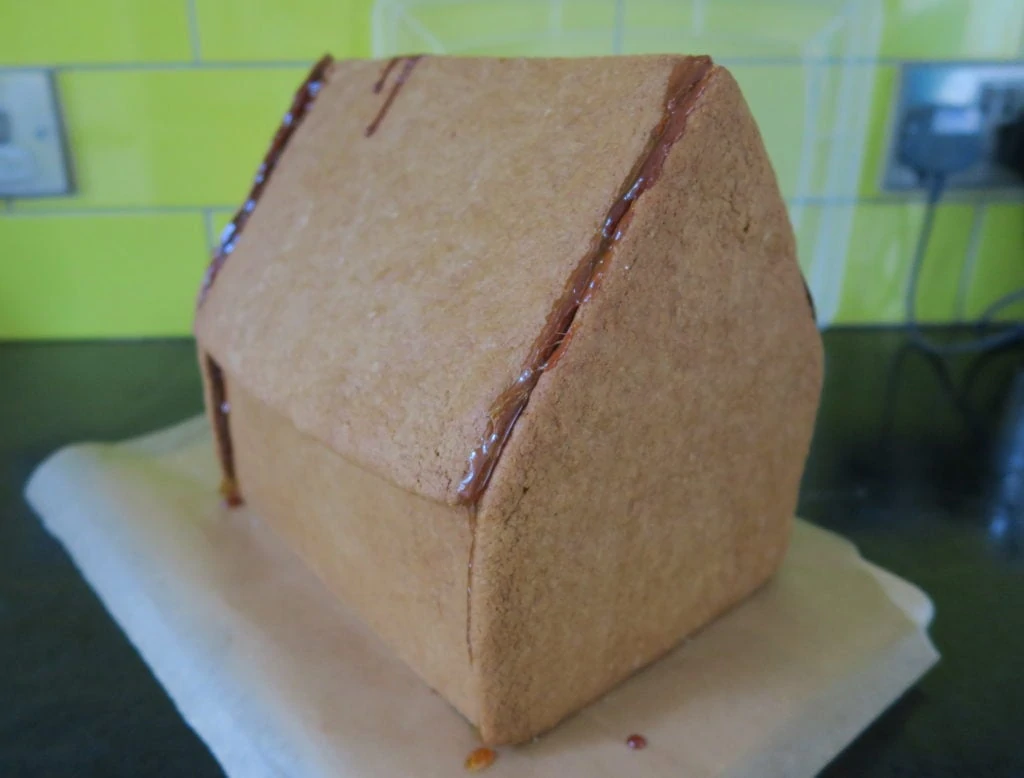
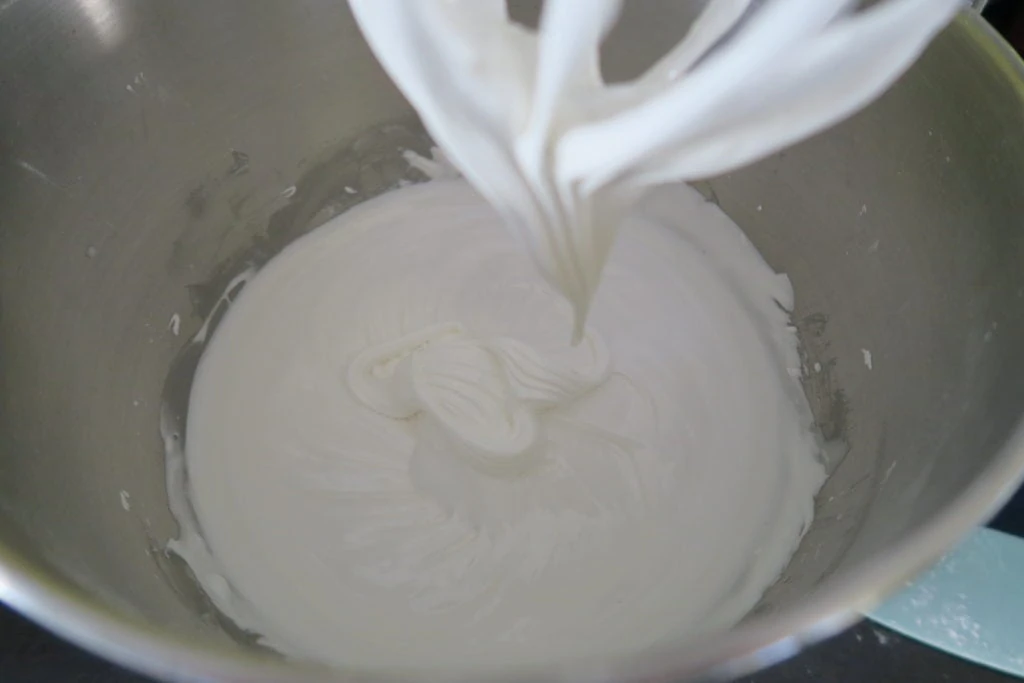
To display the Gingerbread House I covered a 12" cake board in green fondant - but you can use any colour fondant, or display the house on another surface. To make the caramel, heat the sugar in a frying pan until it turns golden, then keep the caramel on a very low heat whilst you stick the pieces together. Start with the front piece and stick both the sides to it. Then put the back on, and finally the roof. Caramel hardens very fast so you have to work quickly, and an extra pair of hands is highly recommended. To decorate the house and create a snow like effect, make the royal icing by whisking together egg whites, icing sugar and cream of tartar until thick.
For the full recipe with measurements, head to the recipe card at the end of this post.
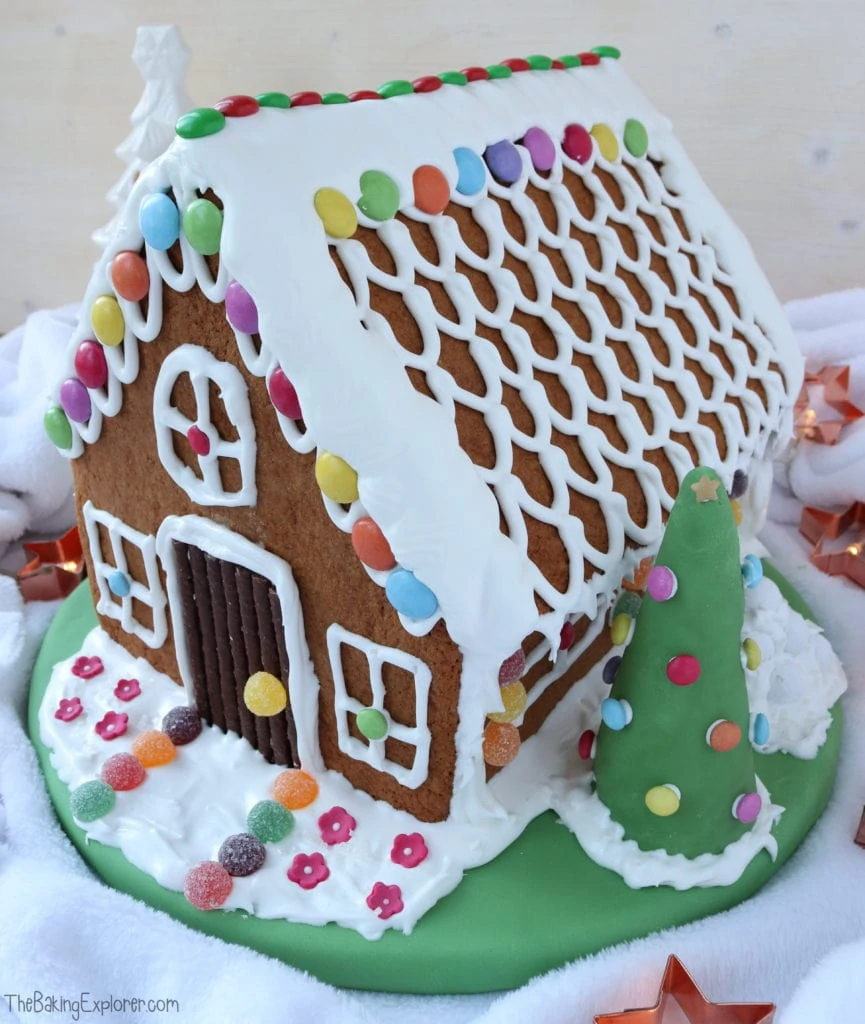
I placed the house on the cake board and began decorating. I piped roof tiles, window and door shapes onto it using the royal icing which I had put in a piping bag with the end snipped off.
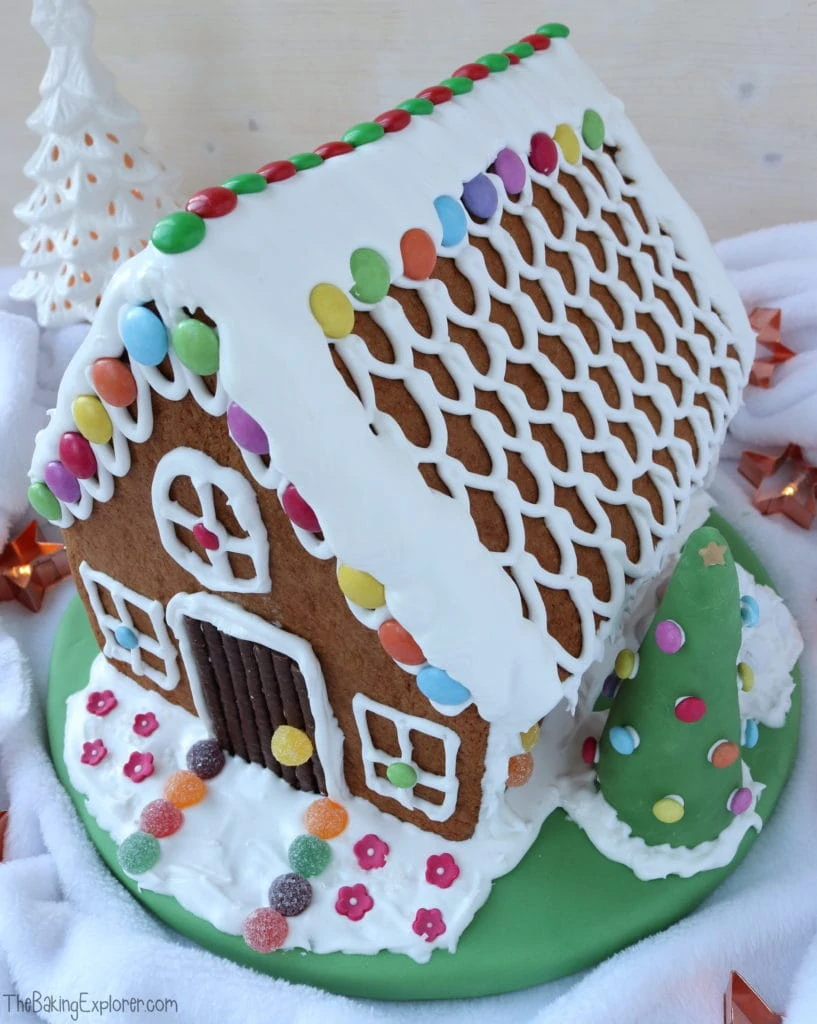
It's up to you what sweets to decorate with, I chose M&Ms, Smarties and Jelly Tots and stuck them on with the royal icing.
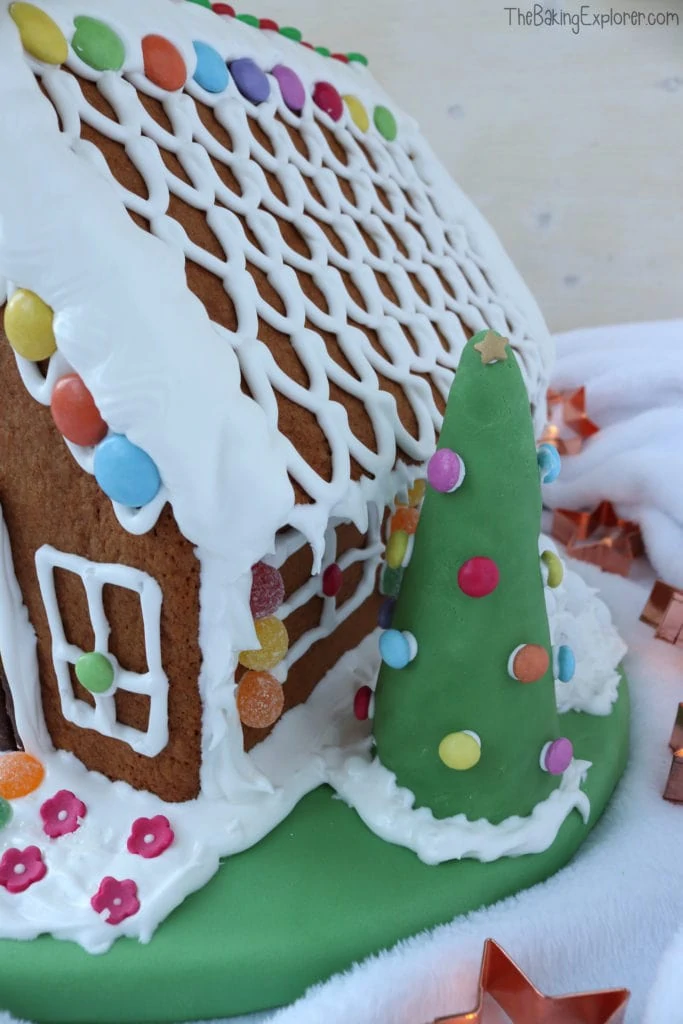
I added a Christmas tree at the front of the house, which I made by wrapping a waffle ice cream cone in green fondant and sticking mini Smarties onto it for baubles.
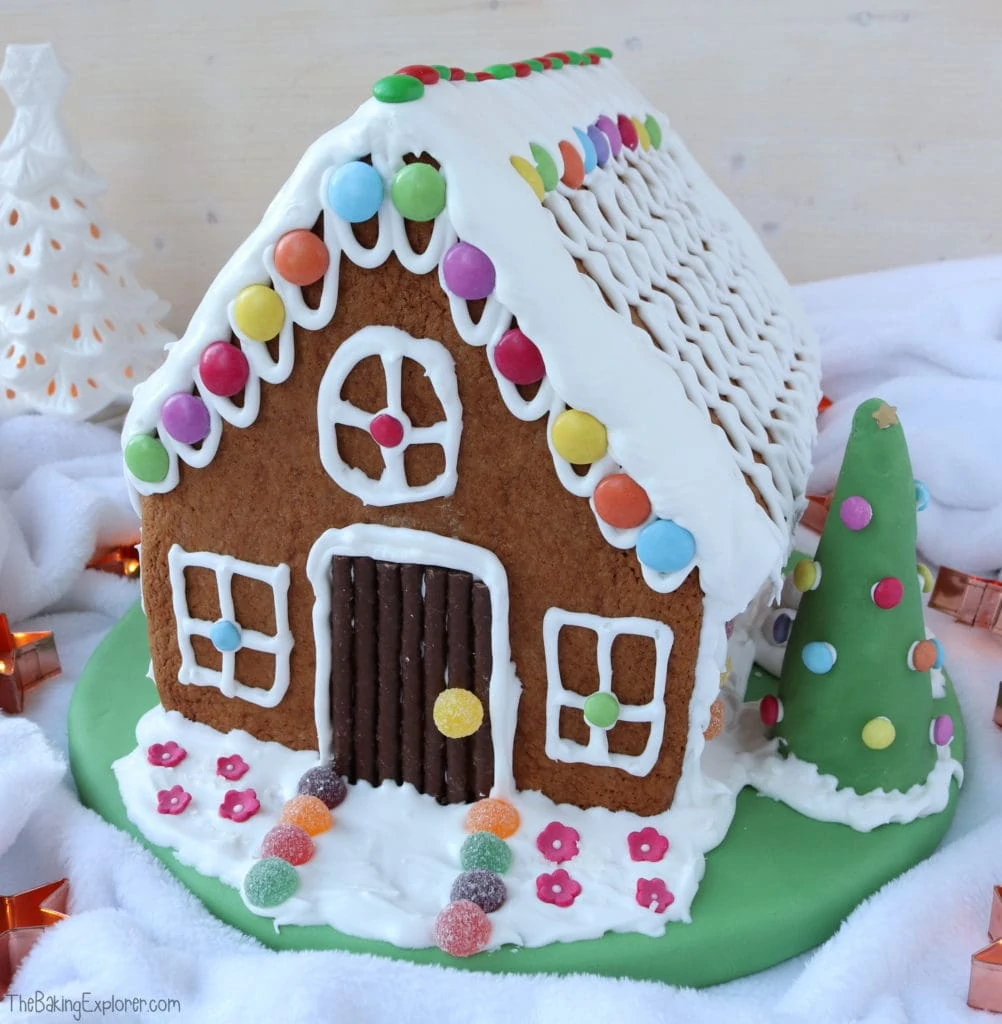
And the Gingerbread House was complete! All that's left to do is snap a few festive photos, then it's demolition time!
Troubleshooting
My number one tip for getting the best results is to read through this whole page of tips and recommendations before starting, and follow the recipe exactly. If you have any questions about this recipe, or if something went wrong and you need help, please use the comment form below and I will get back to you. You can also get in touch with me on my Twitter, Instagram or Facebook. I'd love to hear from you!
Recommended equipment & ingredients*
- Baking trays
- Mixing bowls
- Cooling rack
- Kitchen scales
- Mixed spice
- Cream of tartar
- Rolling pin
- Jelly tots
- Piping bags
- Gingerbread man cutter
- Ready made royal icing
- Electric hand mixer
*I earn a small amount of money if you buy the products after clicking on the links. You will not be charged anything extra for this. Thank you for supporting The Baking Explorer!
Click here to download and print out my Gingerbread House template!
More Gingerbread recipes...
- Gingerbread Baked Donuts
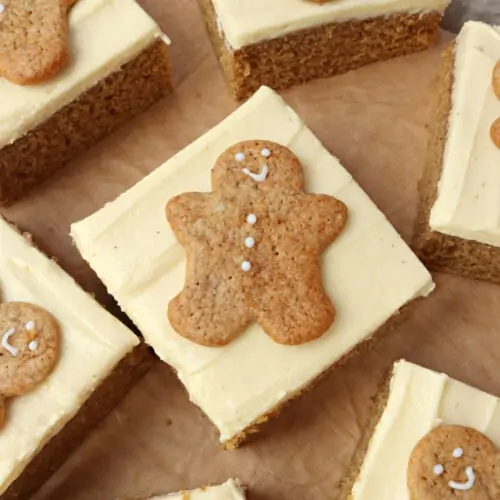
- Gingerbread Traybake
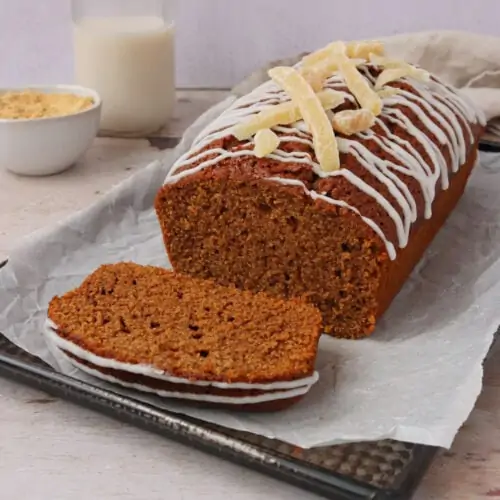
- Gingerbread Loaf Cake
- Ginger & Lemon Cake
- Vegan Gingerbread Men
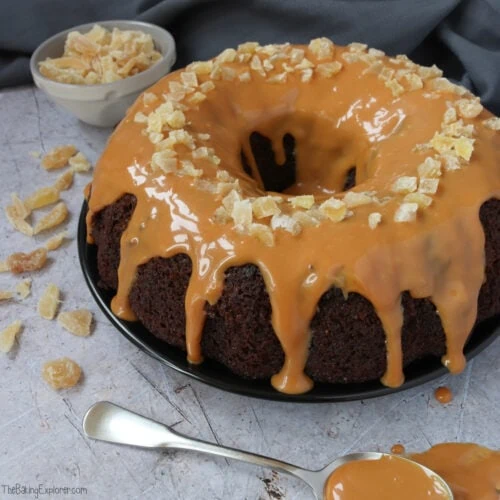
- Gingerbread Bonfire Cake with Salted Caramel Sauce
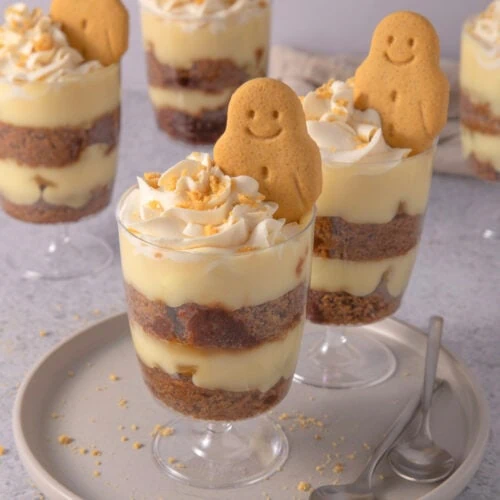
- Vegan Gingerbread Trifles
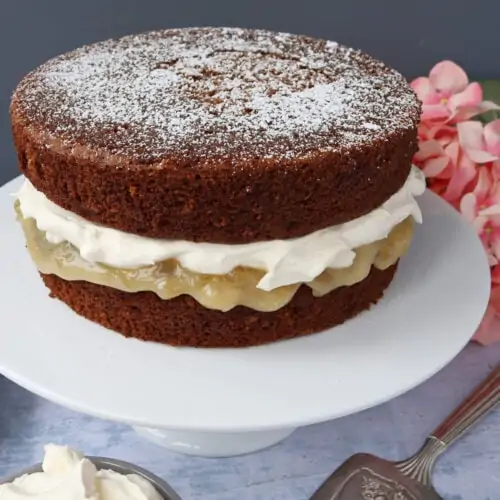
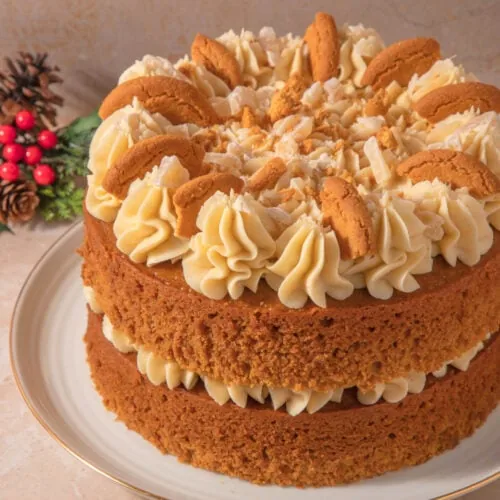
- Gingerbread Cake with Ginger Buttercream
- Gingerbread Cupcakes
- Gingerbread & White Chocolate Cookies
- Gingerbread Men
- Halloween Skeleton Gingerbread Men
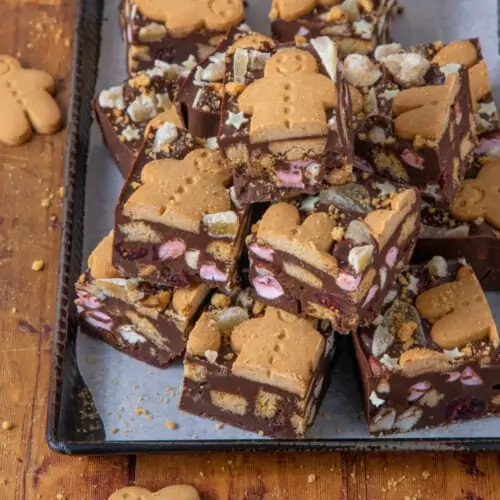
- Gingerbread Rocky Road
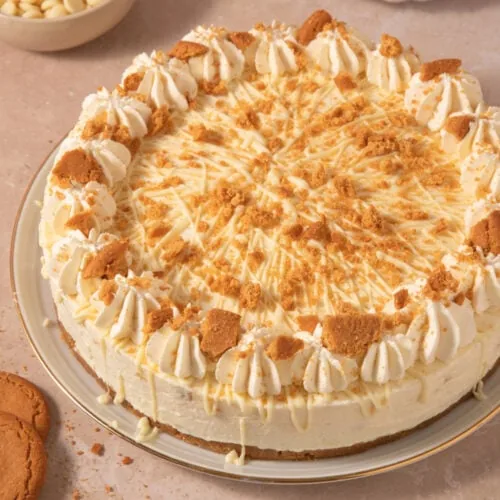
- Ginger & White Chocolate Cheesecake (No Bake)
Gingerbread House
Ingredients
For the gingerbread biscuits
- 600 g Plain flour
- 1 tsp Bicarbonate of soda
- 200 g Butter unsalted
- 2 tbsp Ground ginger
- 4 tsp Mixed spice
- 300 g Light brown sugar
- 200 g Golden syrup
- 2 Eggs large
For the caramel
- 100 g Caster sugar
For the royal icing
- 3 Egg whites large
- 450 g Icing sugar sifted
- ½ tsp Cream of tartar
For decoration (optional - pick what you like!)
- Smarties
- Jelly tots
- M&Ms
- Sprinkles
Instructions
- In a pan gently heat the golden syrup, set it aside to cool for 5 minutes
- Put the plain flour, bicarbonate of soda, and butter into a bowl and rub the mixture together with your hands until it resembles breadcrumbs - or you can do this in a food processor
- Add the ground ginger, mixed spice, and light brown sugar and stir them in
- Beat the eggs together in a small bowl or cup
- Pour the eggs and golden syrup into the flour mixture, then mix until a dough forms. Wrap it in cling film and chill for 1 hour in the fridge
- Pre-heat your oven to 160C Fan/180C/350F/Gas Mark 4, and line your baking tray(s) with baking paper
- You can use a cookie cutter set for this house or download and print my template (see the link before and after this recipe) - you will need two of each piece for a full house
- Roll about a quarter of the dough out onto a well floured surface to a thickness of 5mm using a rolling pin and use the template to start cutting out the shapes of the house. Keep rolling out more dough until you have all the shapes. If you don't have enough baking trays to put all of the shapes on, then you can pop any unrolled dough back in the fridge wrapped up in cling film while you're waiting for pieces to bake
- Place your cut out pieces onto the lined baking tray(s) and bake for 15 minutes or until golden brown all over. You may need to bake them in batches if you don't have enough space on the tray(s). Remember to leave gaps between them as they will spread a bit
- Let them cool on the tray for at least 5 minutes before moving to a cooling rack as the biscuit will be very delicate when hot, then let them cool fully on cooling racks
- To assemble the house, first check the side and front/back pieces to see if they need trimming and do so carefully. You want to make sure the edges on the bottom are flat so the house doesn't wobble, and that the ends of the side pieces are flat so they stick neatly to the front/back pieces. I use a serrated knife to gently trim the biscuit pieces, but a sharp lemon zester (like a microplane) is also really handy for doing this
- I assembled my house first on a chopping board covered in baking paper so the caramel wouldn't stick to it. I had a cake board covered in green fondant ready for the house when it was fully assembled. I prefer to use caramel as it sets fast, but you can also use royal icing if you prefer - if using the royal icing then you can stick it straight on the fondant base or serving plate
- To make the caramel heat the sugar in a pan on a low-medium heat until it goes golden. Keep it on a low heat whilst assembling otherwise the caramel will harden quickly
- Safety first! You will need someone to help you assemble it, this is a two person job. Also please be careful! Caramel is very hot and hurts a lot if it gets on your skin when it's hot. I find wearing rubber washing up gloves helps to protect your skin
- Start with the front piece and stick both the sides to it by dipping the biscuit into the caramel then pressing the edges together. You can also drip more caramel along the edges using a spoon to secure it. Then put the back on, and finally the roof pieces. You may need to trim the roof and test the fit before applying the caramel
- Once the house is assembled, the caramel will harden and cool fairly quickly. You can then put the house onto the serving plate or cake board
- To decorate, put all of the royal icing ingredients in a stand mixer with a whisk attachment - or use a handheld electric whisk - and whisk for 7-10 minutes until it's thick and holds it shape. You can also buy ready made royal icing if you prefer
- Then it's time to get creative! Put the royal icing into a piping bag and pipe on roof tiles, windows and a door. Stick any sweets onto the house using the icing as 'glue'. Add more icing to cover the edges of the house and make it look like it's been heavily snowed on!
- I made a Christmas tree by wrapping a waffle ice cream cone in green fondant and sticking mini smarties baubles onto it. I also added a pile of snowballs next to the house. Add whatever you like, maybe some gingerbread people with extra dough? Make sure to have fun and make it your own!
- Store leftovers in an airtight container and eat within 1 week







Lauren Roffey
Kat that looks great! Really really impressive for a first time build and I love the roof tiles - genius! I have never attempted one but totally agree that it would be too heartbreaking to eat it.
Jenny Walters
Hi Kat,I made it with my daughter and it is fab!!! Great recipe so plan to make it each year now! First time with royal icing too. Went piping crazy. Would love to have it at #BakingCrumbs if you have five mins. Will try and post a photo on your Facebook link. Have a great Xmas!
thebakingexplorer
Jenny I'm so thrilled to hear this, thank you for letting me know!!
Jo Allison / Jo's Kitchen Larder
Your gingerbread house is a thing of beauty Kat! Straightforward and easy to follow instructions which is perfect for peeps like myself 😉 Thank you for sharing with #BakingCrumbs 🙂 Merry Christmas! x
M
This looks amazing!🤩Going to have a go at making it before Christmas☺️Would I be able to decorate it with icing made from icing sugar and water or does it need to be royal icing? Thank y0u x
thebakingexplorer
Hi, you need to use royal icing for sticking the pieces together, icing and water won't hold the pieces together. You can decorate with icing and water once it's been assembled with the royal icing.
Fiona Mccall
Lovely easy recipe and great template. Found I needed to bake a little longer to make it firm enough to give me confidence it would withstand the build but that may just be my oven/thickness of my dough pieces.
thebakingexplorer
So glad you found the template and recipe helpful! Your gingerbread house looked amazing over on instagram!!
Heather
Very good recipe! It was really easy to follow and quite quick compared to some recipes! The final product was beautiful and delicious- would highly recommend for a wonderful Christmas make! Thanks for another amazing recipe!
thebakingexplorer
Thanks so much Heather!!