

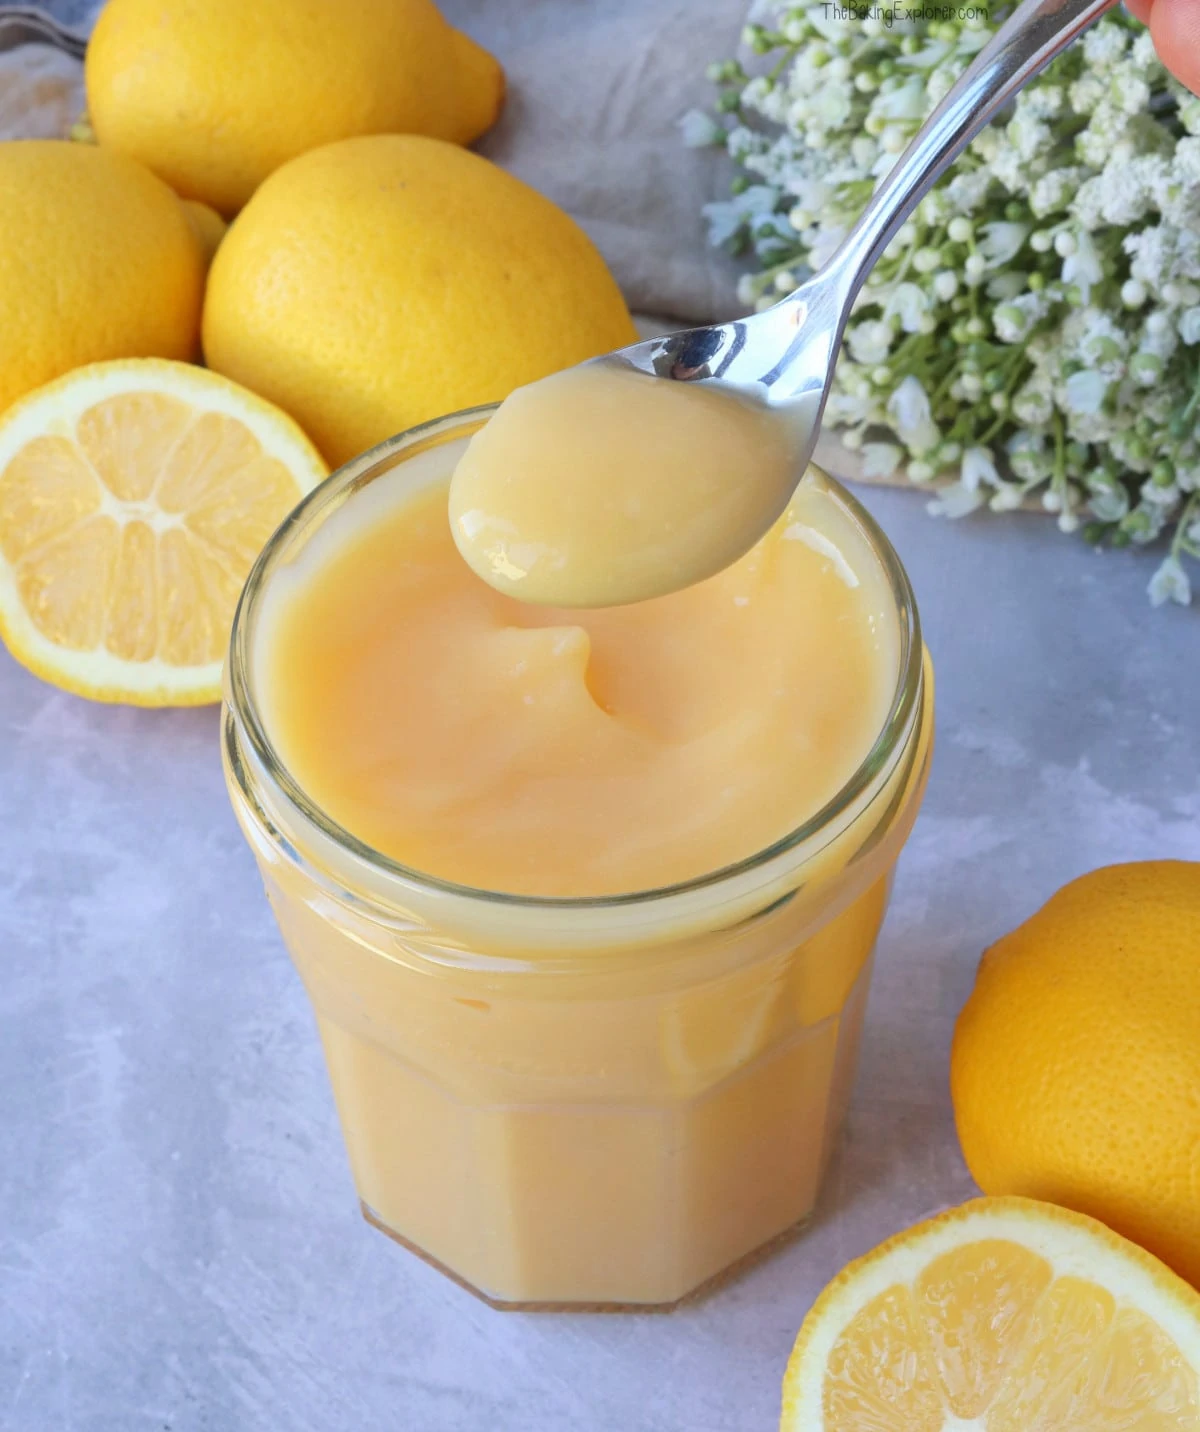
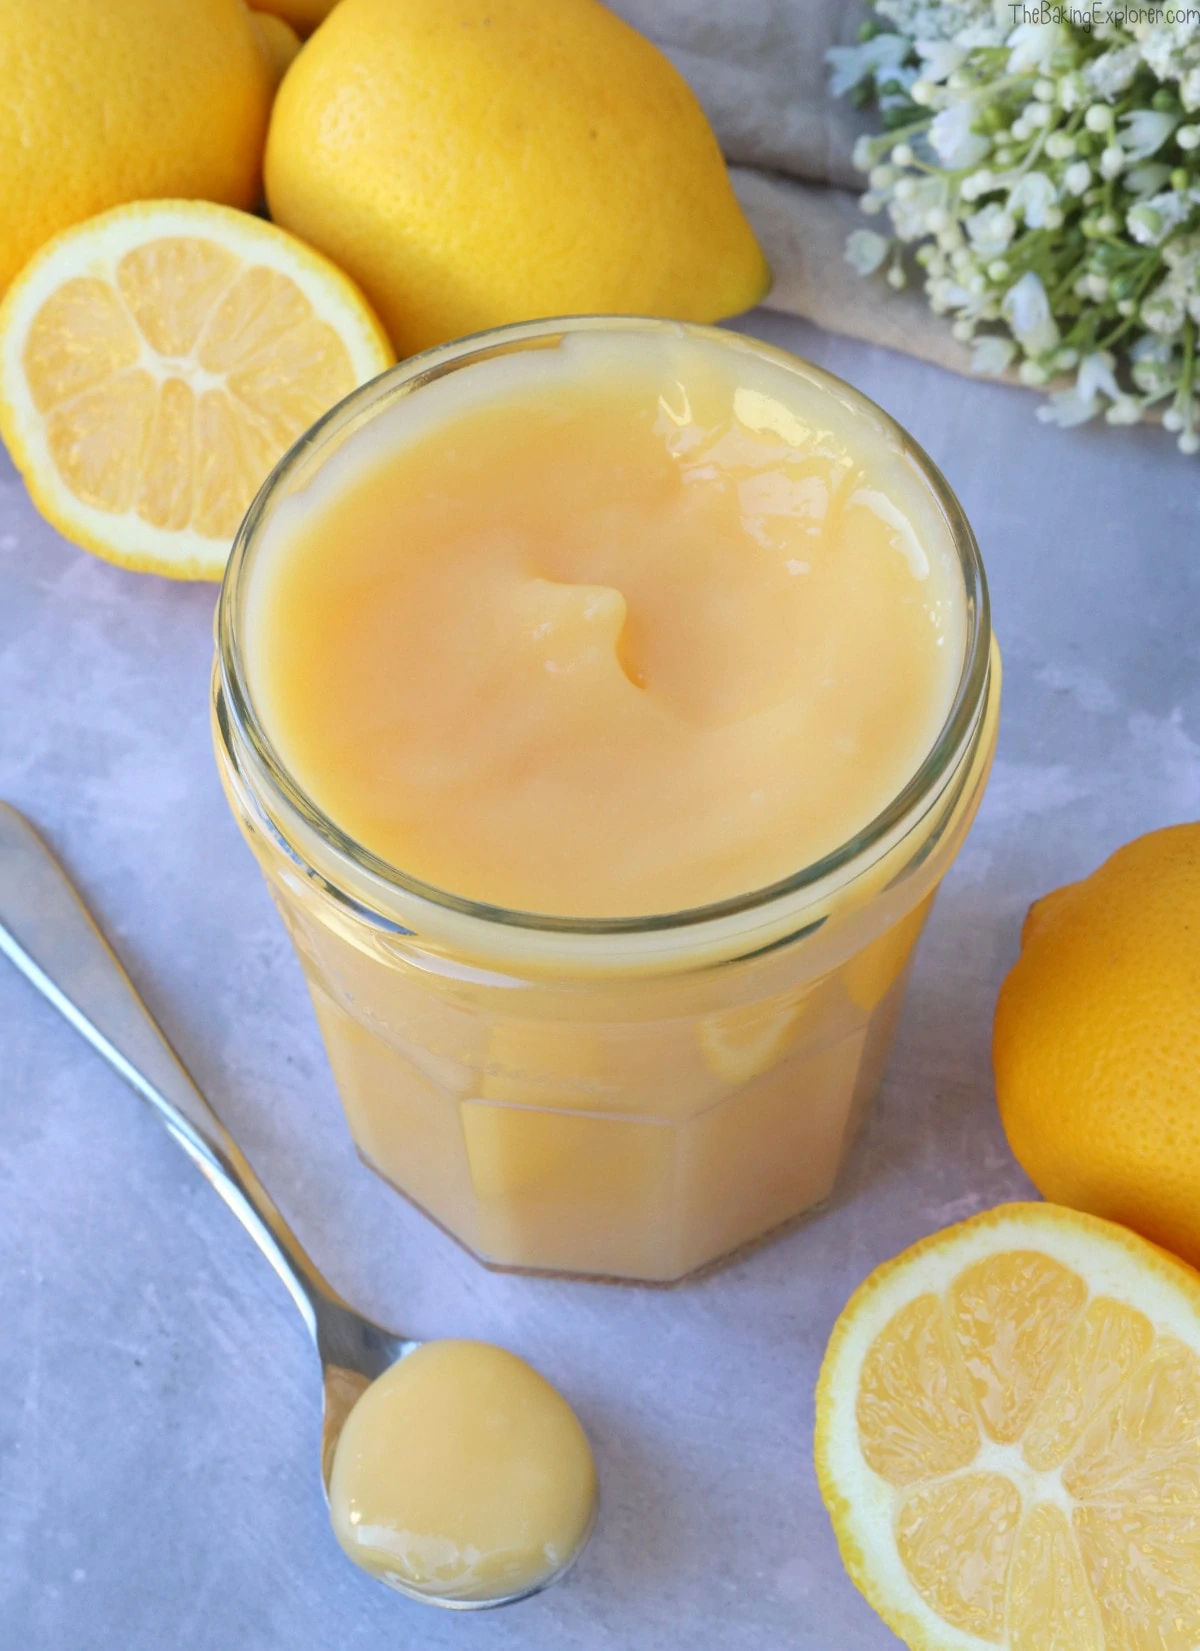
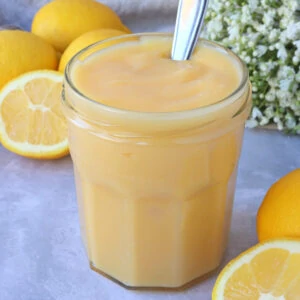
I was always scared of making Homemade Lemon Curd as I thought it was difficult, but then I tried it and it was so much easier than I expected! It also tasted incredible, and now I'll never go back to shop bought. This recipe is silky, creamy and most importantly of all has plenty of lemon zing! It can be used it so many delicious ways - including eating it with a spoon straight from the jar!
This post may contain affiliate links. I earn from qualifying purchases.

Ingredient Tips & Equipment Information
- Fresh lemon juice is an absolute must for this recipe. You just won't get the same flavour from bottled lemon juice.
- This recipe uses caster sugar, but you can use granulated sugar too. Just don't use golden caster sugar, or any type of brown sugar to make lemon curd, as this will affect the flavour and colour of it.
- I use a mix of whole eggs and yolks in this recipe. This balances out the richness of the egg yolks and also gives the curd a beautiful texture.
- I recommend using unsalted butter to make lemon curd, it's also better to use cold butter as it helps the lemon curd cool down and thicken faster.
- Although I provide cup measurements, I highly recommend weighing your ingredients out using digital kitchen scales. It is the most accurate way to measure ingredients and will ensure the best results. Digital scales are very low cost and can be purchased for around £12 ($16.50).
- For teaspoon (tsp) and tablespoon (tbsp) measurements, please use measuring spoons and not the type of spoons you eat with. Again this will ensure accuracy and provide the best results.
For the full recipe with measurements, head to the recipe card at the end of this post.
How to make Homemade Lemon Curd


Put the lemon juice, lemon zest, caster sugar, eggs and egg yolks into a pan and mix together with a whisk. Heat the mixture on low, stirring gently but continuously until the mixture thickens. This takes 5-8 minutes, and a great way to test it is by dipping a wooden spoon in and using your finger to create a line through the mixture on the spoon. If the line remains and the other mixture on the spoon doesn't drip into it, then the curd is done.


Take the mixture off the heat and add the cold butter, stir until the butter has melted and fully combined into the mixture. Place the lemon curd into a bowl and cover with cling film. Make sure the clingfilm is pressed against the curd, as this will stop a skin from forming. Put it in the fridge to cool down and thicken.
For the full recipe with measurements, head to the recipe card at the end of this post.


Do you have to use fresh lemon juice?
Yes! Fresh lemon juice is a must for that fabulous lemon zing. It's just not the same if it's not fresh, and it can really affect the flavour of the curd.
Do you have to use lemon zest to make lemon curd?
You don't have to, but I really recommend adding it as it adds so much extra flavour to the curd. If you don't want bits of zest in the final product, you can sieve/strain the lemon curd before using.
Should lemon curd be made in a bain marie?
A bain marie is when you place a glass bowl over a pan of simmering water. As long as you have good control over the temperature of your hob or stove, and you can keep it nice and low, and you also stir the lemon curd continuously, you do not need to use a bain marie. Some saucepans can cause a slight metallic taste in lemon curd, I recommend using a stainless steel or ceramic pan to make it if you experience this. If you don't have either of these types of pan, you can make it in a bain marie instead.
Do you need to add cornflour to thicken the lemon curd?
No, your curd will thicken perfectly without it. In the very unlikely event of runny lemon curd, you can mix 1 tbsp cornflour with a little water, then add the mixture to the lemon curd and keeping heating it gently until it thickens.
How should lemon curd be stored and can it be frozen?
The lemon curd will keep in the fridge for 1-2 weeks in a sealed jar or tub, or you can freeze it in a suitable container for up to three months. You can also store it in sterilised jars.
Do you have to sieve/strain lemon curd?
It is up to you whether to sieve it or not. It depends if you mind the bits of lemon zest when eating the curd. As long as you use a good quality zester, they should be very small and thin, and therefore fairly unnoticeable. The only reason you should definitely sieve your lemon curd is if it is lumpy because of lumps of cooked egg in it (caused by over heating or not stirring the mixture).

Troubleshooting
The lemon curd is lumpy
The main reason for this is because is has been heated at a too high temperature or it has not been stirred enough. The lumps are small bits of cooked egg (a bit like scrambled egg). They are harmless, but I do advise either sieving the lemon curd to remove them or once the lemon curd has cooled down enough you can use a blender to blitz the curd until it's smooth throughout. The other reason for lumps is the addition of lemon zest, however if you use a good quality zester and only take the top layer of zest (avoiding the white pith) the zest should be very fine and barely noticeable.
The lemon curd won't thicken and is too thin
It is very unlikely that this lemon curd recipe will be runny, but if it does happen you can mix 1 tbsp cornflour with a little water, then add the mixture to the lemon curd and keeping heating it gently until it thickens. Lemon curd thickens more as it cools, so don't rush to add anything extra as you may just need to let it cool.
The lemon curd is too thick
You can add more lemon juice to thin it out, just add a little at a time and whisk in well until you're happy with the consistency. You do not need to reheat the curd.
Anything else
My number one tip for getting the best results is to read through this whole page of tips and recommendations before starting, and follow the recipe exactly. If you have any questions about this recipe, or if something went wrong and you need help, please use the comment form below and I will get back to you. You can also get in touch with me on my Twitter, Instagram or Facebook. I'd love to hear from you!
More tips for making the Homemade Lemon Curd:
- You can use this recipe as a base to make other curds like blood orange curd or lime curd, just swap out the lemon juice and zest for the same amount of lime juice and zest, or blood orange juice and zest (or any other citrus fruit).
- This lemon curd recipe is gluten free and suitable for vegetarians.
- This recipe makes approximately 425g of lemon curd.
How can you use the leftover egg whites?
There will be two leftover egg whites from making this recipe. I often mix them with some whole eggs and make scrambled eggs or frittatas as this is a quick and easy way to use them. Or you can of course make a dessert with them like meringue, macarons or mousse. You don't have to use them straight away, they will keep in the fridge for two days, or they can be frozen for up to three months.
Recommended equipment & ingredients
I earn a small amount of money if you buy the products after clicking on the links. You will not be charged anything extra for this. Thank you for supporting The Baking Explorer!

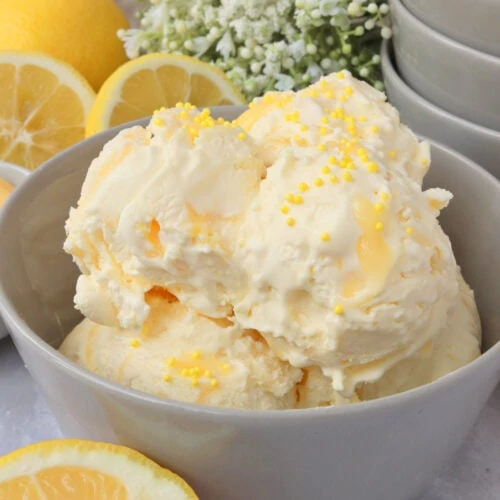
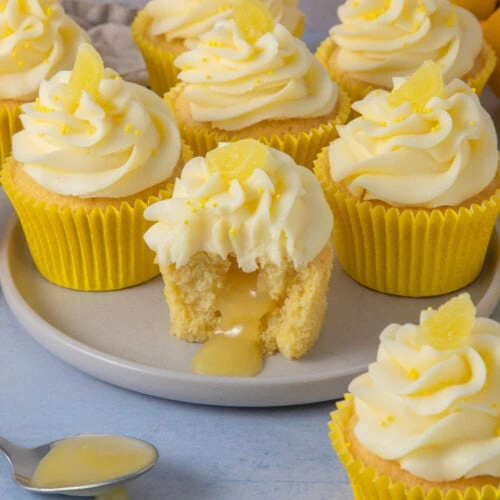
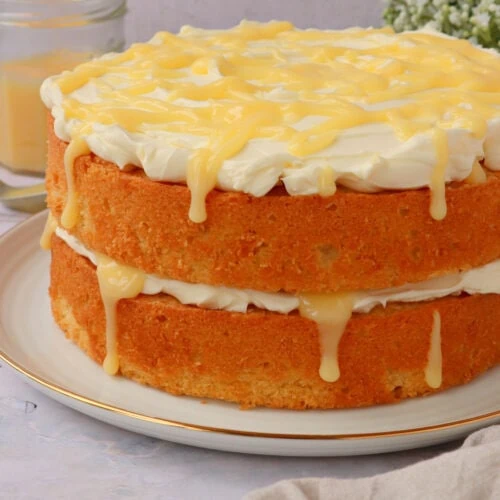
Ways to use lemon curd
- Fold it into whipped cream
- Use it to top a pavlova
- Spread it on toast
- Dollop it on a scone with some clotted cream
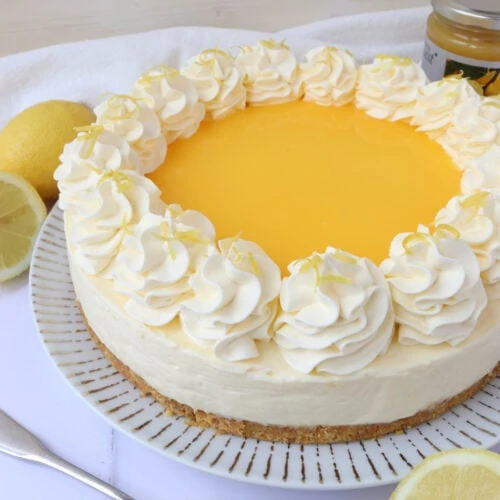
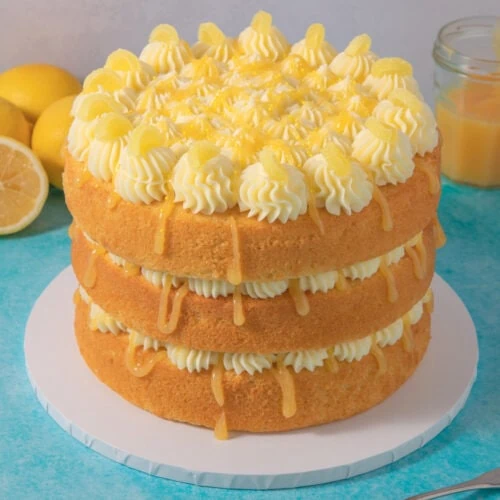
- Use it to fill a Victoria Sponge Cake instead of jam
- Fill pastry cases with it and top with Italian meringue
- Use it to fill freshly made donuts
- Or in my recipes using lemon curd!
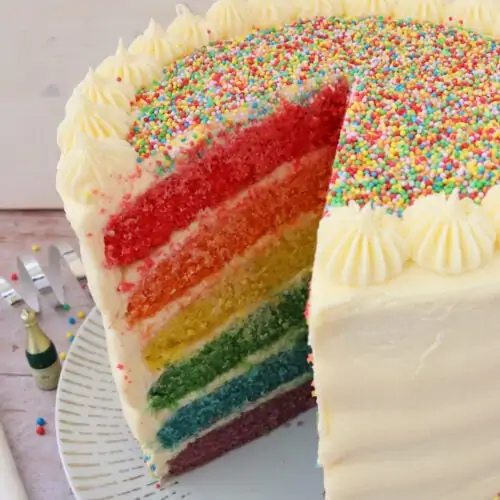
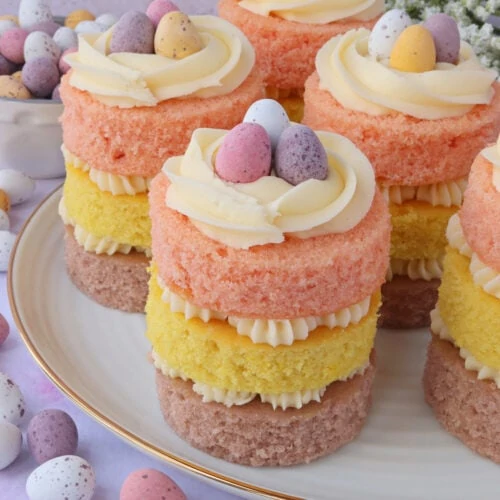
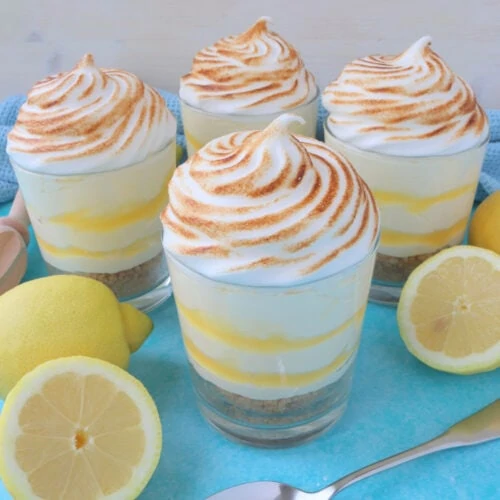
Recipes using lemon curd


Homemade Lemon Curd
Ingredients
- 150 ml Fresh lemon juice (approx 4 lemons)
- The zest of 1 lemon
- 150 g Caster sugar or granulated
- 2 Eggs large
- 2 Egg yolks
- 100 g Butter unsalted, cold
Instructions
- Make sure you have your butter weighed out and ready (if your kitchen is warm, put it in the fridge to keep cold)
- Add the lemon juice, lemon zest, caster sugar, eggs and egg yolks to a pan or pot. Whisk everything together
- Place the pan on the hob/stove on a low heat. As the mixture heats, stir it gently but continuously. It will take around 5-8 minutes to thicken, but the time depends on your hob and the heat level so don't worry if it takes a little longer
- To test that it's thick enough dip a wooden spoon into the mixture. Then run a line with your finger through the liquid on the spoon (please be careful as the liquid will be hot!). If the line stays then you can take the pan off the heat. If the other liquid on the spoon drips into the line, you need to heat the mixture for longer
- When it's ready, remove it from the heat and add the butter straight away, stir the mixture until the butter melts and combines
- Pour the lemon curd into a bowl (you can sieve it into the bowl using a fine sieve if preferred or necessary) and cover with cling film so that the cling film directly touches the top of the curd, put it in the fridge to cool down fully
- Store in an airtight container in the fridge for 1-2 weeks, or in the freezer for up to 3 months
Video
Notes
- Fresh lemon juice is an absolute must for this recipe. You just won't get the same flavour from bottled lemon juice.
- This recipe uses caster sugar, but you can use granulated sugar too. Just don't use golden caster sugar, or any type of brown sugar to make lemon curd, as this will affect the flavour and colour of it.
- I use a mix of whole eggs and yolks in this recipe. This balances out the richness of the egg yolks and also gives the curd a beautiful texture.
- I recommend using unsalted butter to make lemon curd, it's also better to use cold butter as it helps the lemon curd cool down and thicken faster.
- Although I provide cup measurements, I highly recommend weighing your ingredients out using digital kitchen scales. It is the most accurate way to measure ingredients and will ensure the best results. Digital scales are very low cost and can be purchased for around £12 ($16.50).
- For teaspoon (tsp) and tablespoon (tbsp) measurements, please use measuring spoons and not the type of spoons you eat with. Again this will ensure accuracy and provide the best results.
Nutrition
If you like this, check out more of my Dessert recipes!
I'm linking this recipe up with Cook Blog Share.
Nic | Nic's Adventures & Bakes
Thanks for sharing, this looks lovely, also with lots of ideas to what do with your curd 🙂
Kate - Gluten Free Alchemist
I am a super-fan of curd. But sadly my family aren't. How is that possible?
Either way... I don't make it often enough. And I should rectify that. Especially when it's as smooth, creamy and delicious as this xxx
Cat | Curly's Cooking
I have to give this a go! I've always been a bit nervous about making my own but yours looks so creamy and delicious.
Eb Gargano | Easy Peasy Foodie
Yum! This looks so good 😀
Rebecca Smith - Glutarama
I'm like you, always been scared of making my own curd...wish I had now because these days I can't tolerate eggs - so that means I'll have to attempt to make it egg free, good that I have this recipe as a base to work from though.
Deb
Made some this morning so easy and absolutely delicious 😋
thebakingexplorer
I'm so pleased you liked it Deb, thank you for the lovely feedback!
Deb
Forgot the rating! 5 ⭐️
Magdalena
I have made this and the lemon cheesecake for a birthday for a lemon cheesecake lover. The recipe is fantastic. The lemon curd is the tangiest ever. I could eat it by the spoonful. Hopefully y birthday girl will love it too tomorrow.
Lynne
Great recipe, so easy. If I want to double to recipe as I like to give away some jars, is it straightforward to just double all the ingredients or is the egg ratio different. Sorry if a daft question
Linda
I just made 2 double batches, and you don’t need to change any of the ratios; just double all the ingredients. It turned out great and delicious.
thebakingexplorer
Hi Lynne, yes that's right just double the ingredients to get double the amount of curd 🙂