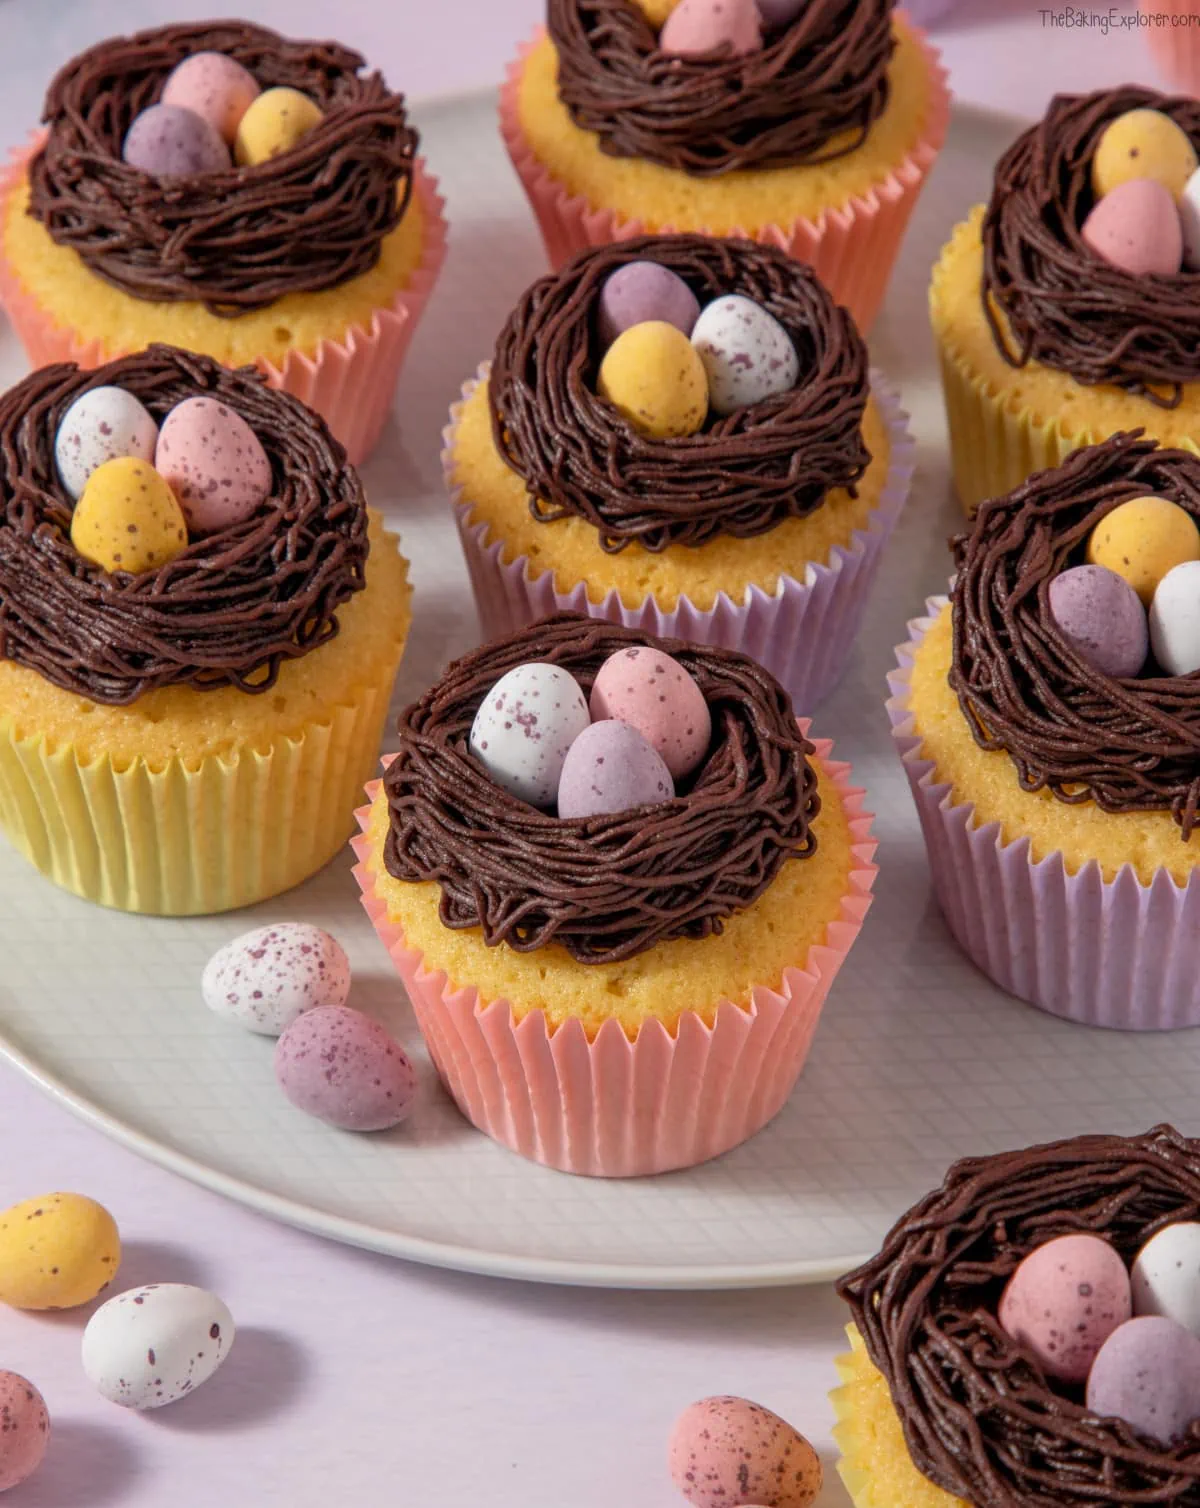
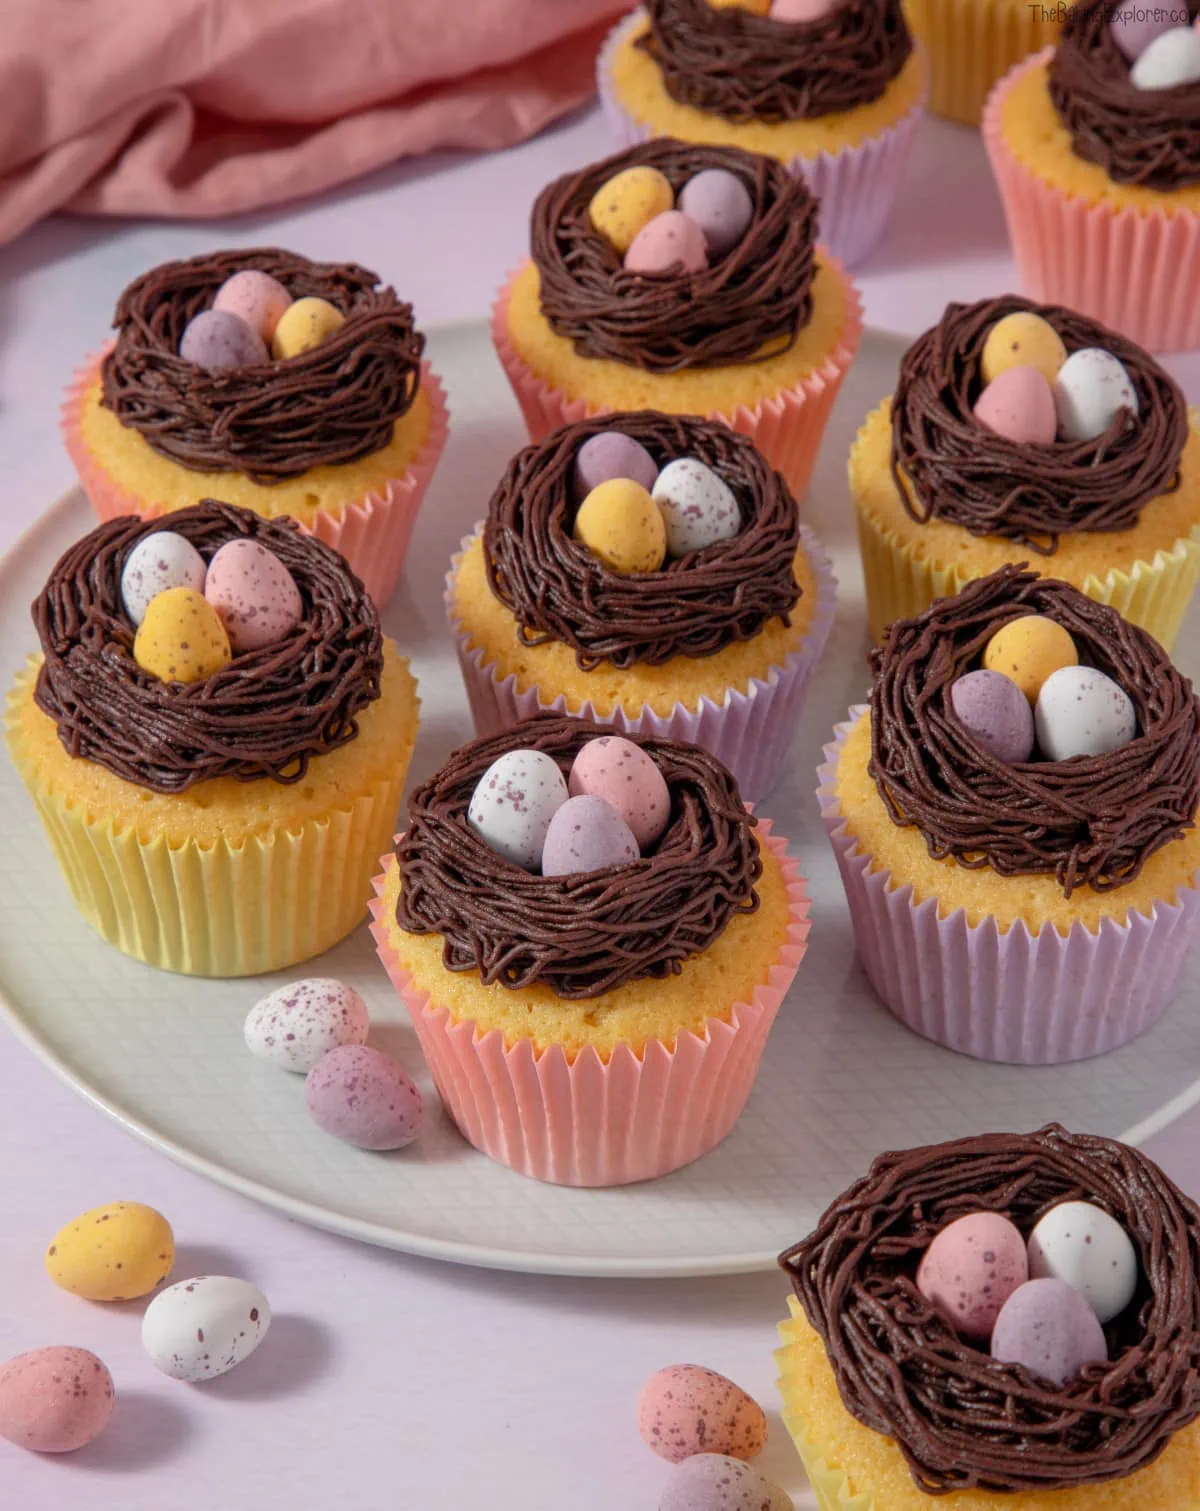
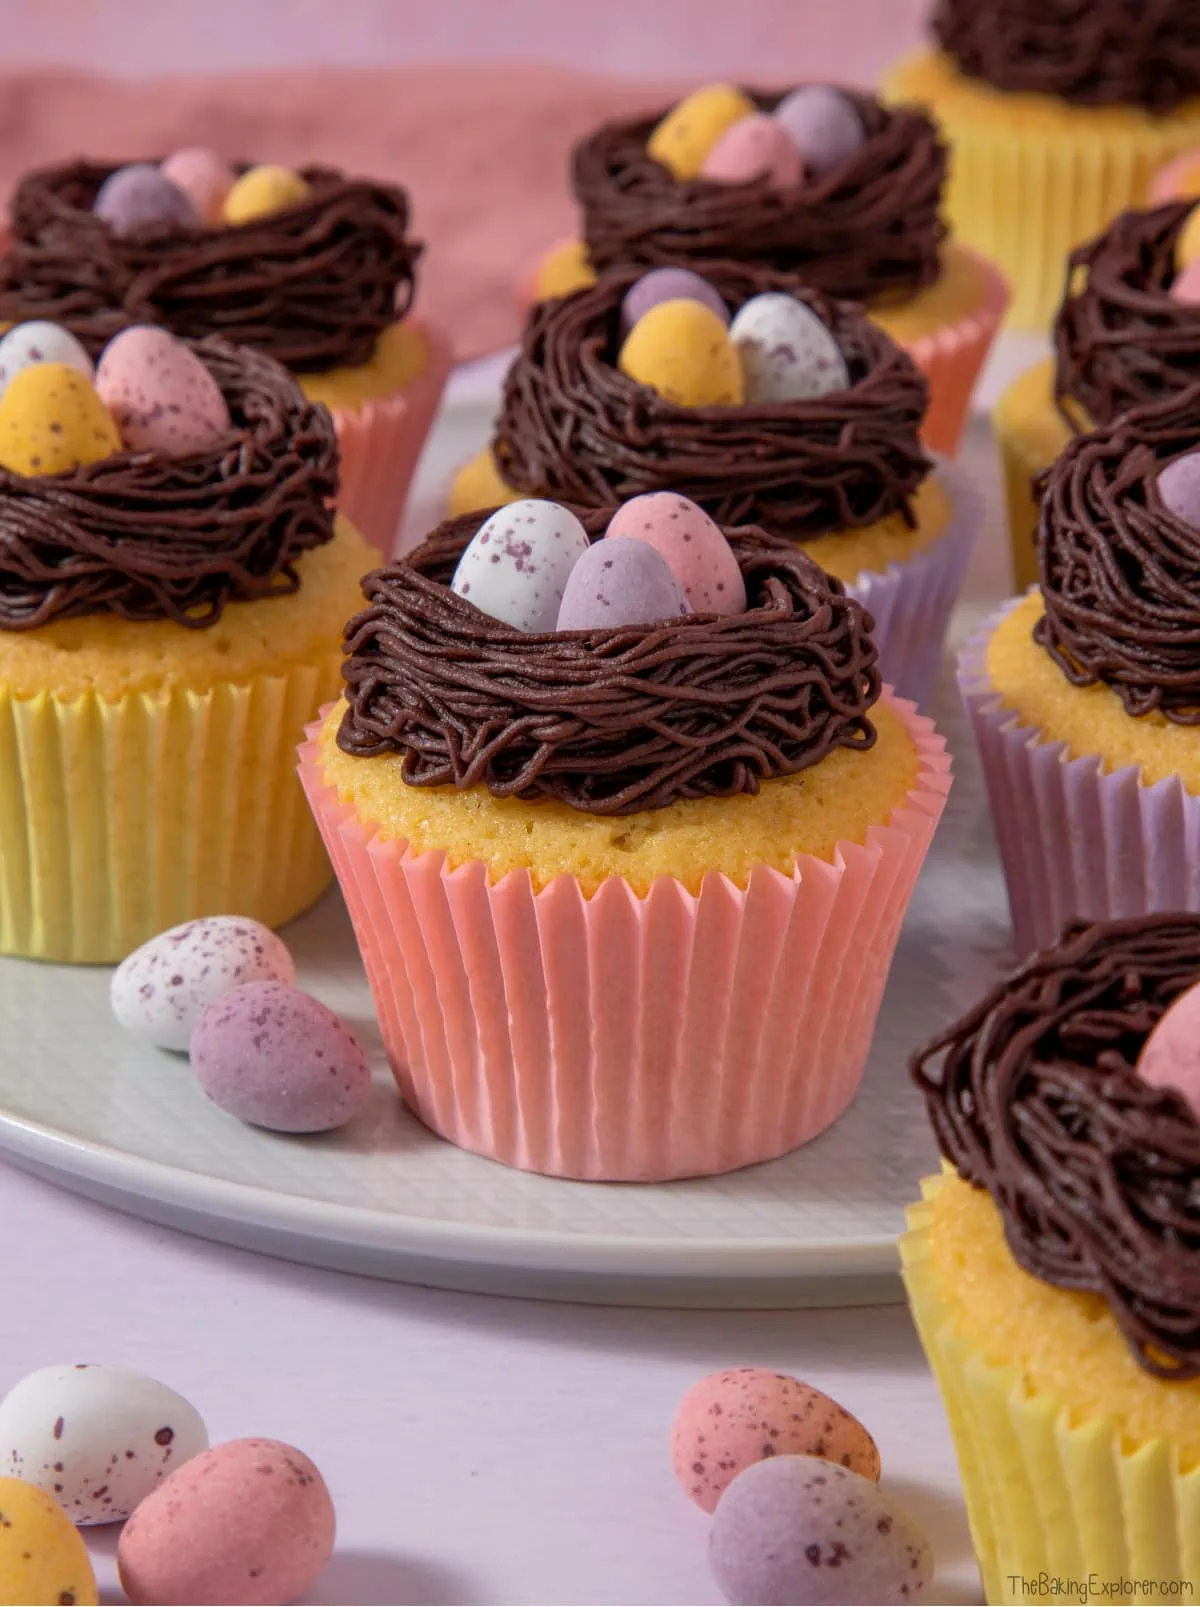
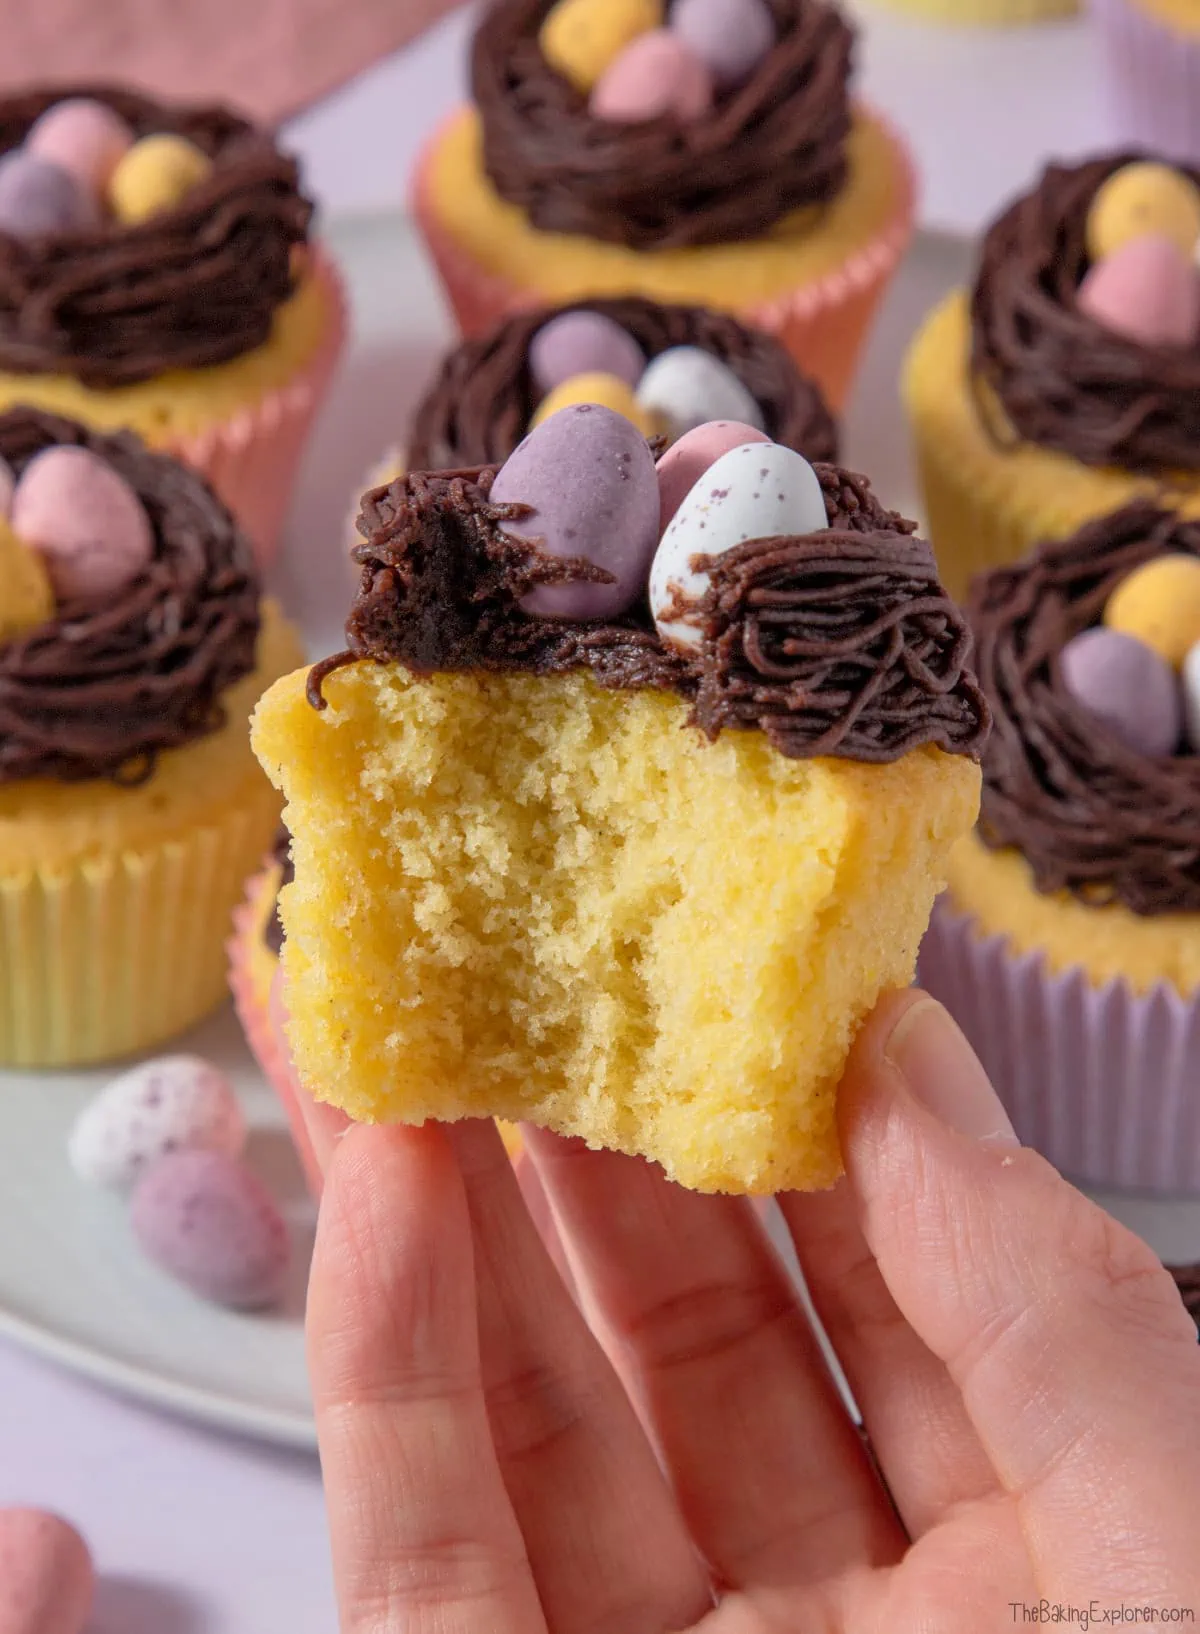
I ran a Cupcake Decorating Class for my friends, and I came up with the design for these Easter Nest Cupcakes as a way to use a grass piping nozzle. When I popped a photo of it on my Instagram I had so many requests for the recipe! So here it is, light vanilla cupcakes with a chocolate buttercream nest, filled with mini eggs. They are super cute, great for Easter and brilliant for making with kids. Piping the nest is really easy with the right nozzle, and it doesn't matter how it turns out as nests are meant to be rustic!
This post may contain affiliate links. I earn from qualifying purchases.
Ingredient Tips & Equipment Information
- Make sure all your ingredients (particularly the butter and eggs) are at room temperature before you start baking.
- I used a baking spread for the cupcakes and unsalted butter for the buttercream.
- If you can't get hold of the grass piping nozzle (a Wilton 233) you can use a small open star nozzle to achieve a similar effect.
- You can use any colour cupcake cases - I just loved matching the pastel shades to the colours of the Mini Eggs!
- Although I provide cup measurements, I highly recommend weighing your ingredients out using digital kitchen scales. It is the most accurate way to measure ingredients and will ensure the best results. Digital scales are very low cost and can be purchased for around £12 ($16.50) .
- For teaspoon (tsp) and tablespoon (tbsp) measurements, please use measuring spoons and not the type of spoons you eat with. Again this will ensure accuracy and provide the best results.
For the full recipe with measurements, head to the recipe card at the end of this post.
How to make Easter Nest Cupcakes
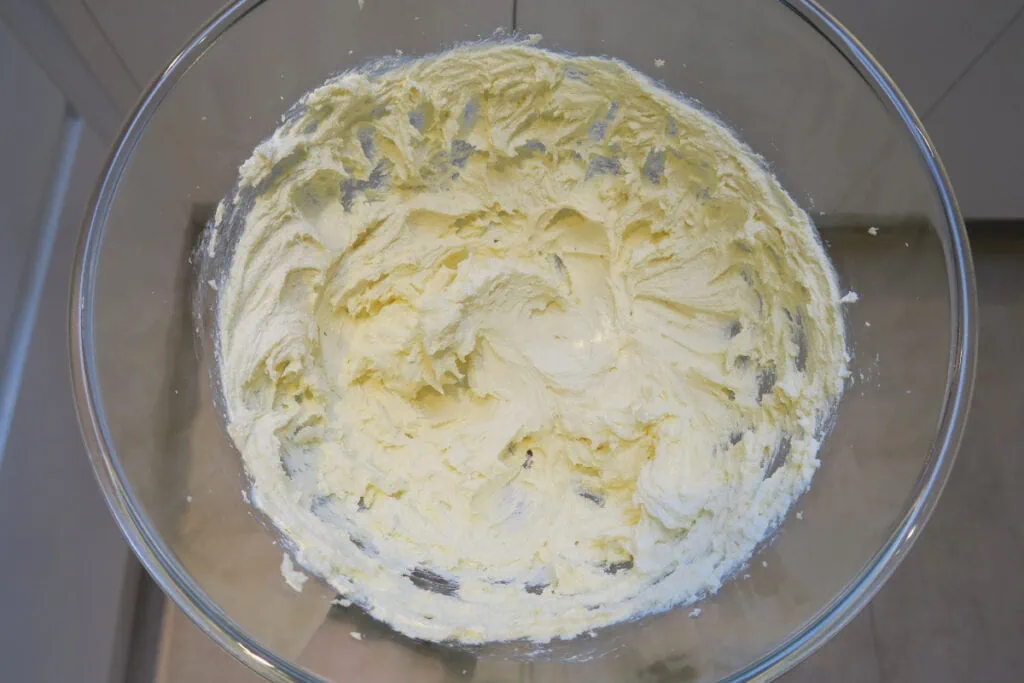
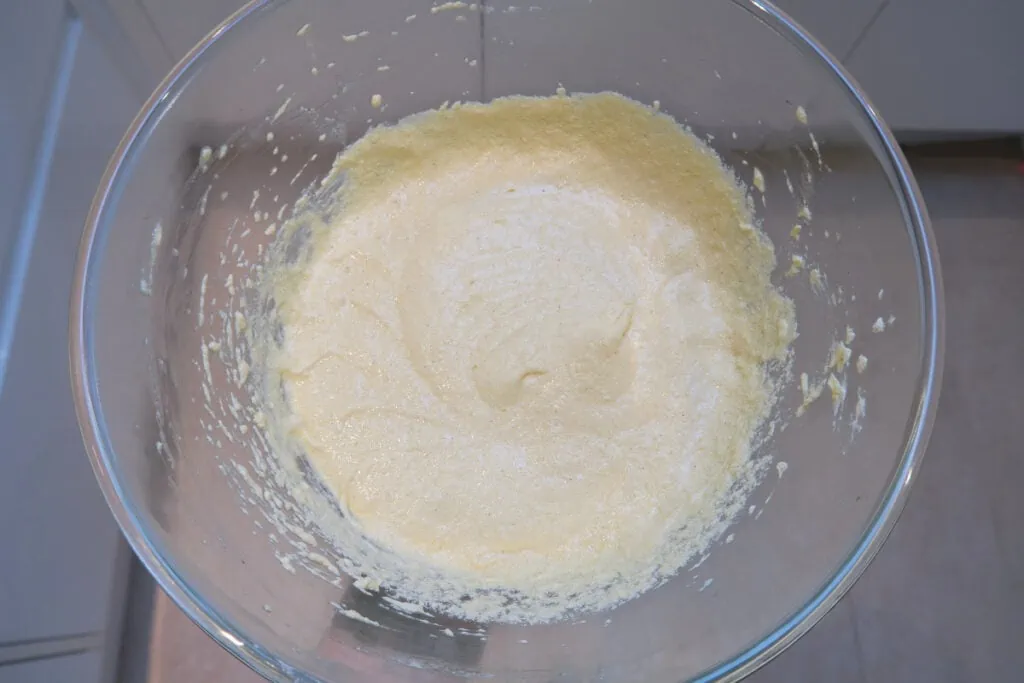
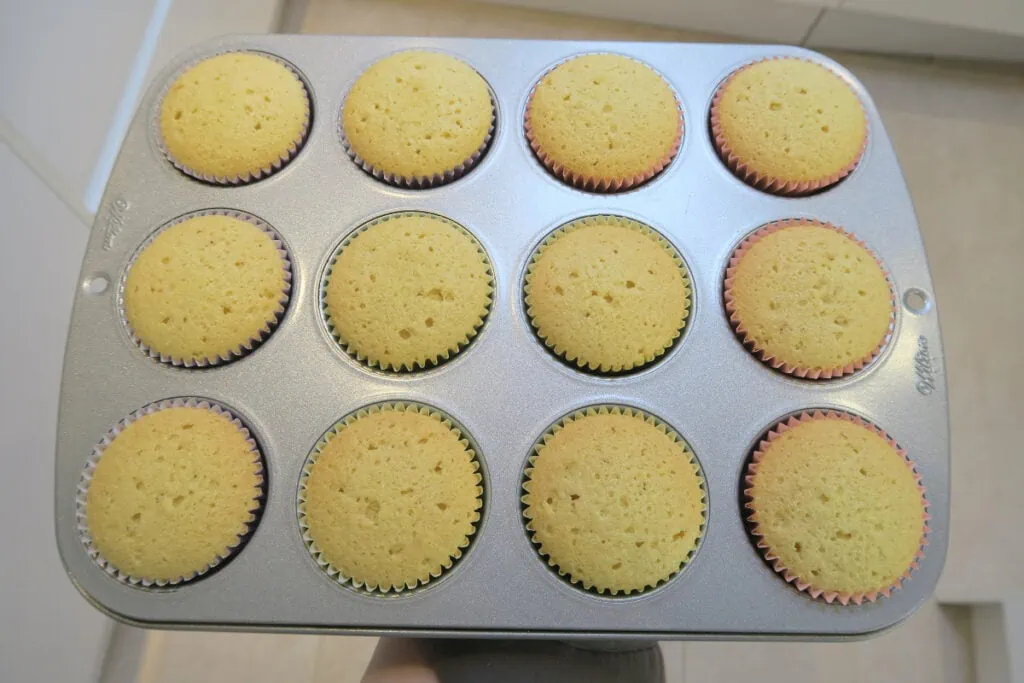
To make the cupcakes, mix the baking spread and caster sugar together in a mixing bowl for 5 minutes using an electric mixer. Or mix in the bowl of your stand mixer with the paddle attachment. Then add the eggs and vanilla and mix until fully incorporated.
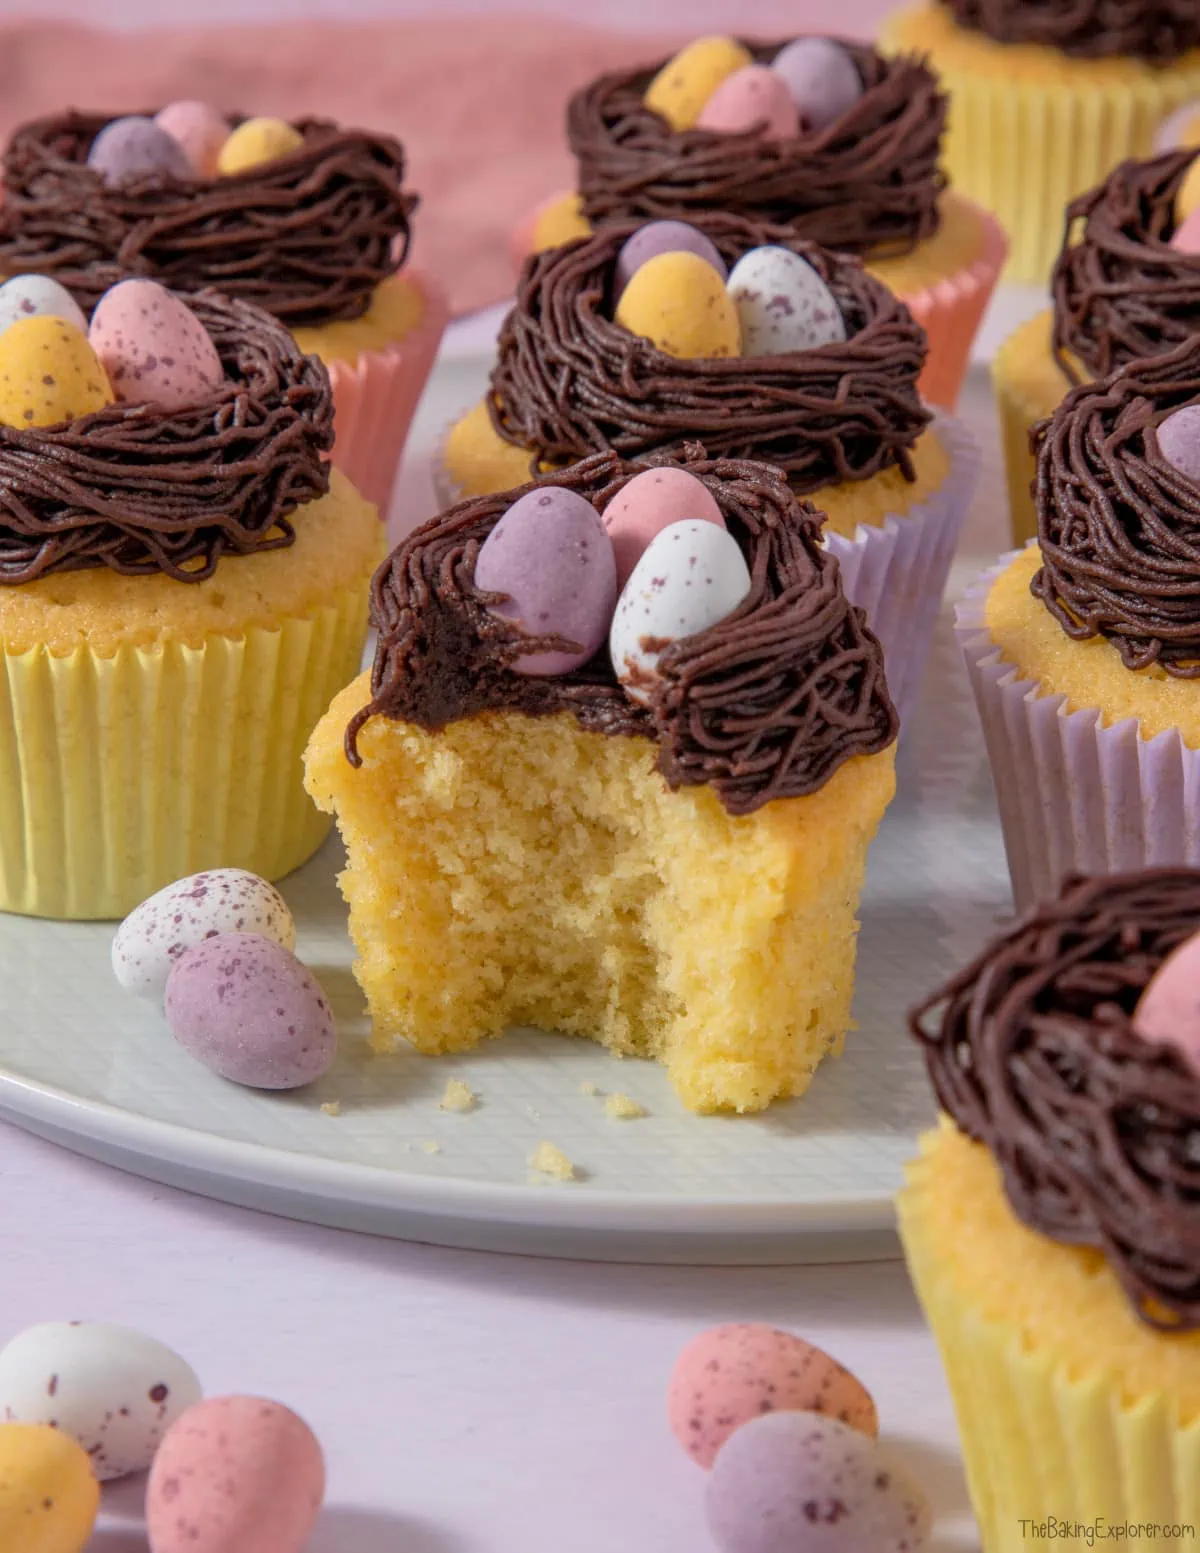
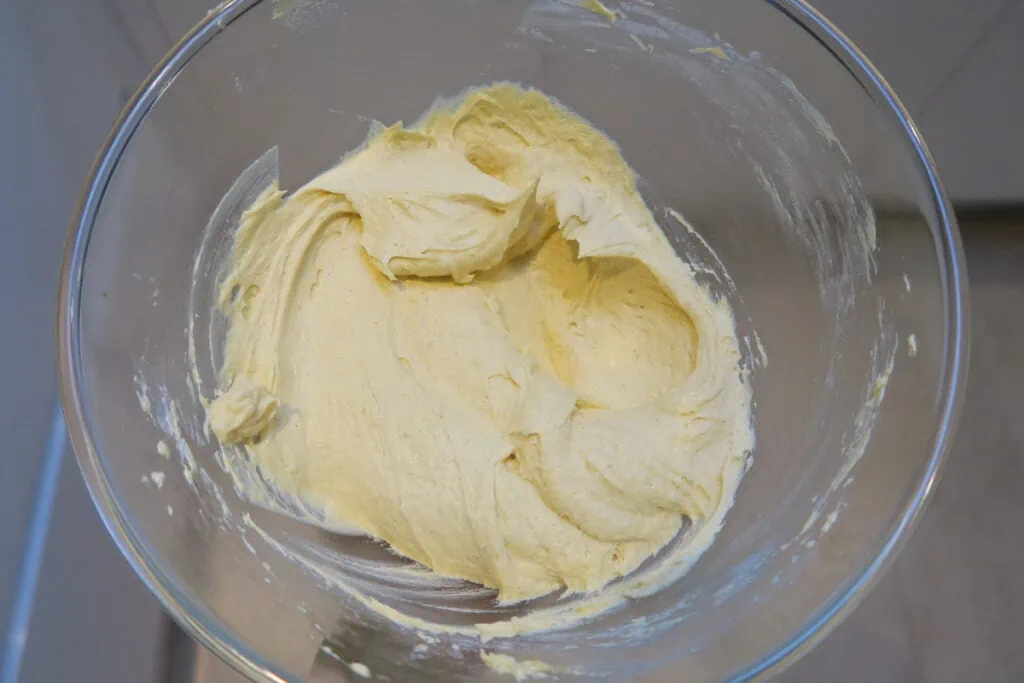
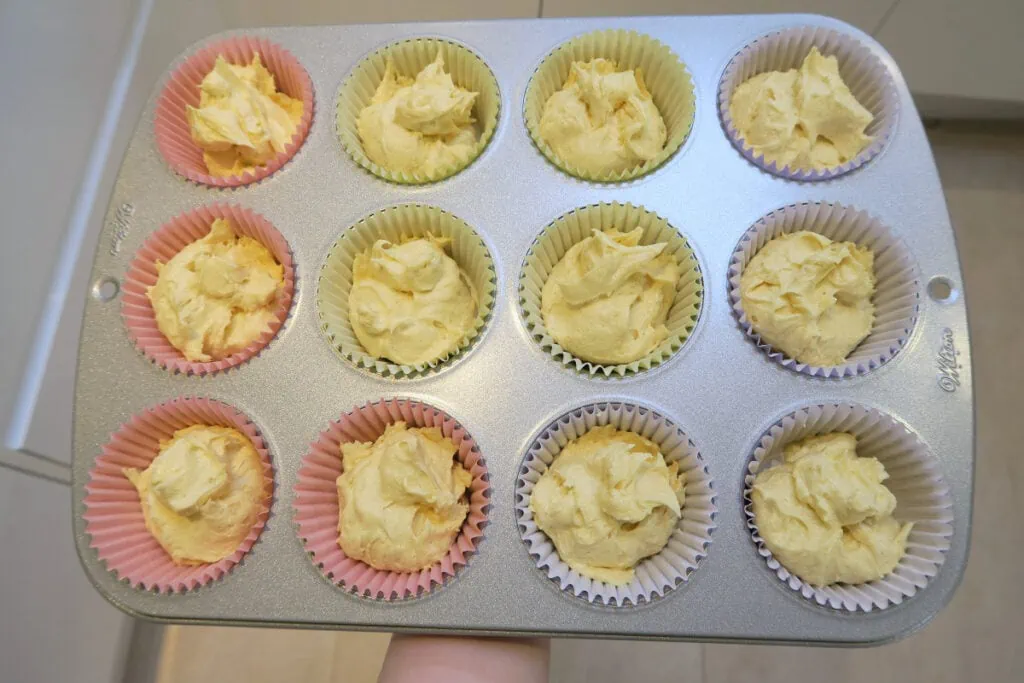
Gently fold in, or whisk by hand, the self raising flour. Then divide the mixture between the cupcake cases. Bake for 25-30 minutes, or until risen, lightly golden and a skewer inserted in the centre comes out clean.
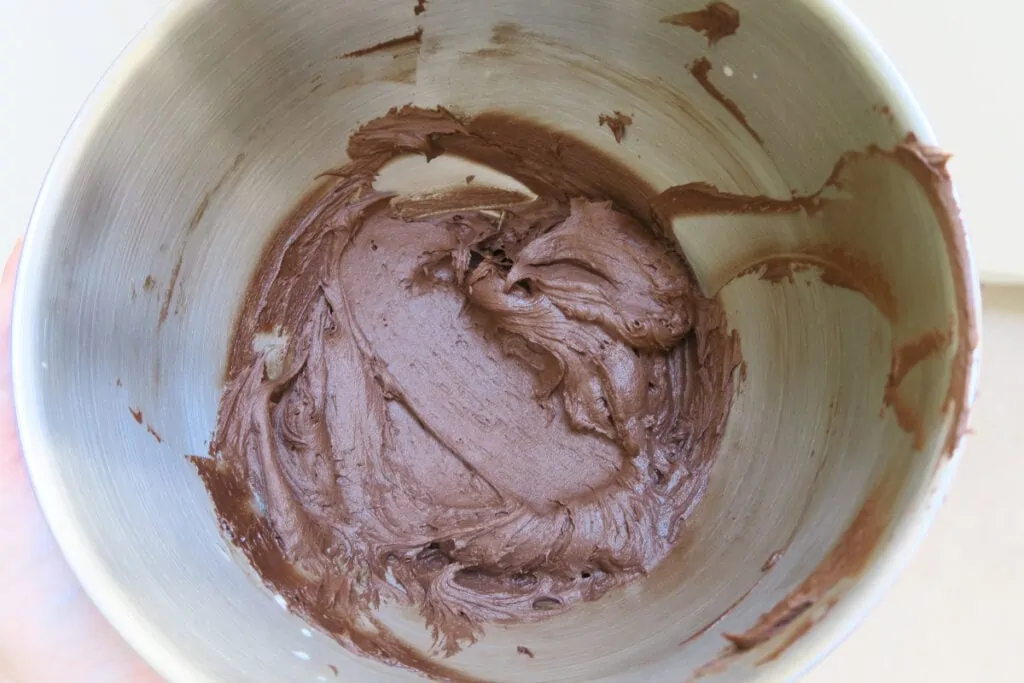
Leave the cupcakes to cool fully on a cooling rack. To make the buttercream, mix the softened butter for a few minutes on it's own. This is best done in a stand mixer with the paddle attachment, or you can use an electric hand mixer. Then add the icing sugar, cocoa powder, milk and vanilla extract. Mix until fully combined and you have a smooth buttercream. Pipe it onto the cupcakes using a Wilton 233 nozzle (also known as a grass nozzle). Add three mini eggs in the centre.
For the full recipe with measurements, head to the recipe card at the end of this post.
How long do the cupcakes last for and can they be frozen?
The cupcakes will last for 2-3 days in an airtight container in a cool place. You can freeze both the cupcakes and the buttercream. To freeze them separately, wrap the cupcakes well in cling film or put them in an airtight container. The buttercream can be frozen in a sealed tub. To freeze them decorated, freeze the cupcakes on a plate until frozen solid, then carefully wrap in cling film. Remove the clingfilm when you take the cupcakes out of the freezer to defrost, as if they defrost with it still on it could damage the buttercream.
Can you make the cupcakes with plain/all purpose flour?
Self raising flour, which is very commonly used in the UK where I am based, already contains a raising agent and a little salt too. Therefore if you want to swap it for plain or all purpose flour, you will need to add some baking powder and also a little salt if you like. Some people like to add salt to cake recipes and some don't, so I'll leave that up to you as it won't affect the bake. The general advice is to add 2 teaspoons baking powder (a measuring teaspoon, not the kind you stir your coffee with) per every 200g plain or all purpose flour. So for this recipe you'd need to add 1 + ½ teaspoons baking powder. Please note, I have not tested this recipe using plain or all purpose flour.
Is butter or a baking spread better for cupcakes?
I prefer to use a baking spread (my preferred brand is Stork) for cupcake and cake sponges. I find that they are easier to use and they make the sponge rise more. You can also use most baking spread straight from the fridge, which is handy during a last minute baking emergency!
Should you use salted or unsalted butter for cupcakes?
I always use unsalted butter and baking spread for baking. This is because if you want to add salt to your recipe, you then have complete control of the salt level. Lots of people add salt to enhance the flavour of baked goods, so when you do this you want to know exactly how much you're adding. I personally prefer not to add salt to cakes and cupcakes. However, using a salted butter or baking spread will not affect the bake negatively and won't make it taste salty.
Can the cupcakes be made gluten or dairy free?
Yes! For gluten free you can replace the self raising flour with a gluten free self raising flour blend. If you only have a gluten free plain flour blend, you will need to add baking powder. The general advice is to add 2 tsp baking powder per 200g flour, so for this recipe you'd need to add 1 + ½ teaspoons baking powder. You may also like to add ¼ tsp xantham gum for better texture. For a dairy free version, use a dairy free baking spread and dairy free milk for the cupcakes and the buttercream. For the buttercream I recommend using a block butter alternative, such as Flora Plant or the Stork Baking Block, for best results. You will also need to decorate the cupcakes with a dairy free alternative to Mini Eggs, like Doisy & Dam. Please do check the labels for everything you use to make the cupcakes if you are serving it to someone with an allergy or intolerance.
Do you need an electric mixer to make this recipe?
While you can absolutely make this recipe with a wooden spoon and some elbow grease, I do recommend using an electric mixer for the best results. The cupcakes will be lighter and fluffier when made with an electric mixer. The buttercream will also be smoother. You don't have to use an expensive stand mixer either, you can get electric hand whisks for as little as £10!
Do you have to beat the butter and sugar together for the full 5 minutes?
You don't have to, but I do recommend doing this to achieve the same results as me. I like a very slight bump or dome on my cupcakes, and for them to rise all the way to the top of the cupcake cases. I've tested this recipe multiple times and found that beating the butter and sugar together for 5 minutes achieves what I consider to be the perfect rise!
Can this recipe be made into a larger cake?
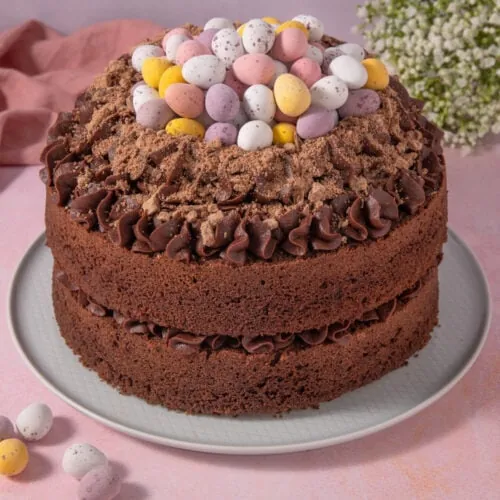
I don't have an exact bigger version of this cake, but the closest would be my Easter Chocolate Cake - check out the recipe for more details!
Can you make these cupcakes without a grass piping nozzle?
Yes! The best type of piping nozzle to use instead would be a small open star nozzle. Check out my Chocolate & Caramel Easter Nest Cupcakes for an example of how to create the nest effect without a grass nozzle.
What else can you decorate the cupcakes with?
You could use any small egg chocolate or sweets in the middle - there's Smarties eggs, mini creme eggs, Terry's chocolate orange eggs, Milkybar mini eggs, and so many more other options these days!
Troubleshooting
If you have any questions about this recipe, or if something went wrong and you need help, please use the comment form below and I will get back to you. You can also get in touch with me on my Twitter, Instagram or Facebook. I'd love to hear from you!
Recommended equipment & ingredients
- Cupcake tin
- Mixing bowls
- Measuring spoons
- Cooling rack
- Kitchen scales
- Electric hand mixer
- Stand mixer
- Piping bags
- Wilton 233 nozzle
- Mini Eggs
- Pastel pink cupcake cases
- Pastel blue cupcake cases
I earn a small amount of money if you buy the products after clicking on the links. You will not be charged anything extra for this. Thank you for supporting The Baking Explorer!
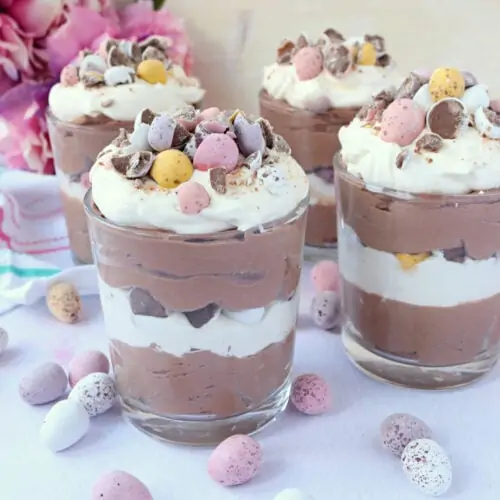
More mini egg recipes...
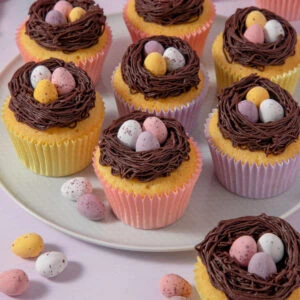
Easter Nest Cupcakes
Ingredients
For the sponge
- 175 g Baking spread softened, unsalted
- 175 g Caster sugar
- 3 Eggs large
- 2 tsp Vanilla extract
- 175 g Self raising flour
For the buttercream
- 140 g Butter softened, unsalted
- 250 g Icing sugar
- 25 g Cocoa powder
- 2-3 tbsp Milk
For decoration
- 36 Mini Eggs
Instructions
- Pre-heat your oven to 140C Fan/325F/Gas Mark 3, and line a cupcake tin with cupcake cases
- For the cupcake sponge, mix together the butter and caster sugar, ideally using an electric hand mixer or a stand mixer with the paddle attachment, for 5 minutes until smooth and fluffy
- Add the eggs and vanilla extract and whisk them in well
- Then gently whisk, or fold in, the self raising flour
- Divide the mixture between the cupcake cases, and bake them for 25-30 minutes or until a thin skewer inserted in the centre of the cupcakes comes out clean. Put them on a rack to cool completely
- For the buttercream, mix the softened butter on it's own for a few minutes. Then add icing sugar, cocoa powder and milk. You can do this by hand, but an electric hand whisk or stand mixer with paddle attachment will provide the best results. If the buttercream is too stiff, you can add a little more milk. You do want it to be on the looser side to make it easier to pipe with the grass nozzle
- Pipe the buttercream onto each cupcake using a piping bag fitted with a grass nozzle (Wilton 233) to make a nest (watch the video to see how it's done!). Then add three different coloured mini eggs in the centre
- Store in an airtight container in a cool place, eat leftovers within 3 days
Video
Notes
- Make sure all your ingredients (particularly the butter and eggs) are at room temperature before you start baking.
- I used a baking spread for the cupcakes and unsalted butter for the buttercream.
- If you can't get hold of the grass piping nozzle (a Wilton 233) you can use a small open star nozzle to achieve a similar effect.
- You can use any colour cupcake cases - I just loved matching the pastel shades to the colours of the Mini Eggs!
- Although I provide cup measurements, I highly recommend weighing your ingredients out using digital kitchen scales. It is the most accurate way to measure ingredients and will ensure the best results. Digital scales are very low cost and can be purchased for around £12 ($16.50) .
- For teaspoon (tsp) and tablespoon (tbsp) measurements, please use measuring spoons and not the type of spoons you eat with. Again this will ensure accuracy and provide the best results.

Monika Dabrowski
These are gorgeous, too cute not to pin onto my Easter pinterest board:)
thebakingexplorer
Thank you Monika!
Eb Gargano | Easy Peasy Foodie
Oh...so pretty!! And love that piping nozzle trick. Thanks for linking up to #CookBlogShare 😀 Eb x
thebakingexplorer
Thank you Eb!
Jhuls @ The Not So Creative Cook
These look so adorable! I am getting one now! 😀 Thanks for sharing at Fiesta Friday party!
thebakingexplorer
Thank you Jhuls! It's a great piping nozzle to have in your collection!
Of Goats and Greens
Wow, totally clever!!! A perfect idea for an Easter treat.
thebakingexplorer
Thank you!
Lily Ernst
These cupcakes are perfect for Easter - festive, fun and delicious!
thebakingexplorer
Thank you!
Abbey
Hey Kat!! 🙂 I am one of the co-hosts this week for Fiesta Friday, so I am heading around to everyone's blogs to check out their exciting Fridays! These cupcakes are super cute for Easter! Well, really for anytime! You did a great job with them!
Thanks for sharing and being apart of Angie's Fiesta Friday 🙂
thebakingexplorer
Thank you so much Abbey!
Cat | Curly's Cooking
Love how pretty these look and quite simple to do so everyone can have a go.
thebakingexplorer
Thanks Cat, yes I think everyone could have a go at these 🙂
Petra
What a great, and pretty treat for Easter! 🙂
thebakingexplorer
Thank you Petra!
Kate - gluten free alchemist
I saw your video and thought 'Ah.... that's what you can do with a holey tip'. Very clever! Actually, you have become my 'go to' to work out which tip to use for what. I just wish I lived nearer to you to come to a cupcake decorating class!
thebakingexplorer
Ah thanks Kate that's so nice of you to say! I wish you lived nearer too!!
Angela / Only Crumbs Remain
I love cupcakes like this at Easter Kat - they're just so pretty ... and of course YUMMY! Great video too 🙂 Thanks so much for sharing with #Baking Crumbs,
Angela x
johanna @ green gourmet giraffe
your cupcakes are gorgeous and I love your video showing the piping - hope you had a good easter
Alena Smith
wow!!! How cute little Easter eggs 🙂
Laura
Another fantastic recipe! This site is my to-go-to baking site, the instructions are easy to follow and adaptable to different sized tins etc. Never used that type of nozzle before and had some trouble, found the icing had to be very loose to get through the tiny nozzle holes and several times my nozzle popped out the piping bag due to the pressure build up. Any hints with this please? X
thebakingexplorer
Hi Laura, thanks so much for such lovely feedback! For the issue you mentioned, it could be one of two things (or a combo of both!) firstly it could be due to the quality of the piping bags, the nozzle definitely shouldn't be popping out of the bottom (try cutting it closer to the opening of the nozzle) or the buttercream simply wasn't loose enough. Add some extra milk to it and you'll find it easier to pipe. I hope that helps!