
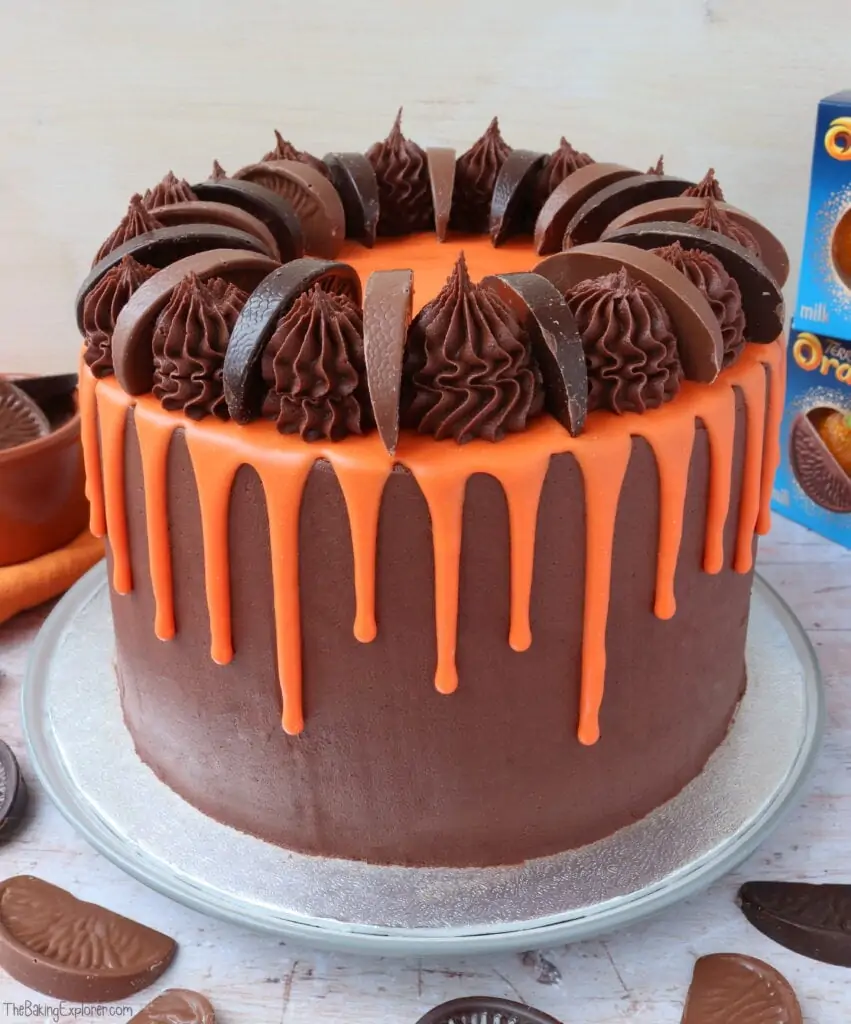
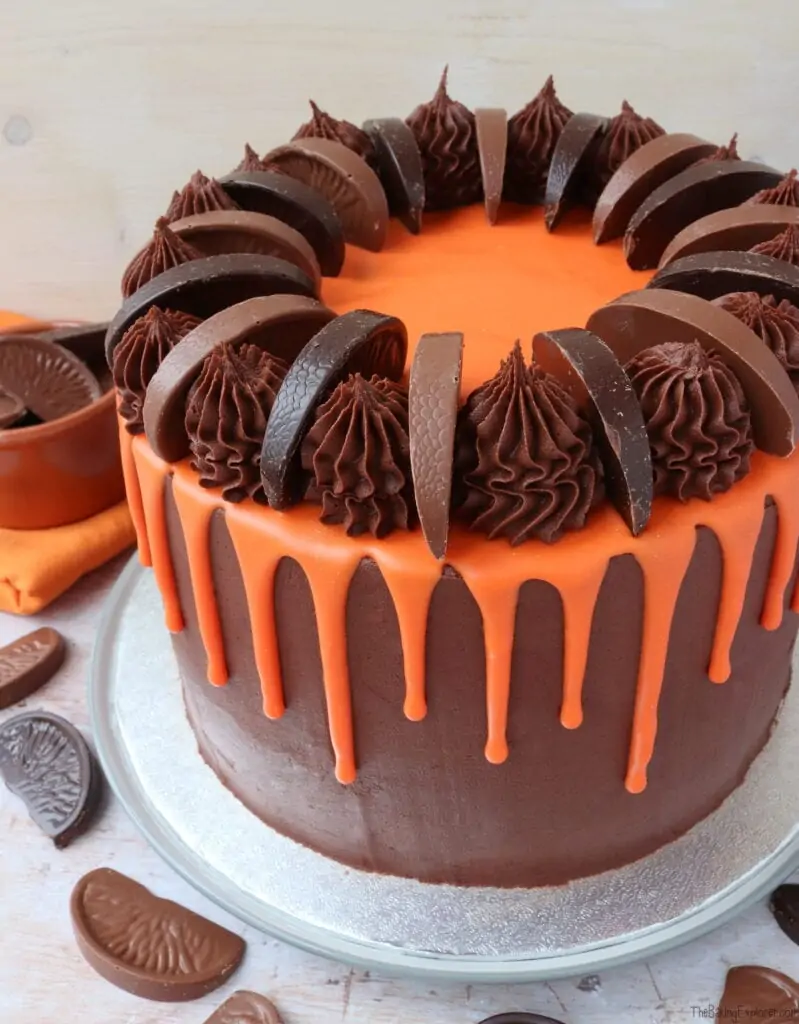
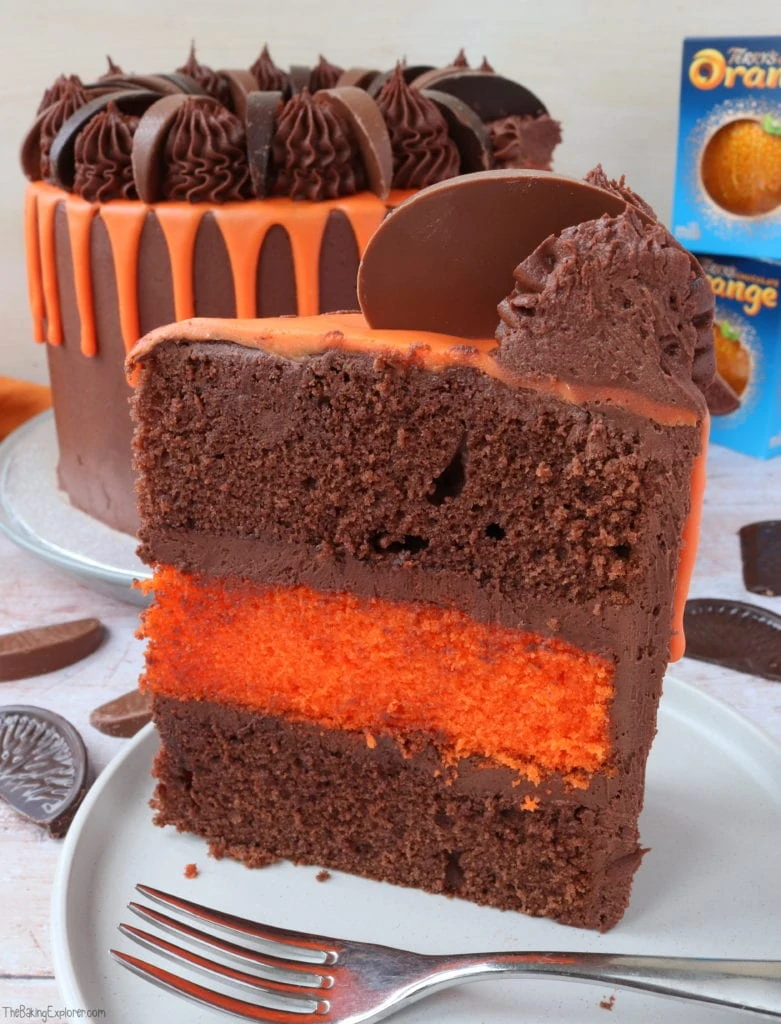
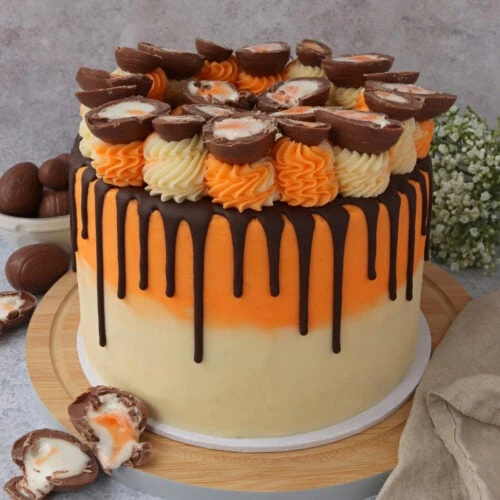
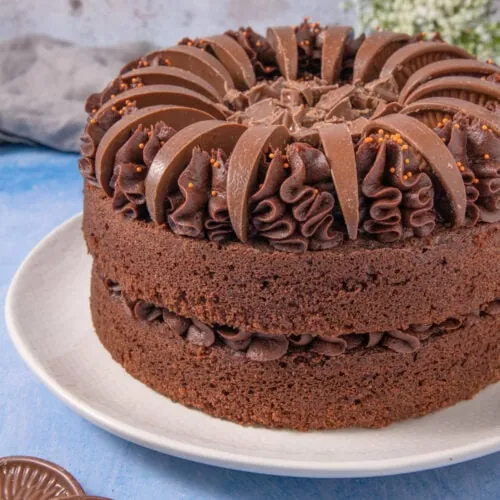
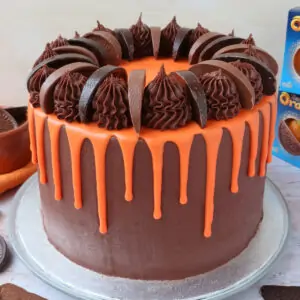
Chocolate orange is without a doubt one of the most popular flavours, and it's the flavour I have the most recipes for on my blog! This Chocolate Orange Drip Cake is an absolute beauty of a cake to add to my chocolate orange recipe collection. I'm so happy with how it turned out, seriously every time I look at it, it makes me smile! It's an orange sponge - both in colour and flavour - sandwiched between two chocolate orange sponges, covered in chocolate orange buttercream and decorated with a bright orange white chocolate drip, more buttercream and chocolate orange pieces. It would make such a stunning showstopper for a birthday or celebration!
Ingredient Tips & Equipment Information
- Make sure all your ingredients (particularly the eggs and butter) are at room temperature before you start baking.
- I prefer to use a baking spread like Stork for the cake, and unsalted butter for the buttercream as I find they provide the best results.
- For the best results, use good quality professional food colourings. My favourite brands are Pro Gel and Sugarflair. You can buy these easily online. Other well known brands are Colour Mill and Americolor.
- For best flavour, use a good quality orange extract - not an essence. If you can't get it, you could use the zest of 3 oranges in the batter for the sponge. Orange juice isn't the best choice for the buttercream because the flavour of it is not strong enough.
- For all the tips and tricks on how to make a drip cake, including a how to video, check out my Ultimate Drip Cake How To Guide!
- Although I provide cup measurements, I highly recommend weighing your ingredients out using digital kitchen scales*. It is the most accurate way to measure ingredients and will ensure the best results. Digital scales are very low cost and can be purchased for around £12 ($16.50) .
- For teaspoon (tsp) and tablespoon (tbsp) measurements, please use measuring spoons* and not the type of spoons you eat with. Again this will ensure accuracy and provide the best results.
For the full recipe with measurements, head to the recipe card at the end of this post.
How to make Chocolate Orange Drip Cake
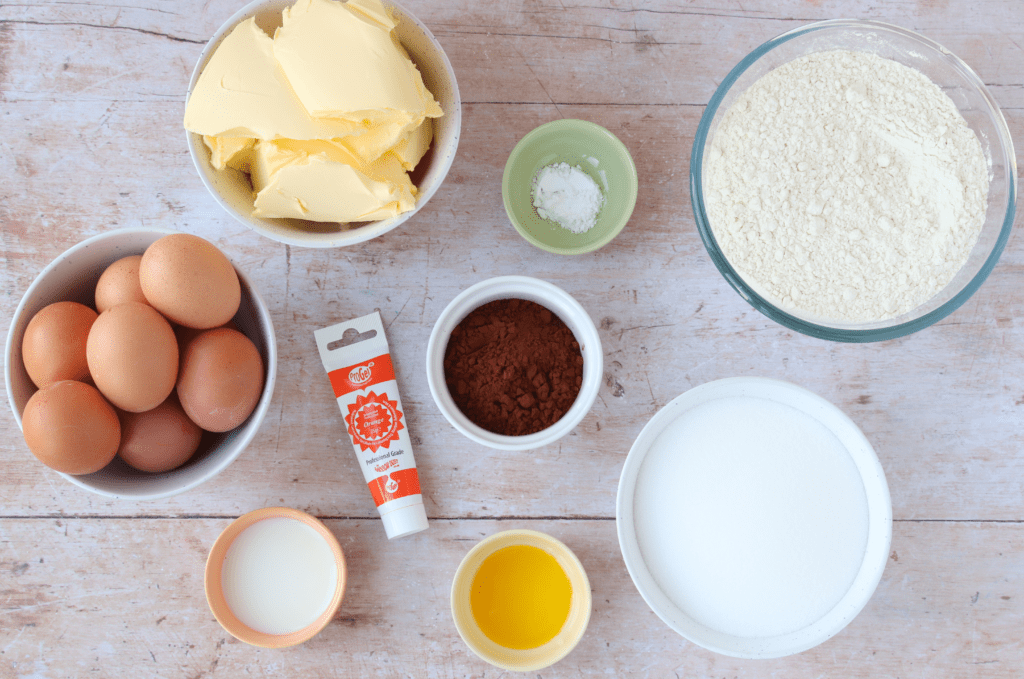
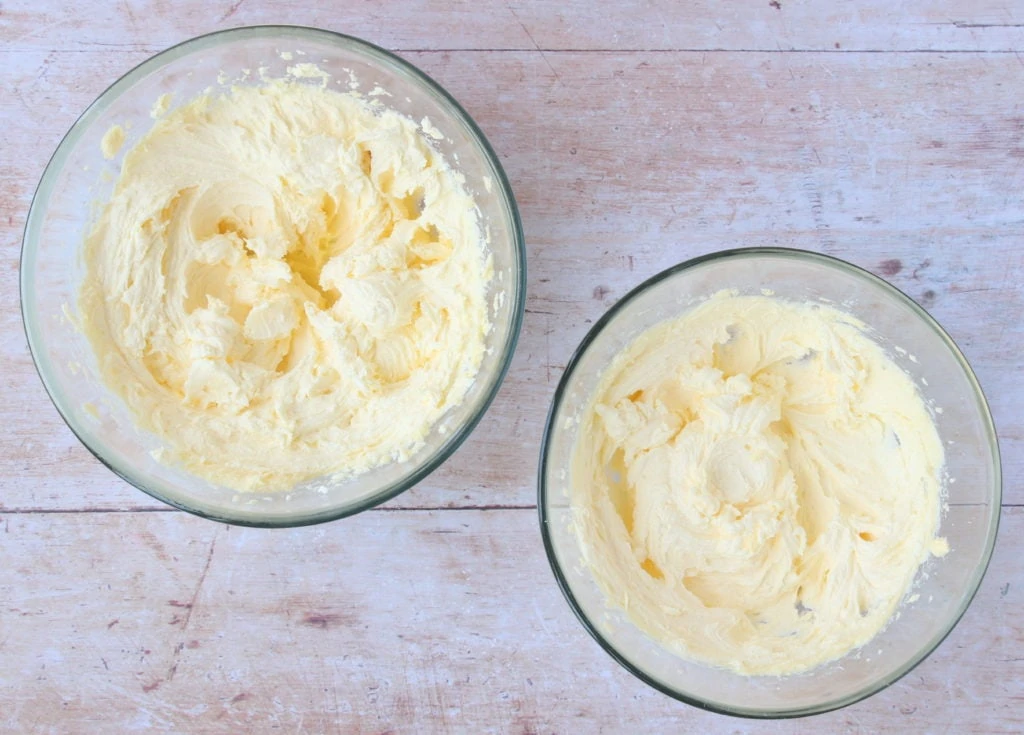
If you have enough cake tins, you can make both the chocolate and the orange sponges at the same time, in separate bowls mix the butter and caster sugar together until fluffy.
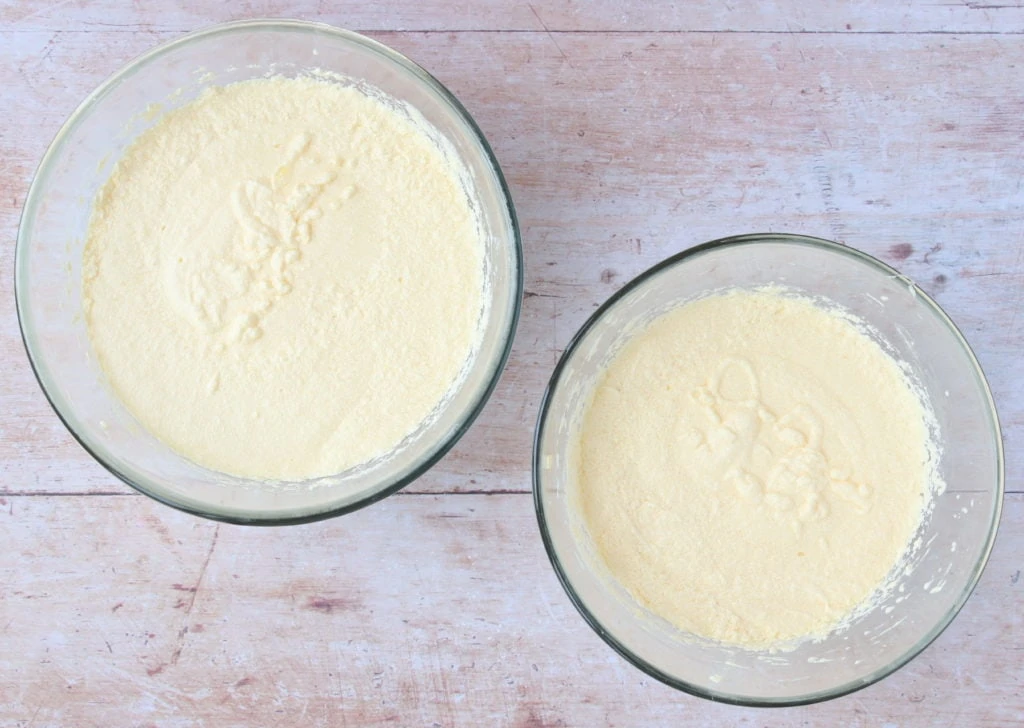
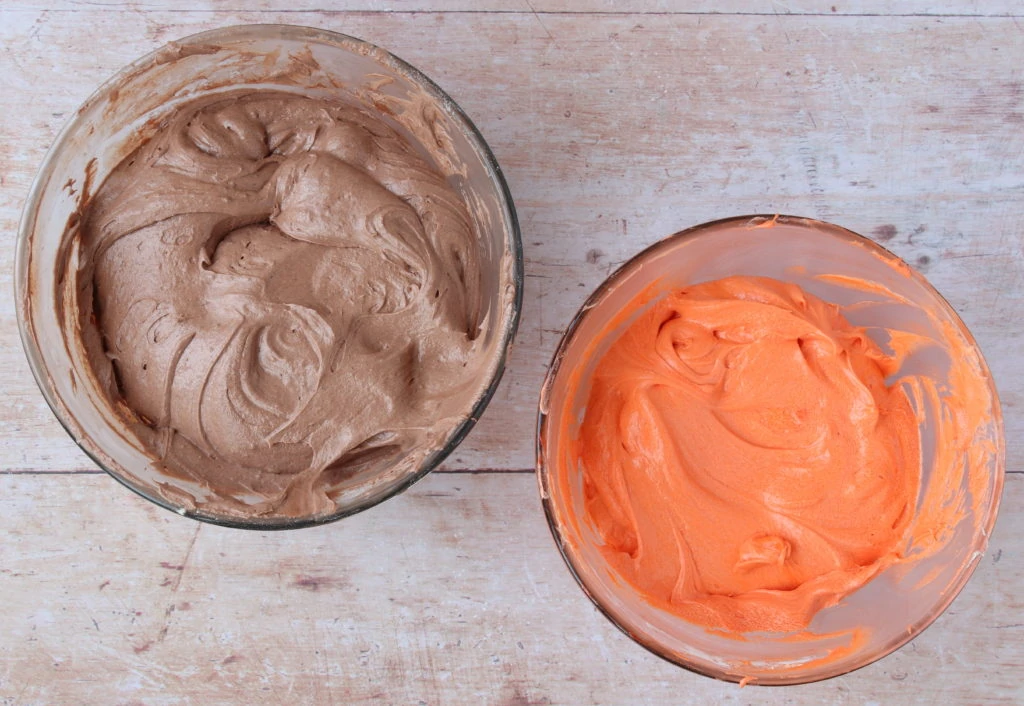
Then add the eggs, milk and orange extract and mix well. For the chocolate batter, whisk in self raising flour, baking powder and cocoa powder. For the orange batter, whisk in self raising flour and orange food colouring.
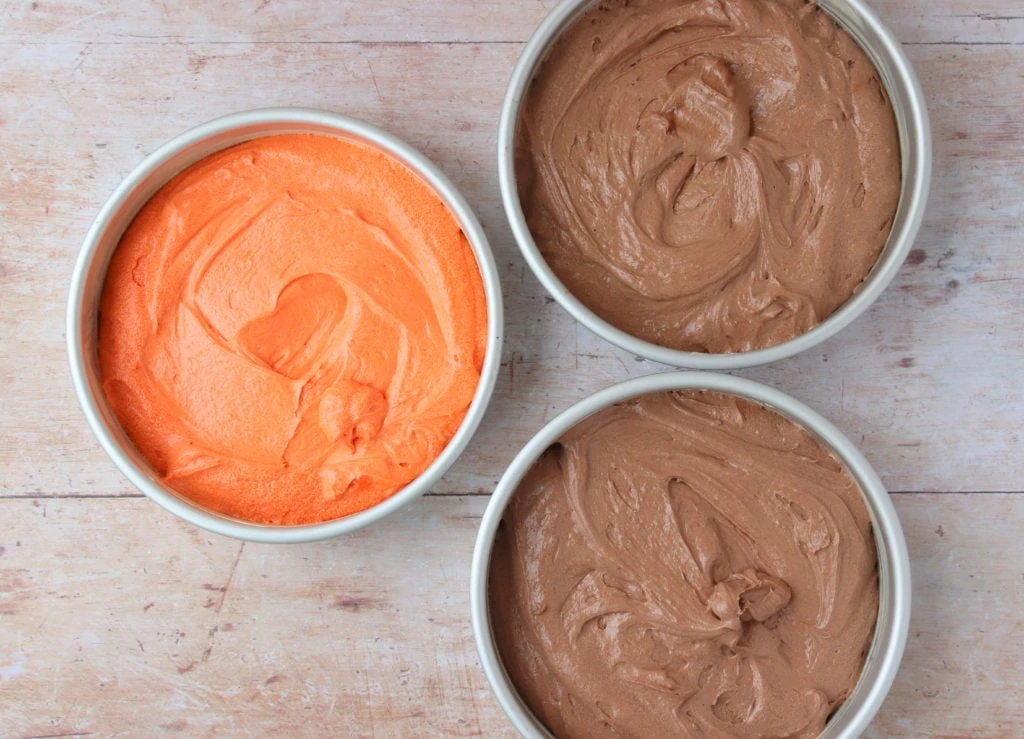
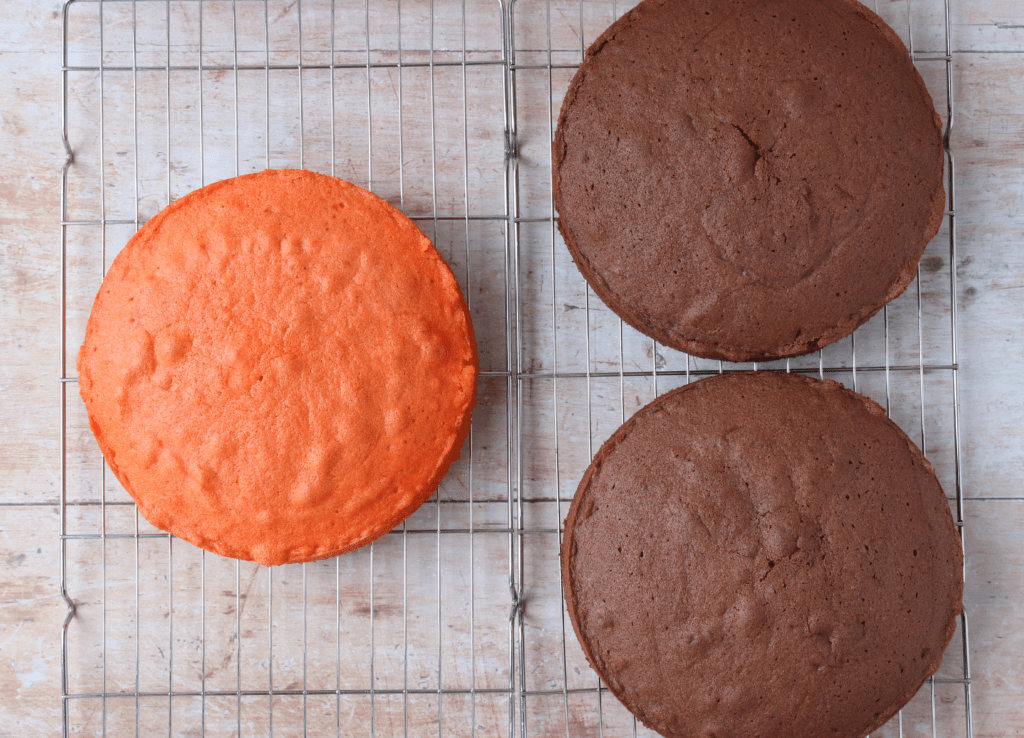
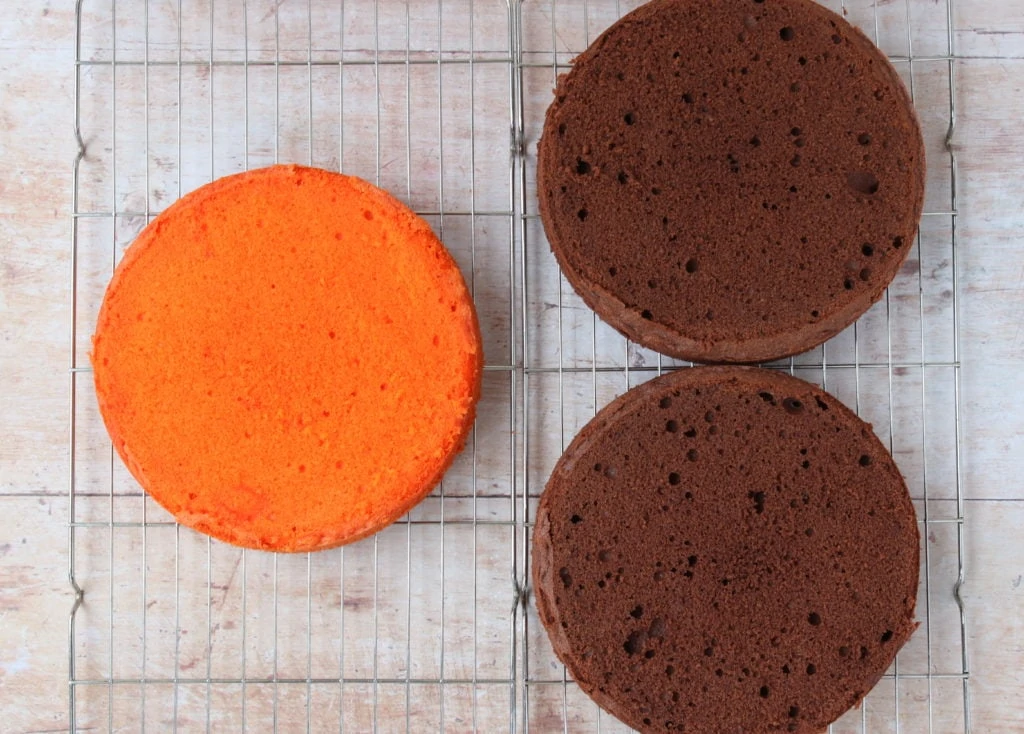
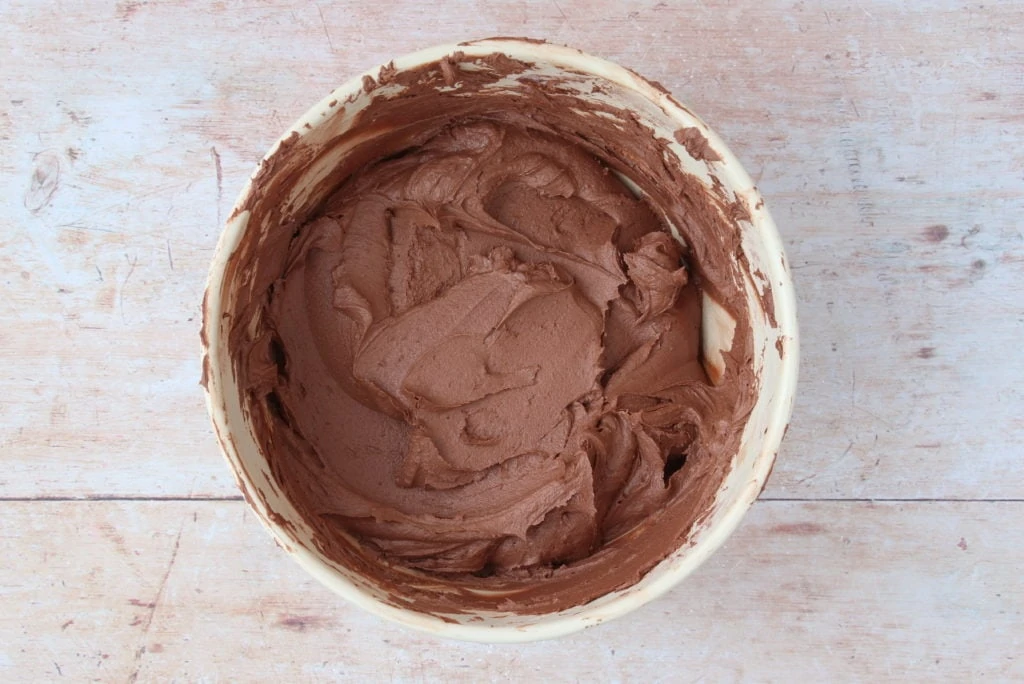
Divide the mixture into the tins and bake for 35 minutes or until a skewer inserted in the centre comes out clean. Then leave them to cool fully. Once the cakes are cool, level them off with a knife. To make the buttercream, mix together butter, icing sugar, cocoa powder, milk and orange extract until smooth.
For the full recipe with measurements, head to the recipe card at the end of this post.
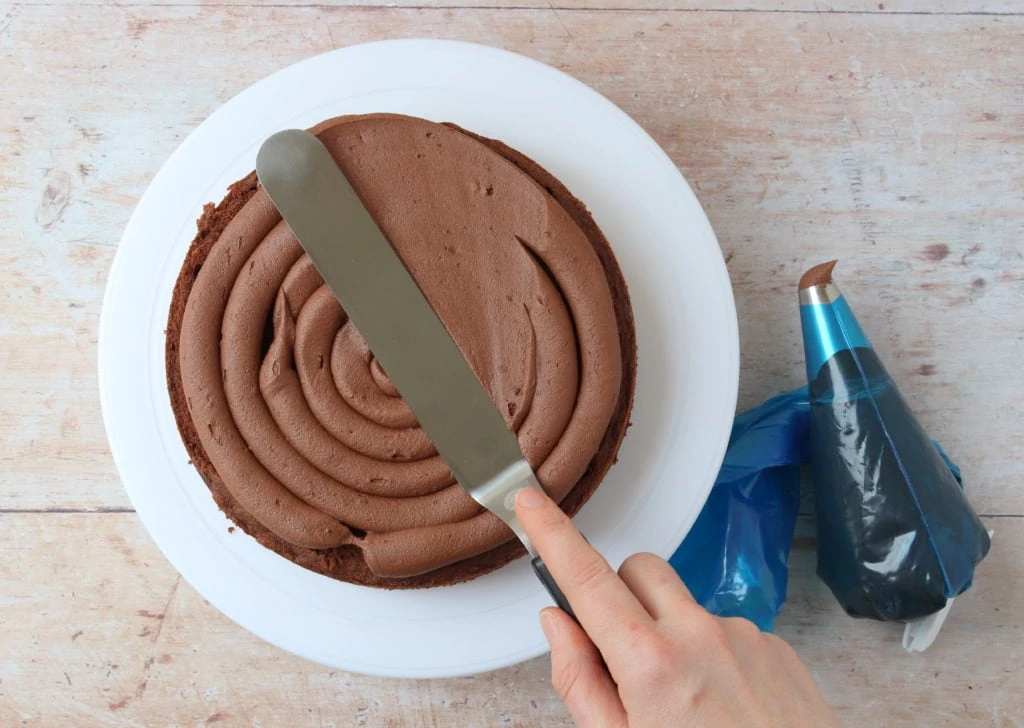
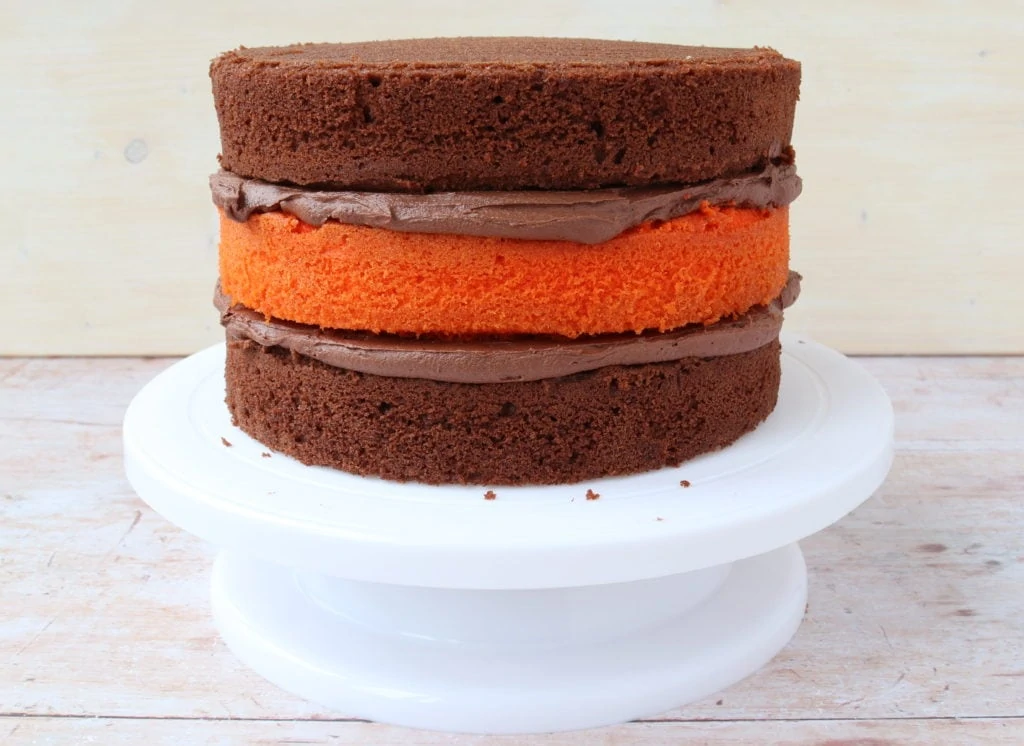
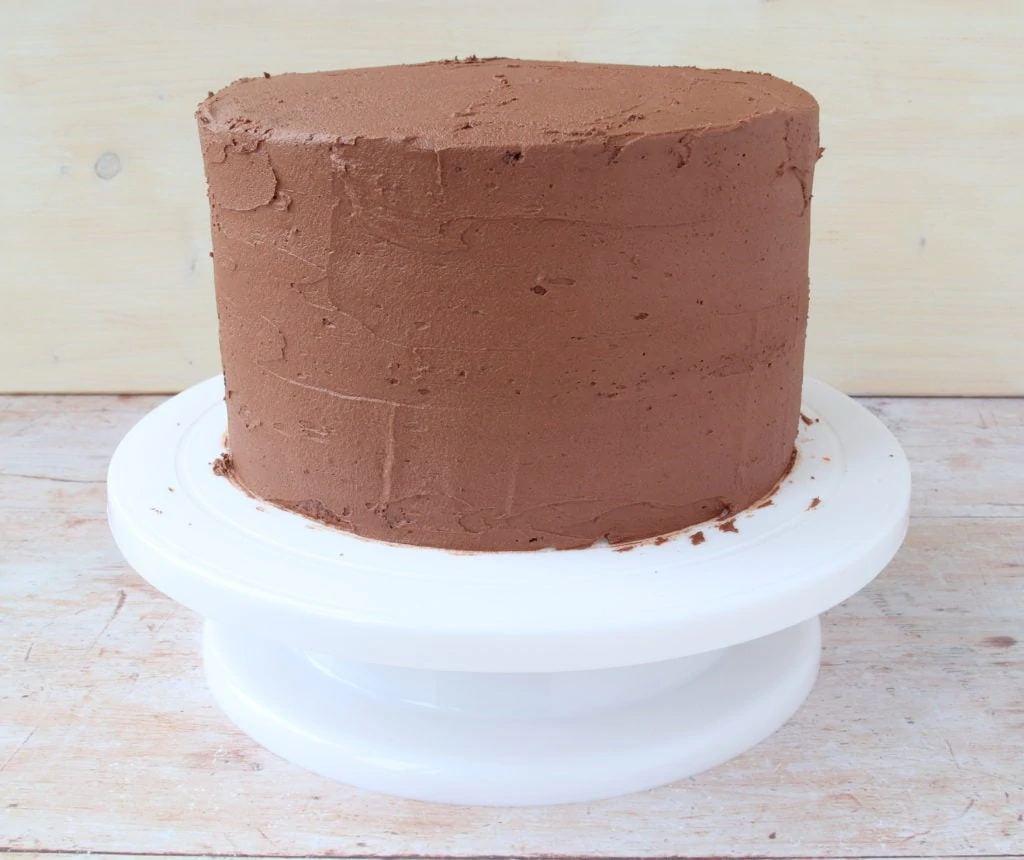
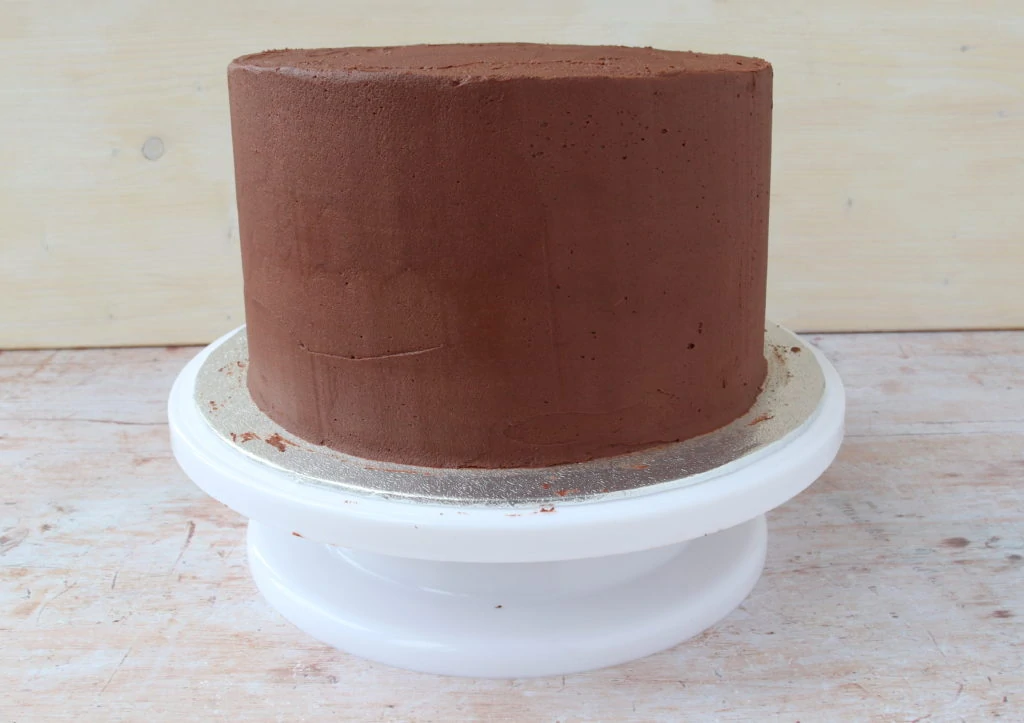
Stack up the sponges, smoothing the buttercream between each layer. Give the cake a crumb coat, then chill it for 30 minutes, then give it a final buttercream layer.
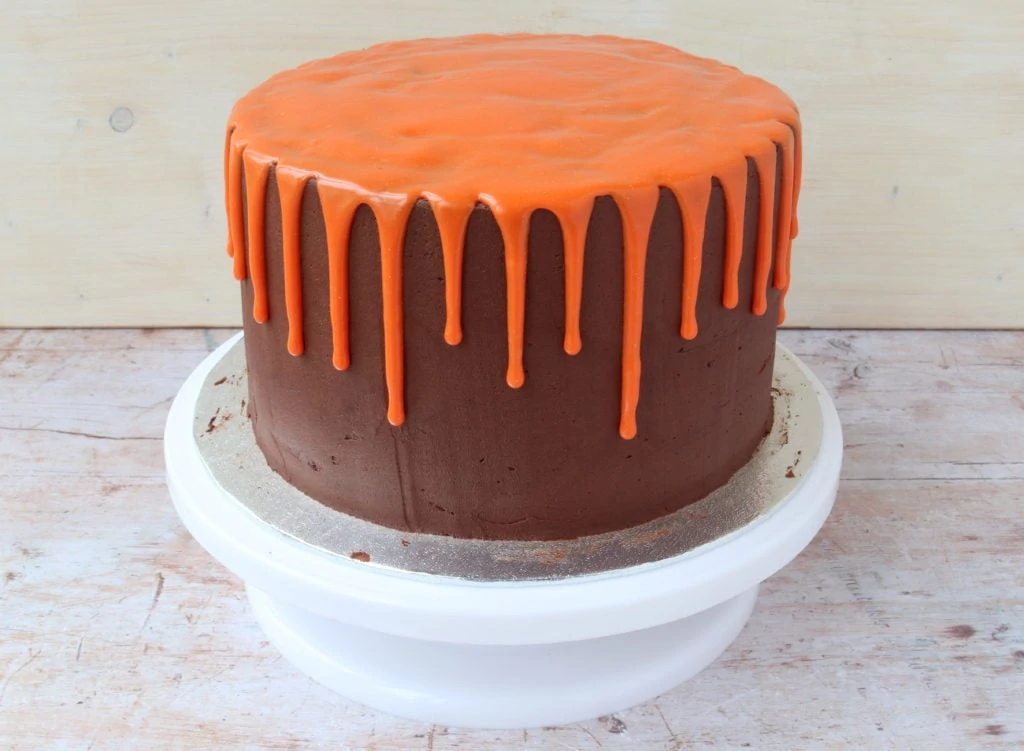
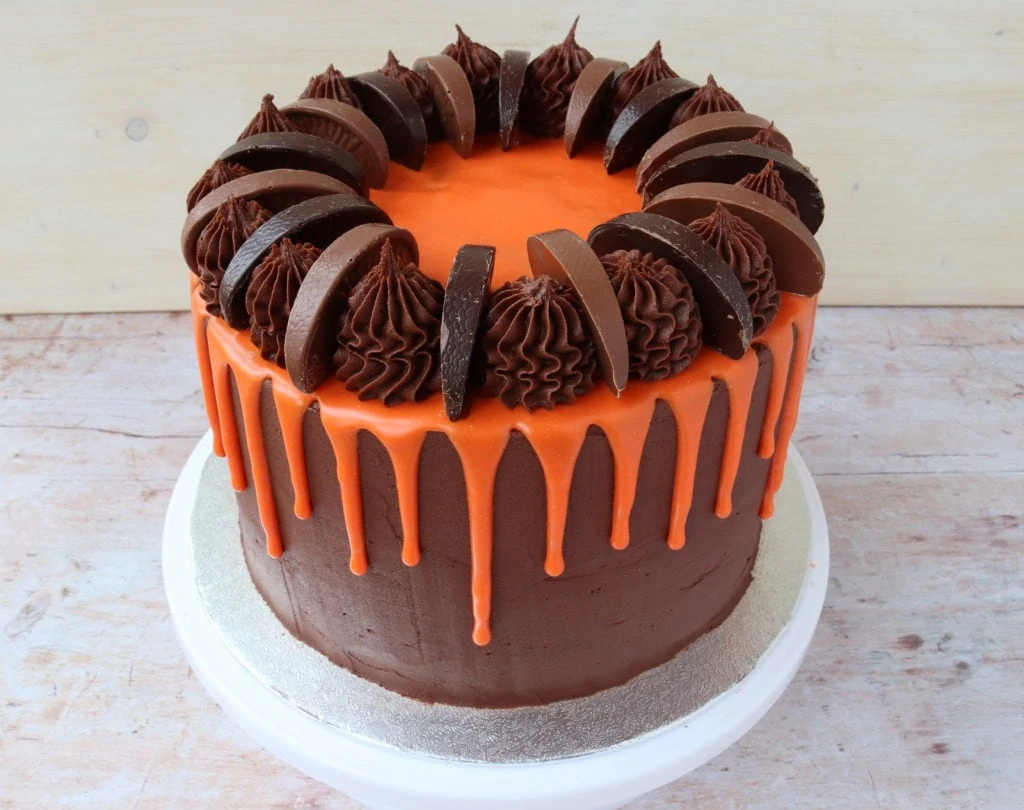
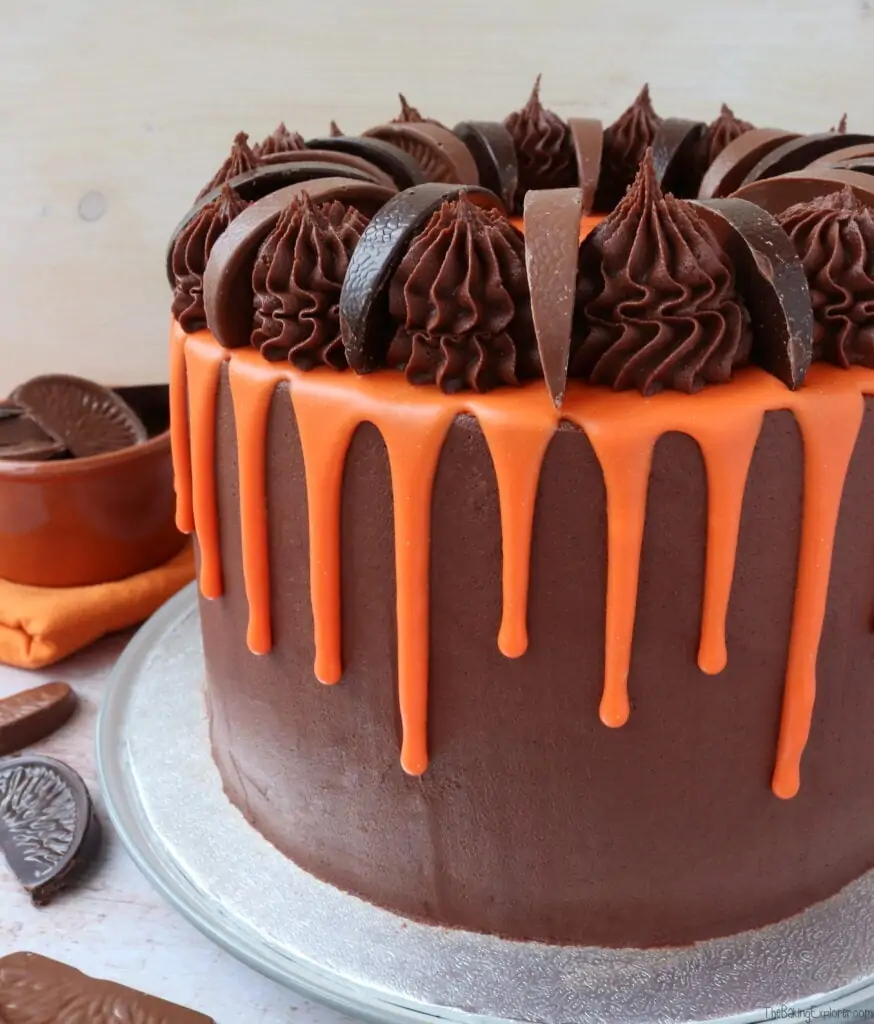
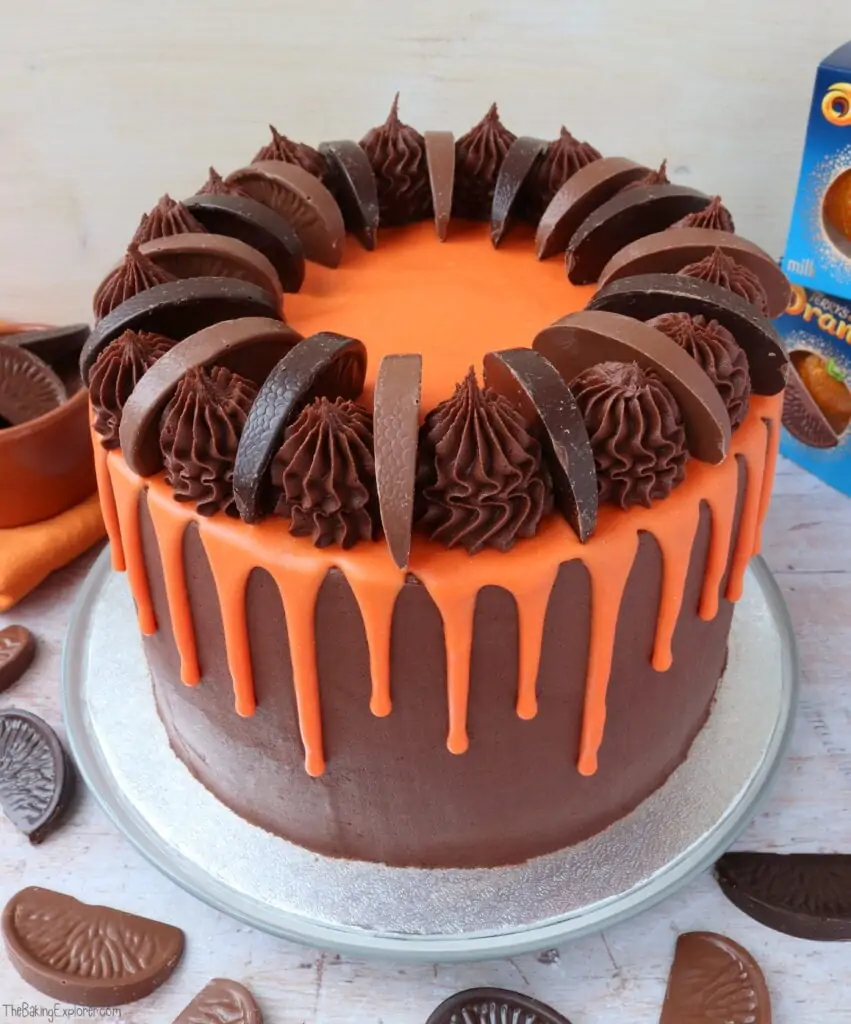
Next make a white chocolate ganache and colour it bright orange with food colouring, then drip it around the cake. Decorate with buttercream and Terry's Chocolate Orange pieces.
For the full recipe with measurements, head to the recipe card at the end of this post.

What is the best food colouring to use?
To get bright shades that remains strong after the cake is baked, you need to use professional grade gel food colouring. You can buy these easily from many online shops, including Amazon. I used the brand Pro Gel for this recipe, other good brands include Sugarflair, Colour Mill and Americolor. For the white chocolate ganache, I tried using orange food colouring but it kept going red (because white chocolate is actually yellowish!) so instead I used a mix of red and yellow food colouring, and it created the perfect bright orange shade!
How do you get the perfect chocolate drip?
It’s really important to have a good base for the chocolate drip, so the cake needs a ‘crumb coat’ base layer of buttercream, then a thicker top layer of buttercream. Try and get it as smooth as you can so the chocolate drip has a nice even surface to drip down. Each layer of buttercream needs to firm up in the fridge and be chilled when you apply the chocolate drip. Be frugal with the drip amounts at first and see how far it drips, then you can reduce or increase the amount of chocolate you release from the piping bag or squeeze bottle as you move around the cake. For all the information, including a tutorial video and step by step instructions with photos, check out my Ultimate Drip Cake How To Guide!
How long does the cake last for and can you freeze it?
The cake will keep in an airtight container for 3 days in a cool place. You can freeze the sponges. Once the sponges are fully cool, wrap them well with cling film or put them in an airtight container with some baking paper between them. You can also freeze the buttercream on it’s own in a tub. If you want to decorate and then freeze the cake without damaging the decoration, freeze it either in an airtight container or let it freeze solid on a cake board or plate, then wrap in cling film. Remove the cling film when you take it out to defrost it, if you don’t it could damage the buttercream as it defrosts and softens. You can also freeze slices of the cake, again well wrapped in cling film or in airtight containers.
Can you make the cake with plain/all purpose flour?
Self raising flour, which is very commonly used in the UK where I am based, already contains a raising agent and a little salt too. Therefore if you want to swap it for plain or all purpose flour, you will need to add some baking powder and also a little salt if you like. Some people like to add salt to cake recipes and some don't, so I'll leave that up to you as it won't affect the bake. The general advice is to add 2 teaspoons baking powder (a measuring teaspoon, not the kind you stir your coffee with) per every 200g plain or all purpose flour. Please note, I have not tested this recipe using plain or all purpose flour.
Will chilling the cake in the fridge dry it out?
No, the first chill to set the crumb coat is only for 30 minutes. Then the second chill, which again is only 30 minutes, the cake is covered in a thick layer of buttercream which seals the sponge inside. I've never experienced dry cakes from using this method. The most common cause of dry cakes is actually over baking your cakes.
Can this recipe be made gluten or dairy free?
Yes! For gluten free you can replace the self raising flour with a gluten free self raising flour blend. If you only have a gluten free plain flour blend, you will need to add additional baking powder. The general advice is to add 2 tsp baking powder per 200g flour, so for this recipe you'd need to add 5 ¼ teaspoons baking powder. You may also like to add 2 tsp xantham gum for better texture. For a dairy free version, use a dairy free baking spread and dairy free milk for the cake and buttercream. Please check the labels of everything you use if you are serving this cake to someone with an allergy or intolerance.
Can this cake be made in different size cake tins?
Yes! If you would like to make this cake in different size tins, please check my Conversion Guide to find out how to adjust the cake recipe.
More tips for making the Chocolate Orange Drip Cake:
- I decorated the cake with a mixture of milk and dark Terry's Chocolate Orange pieces. You can use one or both, or any other orange chocolate you prefer!
- If you only have two 8" tins, then make the batter for the chocolate sponge and bake it, then make the batter for the orange sponge and bake that. Do not make a batter and leave it on the side until you can bake it as it will affect the final sponge.
Troubleshooting
If you have any questions about this recipe, or if something went wrong and you need help, please use the comment form below and I will get back to you. You can also get in touch with me on my Twitter, Instagram or Facebook. I'd love to hear from you!
Recommended equipment & ingredients*
- 8″ cake tins
- Angled palette knife
- Orange extract
- Buttercream scraper/smoother
- Round cake tin liners
- Decorating turntable
- Piping bags
- Wilton 8B Piping nozzle
- Electric mixer
- Cake leveller
- Yellow food colouring
- Red food colouring
- Orange food colouring
- Terry's Chocolate Orange
*The items above are all affiliate links. I will receive a small amount if you make a purchase, this does not increase the price for you at all. Thank you for supporting The Baking Explorer!
More drip cake recipes…


More chocolate orange recipes…
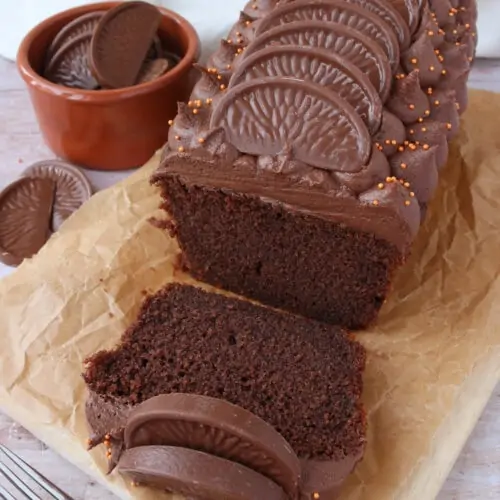
- Chocolate Orange Loaf Cake
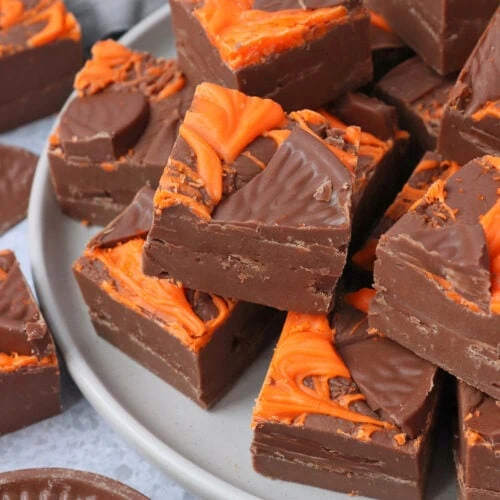
- Chocolate Orange Fudge
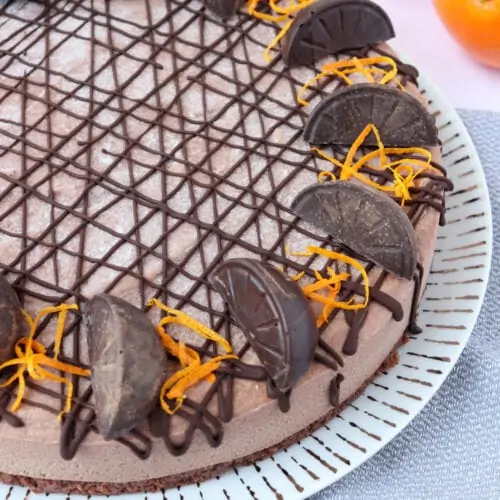
- Vegan Chocolate Orange Cheesecake
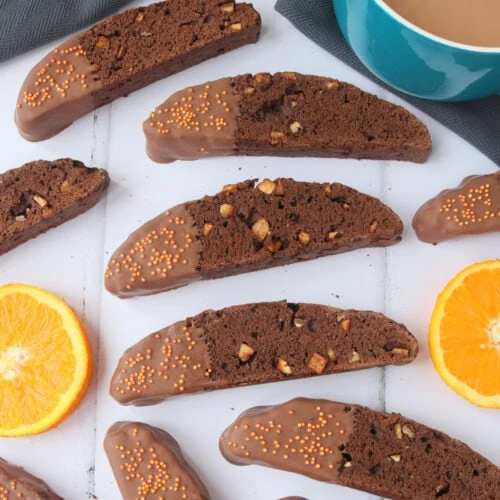
- Chocolate Orange Biscotti
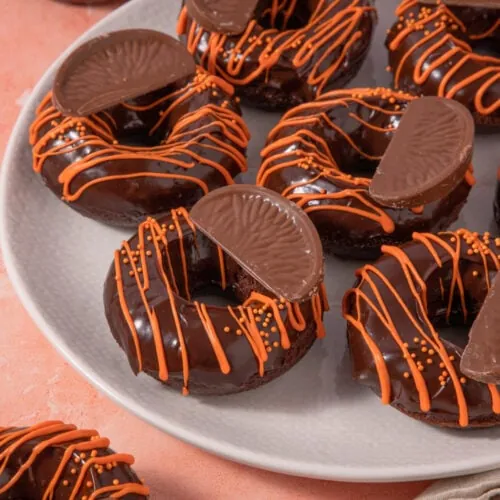
- Chocolate Orange Baked Donuts
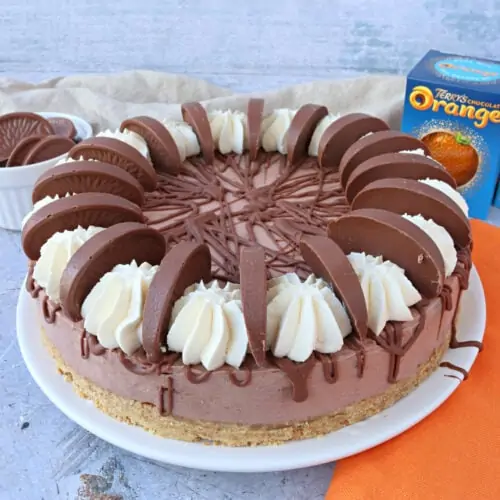
- Terry's Chocolate Orange Cheesecake (No Bake)
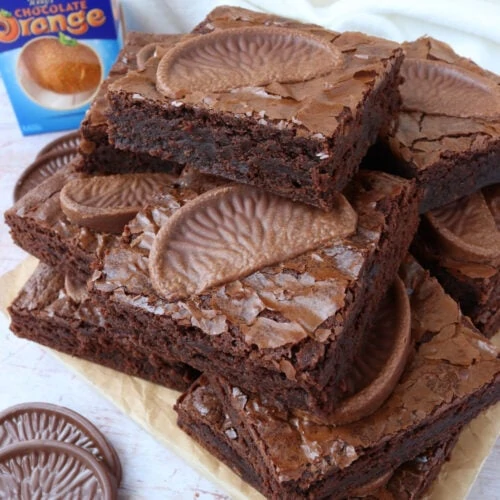
- Chocolate Orange Brownies
- Chocolate Orange Pancakes
- Chocolate Orange Cake
- Chocolate Orange Custard Tart
- Chocolate Orange Cookies
- Chocolate Orange Ice Cream (No Churn)
- Chocolate Orange Cupcakes
- Chocolate Orange Rocky Road
- Chocolate Orange Traybake Cake


Chocolate Orange Drip Cake
Ingredients
For the chocolate sponge
- 350 g Butter or baking spread softened, unsalted (I used Stork)
- 350 g Caster sugar
- 6 Eggs large
- 2 tsp Orange extract
- 2 tbsp Milk
- 300 g Self raising flour
- 50 g Cocoa powder
- ½ tsp Baking powder
For the orange sponge
- 175 g Butter or baking spread softened, unsalted (I used Stork)
- 175 g Caster sugar
- 3 Eggs large
- 1 tsp Orange extract
- 175 g Self raising flour
- Orange food colouring
For the buttercream
- 550 g Butter softened, unsalted
- 960 g Icing sugar
- 140 g Cocoa powder
- 3 ½ tsp Orange extract
- 2-3 tbsp Milk
For the chocolate drip
- 140 g White chocolate
- 60 g Double cream
- Red food colouring
- Yellow food colouring
For decoration
- 16 pieces of Terry's Chocolate Orange
Instructions
- Pre-heat your oven to 160C Fan/350F/Gas Mark 4, and grease and line three 8" cake tins (that are at least 2" deep)
- You can make both sponges at the same time if you have three tins, if you only have two tins, make one of them first then make the other afterwards. Do not make both and leave the batter on the side as it will affect the final results
For the chocolate sponge
- Mix the baking spread and caster sugar together for around 3 minutes until fluffy, ideally using an electric mixer
- Add the eggs, orange extract and milk, and whisk until fully incorporated
- Add the self raising flour, cocoa powder and baking powder and whisk or fold in gently, only until you can't see any flour anymore
- Divide the mixture between the two tins, use scales for accuracy
- Bake them for 35 minutes, check they are done by inserting a skewer or cocktail stick in the middle and if it comes out clean the cake is done, then remove from the tins and leave them to cool on a cooling rack
For the orange sponge
- Mix the baking spread and caster sugar together for around 3 minutes until fluffy, ideally using an electric mixer
- Add the eggs and orange extract, and whisk until fully incorporated
- Add the self raising flour and orange food colouring and whisk or fold in gently, only until you can't see any flour anymore
- Pour the mixture into the tin
- Bake them for 35 minutes, check it is done by inserting a thin skewer or cocktail stick in the middle and if it comes out clean the cake is done, then remove from the tin and leave to cool on a cooling rack
- To make the buttercream mix the butter, cocoa powder and icing sugar together. You may need to add the icing sugar and cocoa powder in stages, depending on how large your mixer bowl is. Once it starts to come together add the orange extract and milk and mix until smooth. For best results use an electric mixer with the paddle attachment. If the buttercream is too stiff, you can add a little more milk
- To stack and decorate the cake, level off each sponge with a cake leveller or knife if necessary, so they are all an even height. Place the bottom chocolate sponge on a decorating turn table with a cake board underneath and spread a layer of buttercream over the top
- Add the orange coloured sponge on top and again spread buttercream a layer of over it
- Add the final chocolate sponge on top of that, then cover the whole cake with a base layer of buttercream (a crumb coat). Put it in the fridge for 30 minutes to firm up
- Coat the cake with a second and thicker layer of buttercream and smooth it out as best you can. Then put it back in the fridge for 30 minutes to 1 hour to set
- To make the white chocolate ganache drip, put the white chocolate and double cream into a bowl and microwave for 20 seconds, then stir. Continue microwaving in 10 second blasts, stirring between each blast, until melted and smooth
- Add the red and yellow food colouring until a bright orange shade is achieved
- Put the chocolate drip mixture into a piping bag and snip a small section off the end, or put into a squeezy bottle
- Pipe blobs of ganache around the edge of the cake, allowing the chocolate to drip down the sides in varying amounts
- Once the drips are complete you can cover the whole top of the cake with the ganache if you like. Pipe the remaining ganache all over the top of the cake and use a palette knife to smooth it out. Put the cake in the fridge for 30 minutes for the ganache to set
- Put the remaining buttercream into a piping bag with your chosen nozzle and pipe swirls all around the edge of the cake
- Decorate with the Terry's Chocolate Orange pieces if using
- Leftovers will keep in an airtight container in a cool place for 2-3 days
Video
Notes
- Make sure all your ingredients (particularly the eggs and butter) are at room temperature before you start baking.
- I prefer to use a baking spread like Stork for the cake, and unsalted butter for the buttercream as I find they provide the best results.
- For the best results, use good quality professional food colourings. My favourite brands are Pro Gel and Sugarflair. You can buy these easily online. Other well known brands are Colour Mill and Americolor.
- For best flavour, use a good quality orange extract - not an essence. If you can't get it, you could use the zest of 3 oranges in the batter for the sponge. Orange juice isn't the best choice for the buttercream because the flavour of it is not strong enough.
- For all the tips and tricks on how to make a drip cake, including a how to video, check out my Ultimate Drip Cake How To Guide!
- Although I provide cup measurements, I highly recommend weighing your ingredients out using digital kitchen scales*. It is the most accurate way to measure ingredients and will ensure the best results. Digital scales are very low cost and can be purchased for around £12 ($16.50) .
- For teaspoon (tsp) and tablespoon (tbsp) measurements, please use measuring spoons* and not the type of spoons you eat with. Again this will ensure accuracy and provide the best results.
Nutrition
If you like this, check out more of my Cake recipes!
NB. This post is NOT sponsored by Terry’s – I just love their product!
Cat | Curly's Cooking
This looks amazing! I love chocolate and orange together and this looks so perfect.
thebakingexplorer
Thanks Cat!
Sonia
Fantastic cake! Very easy to follow and re-create (im a novice baker btw!)
Everyone commented how moist this cake was and even stayed moist 4-5 days later!
Thankyou for the inspiration 💓
Jacqui – Recipes Made Easy:Only Crumbs Remain
What a treat for any chocolate orange fan it looks fabulous. Thank you for sharing with #CookblogShare.
Eb Gargano | Easy Peasy Foodie
What a cake! That's seriously impressive... and you can never go wrong with that chocolate and orange combo 😀 Eb x
Antonia @Zoale
What a beautiful and cool cake! The flavors and decorations are amazing! Thank you for sharing this masterpiece with us at Fiesta Friday!
Emma
Kat, this is absolutely stunning. I have NEVER seen such orange colour in food, and so beautifully done with the chocolate too - your designs are so beautiful. Wonderful to see, thank you.
Emma 🙂
Kerry
If I were using 9 inch tins, how much more of the ingredients would I need? Is there a general rule of thumb?
Looks amazing !
thebakingexplorer
Hi Kerry, you can find out how to convert the ingredient amounts to different tin sizes in my conversion guide here: https://thebakingexplorer.com/ingredients-conversions/
Laura
Hi! I’ve just checked this link and it says 5 eggs for 6” so would I put 3 in the chocolate layers and 2 in the orange? Don’t want the orange to be too eggy tho…
Thanks!
thebakingexplorer
Hi Laura, what you could do is beat all the eggs together and weigh the mixture. Then divide it between the layers. So two thirds of it in the chocolate sponge, and one third in the orange sponge. Then it will be evenly spread throughout. I hope that helps!
Tony
Hi, how many calories per serving?
thebakingexplorer
Hi Tony, I've updated the nutrition underneath the recipe for you. Please note this is done via an automatic calculator, so if you want exact values based on the ingredients you use then I would advise using an app like MyFitnessPal to work it out. There will be variations depending on if you use butter or baking spread for example, and of course how many servings you cut the cake into. I hope this helps.
Lynne’s bakes
Thank you for sharing this amazing recipe it’s so easy to follow with your step by step instructions. I made this for my daughter and her nursing colleagues to help them through their night shift and they loved it 🍊😄
Poppy Fuller
Hiya, would it make any difference if i added the ingredients and made just 3 choco sponges rather than the orange food colouring in one?
thebakingexplorer
Hi Poppy, yes you can definitely do this!
Abigail Tester
Soon as I saw this I knew it needed to give it a go! Lovely recipe and really happy with how mine turned out, thank you for sharing! Tastes gorgeous and I’m sure my family are going to love it too!
thebakingexplorer
Thank you so much Abigail!
Lucy
I made this delicious cake for my brother’s birthday. The recipe was easy to follow which is good as I’m a beginner! Everyone said the cake tasted great and looked amazing. Thanks for sharing! 🙂
Grace
My cake was too dry, does anyone know why this may be (I know it’s not the recipe as it’s had so many good reviews). The buttercream was amazing and the cake looked great but the cake layers weren’t moist at all, if someone could tell me where I went wrong that would be amazing 🙂
thebakingexplorer
Hi Grace, the reason for dry cakes is almost always because they have been overbaked. I'm glad you liked the buttercream 🙂
Sophieeeee
Maybe you over baked it?
helen prowse
Just made this for a birthday cake as i was asked to make a choc/ orange one, couldnt get the ganache to run so only on the top but looks great all the same, hope it tastes alright 😁
Kate
I'm just attempting this now (wish me luck). I noticed that you didn't add baking powder to the orange layer - is this an accidental or intentional omission?
Many thanks, Kate
thebakingexplorer
Hi Kate, it's an intentional omission. It's added to the chocolate layer because some of the self raising flour is replaced with cocoa powder, so it gives it that extra rise. I hope you enjoy the cake, please let me know!
Vicky
For drip it says double cream in ingredients, in instructions it does not mention cream?
thebakingexplorer
Hi Vicky, I've written put "the ingredients" but I will change to the chocolate and cream to be more clear.
Louise
Love this recipir iv now made 3 with people wanting more. Amazing. X
thebakingexplorer
Thank you Louise!
Rach
I'm about to do this cake for a retirement gift, however, when I did my last drop cake (it was my first attempt!) My drips didn't drip, is there a reason why this happened or was it me not doing the ganache right? Other than that, everything I make from your recipes are amazing x
thebakingexplorer
Hi Rach, was it this recipe that didn't drip for you or another recipe? Sometimes if the cream gets too hot when you heat it, it can seize up and the ganache goes too thick. If you've had trouble doing it in a microwave before, try heating it in a bain marie instead. I hope that helps!
Mireille
Beautiful cake!! Which tip did you use to make the decorations on top? Thanks!!
thebakingexplorer
Thank you! It was Wilton 8B - it's linked in the recommended equipment section 🙂
Katie Sammonds
Made this for a Father’s Day bbq and it went down a treat- I’ve never successfully done a drip cake before but tried a couple of times, and this time it went really well. Will definitely be doing again!
Laura
Made this at the weekend! The buttercream was a bit thick and difficult to spread, and the drip went a bit see-through in places but everyone loved it so I call it a massive success 🤣 Thanks for your advice on the eggs too! 😁
Nina
My only downside for making this is everyone loved it so much I'm now tasked with making more of your cakes for other occasions.
thebakingexplorer
That's lovely feedback, thank you Nina!
Siri
I was a bit disappointed with several aspects of this recipe, and found the end result to be, yes, beautiful, but the cake was dry. I do believe all ingredients should be at room temperature before you try to mix them (mine were, but the recipe doesn't indicate they should be). I wasn't clear why neither the cake recipe nor the buttercream had any salt in it (perhaps you are using salted butter? Clarification would be helpful). Also I was interested to note that the orange layer did not have baking powder, while the chocolate layers did. Why is that? I also thought the amount of butter was excessive for the buttercream. In my experience, making American Buttercream it is helpful to beat the butter on high speed for 7-10 minutes prior to adding the sugar to get the right consistency and not have a very buttery taste; the directions don't indicate any beating time and imply to mix everything in all at once. (I think it would be impossible to mix that amount of butter in with a spoon). I would have added orange zest to the buttercream I think as the orange extract tasted a bit too unnatural. I loved making the drip and was amazed at how the red plus yellow makes such a brighter orange than just plain orange gel coloring. Overall as mentioned above I found the cake to be on the dryer side and would have perhaps used either sour cream or buttermilk in the batter to increase the moistness.
thebakingexplorer
Hi Siri, yes the ingredients should all be at room temperature, this is standard in cake recipes but I can absoltuely add the information for any newer bakers. There is no salt in the recipe because it's not listed as an ingredient, I'm not sure how else to indicate that it's not required apart from doing this. It is noted that I used Stork, which does contain a little salt. The orange layer doesn't have baking powder because in the chocolate layers some self raising flour has been replaced with cocoa powder, so the baking powder makes up for any loss of raising agent from this swap. The amount of butter for the buttercream is based on a 1:2 ratio of butter to icing sugar and cocoa powder, which is very standard for ABC, in my experience it works brilliantly to create a stiff buttercream that pipes and spreads beautifully. Before I had an electric mixer, I did mix large quantities of butter with a large spoon, it's not easy and it takes a while, but it is possible. However for best results, an electric mixer is definitely the best choice. I personally would not add orange zest to buttercream like this, as you will end up with bits/lumps in it and you won't get a smooth finish around the cake. I recommend using a good quality orange extract because they are a natural orange flavour made from real orange oil. Essences are synthetic, so maybe you used an essence if you found the flavour unnatural. The main cause of a dry cake is over baking, all ovens are different and I recommend a time based on my oven, but you know your oven best. The other reason could be that your oven is too hot, an oven thermometer can help with this. I hope that answers all of your comments and questions, but do let me know if not, and I will update this post with some extra information to assist people in future. Happy baking 🙂
Daria
Hi unrelated but can you make a cake decorating tutorial, because mine always look very sloppy. Thanks!
thebakingexplorer
I have a drip cake one on my YouTube if that helps, you can watch it here: https://youtu.be/FPArW8Au8Jo?si=tnIaSHBEzF5-k5-Q