
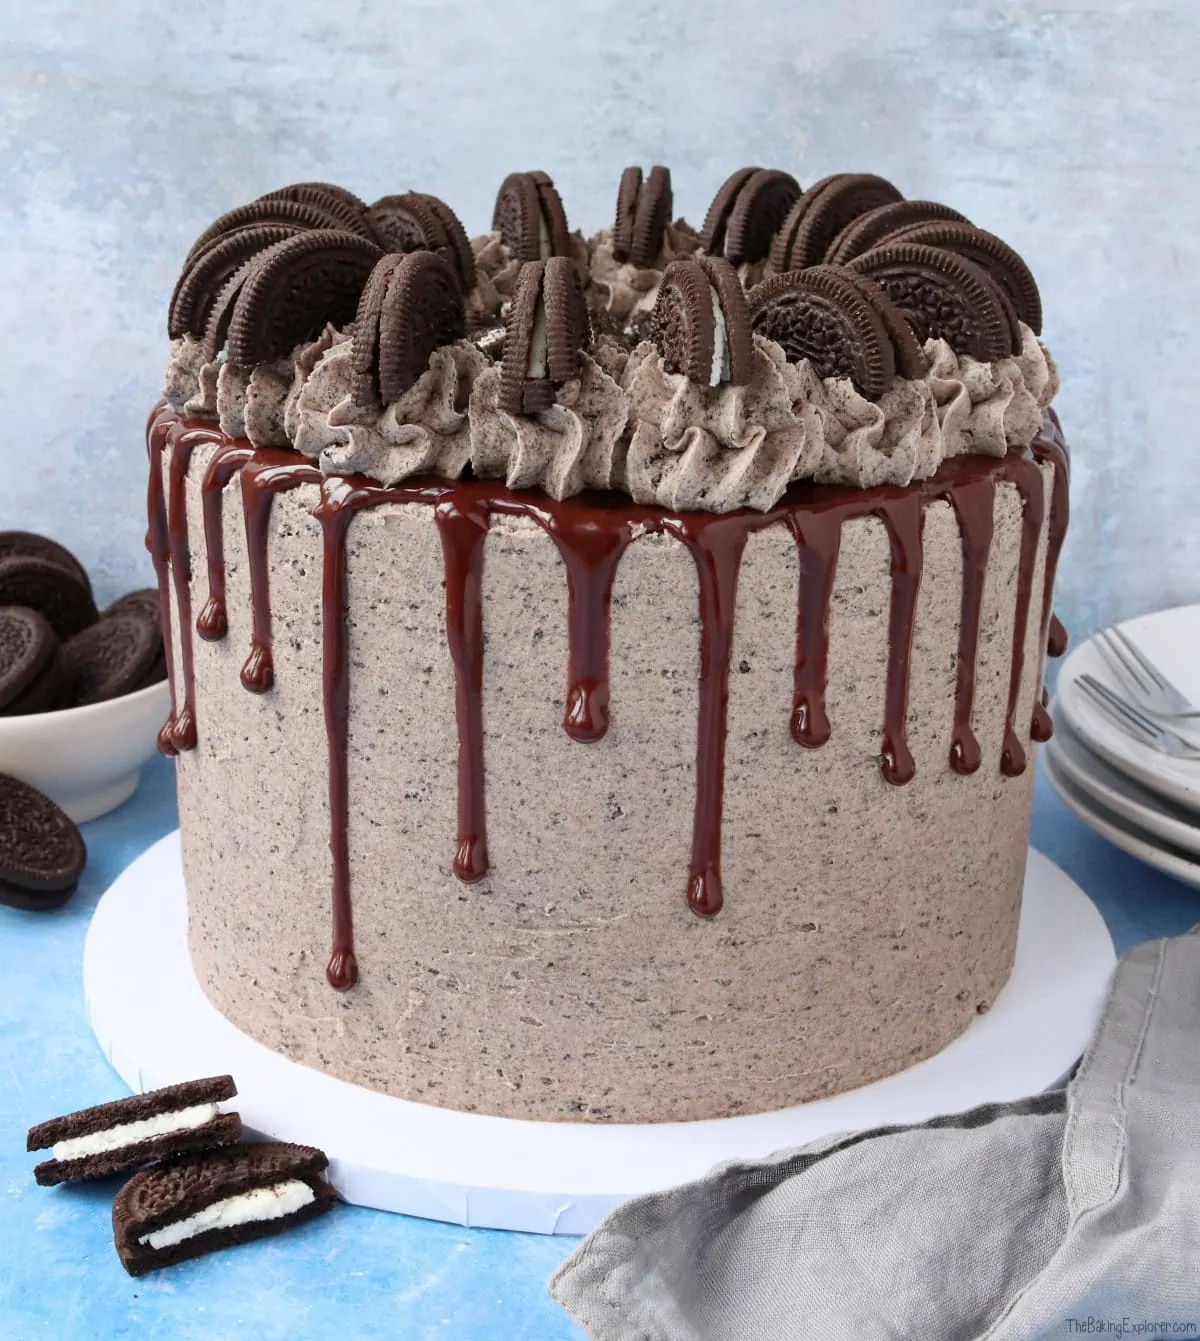
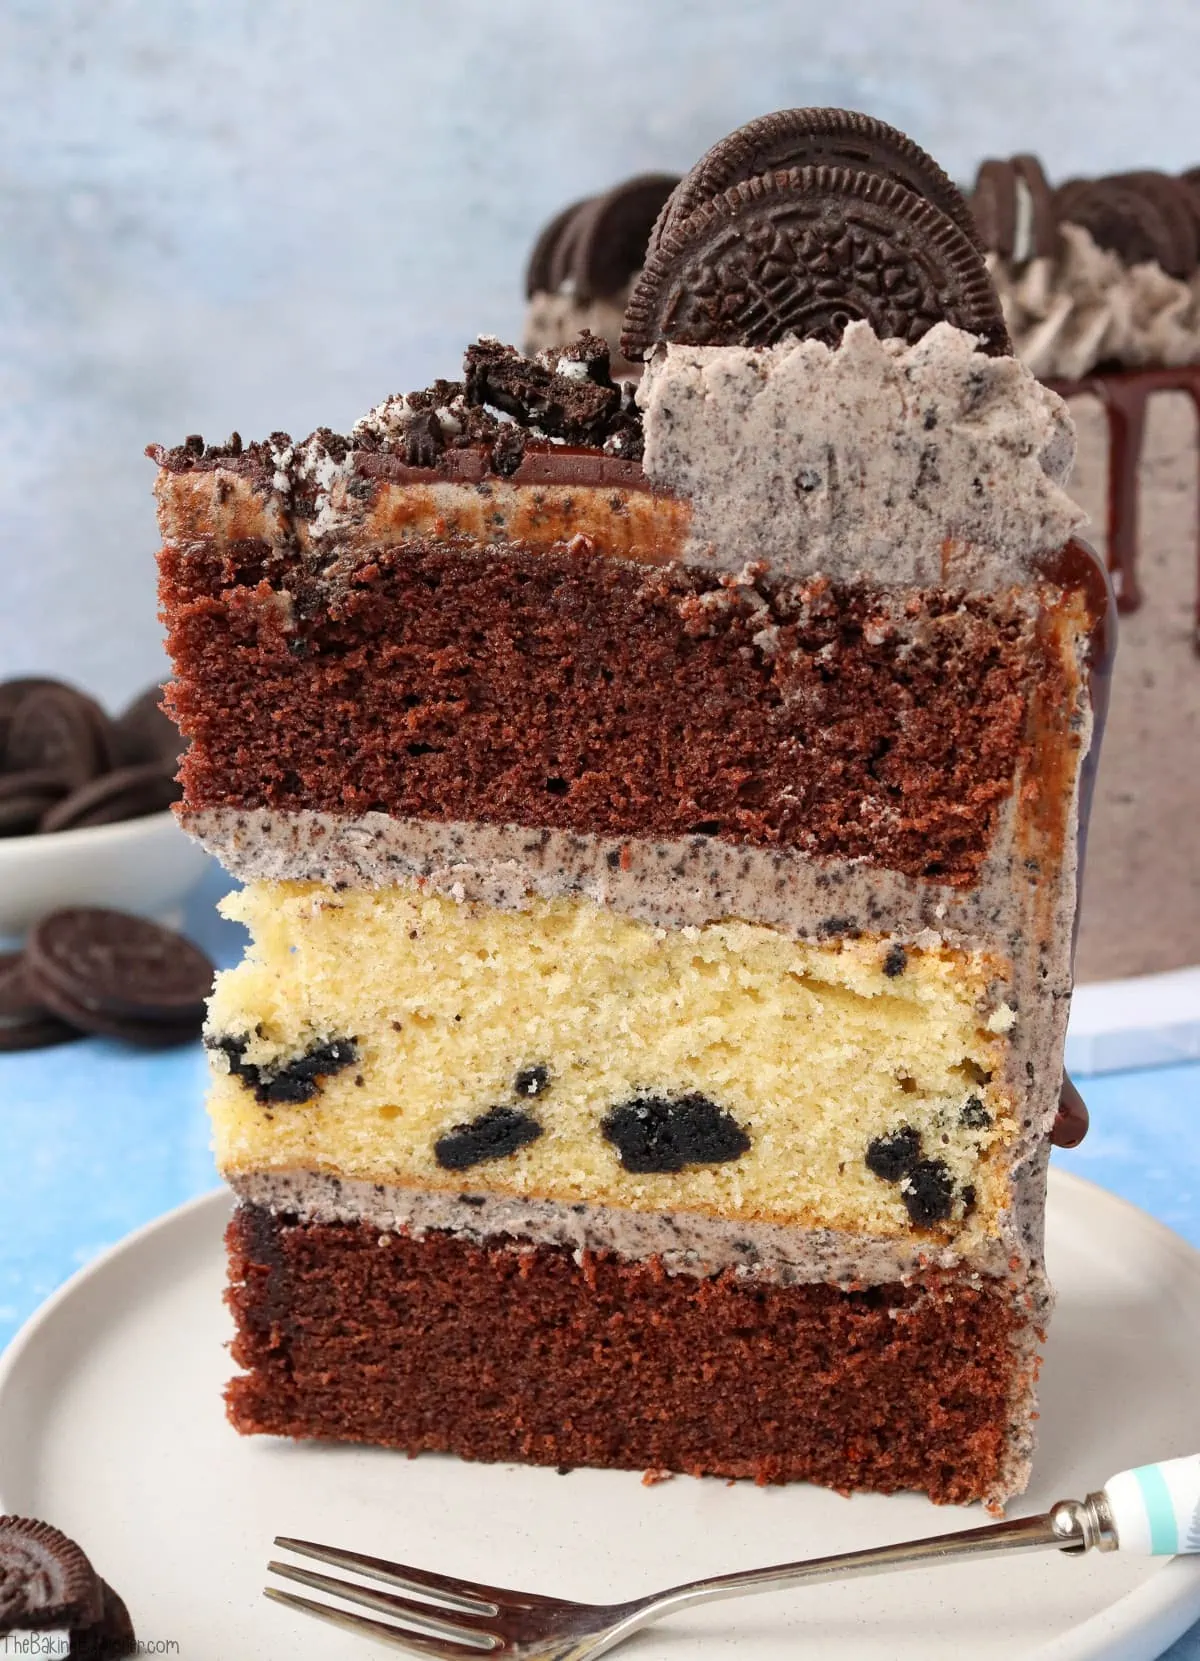
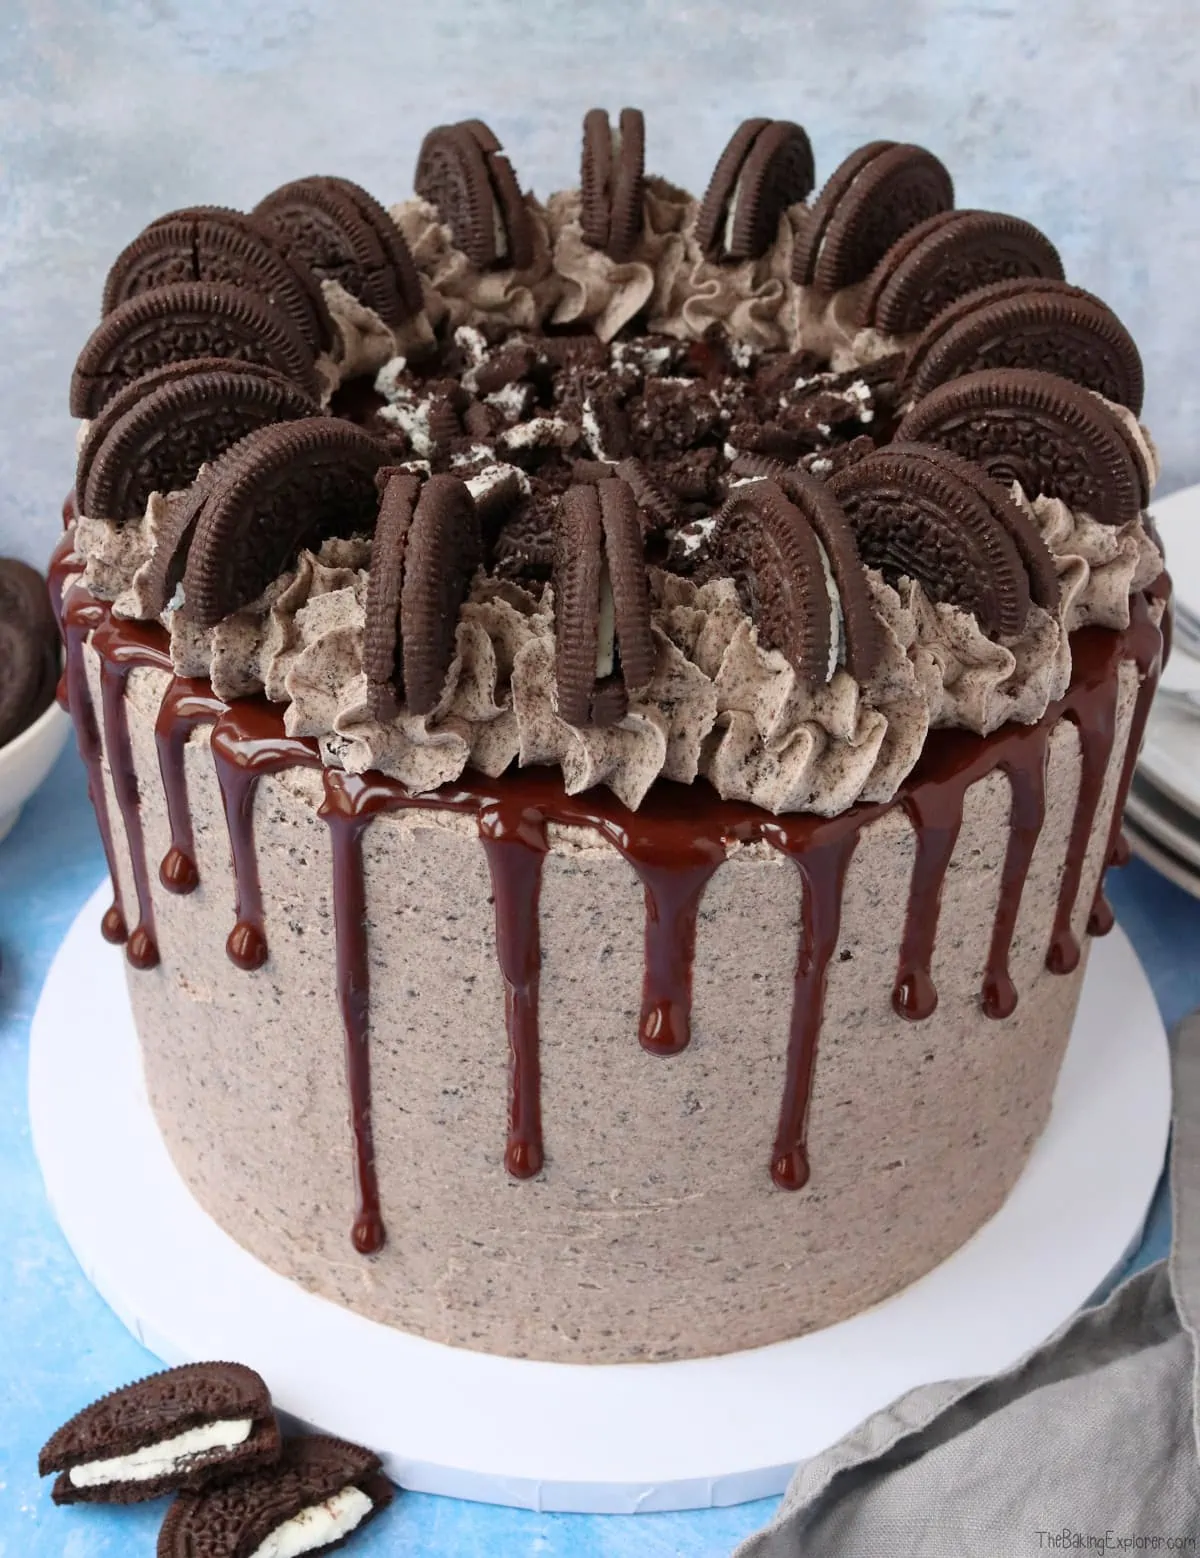
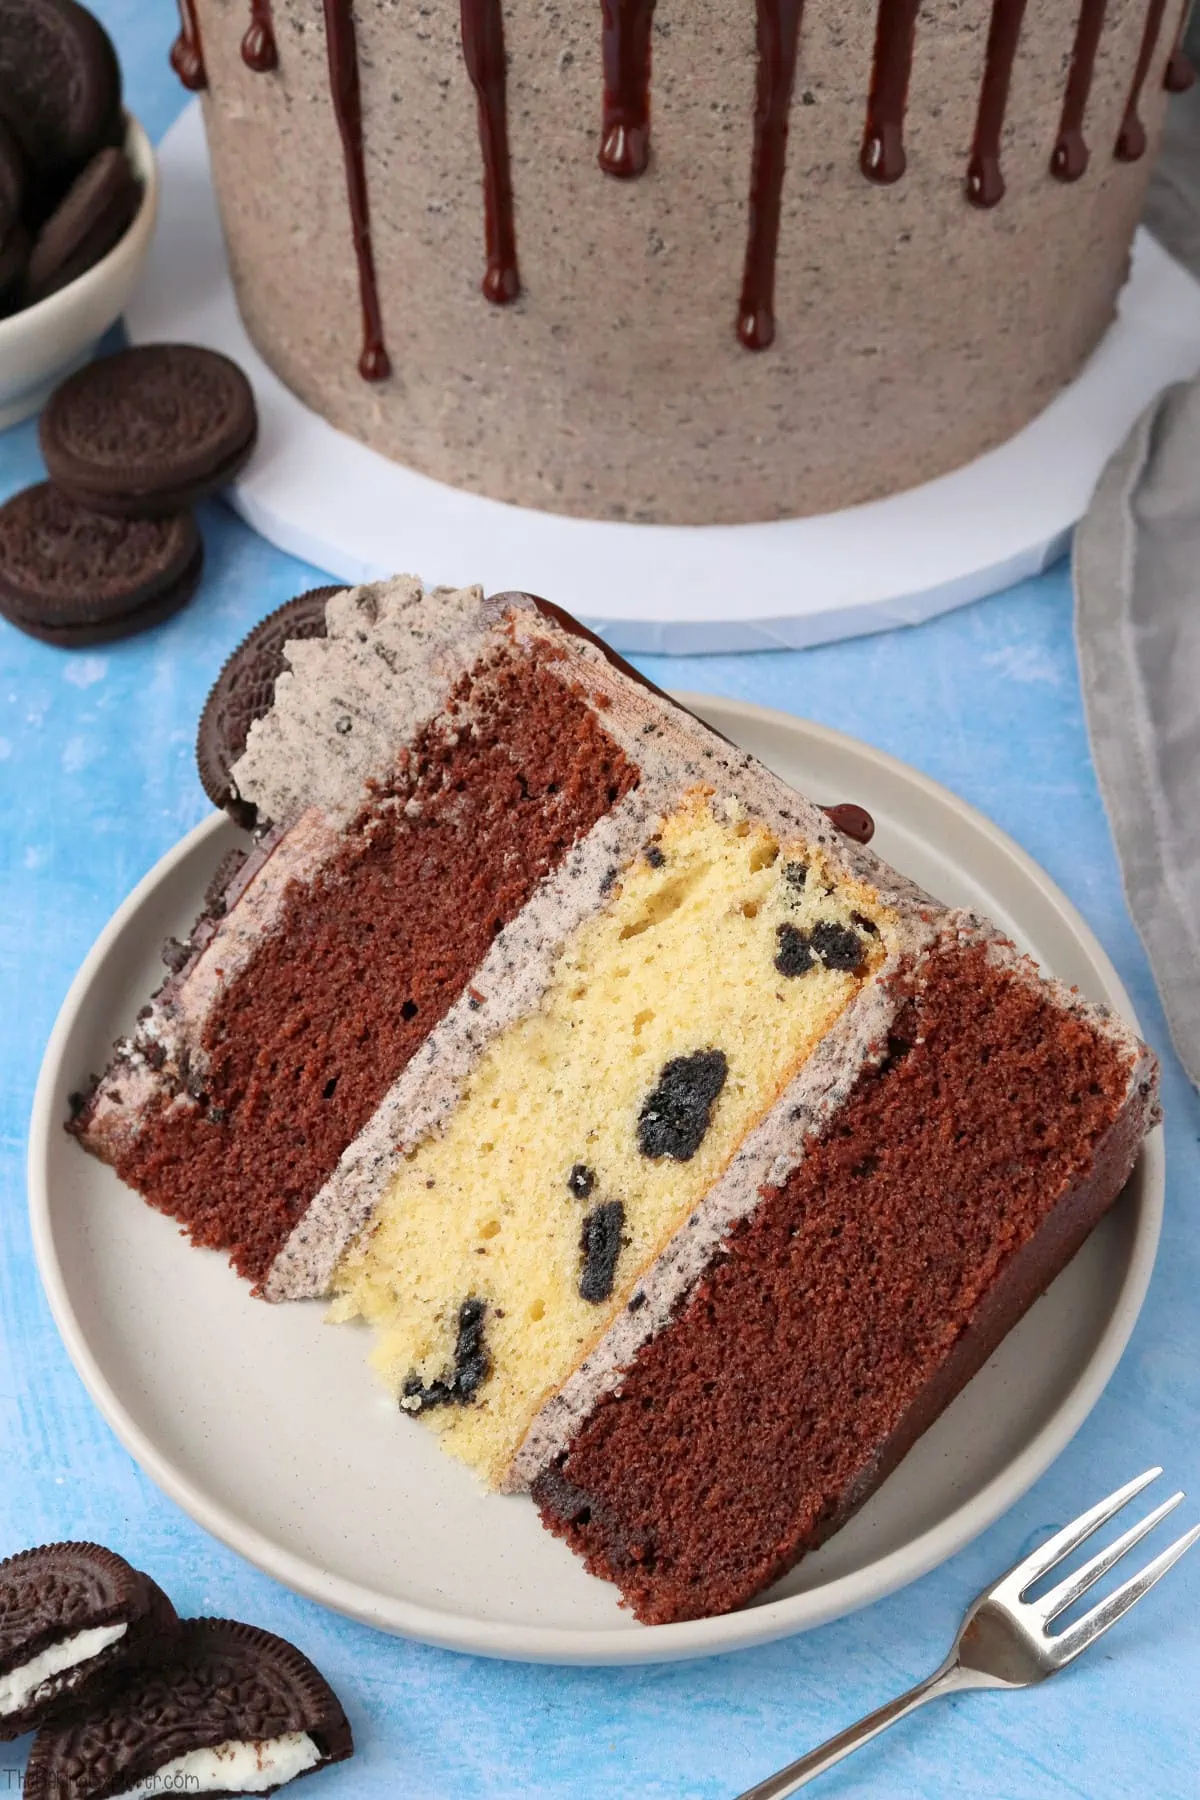
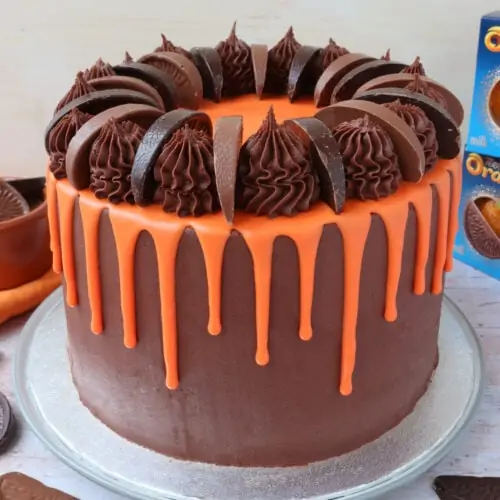
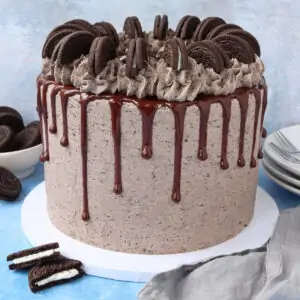
This Cookies and Cream Oreo Drip Cake is a showstopping cake and would be perfect for birthdays and celebrations. It features two chocolate sponges, with a cookies and cream sponge sandwiched in the middle. The whole cake is covered in Oreo cookies and cream buttercream, a chocolate drip and more Oreo biscuits on top. If you love Oreos or cookies and cream ice cream, then you need to try this Cookies and Cream Oreo Drip Cake!
Ingredient Tips & Equipment Information
- Make sure all your ingredients (particularly the eggs and butter) are at room temperature before you start baking.
- I prefer to use a baking spread like Stork for the cake, and unsalted butter for the buttercream as I find they provide the best results.
- Make sure to use a large open star nozzle to pipe the buttercream onto the cake. The Oreo crumbs will get stuck in a closed star tip or a very small tip.
- For all the tips and tricks on how to make a drip cake, including a how to video, check out my Ultimate Drip Cake How To Guide!
- Although I provide cup measurements, I highly recommend weighing your ingredients out using digital kitchen scales*. It is the most accurate way to measure ingredients and will ensure the best results. Digital scales are very low cost and can be purchased for around £12 ($16.50) .
- For teaspoon (tsp) and tablespoon (tbsp) measurements, please use measuring spoons* and not the type of spoons you eat with. Again this will ensure accuracy and provide the best results.
For the full recipe with measurements, head to the recipe card at the end of this post.
How to make Cookies and Cream Oreo Drip Cake

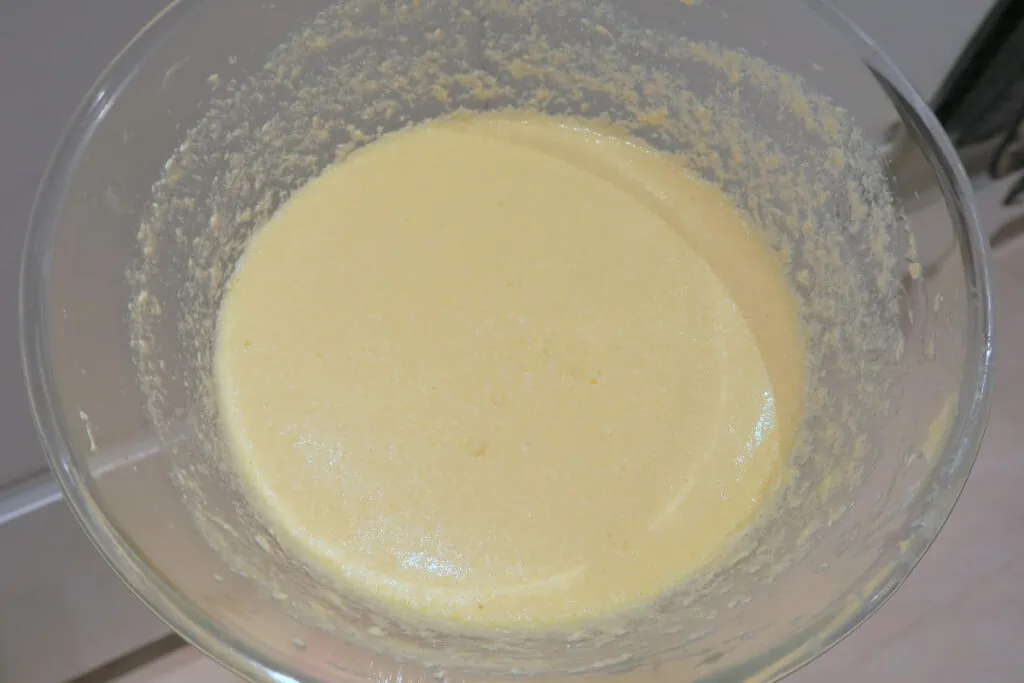
To make the chocolate sponges, mix the butter and sugar together until fluffy (about 2-3 minutes), then whisk in eggs and milk.
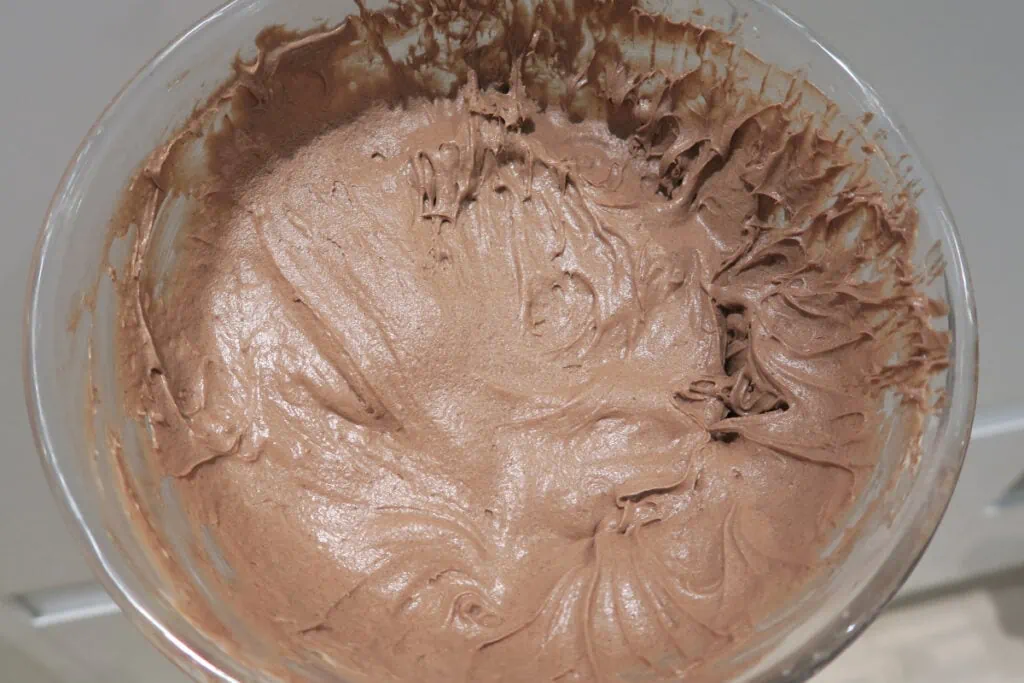
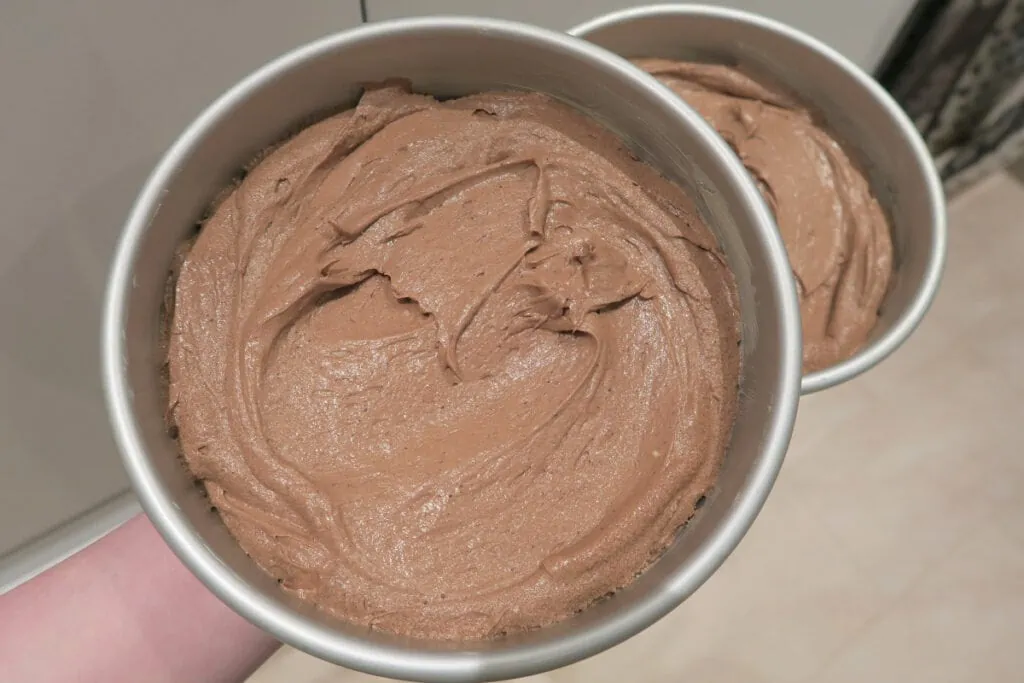
Add self raising flour, cocoa powder, bicarbonate of soda and baking powder, and mix in gently. Divide the mixture evenly between two lined and greased 8" cake tins. Bake them for 35 minutes, or until a skewer inserted in the centre comes out clean, then leave them to cool either in the tins or on a cooling rack.
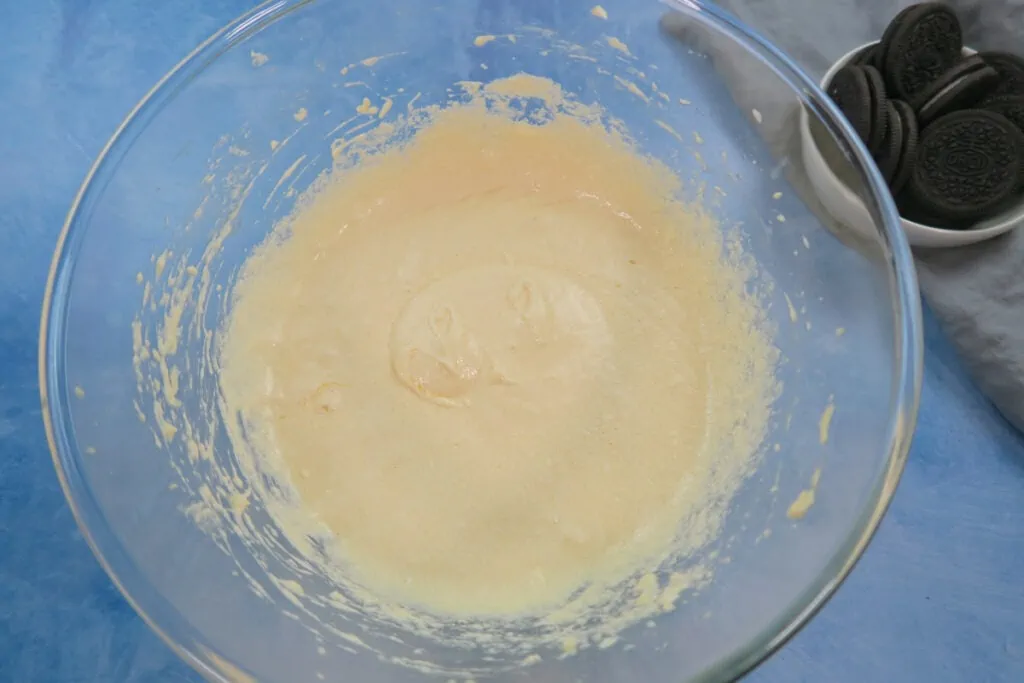
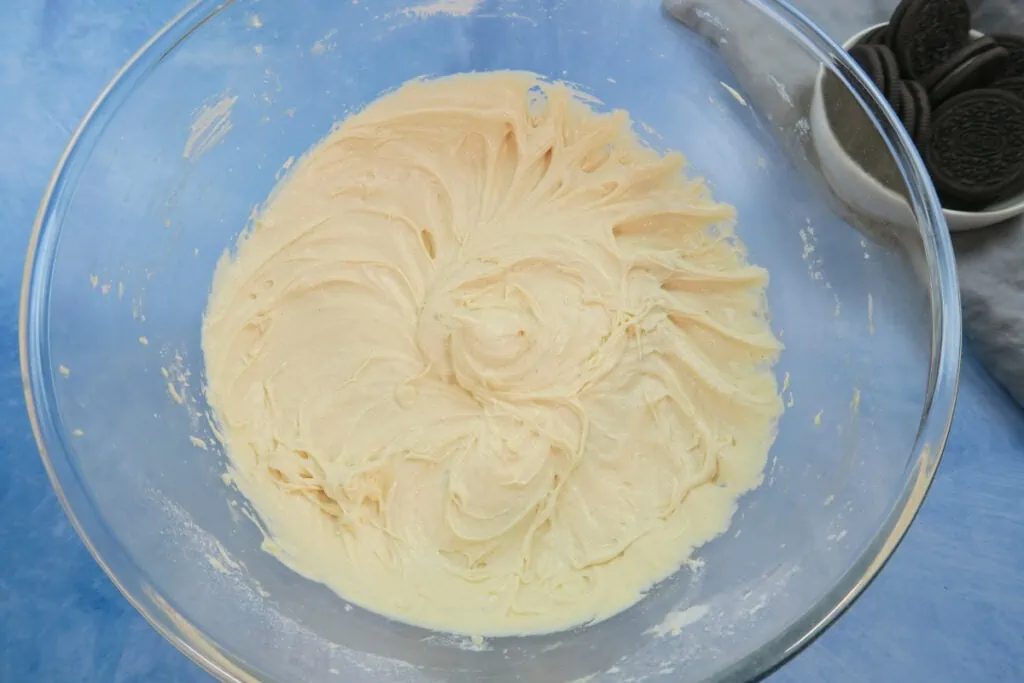
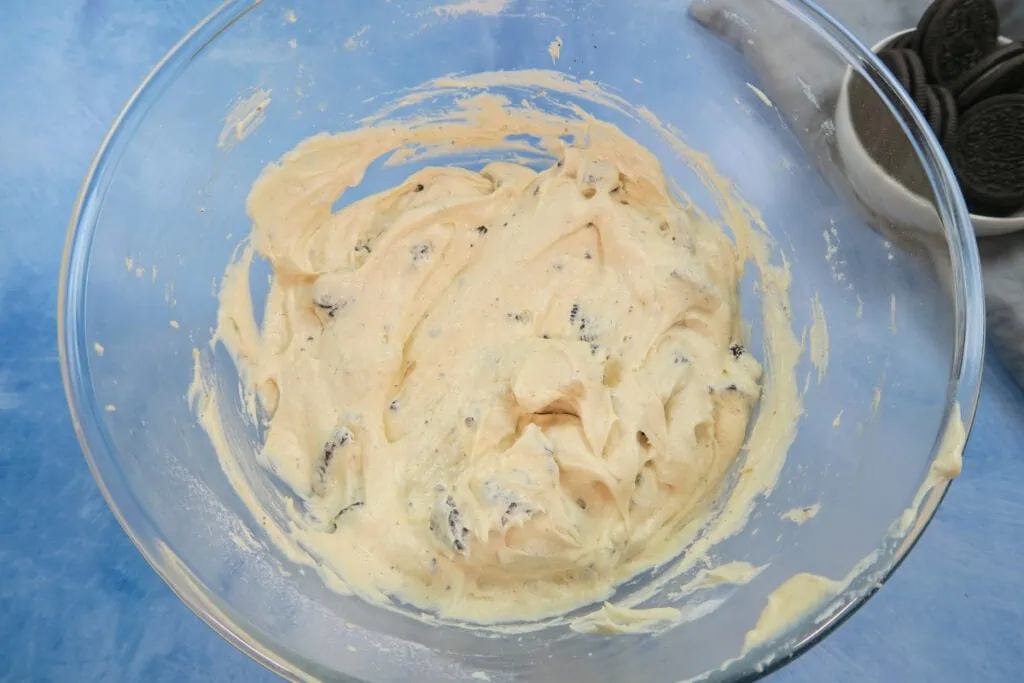
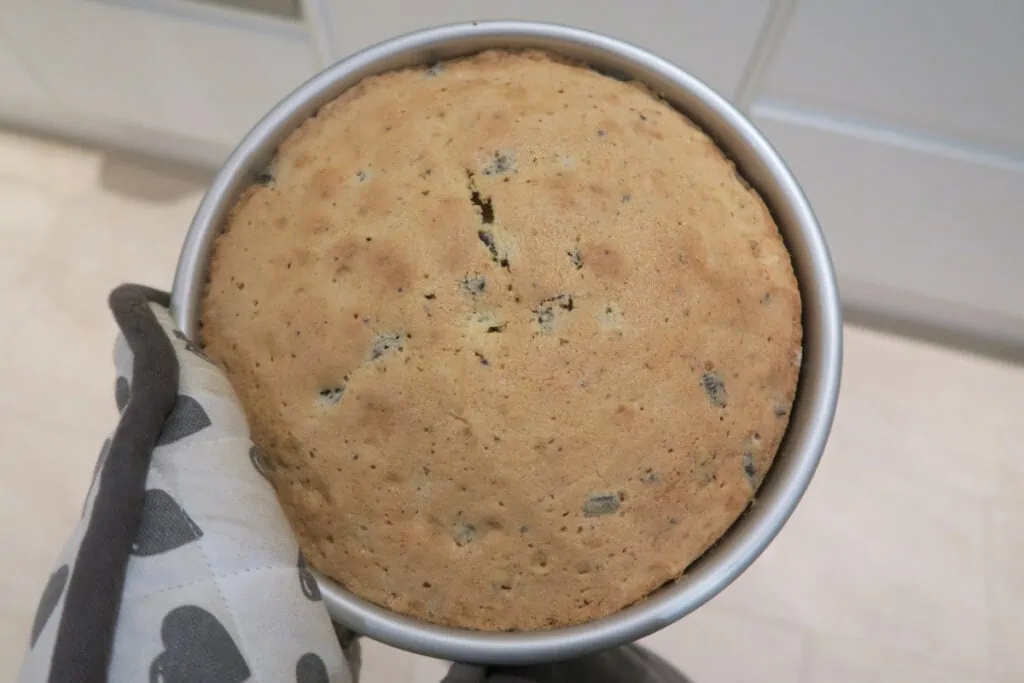
For the cookies and cream oreo sponge, mix together butter and sugar. Then add eggs, vanilla extract, self raising flour and some chopped up oreo pieces. Pour the batter into the cake tin. Bake for 35 minutes, or until a skewer inserted in the centre comes out clean, then leave to cool fully.
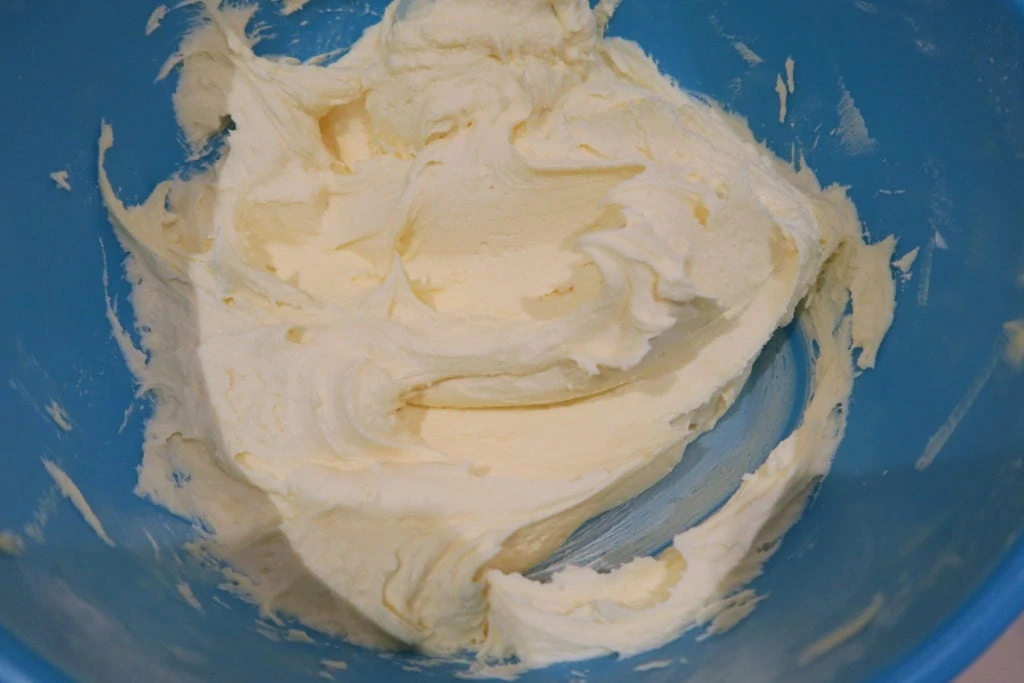
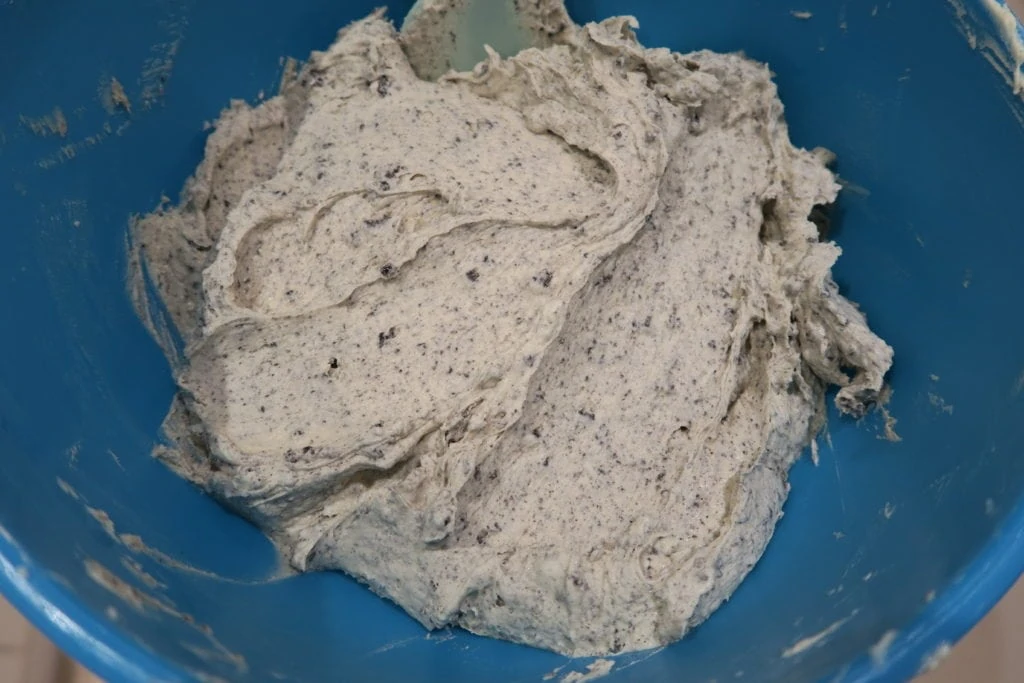
For the buttercream, whisk together the butter, icing sugar, milk and vanilla extract until smooth. Then stir in the crushed Oreo crumbs.
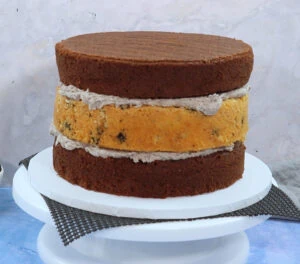
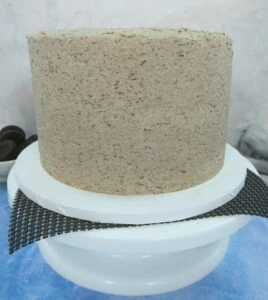
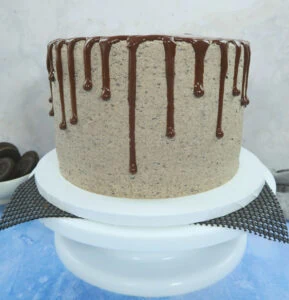
To stack and decorate the cake, first level off each sponge with a cake leveller or knife so they are all an even height. Then place the bottom chocolate sponge on a decorating turn table and spread buttercream over the top. Add the oreo sponge and again spread buttercream over it. Then top it with the final chocolate sponge. Cover the whole cake with a base layer of buttercream called a crumb coat. Then put in the fridge for 30 minutes to set. Add the second layer of buttercream and smooth out as best you can (it won't be perfectly smooth because of the oreo crumbs) Then put it back in the fridge for an hour to set. For the chocolate drip, put it in a small piping bag and pipe blobs of different amounts around the edge of the cake, allowing the chocolate to drip down the cake. Use a palette knife to smooth the chocolate out on the top of the cake. Then put it back in the fridge for the drip to set. Add buttercream swirls, halved Oreo biscuits and chopped up Oreos to decorate.
For the full recipe with measurements, head to the recipe card at the end of this post.

How do you get the perfect chocolate drip?
It's really important to have a good base for the chocolate drip, so the cake needs a 'crumb coat' then a top layer of buttercream. Try and get it as smooth as you can so the chocolate drip has a nice even surface to drip down. Each layer of buttercream needs to firm up in the fridge and be chilled when you apply the chocolate drip. Be frugal with the drip amounts at first and see how far it drips, then you can reduce or increase the amount of chocolate you release from the piping bag or squeeze bottle as you move around the cake. For all the information, including a tutorial video and step by step instructions with photos, check out my Ultimate Drip Cake How To Guide!
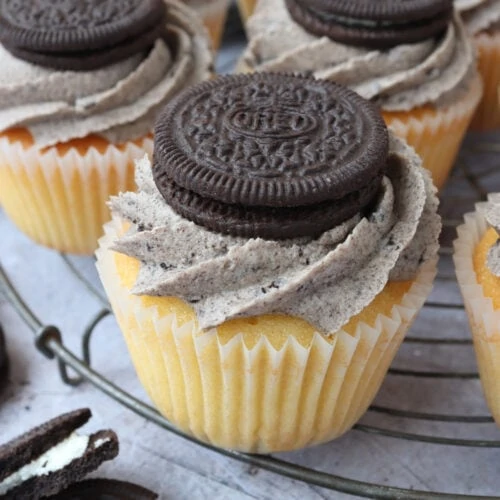
Can this cake be made into cupcakes?
Yes! Please check out my Vanilla Oreo Cupcakes recipe for instructions.
How long does the cake last for and can you freeze it?
The cake will keep in an airtight container for 3 days in a cool place. You can freeze the sponges either alone, or decorated (but do not freeze the Oreo biscuits). Once the sponges are fully cool, wrap them well with cling film or put them in an airtight container with some baking paper between them. You can freeze the buttercream on it’s own in a tub, or you can decorate the cake and freeze it fully assembled. To do this and avoid damage to the decoration, freeze it either in an airtight container or let it freeze solid on a cake board or plate, then wrap in cling film. Remove the cling film when you take it out to defrost it, if you don’t it could damage the decoration as it defrosts and softens. You can also freeze slices of the cake, again well wrapped in cling film or in airtight containers.
Can this cake be made in different size cake tins?
Yes! If you would like to make this cake in different size tins, please check my Conversion Guide to find out how to adjust the cake recipe.
Can you make the cake with plain/all purpose flour?
Self raising flour, which is very commonly used in the UK where I am based, already contains a raising agent and a little salt too. Therefore if you want to swap it for plain or all purpose flour, you will need to add some additional baking powder and also a little salt if you like. Some people like to add salt to cake recipes and some don't, so I'll leave that up to you as it won't affect the bake. The general advice is to add 2 teaspoons baking powder (a measuring teaspoon, not the kind you stir your coffee with) per every 200g plain or all purpose flour. So for the chocolate cake layers you'd need to add 3 ½ teaspoons baking powder, and for the vanilla oreo layer you'd need to add 1 ¾ teaspoons baking powder. Please note, I have not tested this recipe using plain or all purpose flour.
Can this recipe be made gluten free?
Yes! For a gluten free version, you can replace the self raising flour with a gluten free self raising flour blend. If you only have a gluten free plain flour blend, you will need to add additional baking powder. The general advice is to add 2 tsp baking powder per 200g flour, so for the chocolate cake layers you'd need to add 3 ½ teaspoons baking powder, and for the vanilla oreo layer you'd need to add 1 ¾ teaspoons baking powder. You may also like to xanthan gum for better texture, I'd recommend ½ tsp to the chocolate layers and ¼ tsp to the vanilla oreo layer. Oreos do contain gluten, so you will need to replace them with a gluten free cookies and cream biscuit alternative. Please check the labels of everything you use if you are serving this cake to someone with an allergy or intolerance.
Can this recipe be made dairy free?
For a dairy free version, use a dairy free baking spread and butter, and dairy free milk for the cake and buttercream. Please check the labels of everything you use if you are serving this cake to someone with an allergy or intolerance.
More tips for making the Cookies and Cream Oreo Drip Cake:
- Make sure to use a large open star nozzle to pipe the buttercream onto the cake. The Oreo crumbs will get stuck in a closed star tip or a very small tip
- The Oreo biscuits will go soft after being in contact with the buttercream for a while, so add them as close to serving the cake as you can
- You can use any Oreo flavour for the cake - mint, peanut butter, strawberry, you decide!
Troubleshooting
If you have any questions about this recipe, or if something went wrong and you need help, please use the comment form below and I will get back to you. You can also get in touch with me on my Twitter, Instagram or Facebook. I'd love to hear from you!
Recommended equipment & ingredients*
- 8" cake tins
- Mixing bowls
- Cooling rack
- Kitchen scales
- Angled palette knife
- Buttercream scraper/smoother
- Round cake tin liners
- Decorating turntable
- Piping bags
- Electric mixer
- Cake leveller
- Oreos
*The items above are all affiliate links. I will receive a small amount if you make a purchase, this does not increase the price for you at all. Thank you for supporting The Baking Explorer!
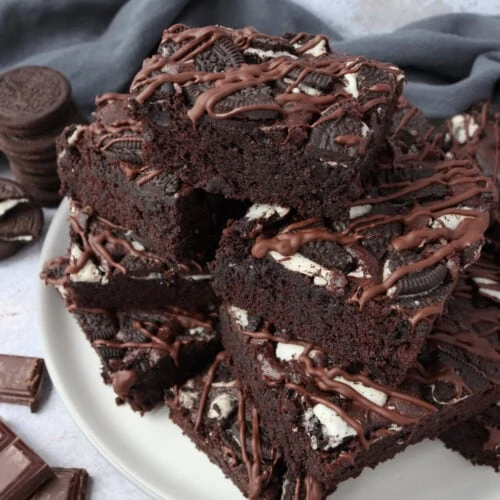
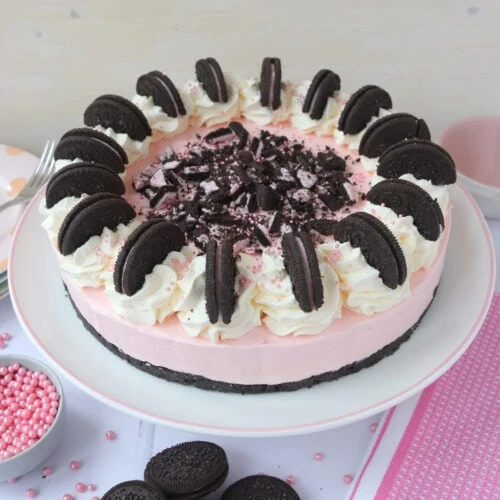
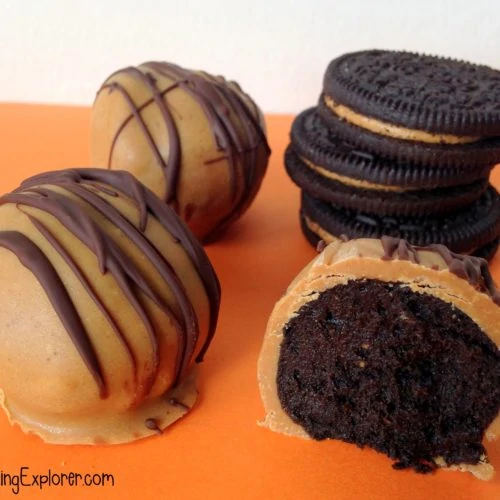
More Oreo recipes...


More drip cake recipes…


Cookies and Cream Oreo Drip Cake
Ingredients
For the chocolate sponges
- 350 g Butter or baking spread softened, unsalted
- 350 g Caster sugar
- 6 Eggs large
- 2 tbsp Milk
- 300 g Self raising flour
- 50 g Cocoa powder
- ¼ tsp Baking powder
- ¼ tsp Bicarbonate of soda
For the oreo sponge
- 175 g Butter or baking spread softened, unsalted
- 175 g Caster sugar
- 3 Eggs large
- 175 g Self raising flour
- 2 tsp Vanilla extract
- 5 Chopped up oreos
For the cookies and cream buttercream
- 500 g Butter softened, unsalted
- 1 kg Icing sugar
- 3 tsp Vanilla extract
- 275 g Crushed oreo crumbs
- 2-3 tbsp Milk
For a chocolate ganache drip
- 65 g Dark chocolate
- 65 ml Double cream
OR for cheat's chocolate drip
- 75 g Dark chocolate
- 1 tsp Vegetable oil
For decoration
- 8 Oreos cut in half
- 6 Oreos chopped up
Instructions
To make the chocolate sponges
- Pre-heat your oven to 160C Fan/180C/350F/Gas Mark 4, and grease and line two 8" cake tins (that are at least 2" deep)
- Mix the butter and caster sugar in until fluffy (around 3 minutes), ideally using an electric mixer
- Add the eggs and milk, and whisk until fully incorporated
- Add the self raising flour, cocoa powder, bicarbonate of soda and baking powder and whisk in gently until you can't see any flour anymore
- Divide the mixture between the two tins, use scales for accuracy
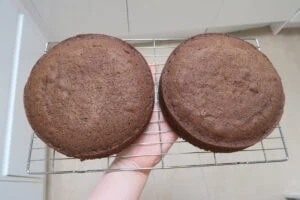
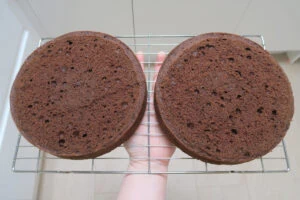
- Bake them for 35 minutes, or until a skewer or cocktail stick inserted in the middle comes out clean, then remove from the tins and leave them to cool on a cooling rack
To make the oreo sponge
- Pre-heat your oven to 160C Fan/180C/350F/Gas Mark 4 (or leave it on between making both sponges), and grease and line one 8" cake tin (that is at least 2" deep)
- Mix the butter and caster sugar in until fluffy (around 3 minutes), ideally using an electric mixer
- Add the eggs and vanilla extract, and whisk until fully incorporated
- Add the self raising flour and whisk in gently until you can't see any flour anymore
- Fold in the chopped up oreos, then pour the mixture into the tin
- Bake it for 35 minutes, or until a skewer or cocktail stick inserted in the middle comes out clean, then remove from the tin and leave to cool on a cooling rack
To make the buttercream
- Using an electric mixer, mix the butter on its own for a couple of minutes. Then add the icing sugar. When it starts to come together, add the vanilla extract and milk. Keep mixing until it is smooth. You can add more milk if required
- Mix the oreo crumbs into the buttercream, making sure they are evenly distributed throughout
- To stack and decorate the cake, level off each sponge with a cake leveller or a knife if necessary, so they are all an even height. Place the bottom chocolate sponge on a cake stand that is on a decorating turn table and spread some buttercream over the top
- Add the vanilla oreo sponge on top and again spread buttercream over it
- Add the final chocolate sponge on top of that, then cover the whole cake with a thin base layer of buttercream (a crumb coat). Put it in the fridge for 30 minutes to set
- Coat the cake with a second thicker layer of buttercream and smooth it out as best you can, use a scraper tool to help with this. Then put it back in the fridge for an hour to set
To do the chocolate drip
- To make the dark chocolate ganache chocolate drip, put the ingredients into a bowl and microwave for 20 seconds, then stir. Continue microwaving in 10 second blasts, stirring between each blast, until melted and smooth. If it isn't smooth enough, you can add 1 tsp vegetable oil to loosen it
- OR To make the cheat's dark chocolate drip, melt the dark chocolate in the microwave for 30 seconds, then stir. Continue microwaving in 10 second blasts, stirring between each blast, until melted and smooth. Stir in the vegetable oil
- Put your chosen chocolate drip mixture into a piping bag and snip a small section off the end
- Pipe blobs around the edge of the cake, allowing the chocolate to drip down the sides in varying amounts. Then pipe the rest all over the top of the cake
- Use a palette knife to smooth the chocolate on the top of the cake. Put the cake back in the fridge for 30 minutes for the drip to set
To decorate
- Put the remaining buttercream into a piping bag a large open star nozzle and pipe swirls all around the edge of the cake
- Push the cut in half Oreo biscuits all around the edge and sprinkle the chopped up Oreos in the middle - the biscuits will go soft after a while from contact with the buttercream so add them as close to serving as you can
- Leftovers will keep in an airtight container in a cool place for 2-3 days
Video
Notes
- Make sure all your ingredients (particularly the eggs and butter) are at room temperature before you start baking.
- I prefer to use a baking spread like Stork for the cake, and unsalted butter for the buttercream as I find they provide the best results.
- Make sure to use a large open star nozzle to pipe the buttercream onto the cake. The Oreo crumbs will get stuck in a closed star tip or a very small tip.
- For all the tips and tricks on how to make a drip cake, including a how to video, check out my Ultimate Drip Cake How To Guide!
- Although I provide cup measurements, I highly recommend weighing your ingredients out using digital kitchen scales*. It is the most accurate way to measure ingredients and will ensure the best results. Digital scales are very low cost and can be purchased for around £12 ($16.50) .
- For teaspoon (tsp) and tablespoon (tbsp) measurements, please use measuring spoons* and not the type of spoons you eat with. Again this will ensure accuracy and provide the best results.
Nutrition
If you like this, check out more of my Cake recipes!
NB. This post is NOT in anyway sponsored by Oreos - I just love their product!
Judith Graber
This may be my favorite cake that you have made Kat. Why - because of all those Oreos! Beautiful cake, inside and out 🙂
thebakingexplorer
Oh wow, thank you Judith!
Nicola
Oh. My. Does this look like total heaven or what? I’m almost speechless! Stunning ?
thebakingexplorer
Thank you so much Nicola!!
Cat | Curly's Cooking
This looks absolutely amazing! Such tasty flavours, I would love a slice of that right now!
thebakingexplorer
Thank you Cat! I wish I could send you a slice!
Angela / Only Crumbs Remain
Ooh my goodness! What an epic cake Kat! You're sister's boyfiend must have been over the moon with his birthday cake!
Angela x
Angela / Only Crumbs Remain
PS, thankyou so much for liking up with #BakingCrumbs Kat, Angela x
thebakingexplorer
He was pretty excited, they both tried to eat the whole thing in a few days!! Eventually they had to share!
Abah Akala Mathias
So so sweet and yummy 😋 ❤❤❤👍
Jacqui Bellefontaine
cant say that I eat oreos very much but I know I would like this cake so can I have a slice please.
thebakingexplorer
I'm sending you a virtual one!
Lily
Now that is a masterpiece dessert! Every layer and detail of your cake looks so delicious. Thanks for bringing it to FF!
thebakingexplorer
Thank you so much Lily!
Kirsty Hijacked By Twins
My lot love Oreo's so they would adore this cake! It looks stunning! Thank you for sharing with #CookBlogShare x
thebakingexplorer
Thank you Kirsty!
Kate - gluten free alchemist
So talented Kat. That is a perfect celebration cake. It looks amazing and I imagine tasted just as good x
thebakingexplorer
Thank you Kate, you're so kind!
Layla
I'm going to make this cake straight away! I'm going to add tim tams(Australian chocolate biscuit) to the chocolate layers, and I bet it will taste amazing! Thanks for the recipe!
thebakingexplorer
That sounds delicious Layla! Let me know how it turns out!
Annoymud
Thank you . Used this recipe. Everyone loved it
thebakingexplorer
Thank you so much for letting me know, I'm so glad it was enjoyed!
ANA
I'll definitly try this recipe for my brother's birthday. It looks so delicious!!!
May I just ask the height of your 8"tins please? Thank you
thebakingexplorer
Hi, they are the ones linked in the Amazon products section above the recipe - they're 2" tall. I hope you enjoy the cake!
Sarah Ashwood
I made this cake for my son’s birthday. Thank you for such a brilliant recipe. It came out perfectly and was loved by everyone.
thebakingexplorer
Thanks so much for letting me know Sarah, I'm so happy to hear this!
Shirley
Hi Kat. This is a gorgeous cake. Stumbled upon your site and now I can’t seem to stop myself from :going thru all ur cake recipes. You are extremely creative and so talented. I tried this Oreo sponge from your recipe here. However the Oreo pieces just melted and disintegrated in the batter while it was being baked. I would like it to remain crunchy and visible just like you have shown in the pics but mine just got mixed up and dissolved. What should I do next time so that they remain as crunchy bits and not melt. Pls do let me know.
thebakingexplorer
Thank you so much! I've not heard of this issue before with this cake so the only thing I can think is were they a supermarket version of Oreos rather than actual Oreos? Maybe that could be it? If not, then maybe try breaking them into slightly bigger pieces? I'd say breaking the Oreos into quarters would be a good size. Let me know how you get on!
Sharon Maguire
Really, This looks awesome! Did you split each of the 3 cakes to get 6 layers, or did you just double the recipe? Any tips for pressing the crumbs onto the bottom edge of the cake?
thebakingexplorer
Hi Sharon, thank you! If you want to make it 6 layers then yes I would suggest splitting the cakes. Doubling the recipe would make an incredibly tall cake, you could do this but it really would be massive! For pressing crumbs onto the bottom edge, do this gently with your fingers when the buttercream is still fresh. I hope that helps!
Katy
Another excellent recipe - I made this for my friend's daughter's 10th birthday, and a very discerning 10 year old she is! It turned out perfectly of course. My neighbour even spotted it through the window and contacted me to say how impressed she was. Next time I make it I will remember to make sure I really finely blitz the oreos for the piped frosting, as they kept clogging my piping nozzle, but otherwise another unreserved success, and I will come back for more recipes!
Nicole
Hey, going to give this a go, looks lovely.
Just wanted to clarify are the cakes baked for 25 or 35 minutes? As in the blog up to it says 35 and in the recipe section at the bottom you say 35?
Thanks,
Nicole
thebakingexplorer
Hi Nicole, apologies for the confusion, they take 35 minutes in my oven, I would suggest checking them at this time but if a skewer does not yet come out of the centre clean then give them another 5 minutes and keep checking them. Let me know how it goes!
Nicole
Great thank you so much, went with the 35 in the end and turned out perfect. Thumbs up from everyone 🙂
thebakingexplorer
I'm so pleased to hear that Nicole and I really appreciate you letting me know! 😀
Sarita
First of all many congratulations on ur wedding, wishing you both many happiness together!
Thank you so much for this recipe which I made for my birthday! It was delicious, moist, the Oreo biscuits mixed in the vanilla cake wasn’t melted away and it looks perfect (to me anyway). I did not attempt with the drip maybe next time. My icing came out a bit darker but that was because I used less icing I guessed. Oh thanks for your advice I made mine in 3 six inch tins. I shall look forward to my next challenge soon perhaps the pecan pie. 😃😃
Tim
Made this cake atleast 5 times superb.
Anna
I love the cake. It was my birthday and it was the best birthday cake ever!